

Danish rye bread, known as “rugbrød,” is a staple in Danish cuisine, renowned for its dense texture and rich, slightly tangy flavour. My recipe however is on the milder side and is probably more palatable to people from outside Denmark. This bread is packed with whole grains and seeds, making it not only delicious but also nutritious. Unlike lighter, airier wheat breads, Danish rye bread has a robust, chewy consistency that pairs perfectly with a variety of toppings. It’s commonly enjoyed as an open-faced sandwich, topped with an array of ingredients such as cold cuts, cheeses, smoked fish, eggs, fresh vegetables, or simply just a good layer of butter. Whether for breakfast, lunch, or as a snack, Danish rye bread provides a satisfying and wholesome base for any meal.
I hope this recipe will work for you, and please let me know if the bread doesn’t turn out well, as the recipe always works perfectly for me every single time. I buy flour at the local discount food store, but I’ve used many different brands, and it still works just as well.
Good luck and feel free to send pictures of your results.
Link to original post in danish
Everyday Rye Bread with Lots of Seeds

Ingredients
the recipe is for a single loaf of rye bread fitting a 3L bread pan
-
10 g fresh yeast (3g dry i think)
-
3 dl buttermilk/kefir/yoghurt or whatever you have on hand.
-
5 dl water
-
Juice of 1 lemon
-
12g salt
-
365 g rye kernels
-
200 g wheat flour
-
270 g rye flour
-
315 g additional seeds, mix as you like, e.g.
- 90g flaxseeds
- 90g sunflower seeds
- 90g walnuts
- 45g chia seeds
- 1 Tbsp dark malt flower (optional)
For the additional seeds, you can instead also use:
- A handful of cranberries
- Wheat kernels
- Pearl barley
- Chopped almonds
- Hazelnuts
- Oats
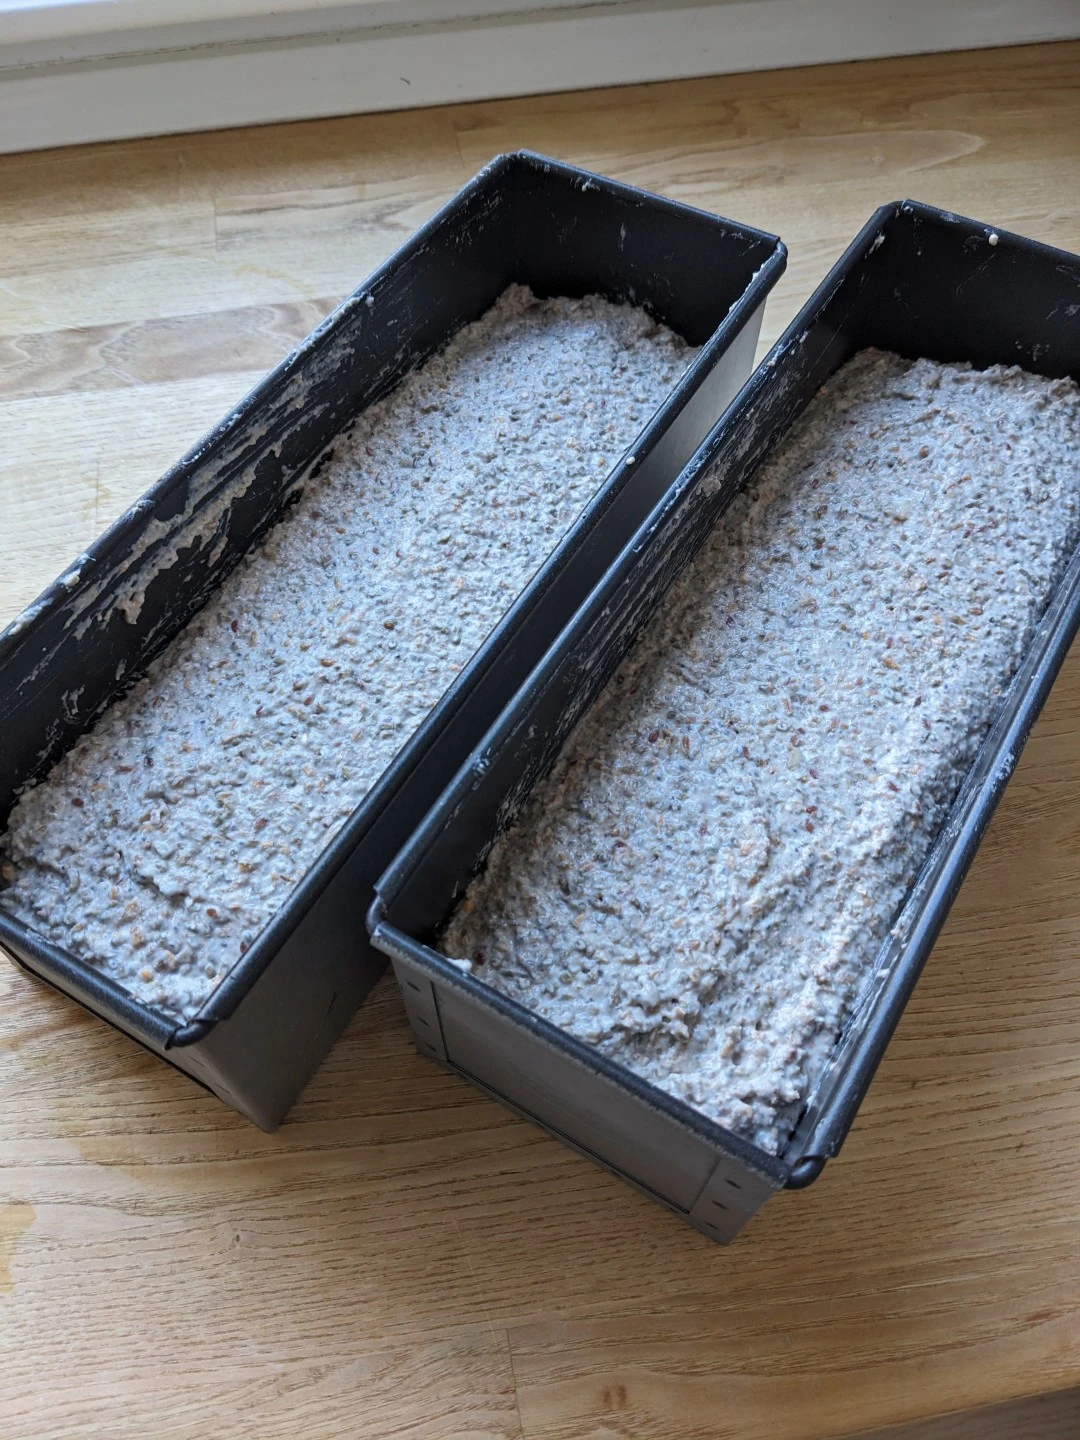
Mixing
Dissolve the yeast in the wet ingredients and then add the rest of the ingredients. Mix everything well for 10 minutes on the machine. If you don’t have a mixer, you can stir it by hand in a large bowl with a wooden spoon/spatula. Then pour the dough directly into a 3-liter bread pan. After the dough is in the bread pan, smooth the surface with a wet spatula or fingers. If you like, you can sprinkle some seeds on top as decoration (I usually dont).
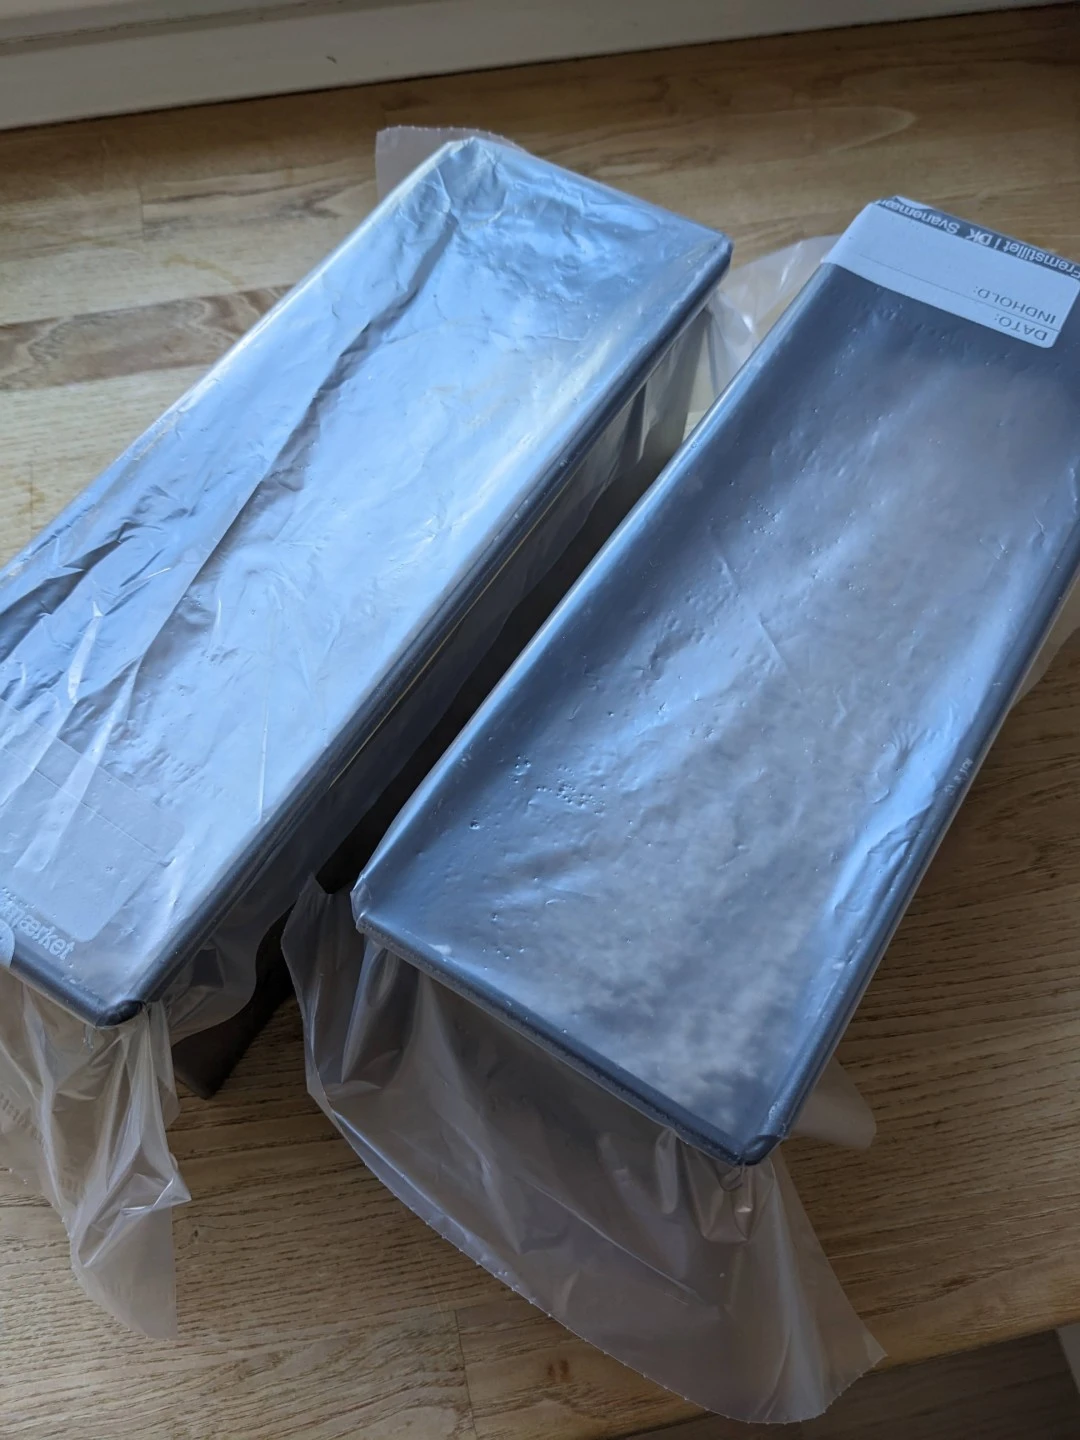
Cold Rising
Cover the bread pan with an 8L plastic bag and an elastic band, or use cling film. Place in the refrigerator for 12 - 24 hours.
If you want to bake the same day, you can use about 15 g of yeast and let the dough rise at room temperature for about 2 hours instead, but be careful not to let the dough rise too much as it happens much faster than in the refrigerator. I generally discourage this as it gives the seeds and kernels less time to absorb the water. Cold rising in the fridge is preferable.
Baking
Take the bread out of the refrigerator 1-3 hours before it is to be baked so it can come to room temperature and finish rising. Keep an eye on the dough and see how quickly it rises, so you can preheat the oven in good time. When the dough is ready, it should preferably go straight into the oven.
The dough is ready when there are 5-10 small pinhead-sized bubbles on the surface. This is not always visible as it depends a bit on the flour, but otherwise, 2 hours is usually enough. Generally don’t let it stay for more than 2 hours, especially if you live in a hot climate.
Preheat the oven to 180 degrees and put the bread in when it is ready. No fan. Place the bread on the very bottom rack, as low as possible. Bake the bread for about 1 hour 50 minutes or until the internal temperature of the bread is 96-98 degrees.
Take the bread out of the bread pan immediately after it has finished baking and let it cool on a rack
Remember that ovens can vary, so if the bread, feels a bit soft on the bottom side and slightly under baked, give it another 5-10 minutes in the oven but this time leave it out of the bread pan. If you feel like it takes significantly longer than 1 hour and 40-50 min to bake maybe your oven is a bit colder than mine so raise the temperature 5 degrees next time you bake.
Wait with slicing and plastic baging the bread until it is completely cooled. It can take several hours. You can put a thin tea towel over it while it cools on the rack if you want a softer crust or to protect it a bit while cooling over night.
Enjoy.
Tips
Mix the dough in the evening and put it in the refrigerator until the next day. Then you can take the bread out when you get home from work the next day and bake it durring the evening and have it cool down over night.
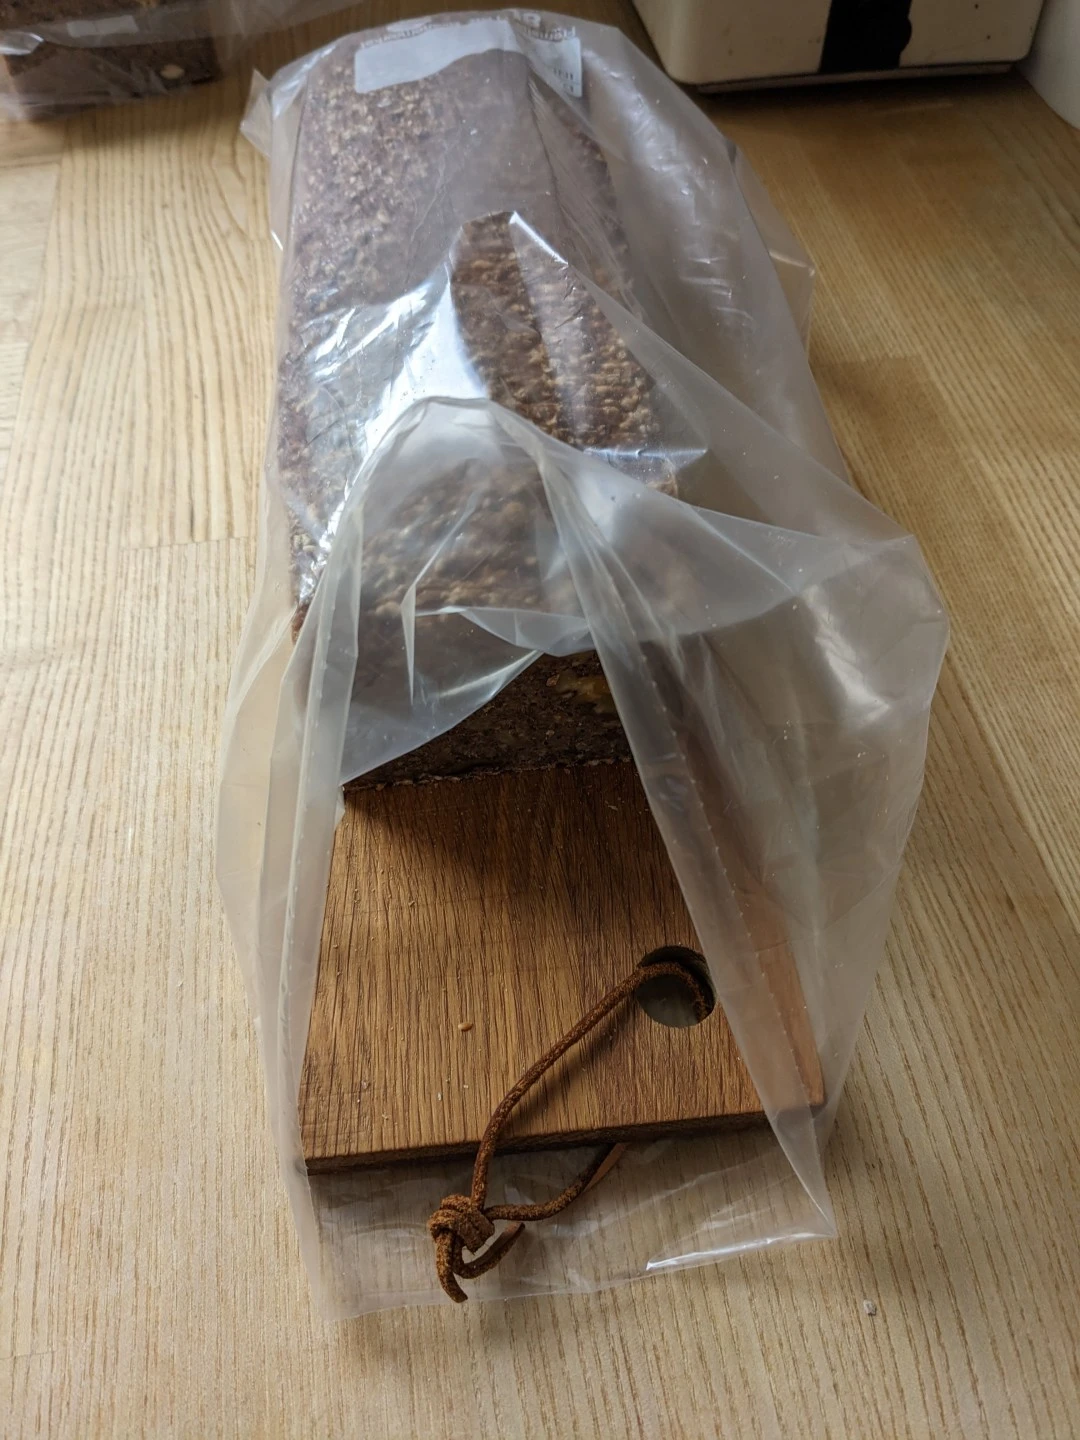
When the bread is completely cooled, it can be sliced with a sharp knife (not serrated) and put in a bag in the freezer. When you want to use the bread, the frozen slices can easily be separated with a knife blade and a little push. The slices are toasted in the toaster and eaten warm.
If the bread is sliced on a narrow cutting board, it is much easier to put in a bag as seen in the picture below.
Thanks! I don’t know if my starter is alive or not, but it’s been staring at me from the back of my fridge for months.
I’m American, but I bake a lot. I’ve only ever seen ml for liquid in international bread recipes. More commonly it’s just expressed in weight and, occasionally, in bakers ratios.
I always liked the dL/dM measurements when they were teaching metric in school. Decameters, in particular, always seemed like a great unit, as it’s so easy to estimate with a hand-span. My second language is Spanish. I know there are words for the deca measurements, but I’ve never heard them used.
For being so universal, I find that the way metric is implemented has a ton of variability country-to-country. I remember learning some basic Italian for travel, and discovering that etto is a common measurement there (1/10 KG). It seems like a much more human-scale unit, as opposed to ordering everything in hundreds of grams.