
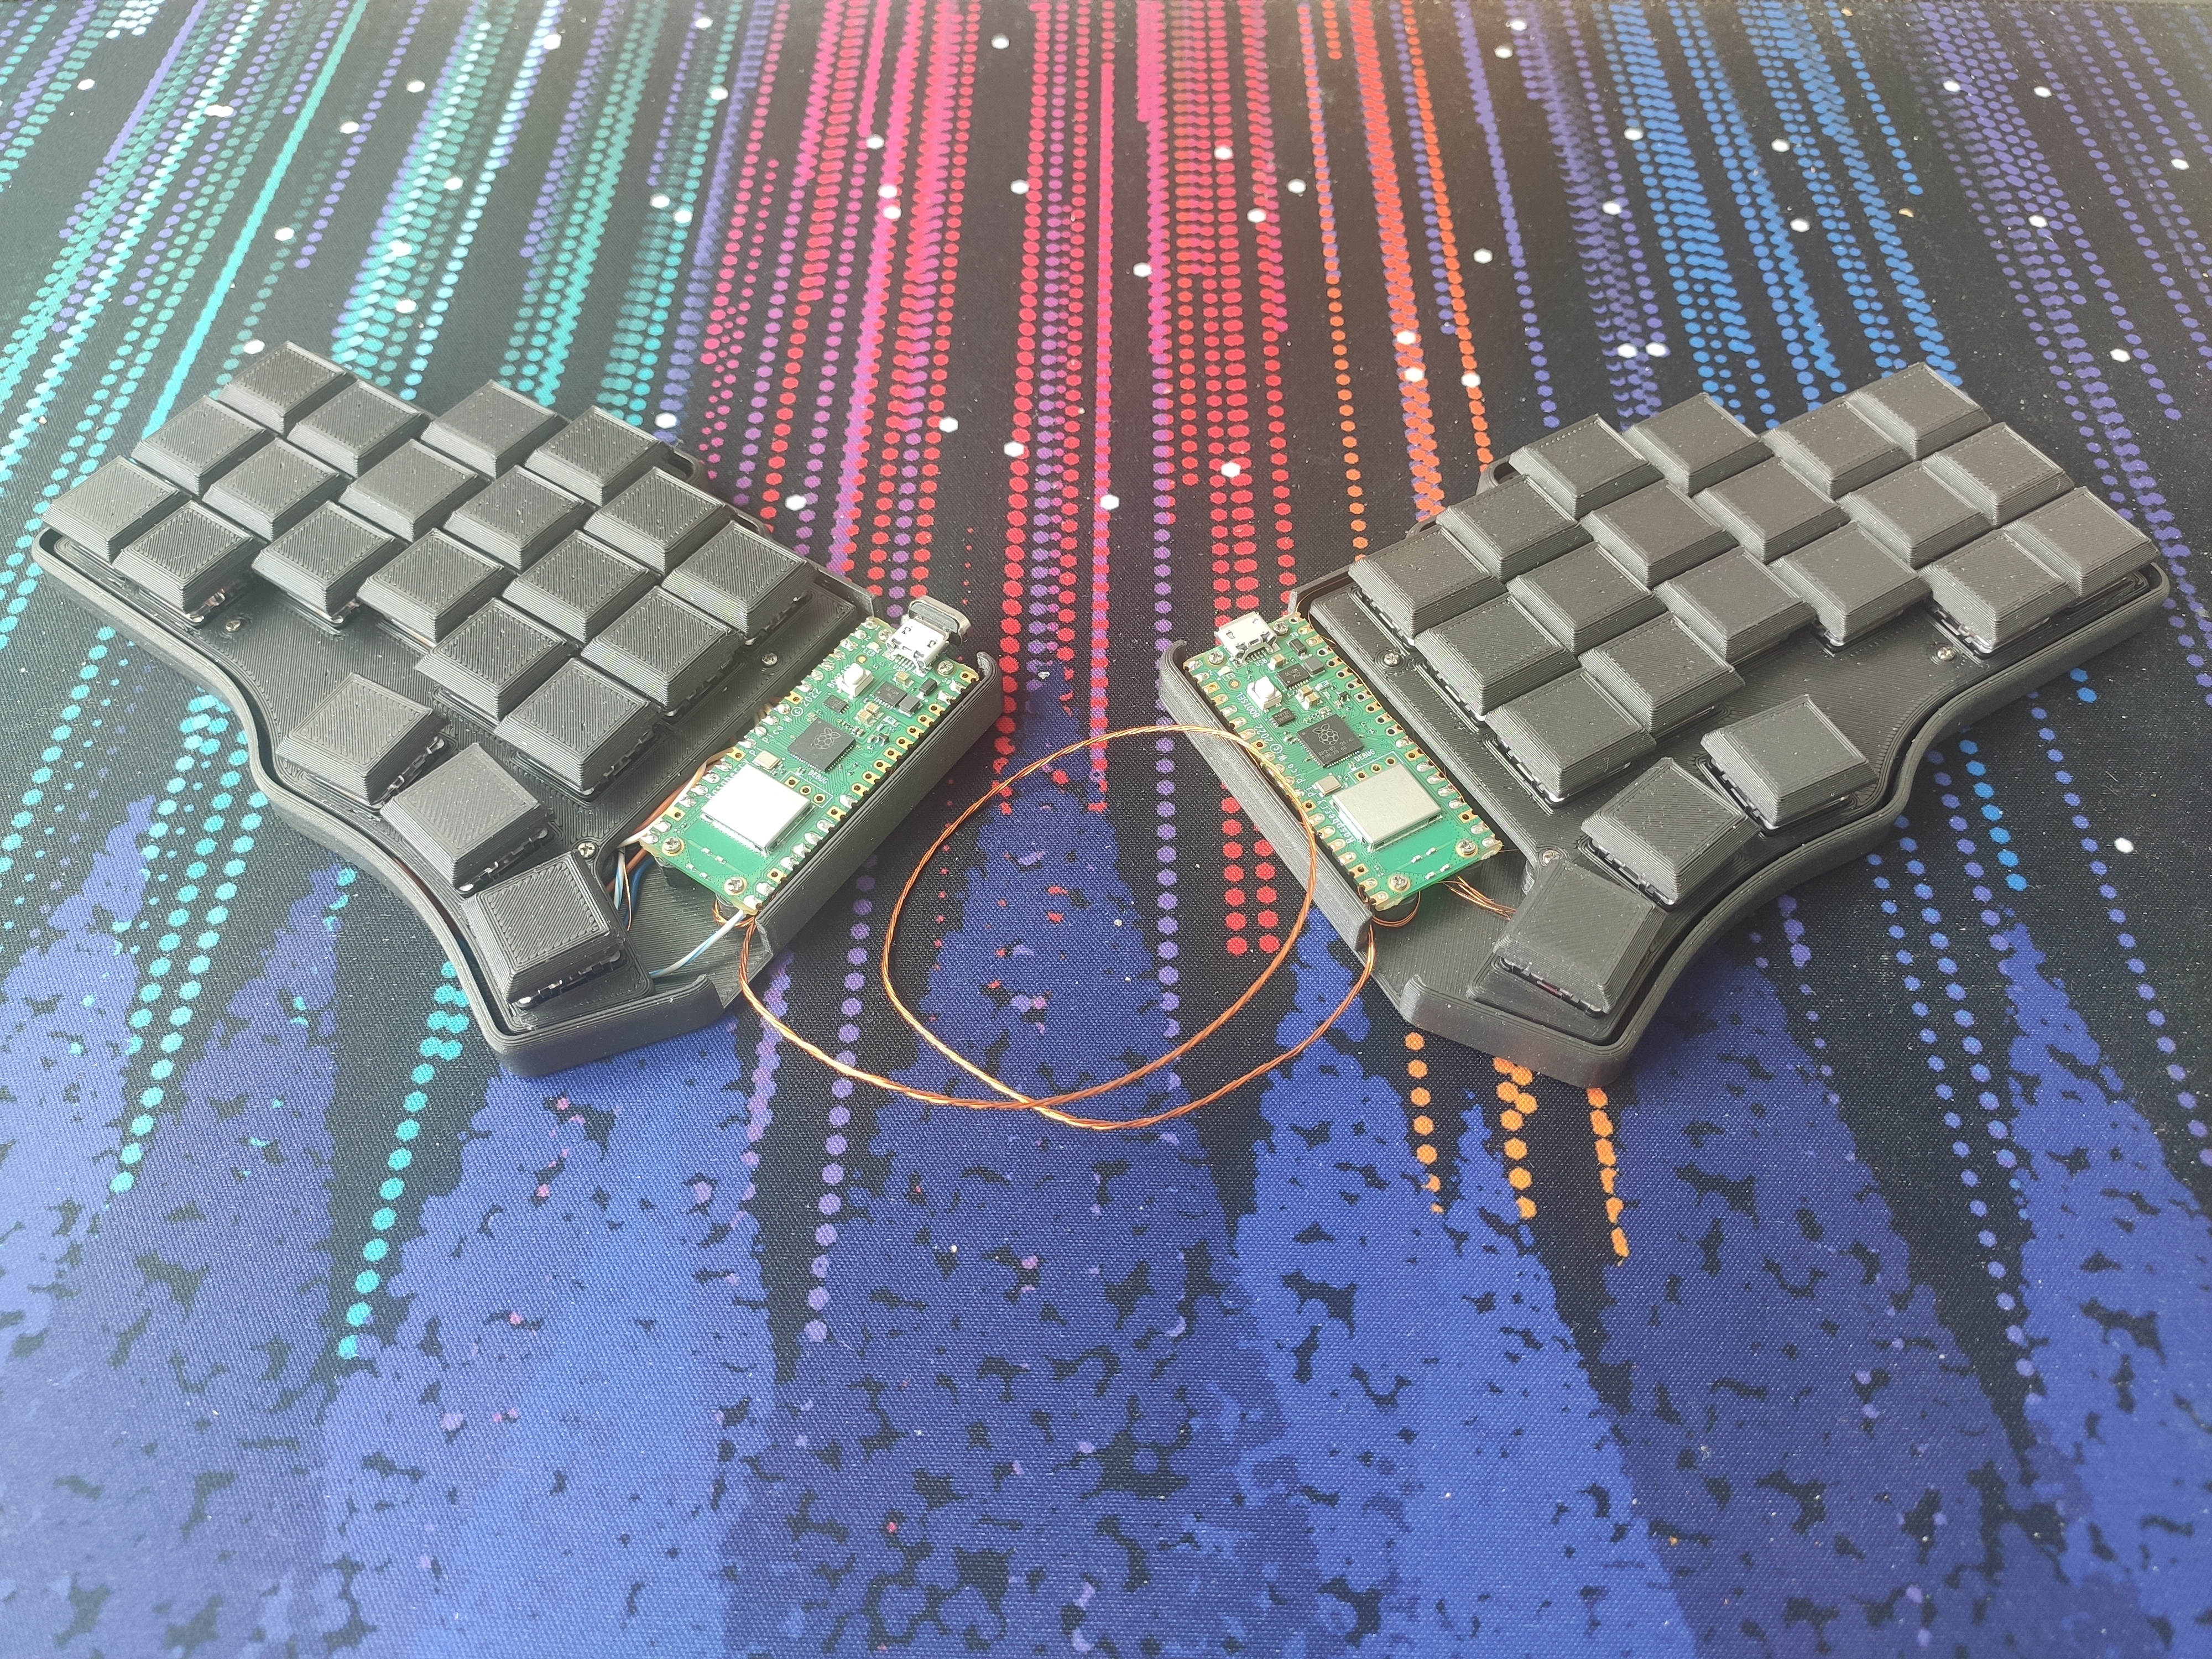
This was my first dab at creating a custom split mechanical keyboard, or any keyboard as a matter of fact. I wanted to go the budget way to see if I’ll even like the keyboard or not so I decided to create one myself. I’m a fan of the pi pico as well as micropython/circuitpython and after some github scrolling I found the piantor. I have big hands so the aggressive stagger seemed to be a good fit for me.
The build:
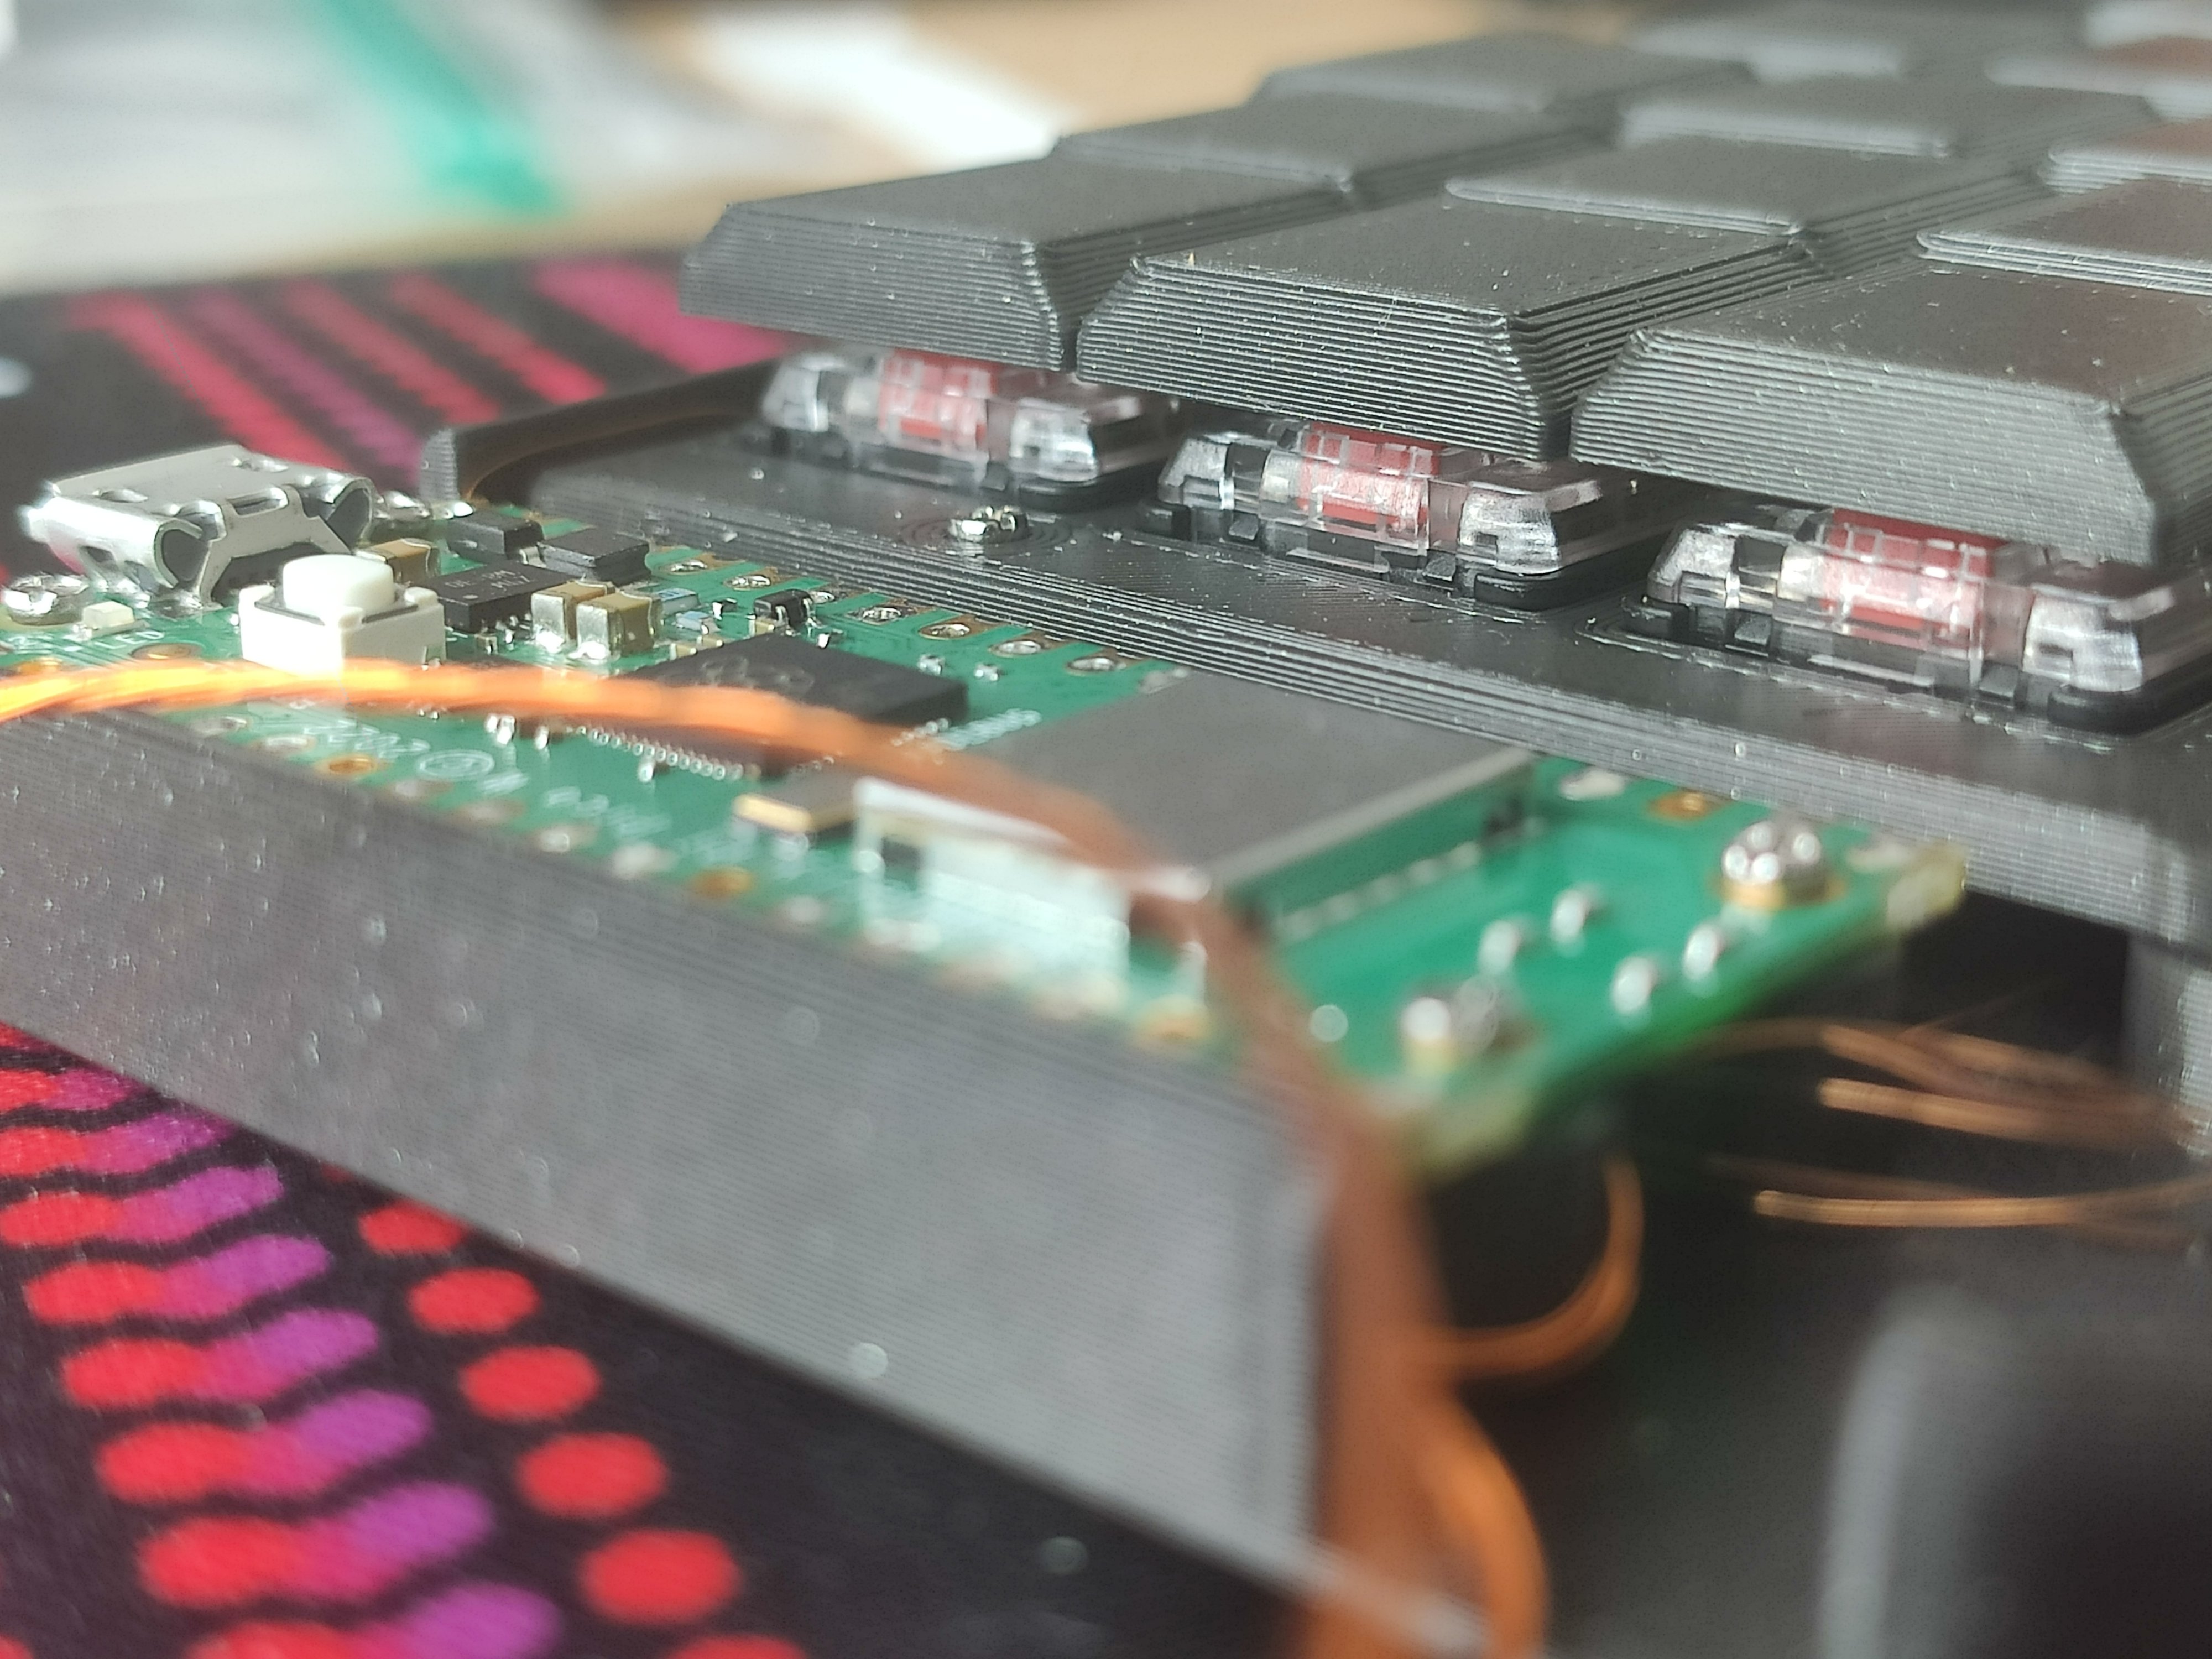
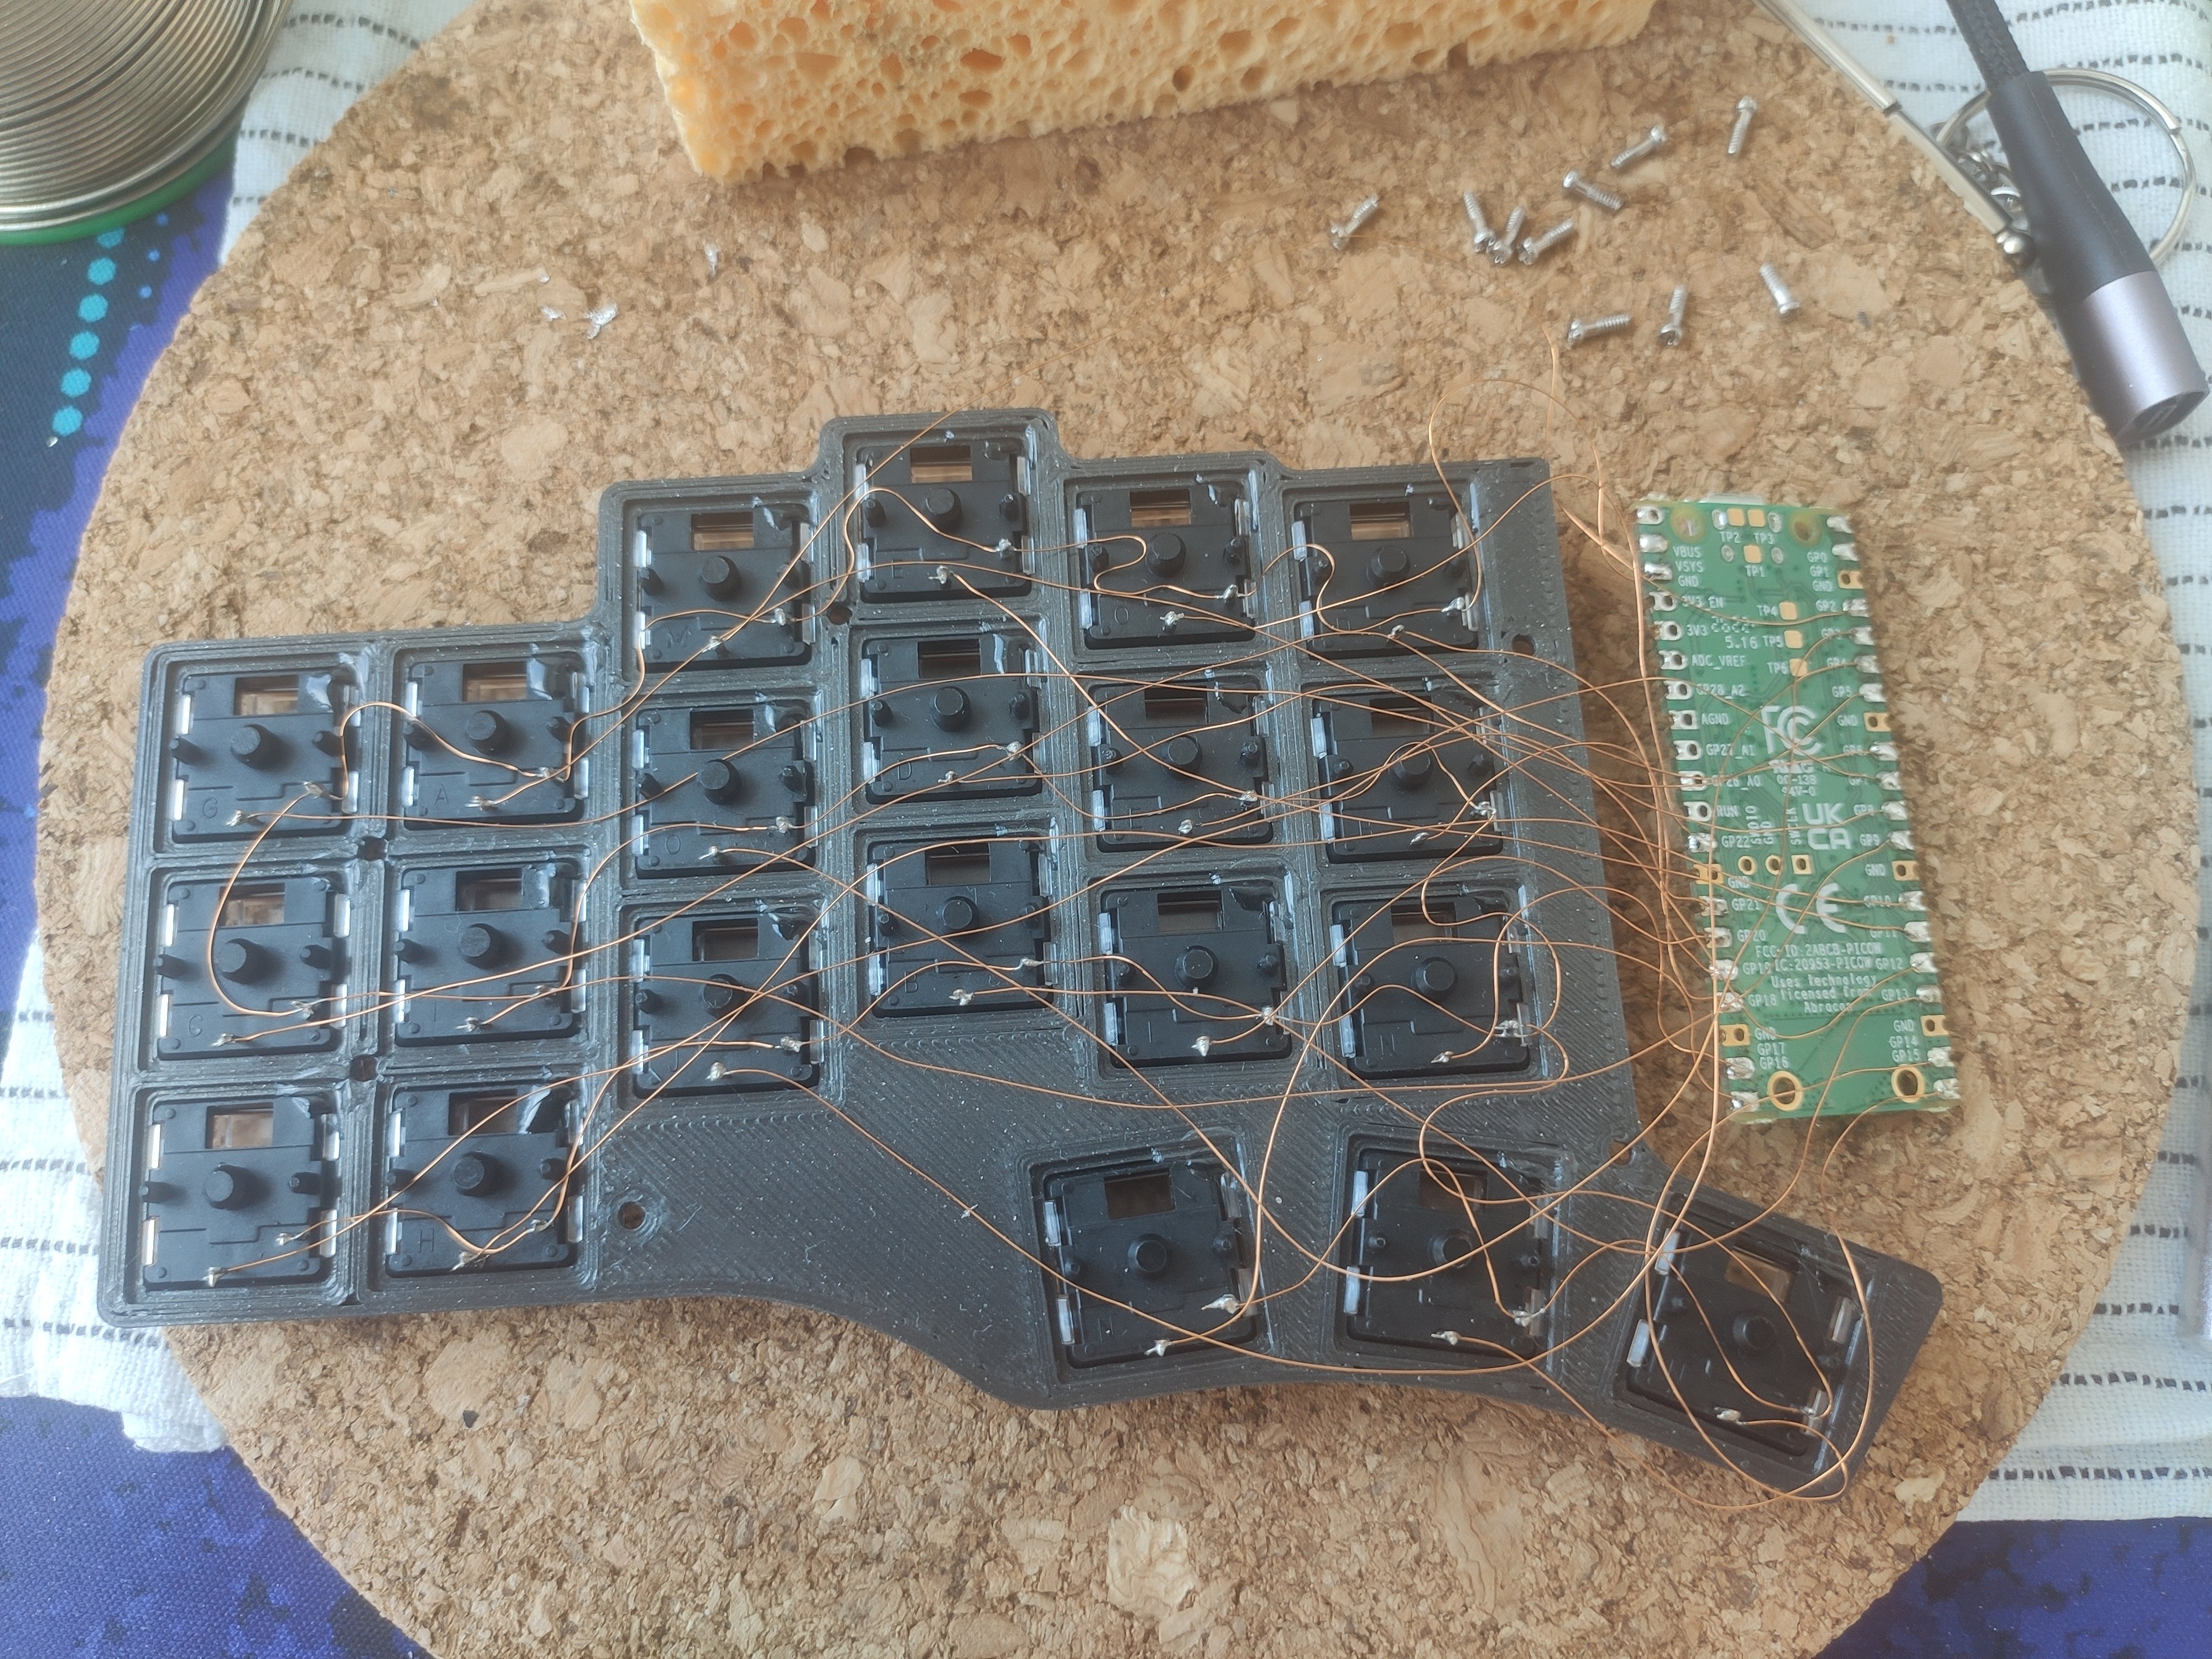
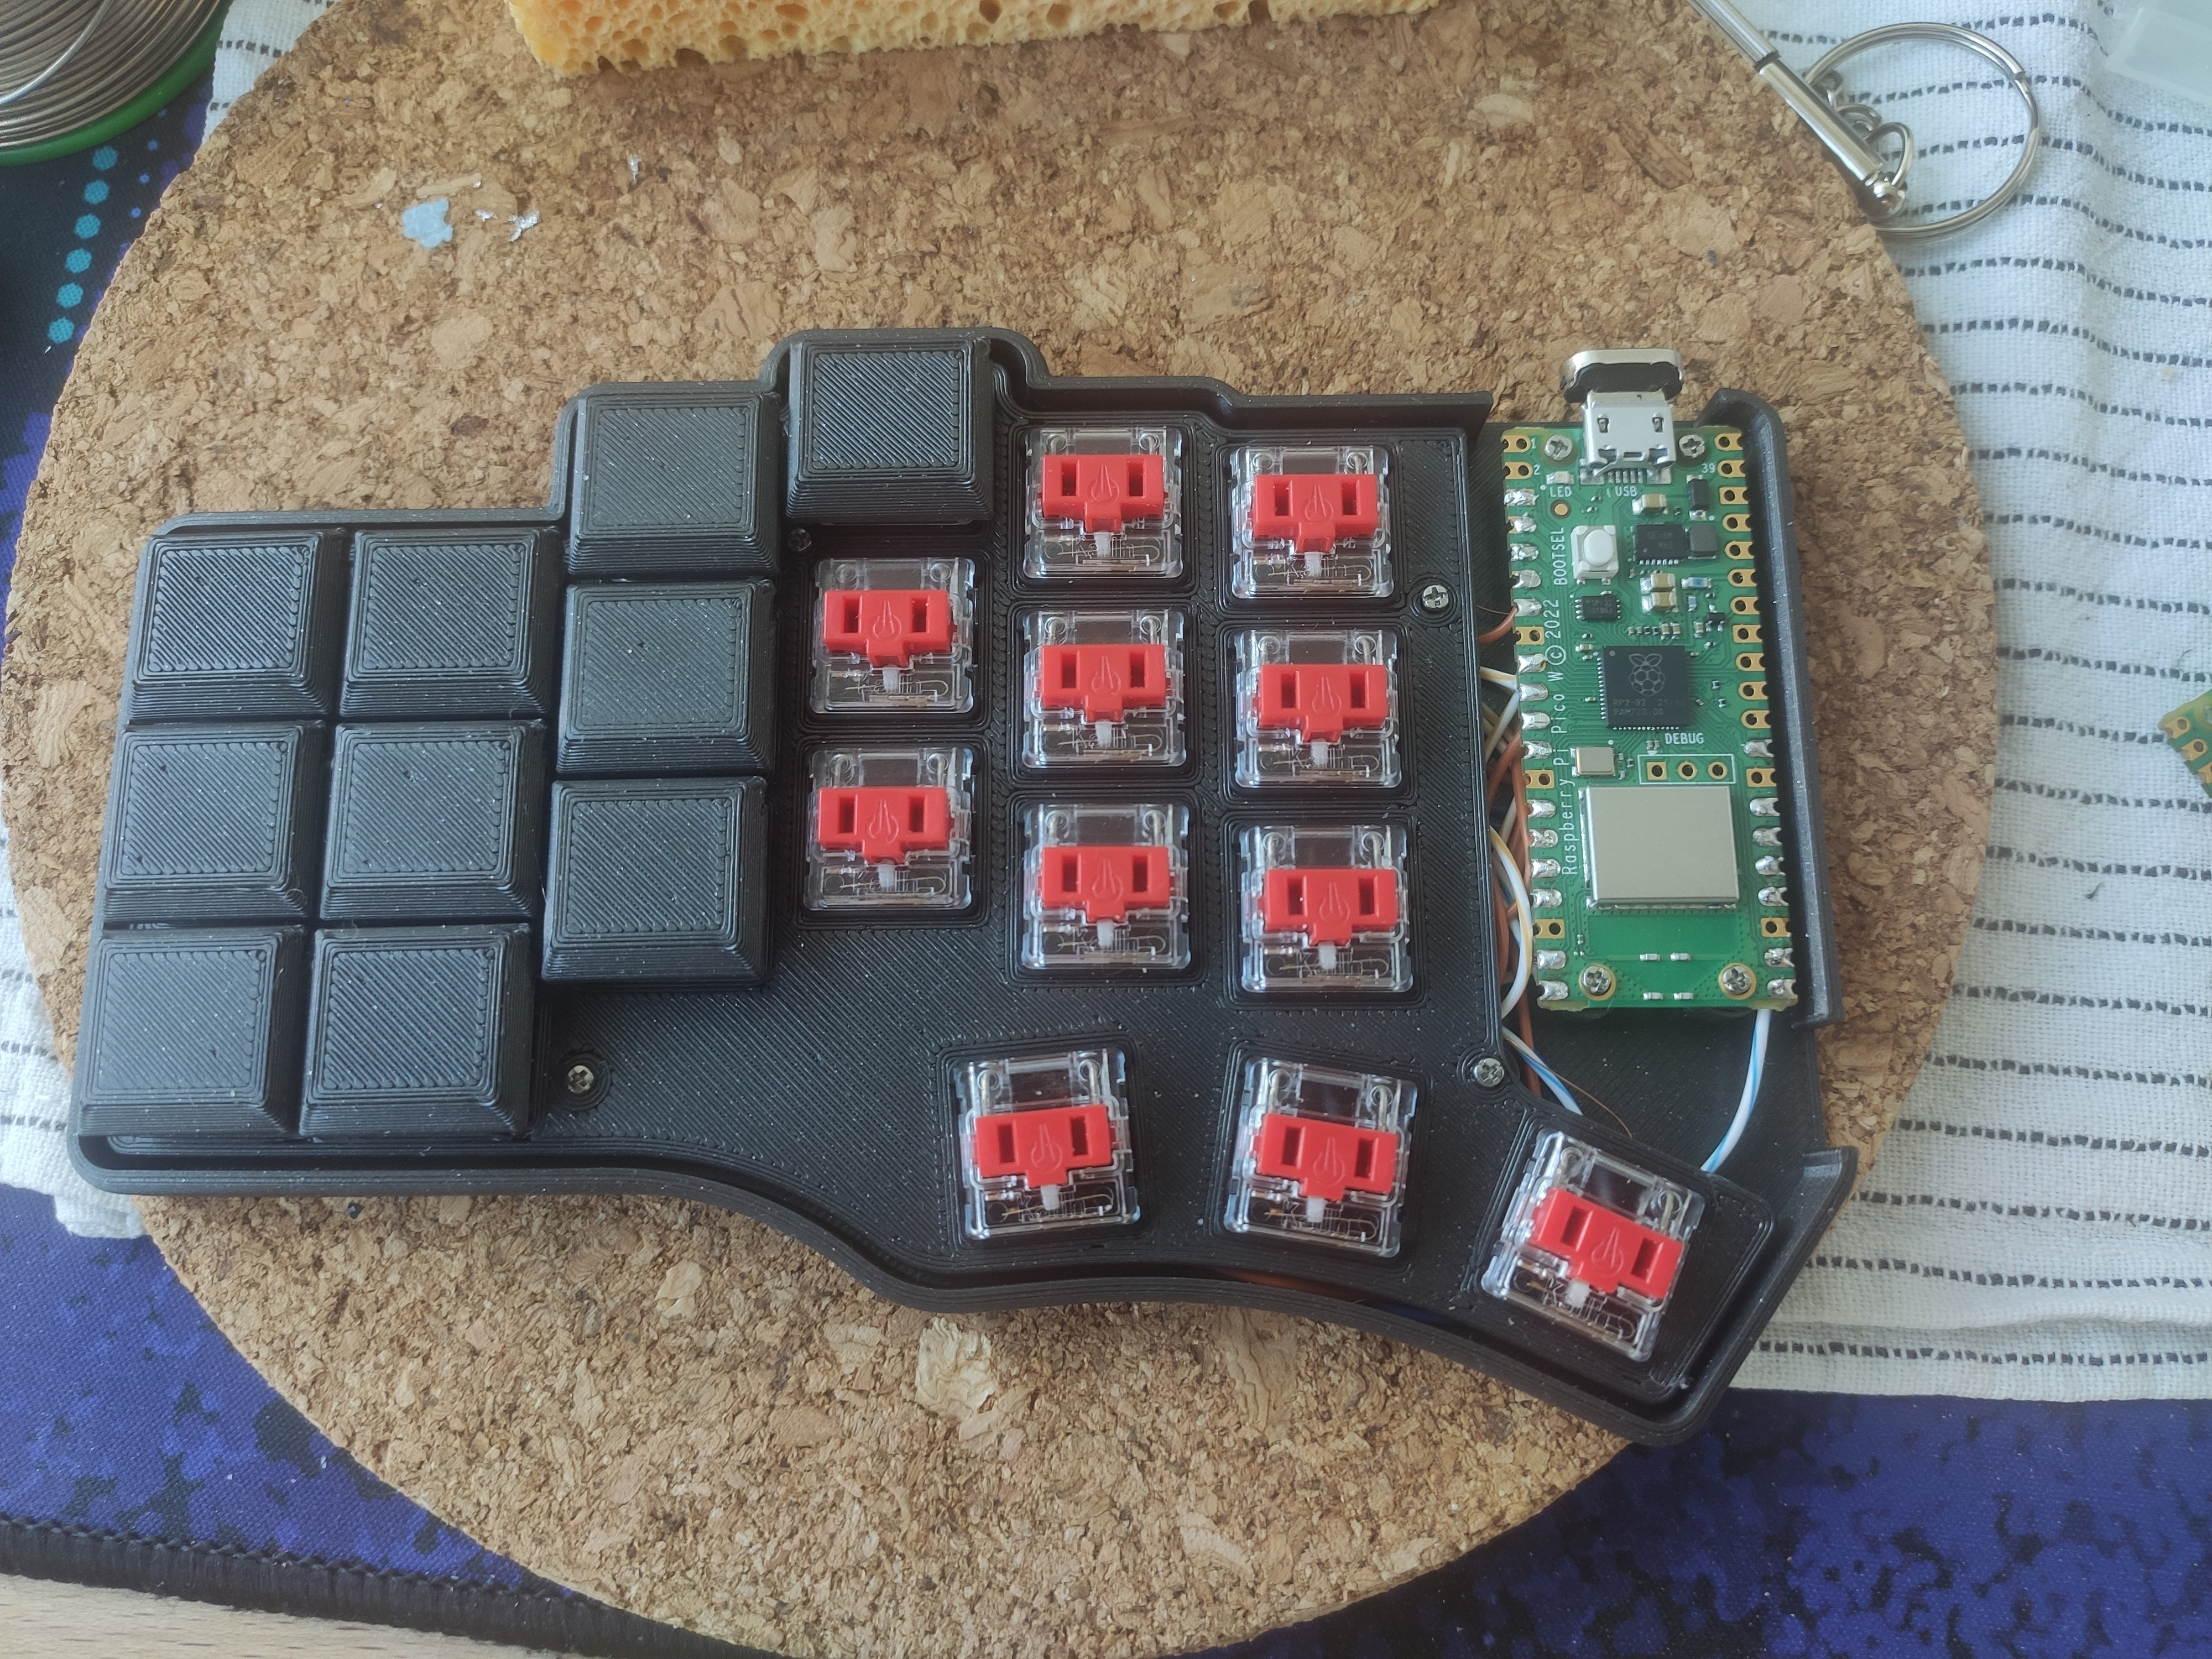
Beekeeb offered the design files for the switchplate and the base cover that I worked off off. The initial sizing of the switchplate was a bit too loose for the keys so after some iterations I got a version that’s a snug fit, and that the keys don’t move around too much. Since I wasn’t using a pcb, I had to adjust the standoffs, as well as adding standoffs for the pico controller. I made a mistake of using old split CAT5 Ethernet wire for the wiring of the left half and I should’ve stuck with enameled wire like I did for the right half. I also added a bit of glue to each underside of the key switches to eliminate any rattle. Each key is wired separately, there is no matrix.

They Keycaps were also 3d printed and found them in Printables. They came out alright, but I’m a bit worried that I might break the little legs if I try to replace them again.
3D prints breakdown:
Total weight was about 100g of filament used, in my case it was 150g beacuse I was iterating a bit and a misalignment at one point. In total the print time took about 8 hours and with no supports.
My cost breakdown:
- 50x Kailh Choc Reds = € 27,95 (Used only 42, but came in bundle of 50)
- 2x Pi pico w = € 7,95 (Normal pico would work, but I had these on hand)
- 150g PLA fillament = € 4,50 (on average 1kg is € 30)
- old CAT5 and broken transformer enameled wire = priceless
- my time = priceless
Total = ~€ 48 + € 30(shipping) = ~€ 78
Now I have to actually learn how to use this thing. I currently have it set up with KMK and using the example from github kmk and board wiring adapted from the following. I’ll ask BeeKeeb if I can post my adapted designs on Printables so that if you’re interested you can make one yourself.
Edit: If the pico-w ever gets a bluetooth library for circuit python, there’s currently one in development for C++, I might be able to convert it to a battery powered Bluetooth keyboard in the future since I ended up using pico w’s. It can currently do wifi, but I haven’t figured out a use case for that. A display would be nice for starters to know what layer I’m on. I’ve still got 3 GPIO’s left that I can use.
Thanks I had a great time building it. Now it’s time to put it to the test and use it as my daily driver.