
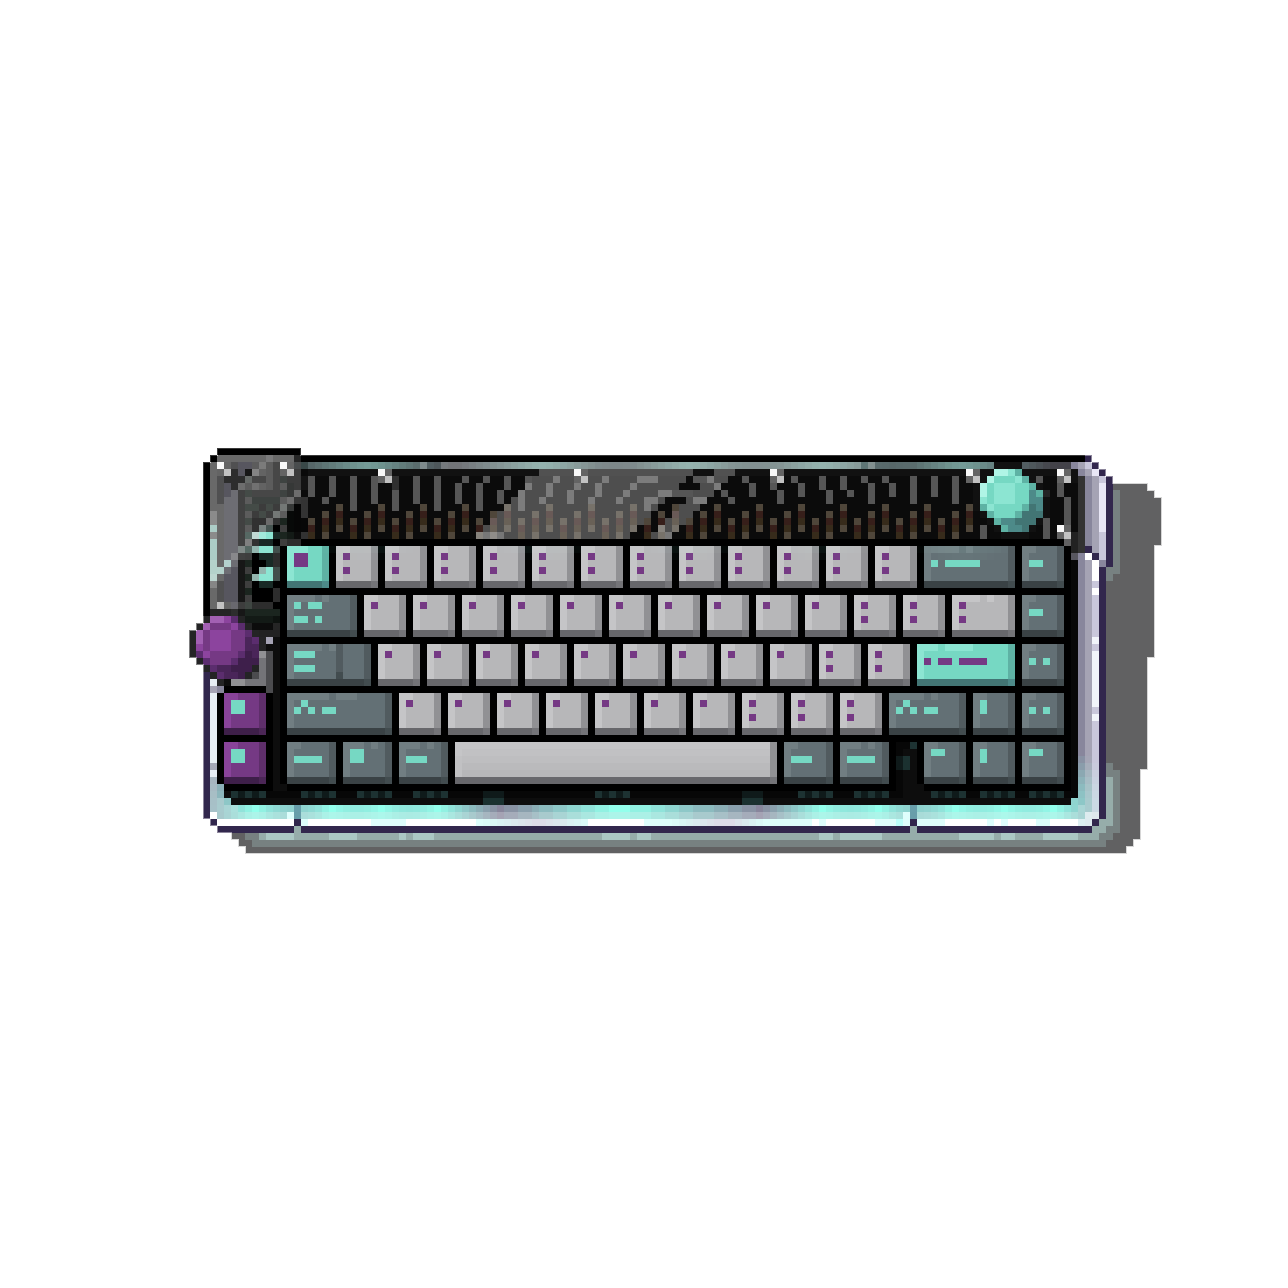
I felt the Piantor needed a foot pedal, a glidepoint, some rgbs, and a little baby macro pad. So here we are.

I created an 8% tent solution and supporting wrist rests.

Then added a glide point to eliminate the need for mouse.

For meeting mode, I added this little macropad to handle all the volume and video sharing controls.

Then thought it’d be interesting to see how a foot pedal could be incorporated into the daily driver and possibly minimize keystrokes.

So far, a fun build, the glide point is a little tricking to get into scroll mode and for mouse clicks. Still reviewing those settings. The jury is still out on the foot pedel, I’ve never used one before so it feels a bit unorthodox. Thought I’d share.
Your keeb looking like bop-it
Forgive me being a total Luddite, but… What the heck is it?
It’s a custom input interface, does what a keyboard, mouse, and some extra buttons would do.
What have you got the foot pedal mapped to?
I’m using it for navigation to my symbol, number, and shortcut layers.
Thats definitely the least cantory picantor build I’ve ever seen. It’s so incredibly modded that i wouldn’t have guessed its a picantor. But it looks great and most importantly FUN!
Great work and thanks for sharing.This is what I call a keyboard enthusiast 🔥
Cool! Whats that red trackball in the background in one of the pics?
Looks like a Ploopy Nano.
That’s a Ploopy nano pcb in a printed BTU base. I needed something more symmetrical than the original Ploopy one. I also used a 55mm trackball Kensington because I liked the size better.

That’s my design! Super cool to see that someone made it!
Thanks for sharing it, otherwise I’d still be trying to build one just like it!
I actually started another project and then hit a dead end.
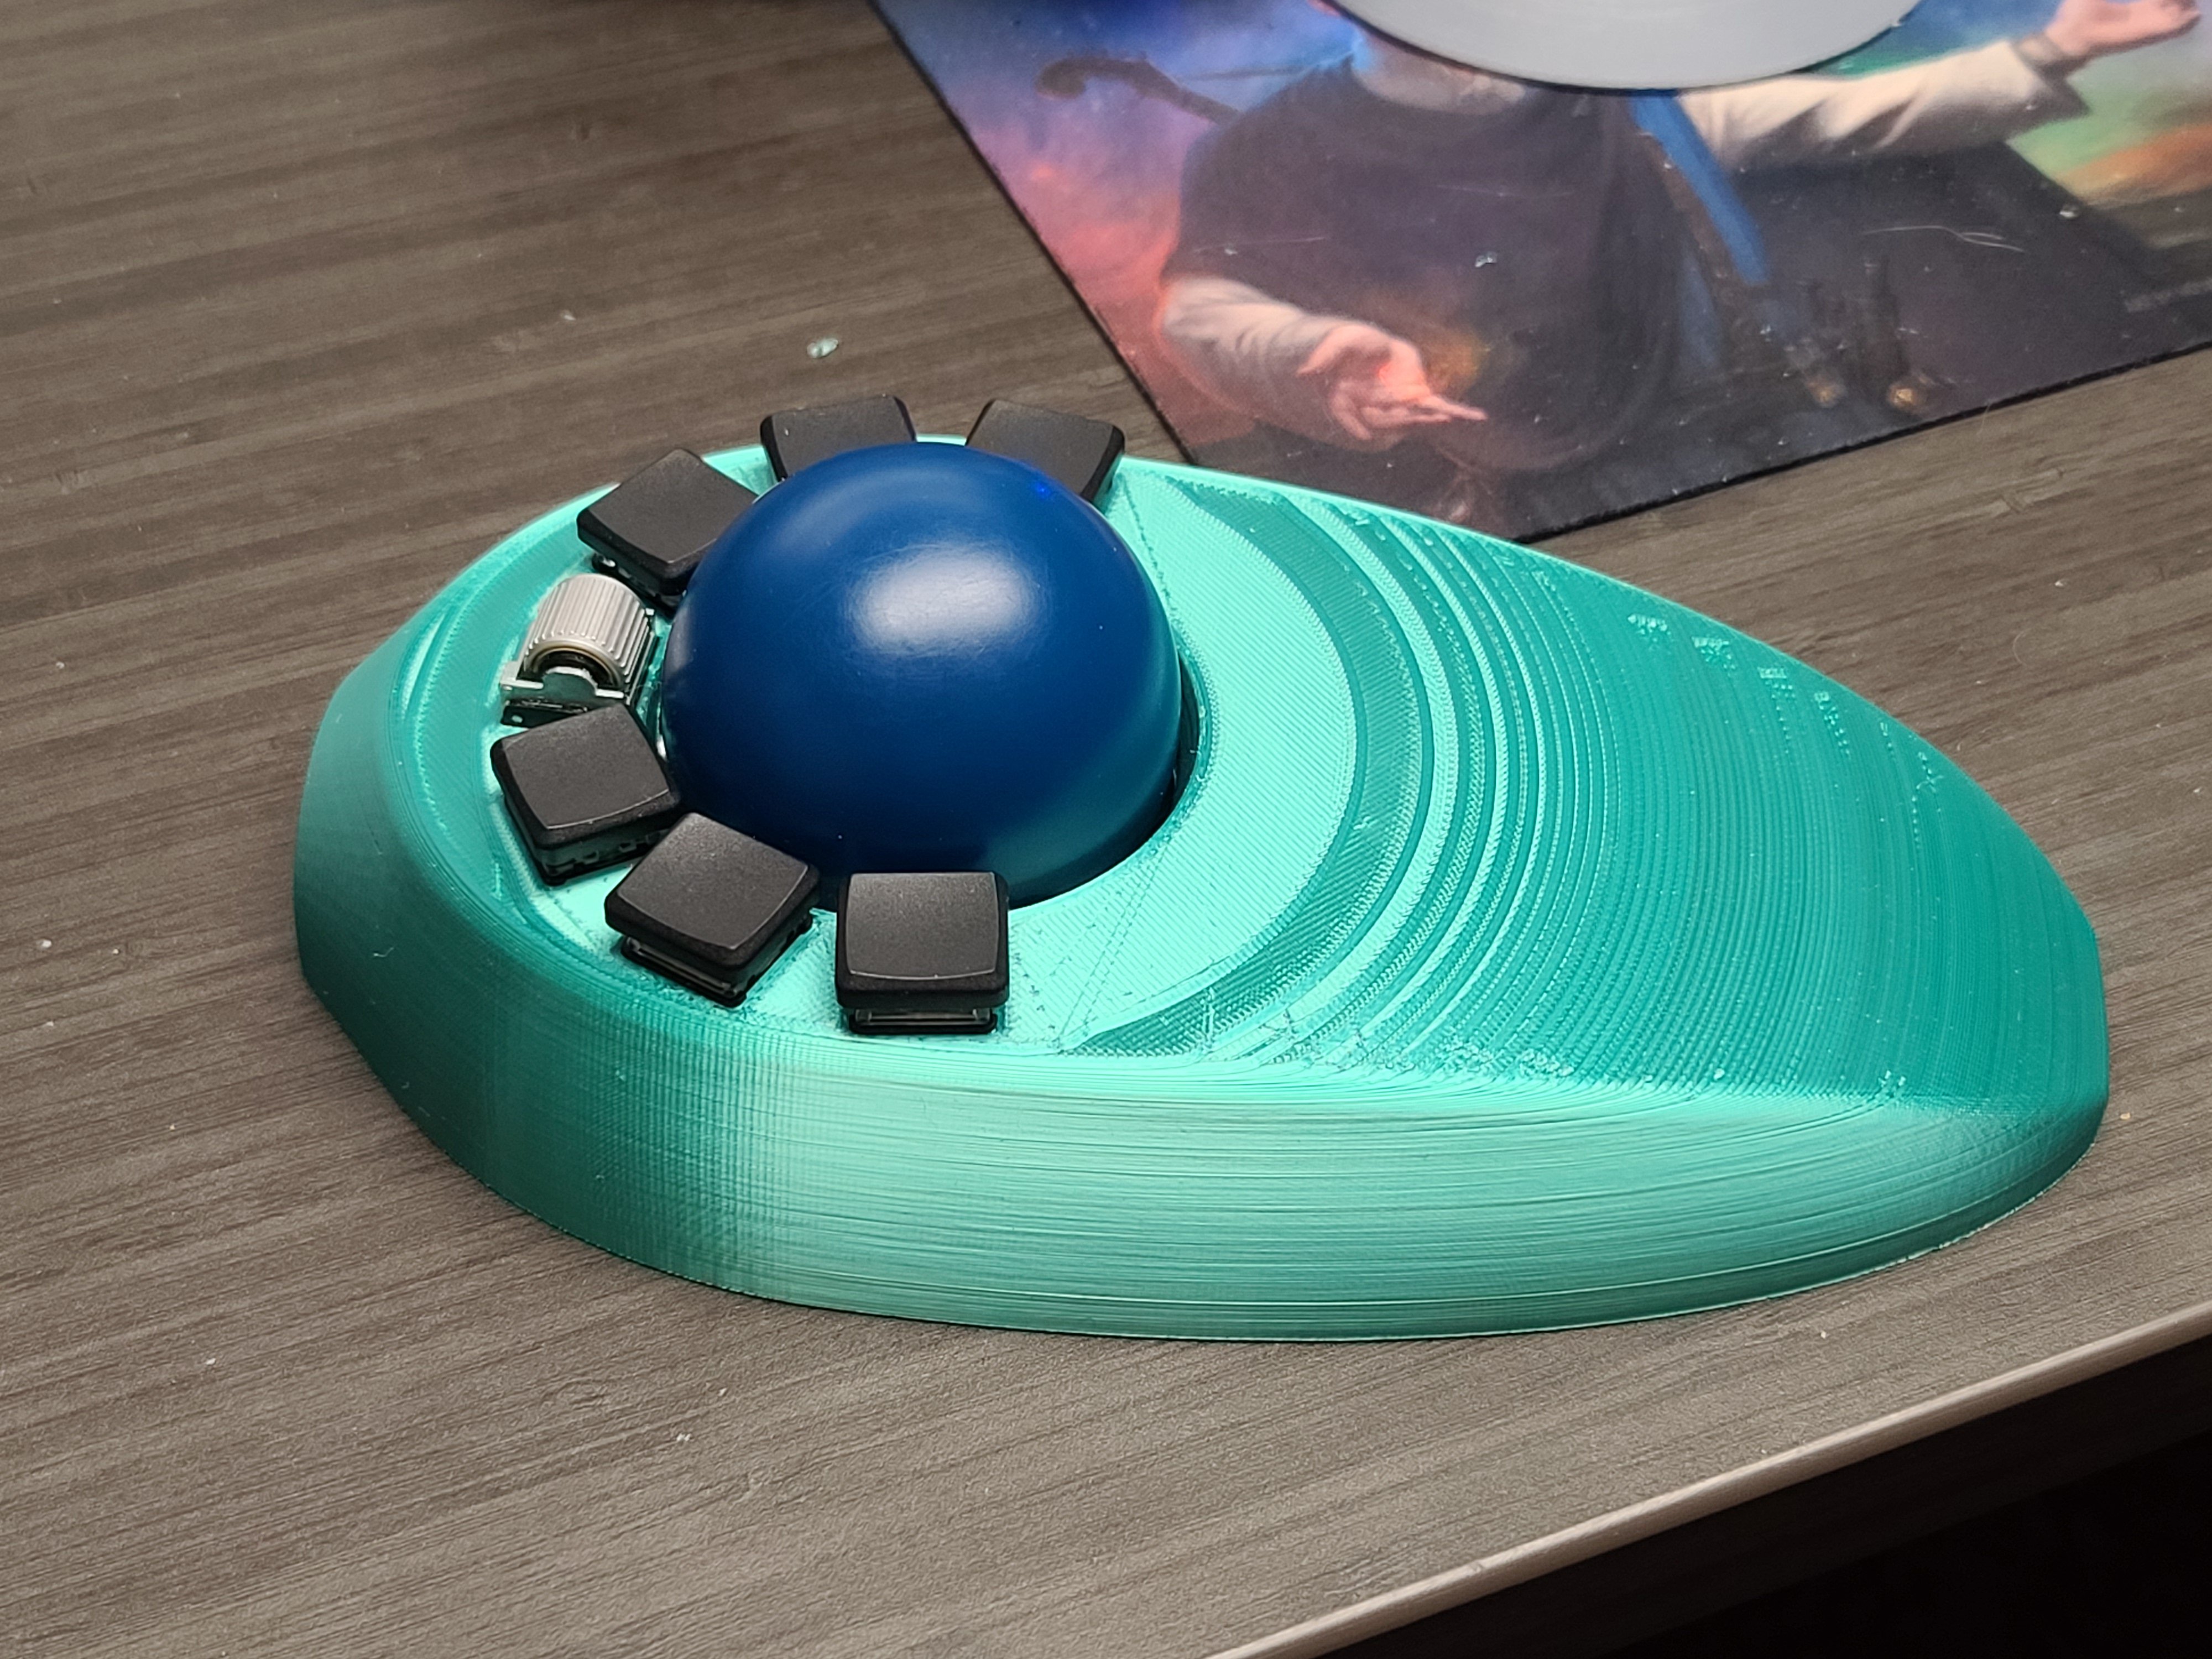 is what I was working on. 7 button (counting the encoder click), pool ball, 3 btu bearings. Was built on an eliteC and a sensor rather than a ploopy PCB to try and reduce overall height and footprint. I just couldn’t sort out programming it so it got shelved.
I think it Looks really good. Do you have a link?
I did alter it a bit, maybe enough to warrant a remix version. I split the model from two to three pieces. I found the distance between the sensor and ball to be very sensitive and a mm would take it from being great to being unusable. Since I used a Kensington ball and not a pool ball, having a third section allowed me to dial in that distance without having to reprint the entire top. It also removed an overhand that would have otherwise needed printing supports.
I’d be interested in seeing the updated model. I did notice that my model was pretty sensitive so I just dialed down the sensitivity in my mouse settings.