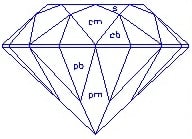
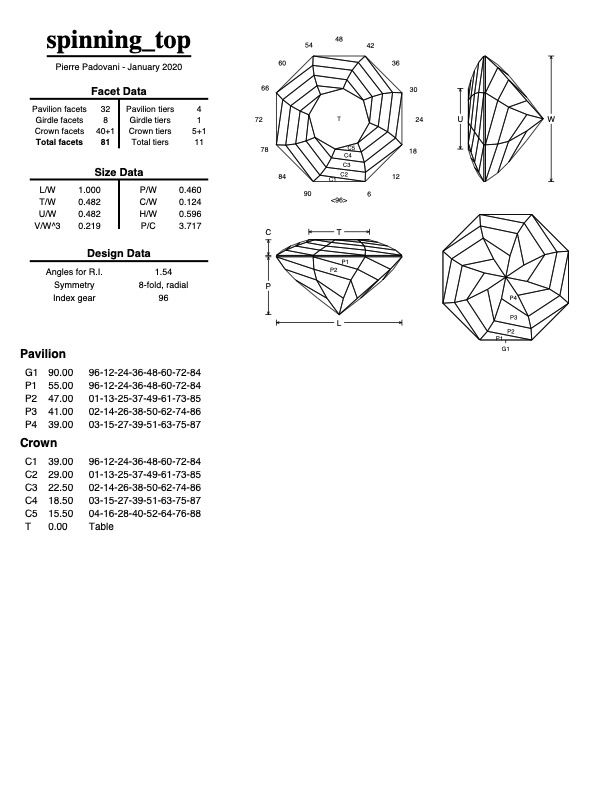
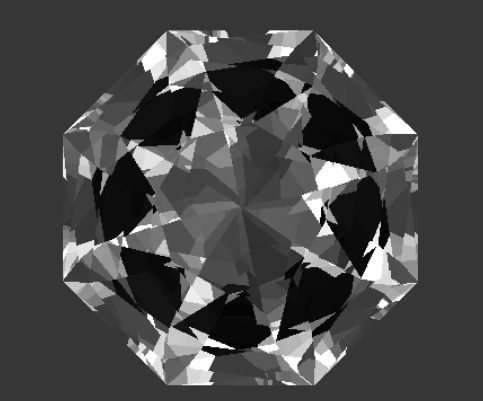
As a reminder this is the design being cut:
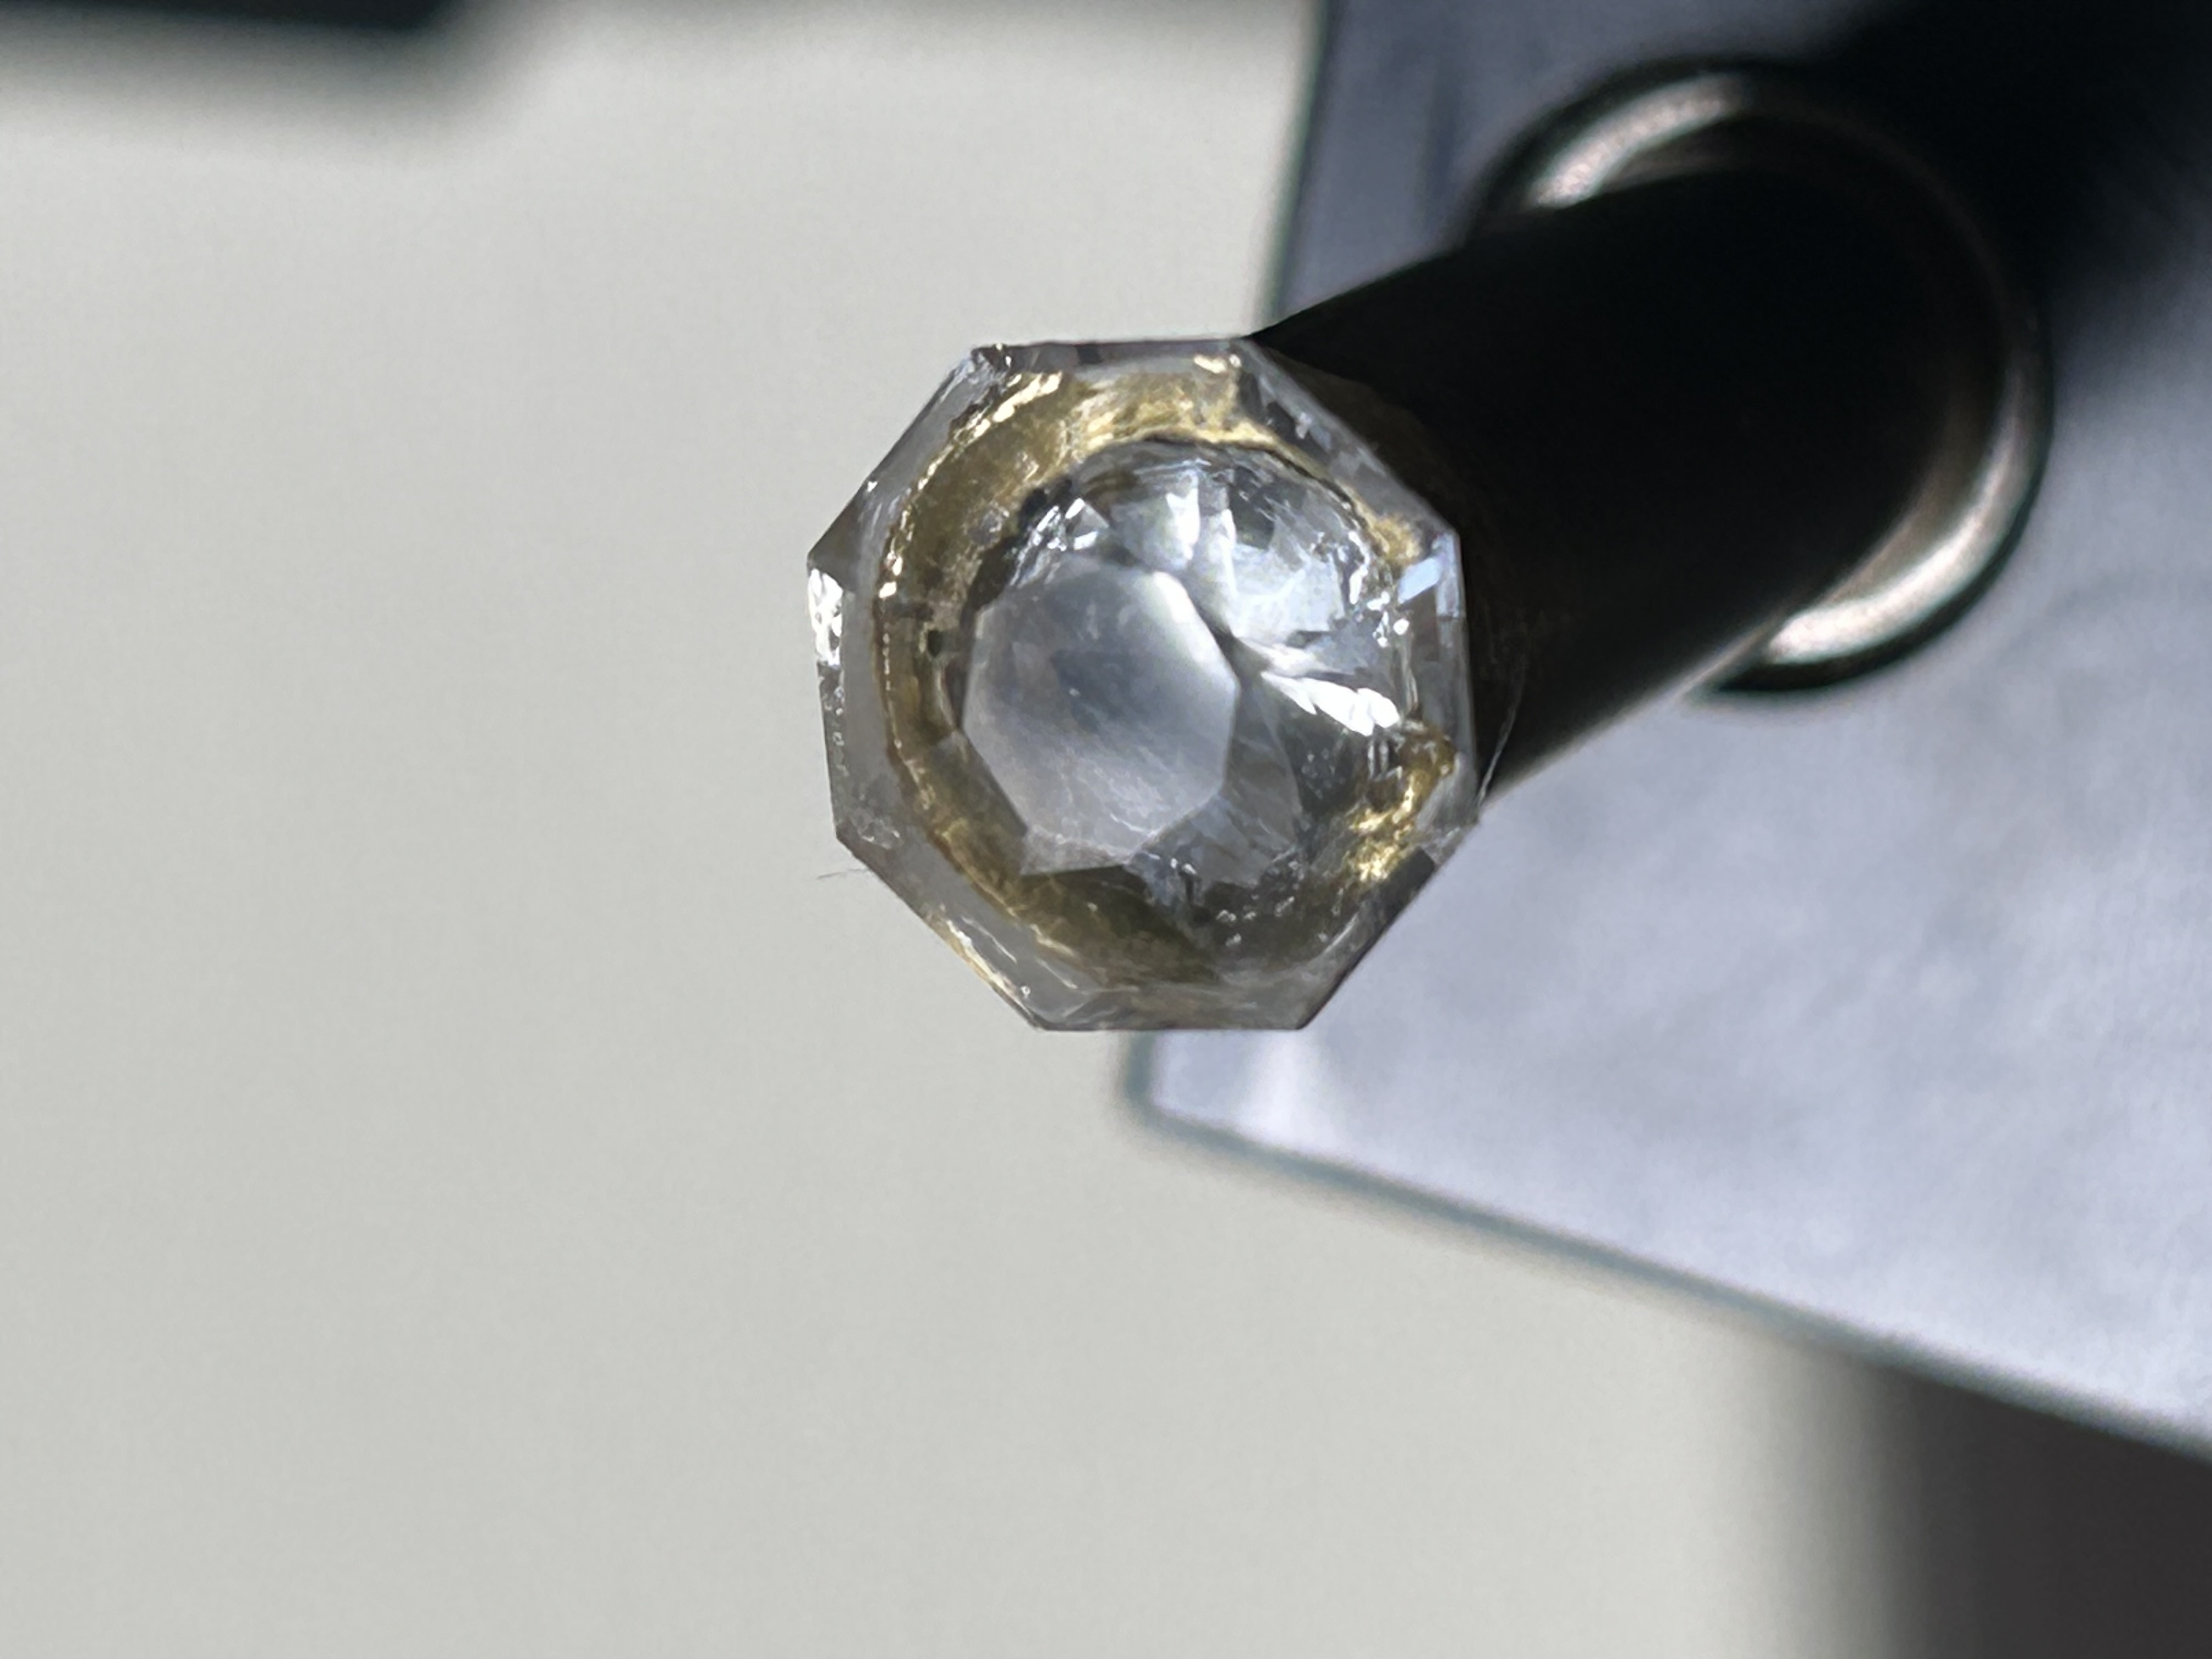
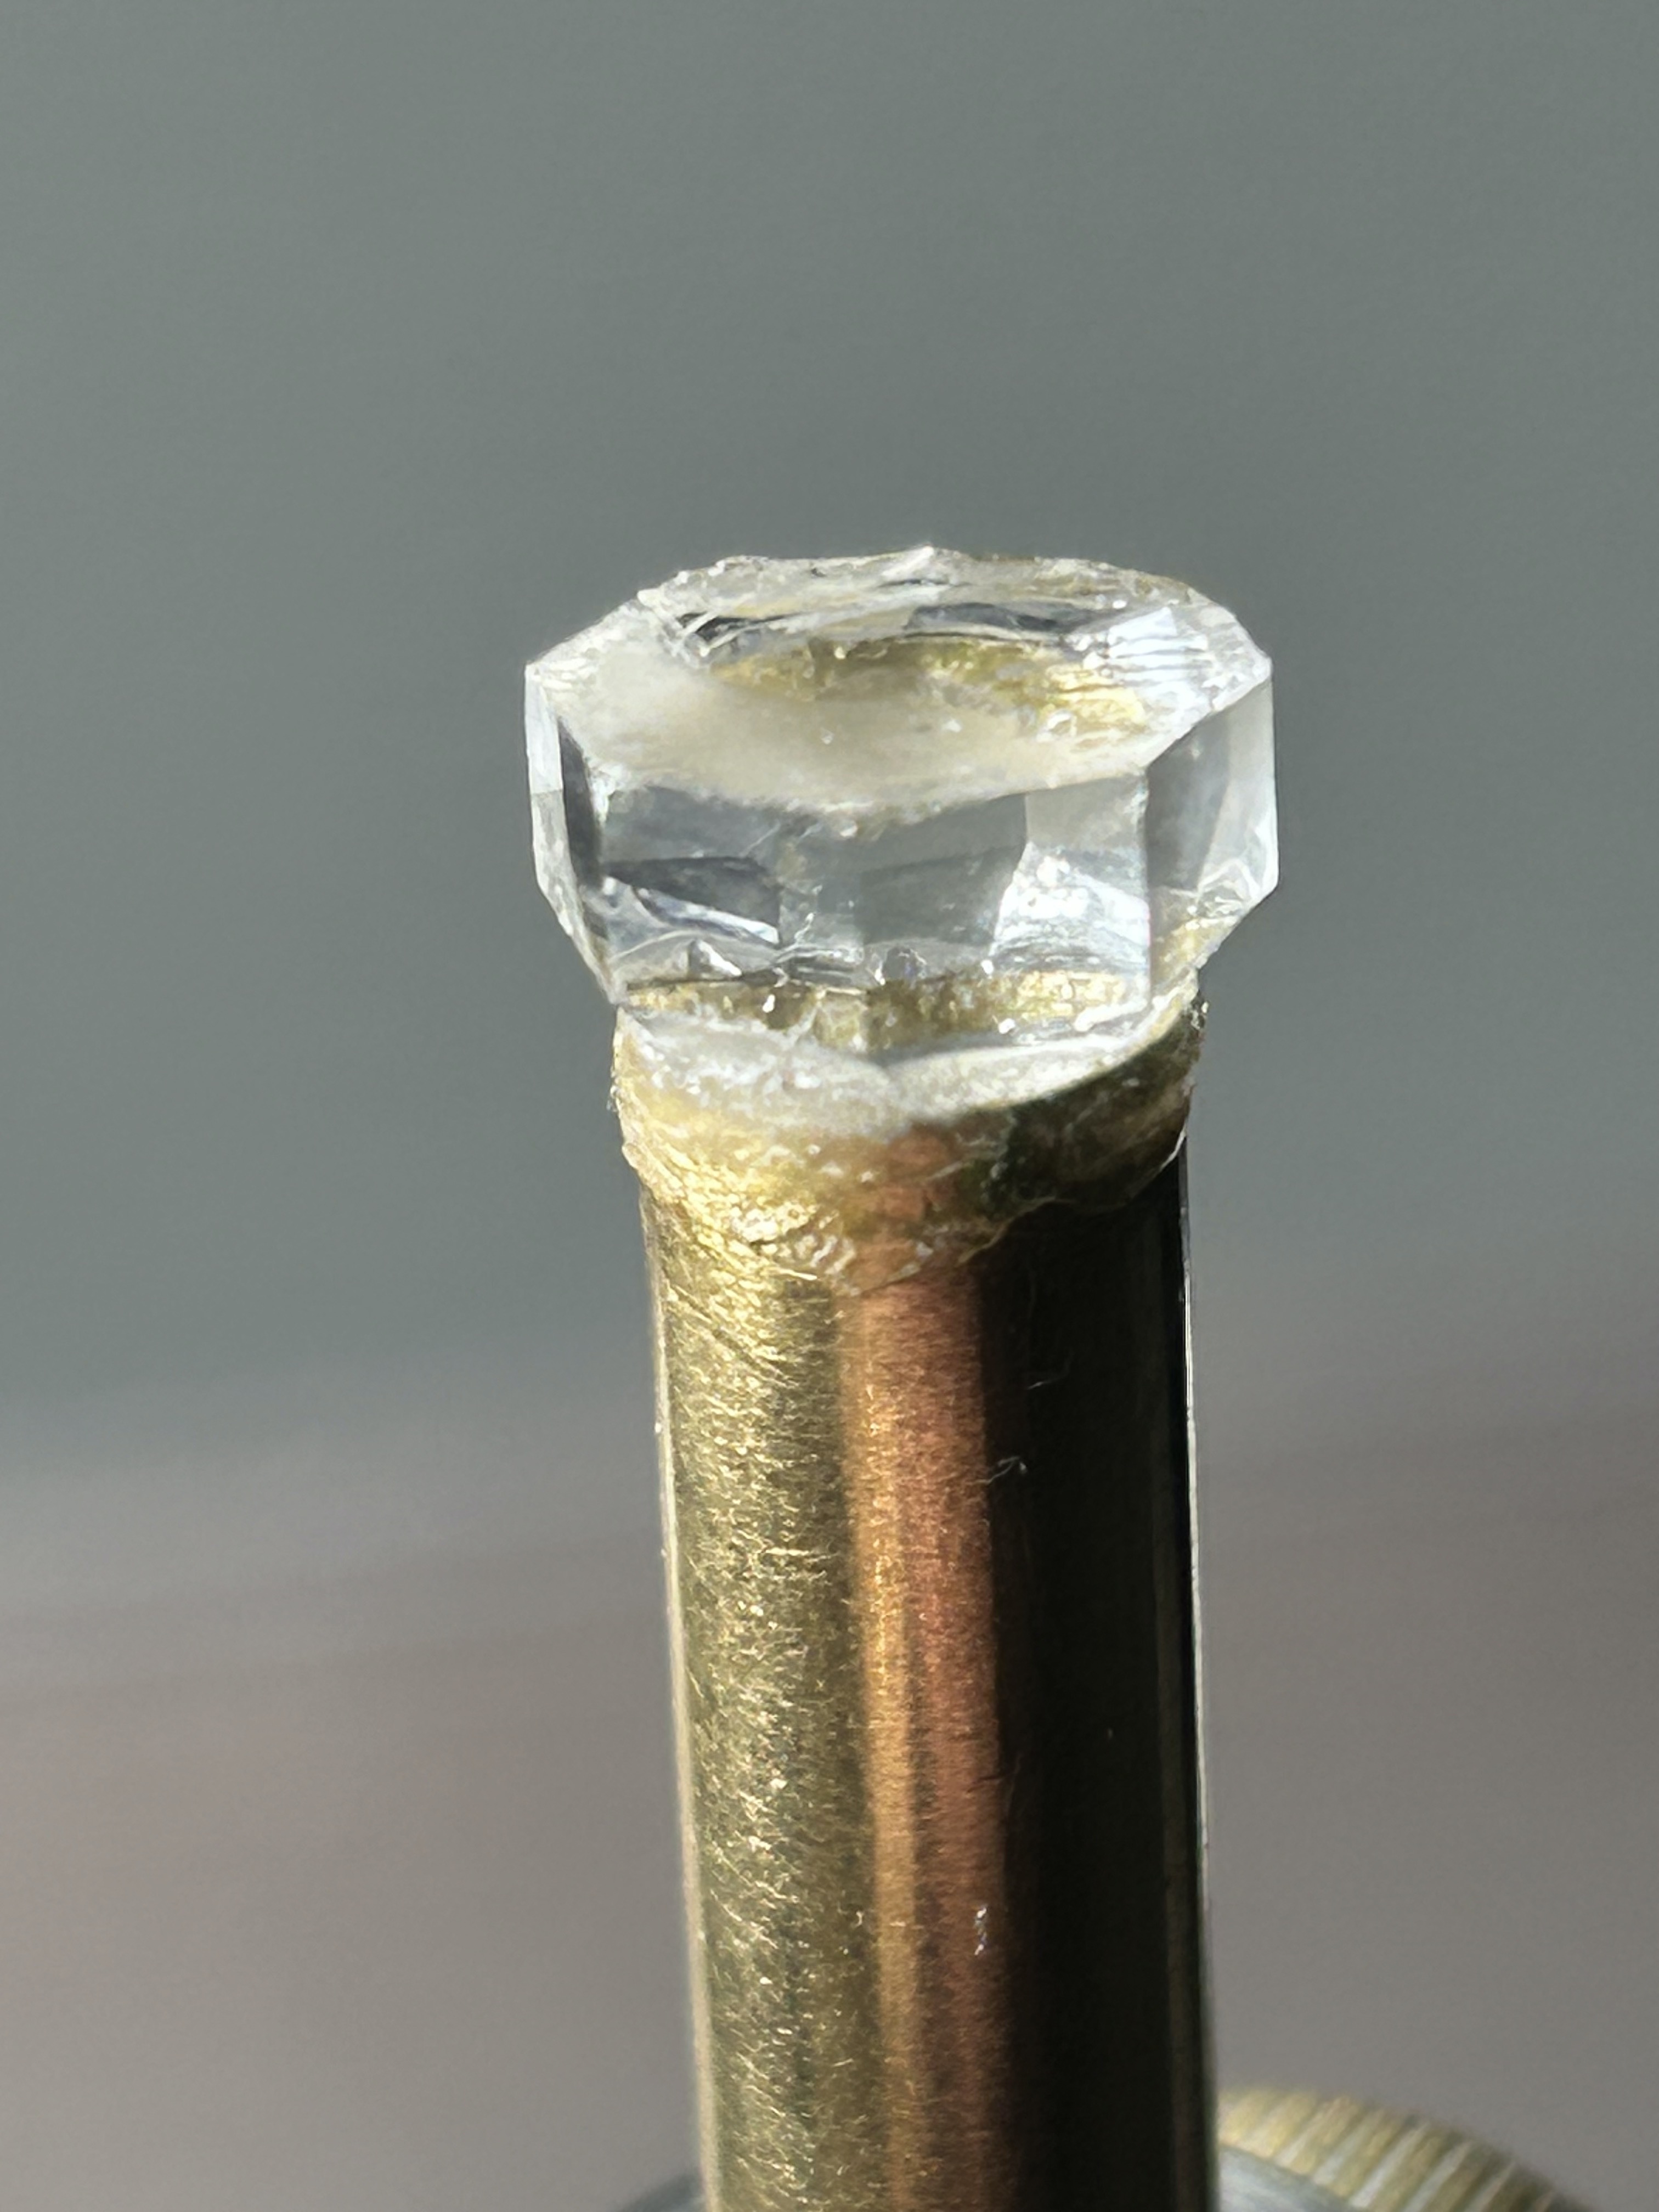
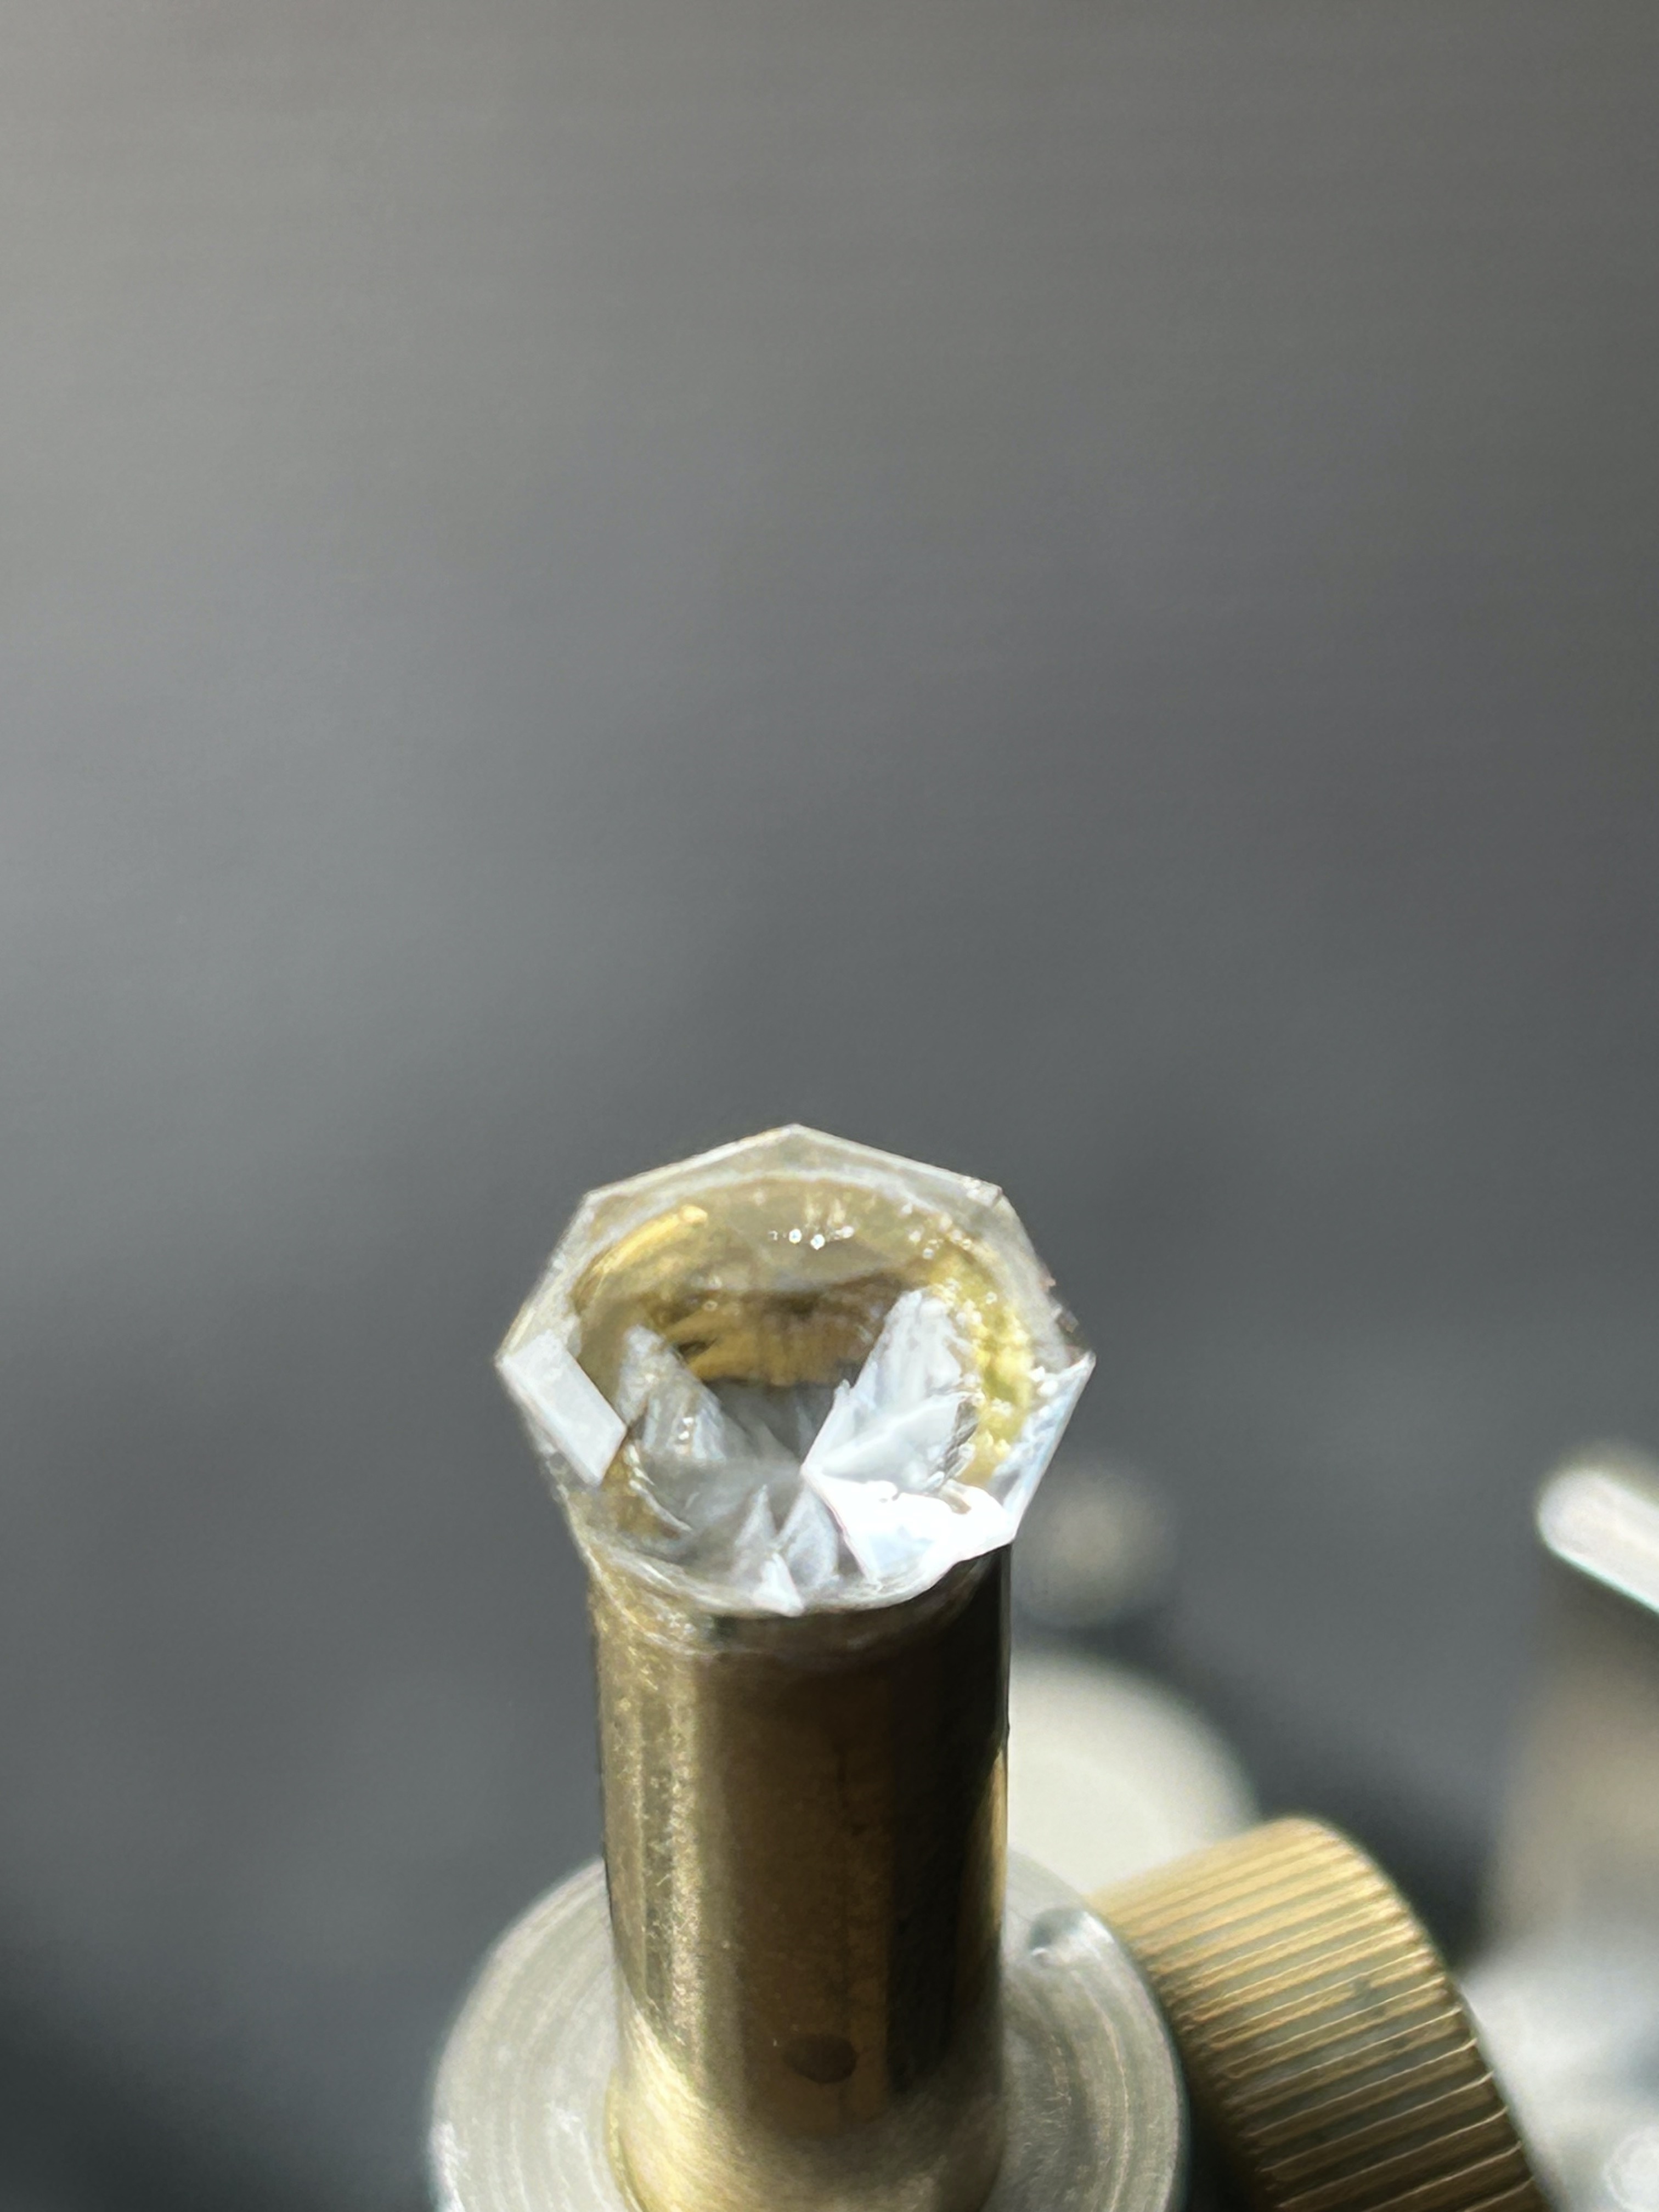
Once the glue was set I removed the old dop and placed the new dop in the cutting head. This is what it looks like before I get started on the crown.
What will take the longest on the crown is sizing the girdle by cutting down the stone. What I like to do is do this across three facets to speed up the process. In this cut I’ll first cut index 96, then 12, then 84. Then I’ll go back to 96, 12 then 84. I’ll keep doing this to bring the girdle to the desired thickness.
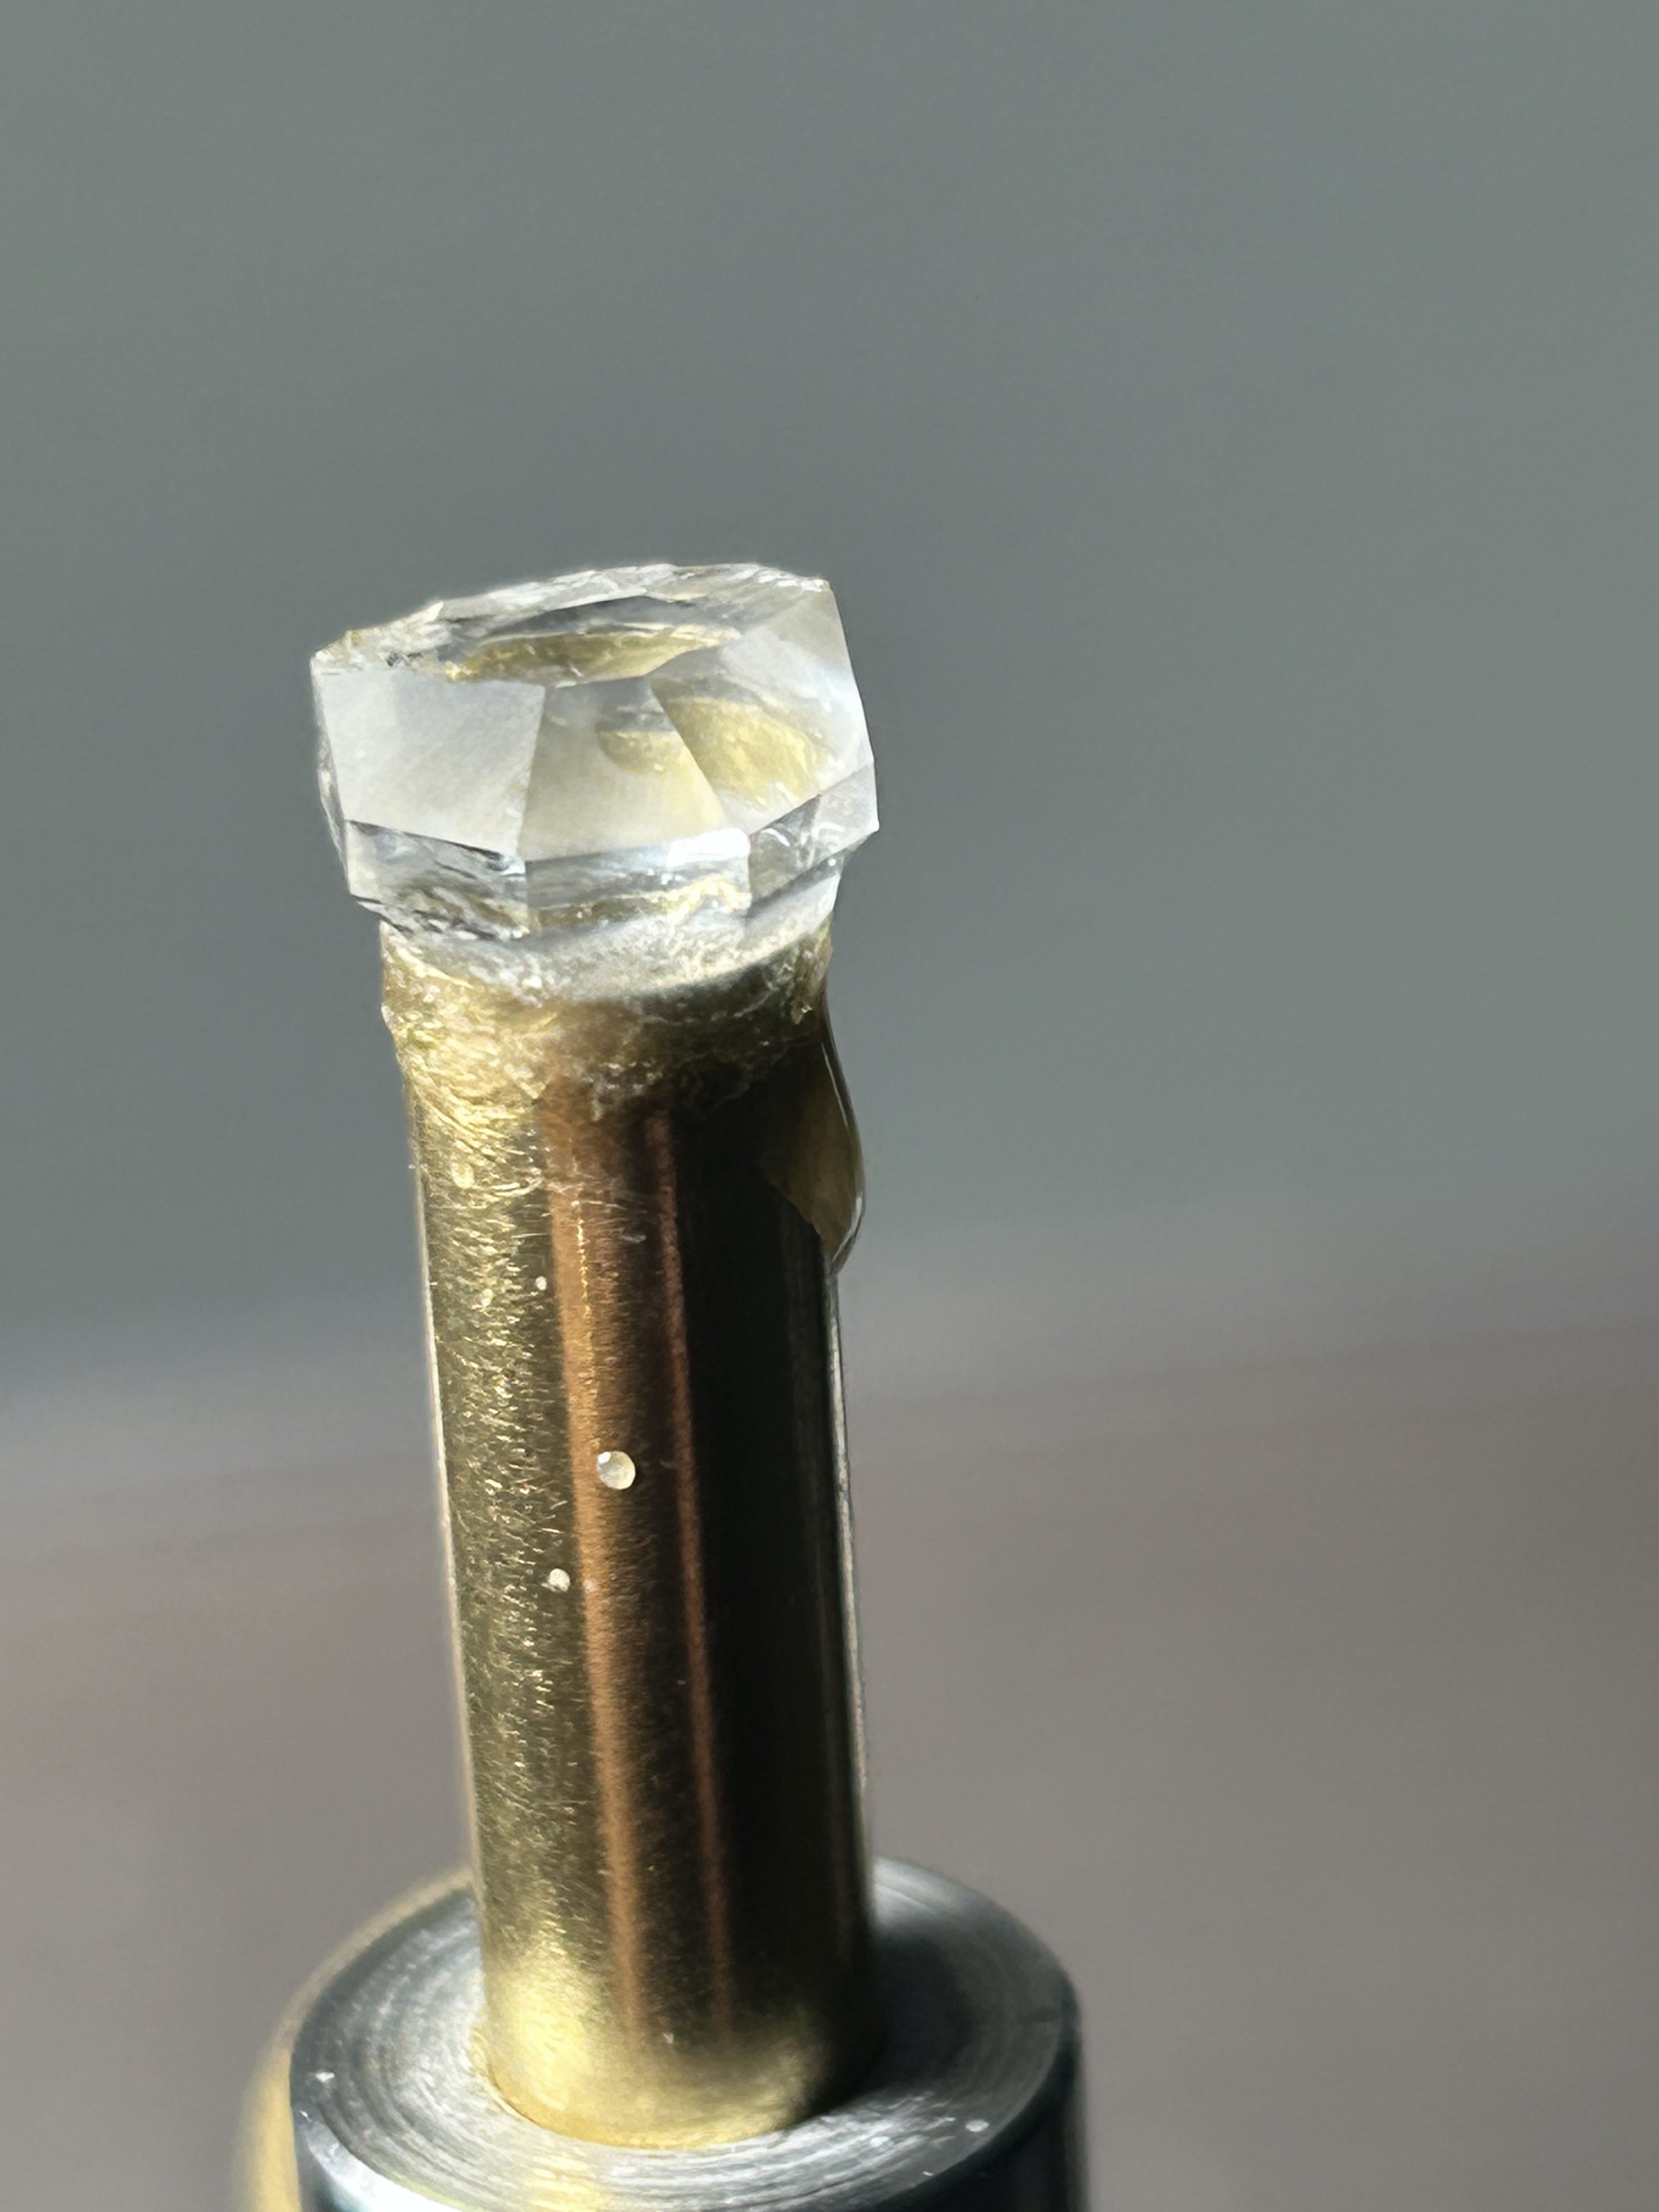
I get pretty close to what I want here:
So I then cut the remaining indexes.
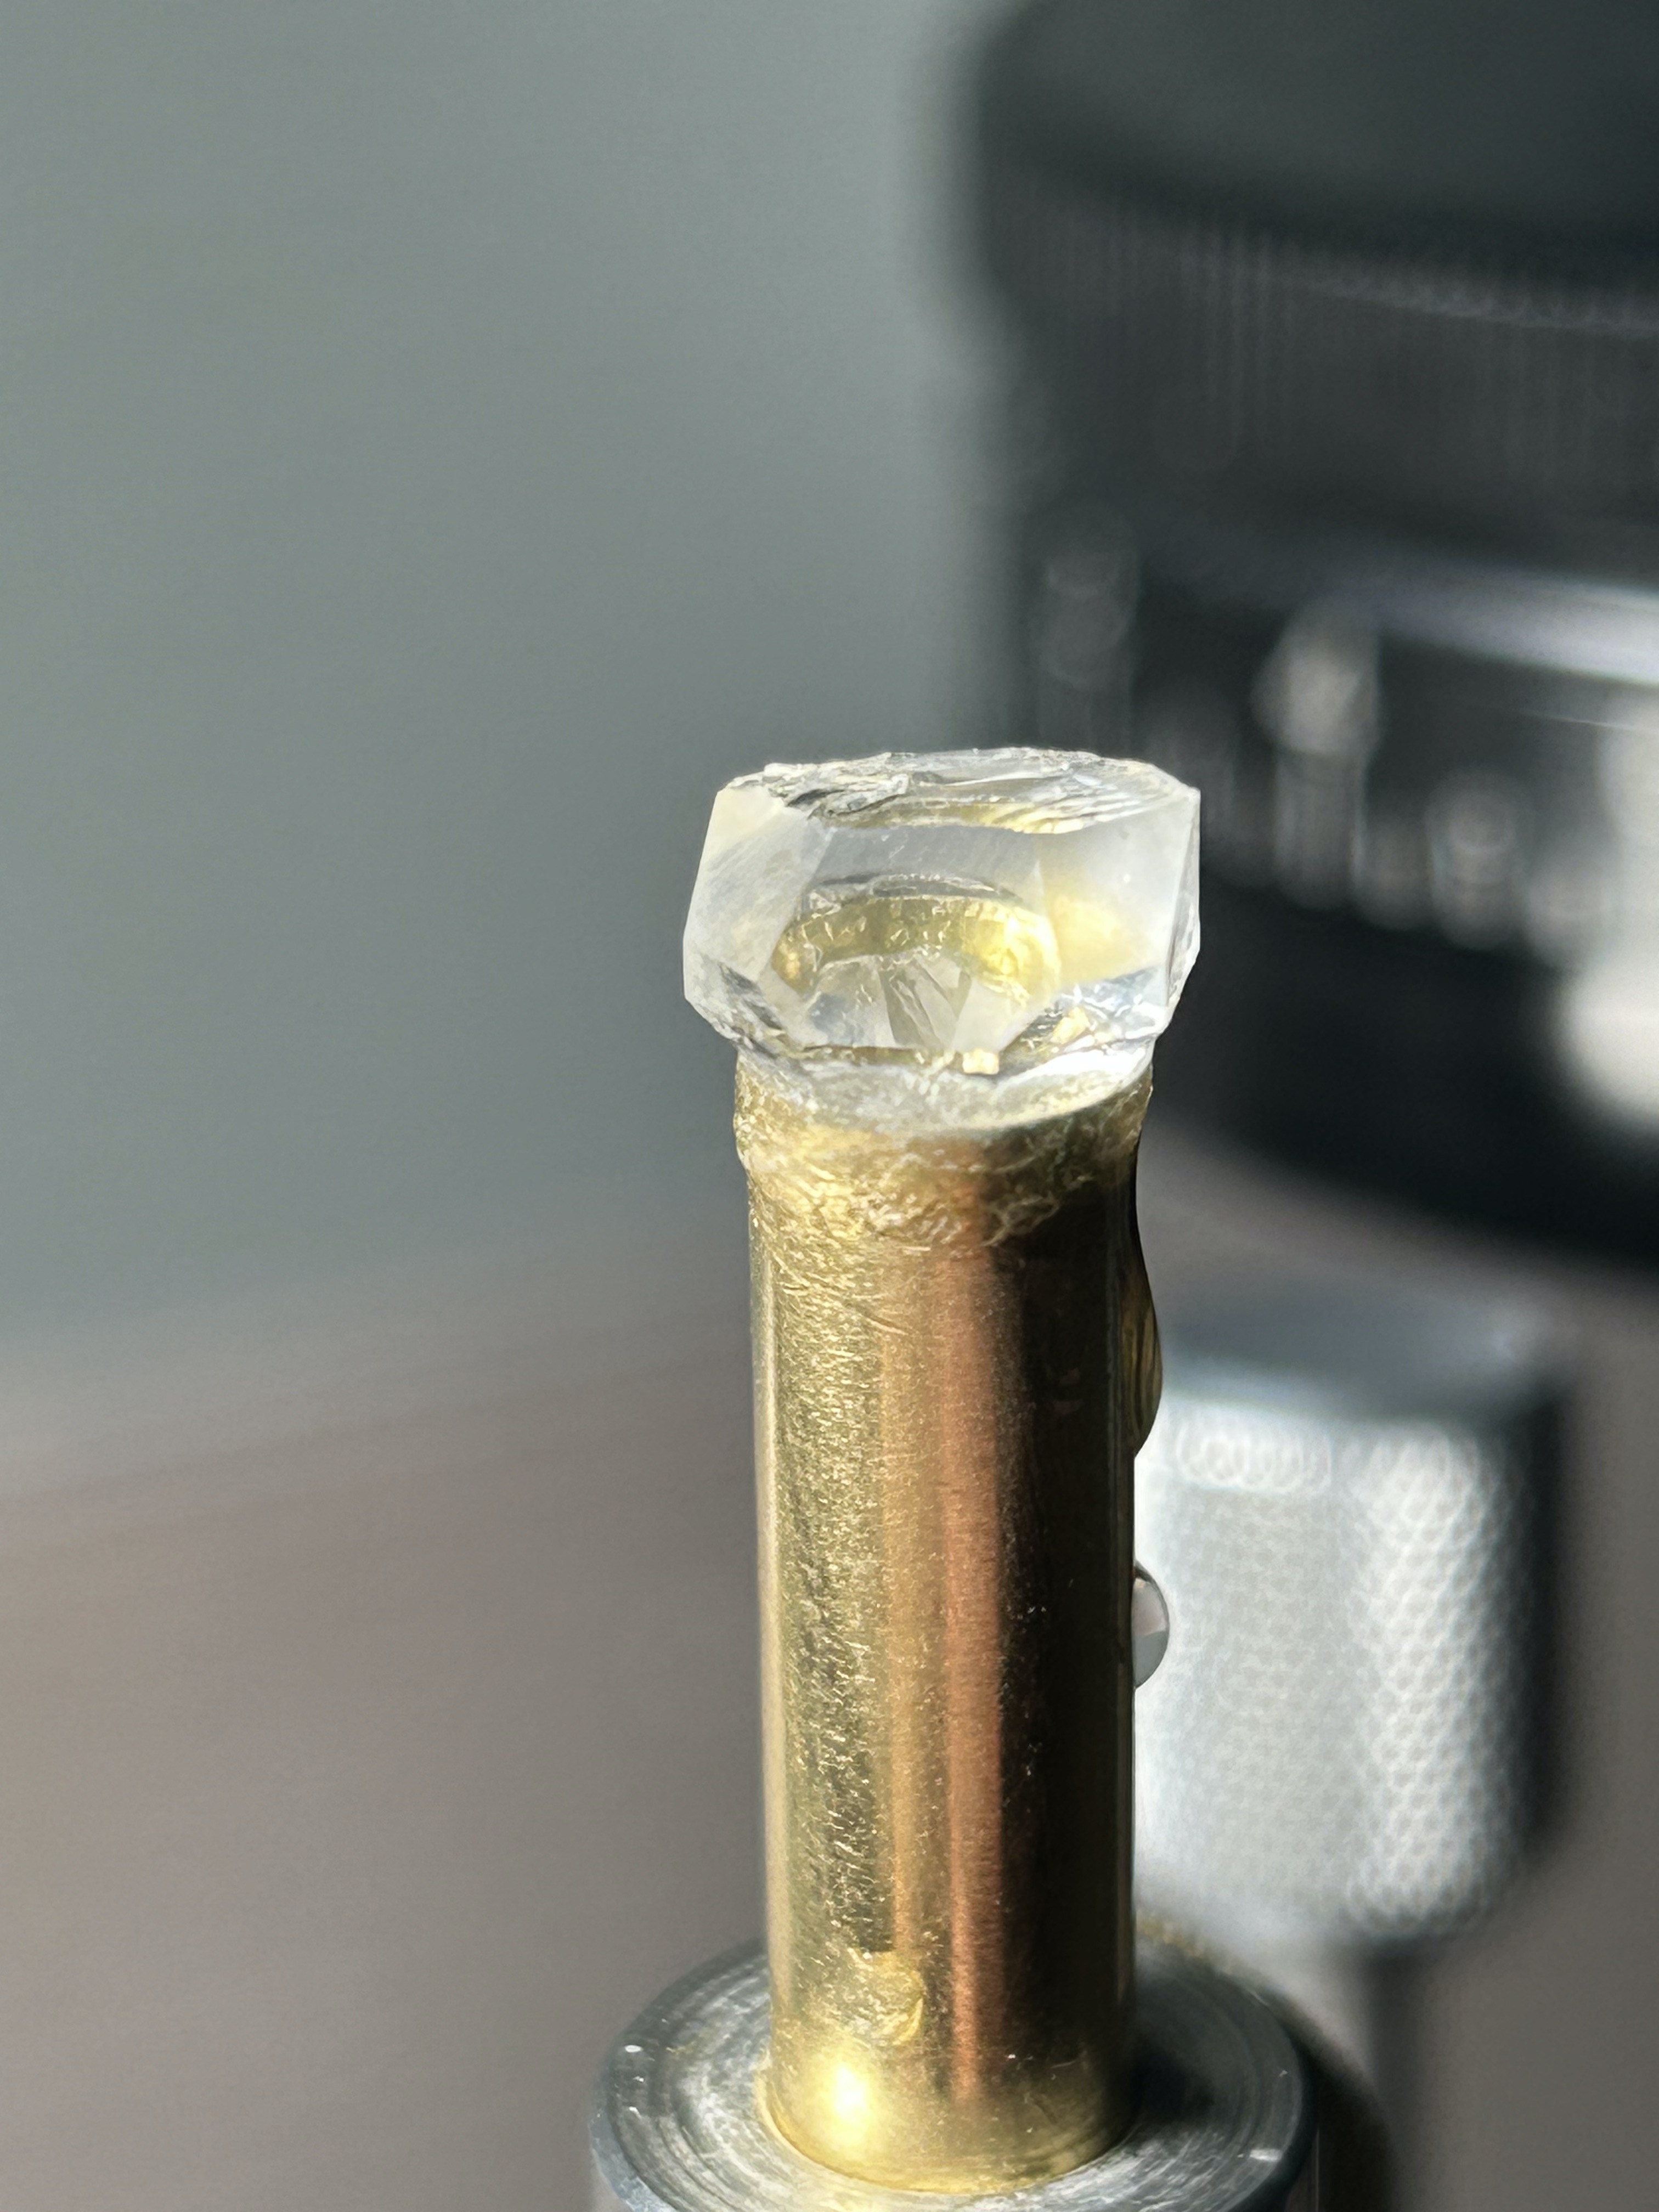
Next I changed to my pre-polish 3000 lap, and pre-polished the first tier to get the alignment as perfect as I could. Then I cut the remaining tiers of the crown with the exception of the table.

Then I polished the crown tiers, minus the table which hasn’t been cut yet.
 (picture is blurry as the phone just can’t seem to focus on the polished facets up close)
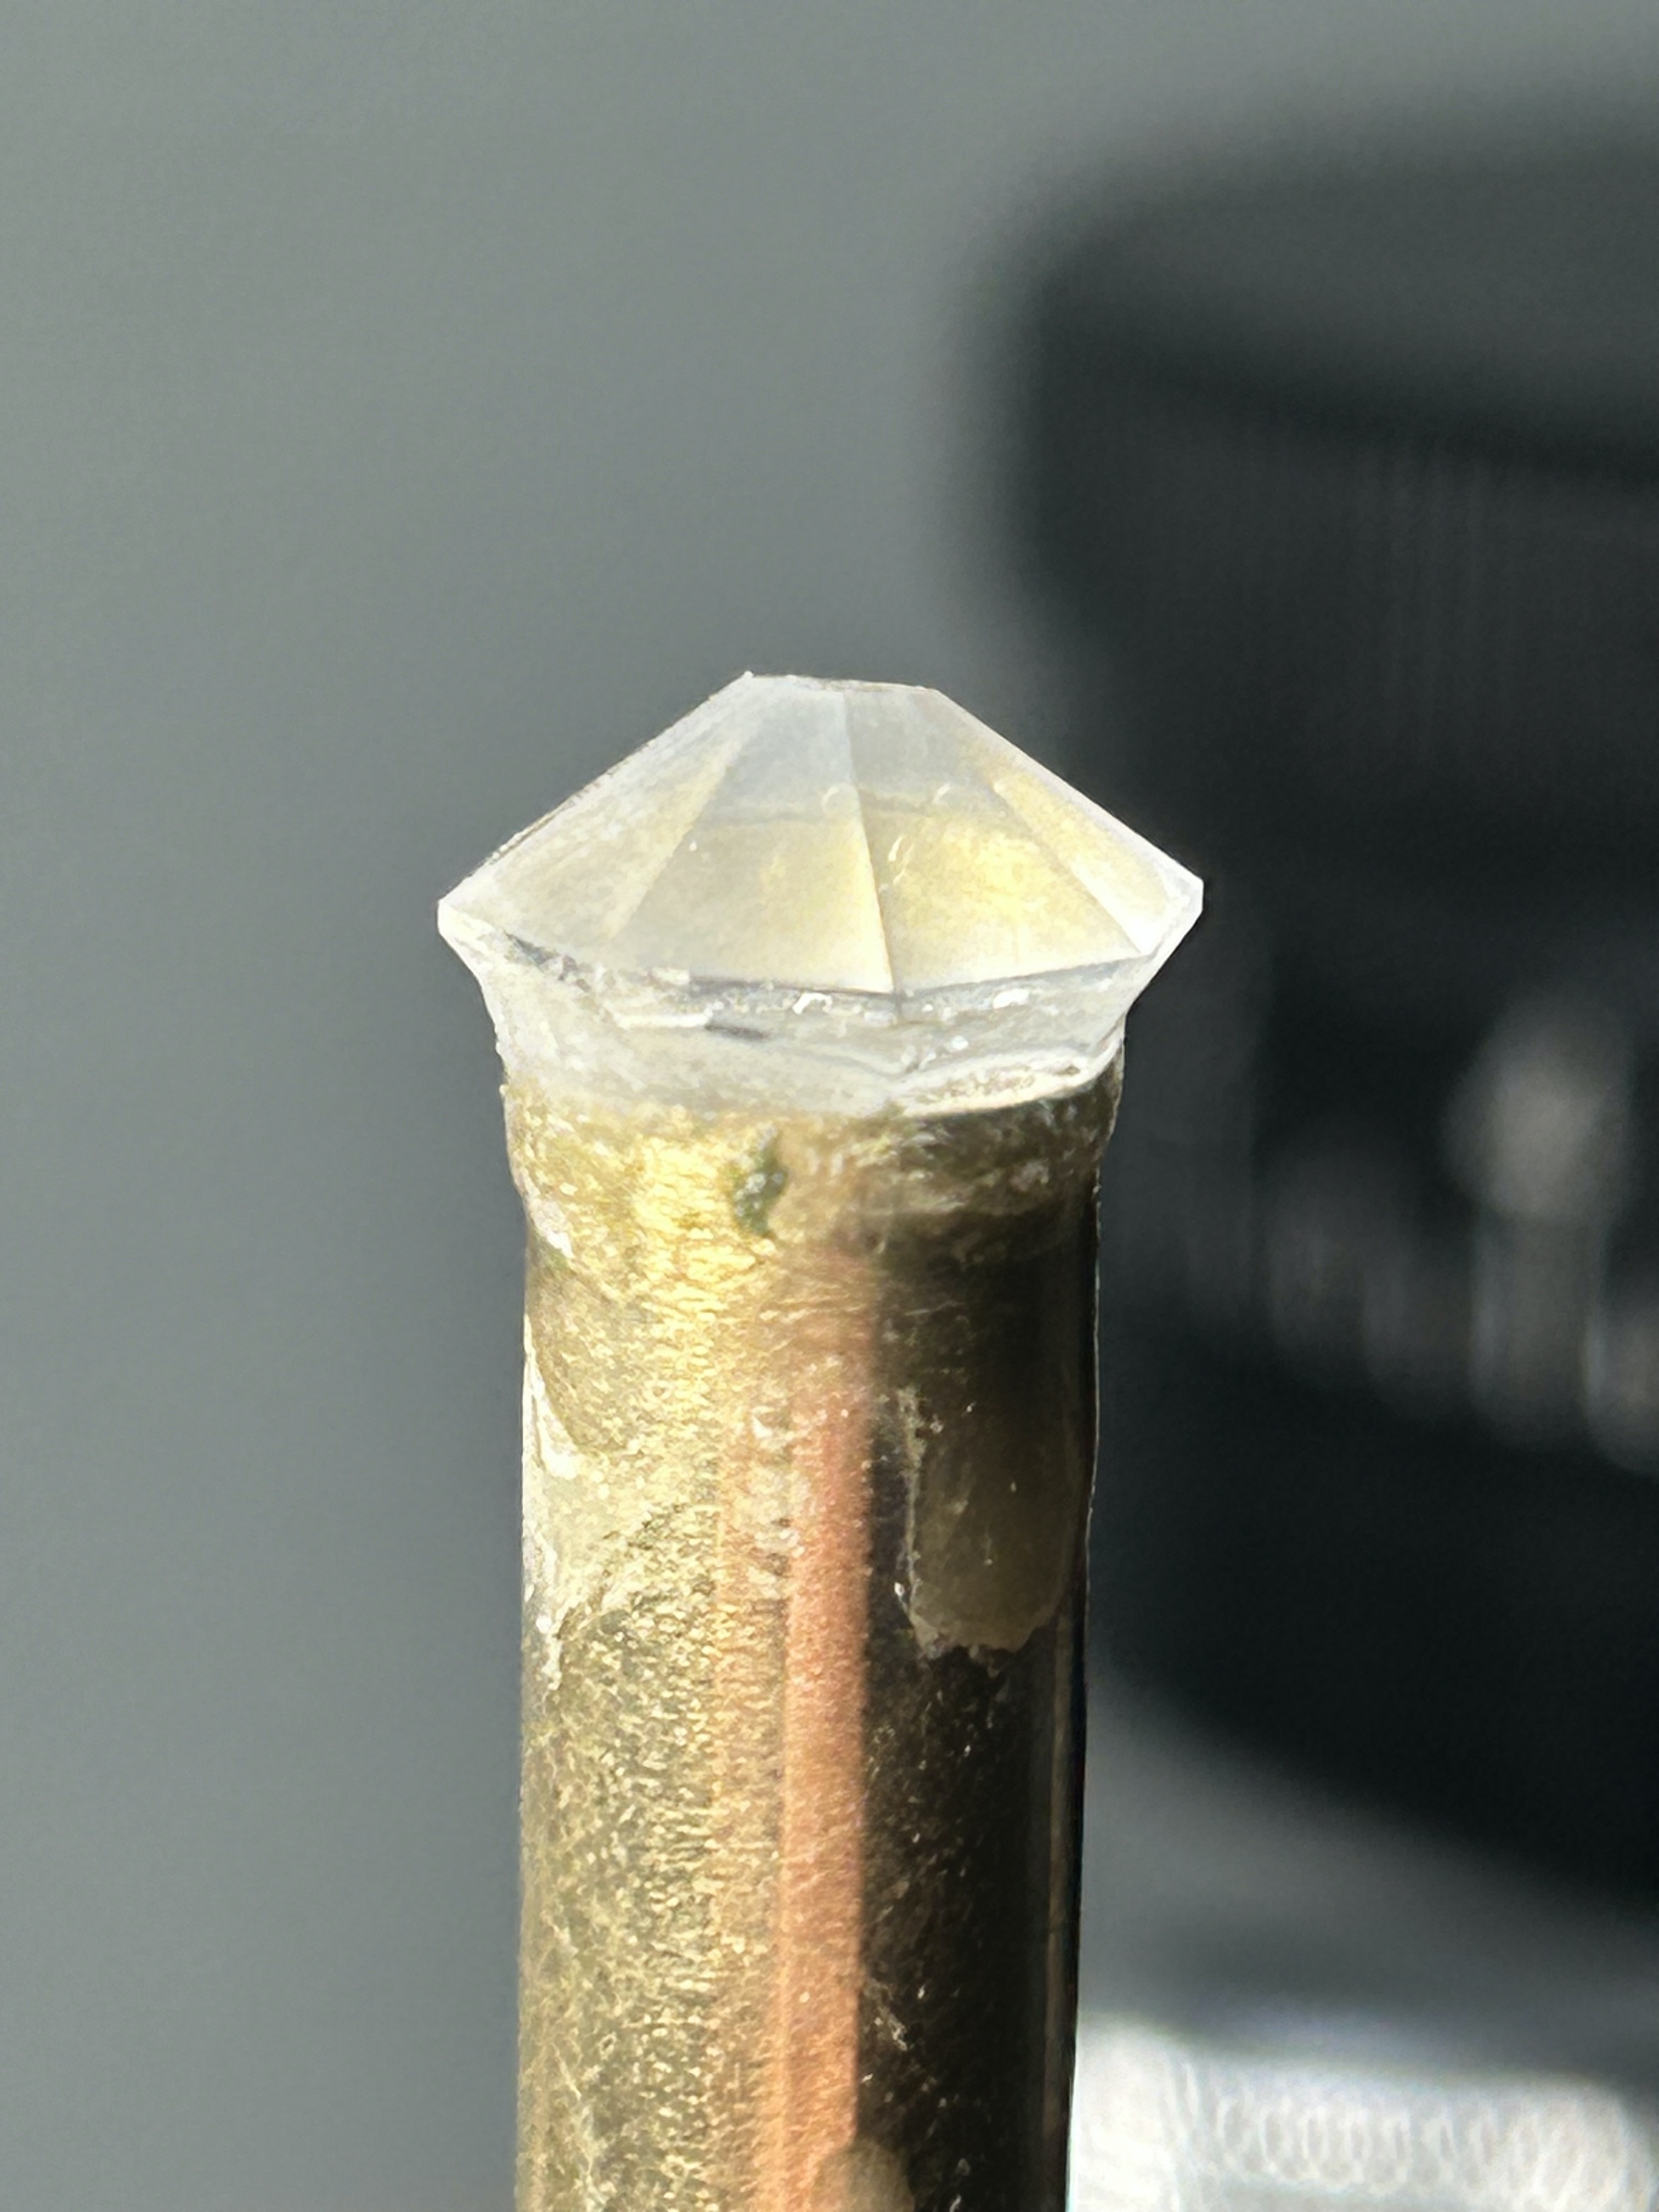
The table is the last facet I’ll cut and polish. I take the dop out of the cutting head and attach the 45 degree adapter. This allows for a precise table.
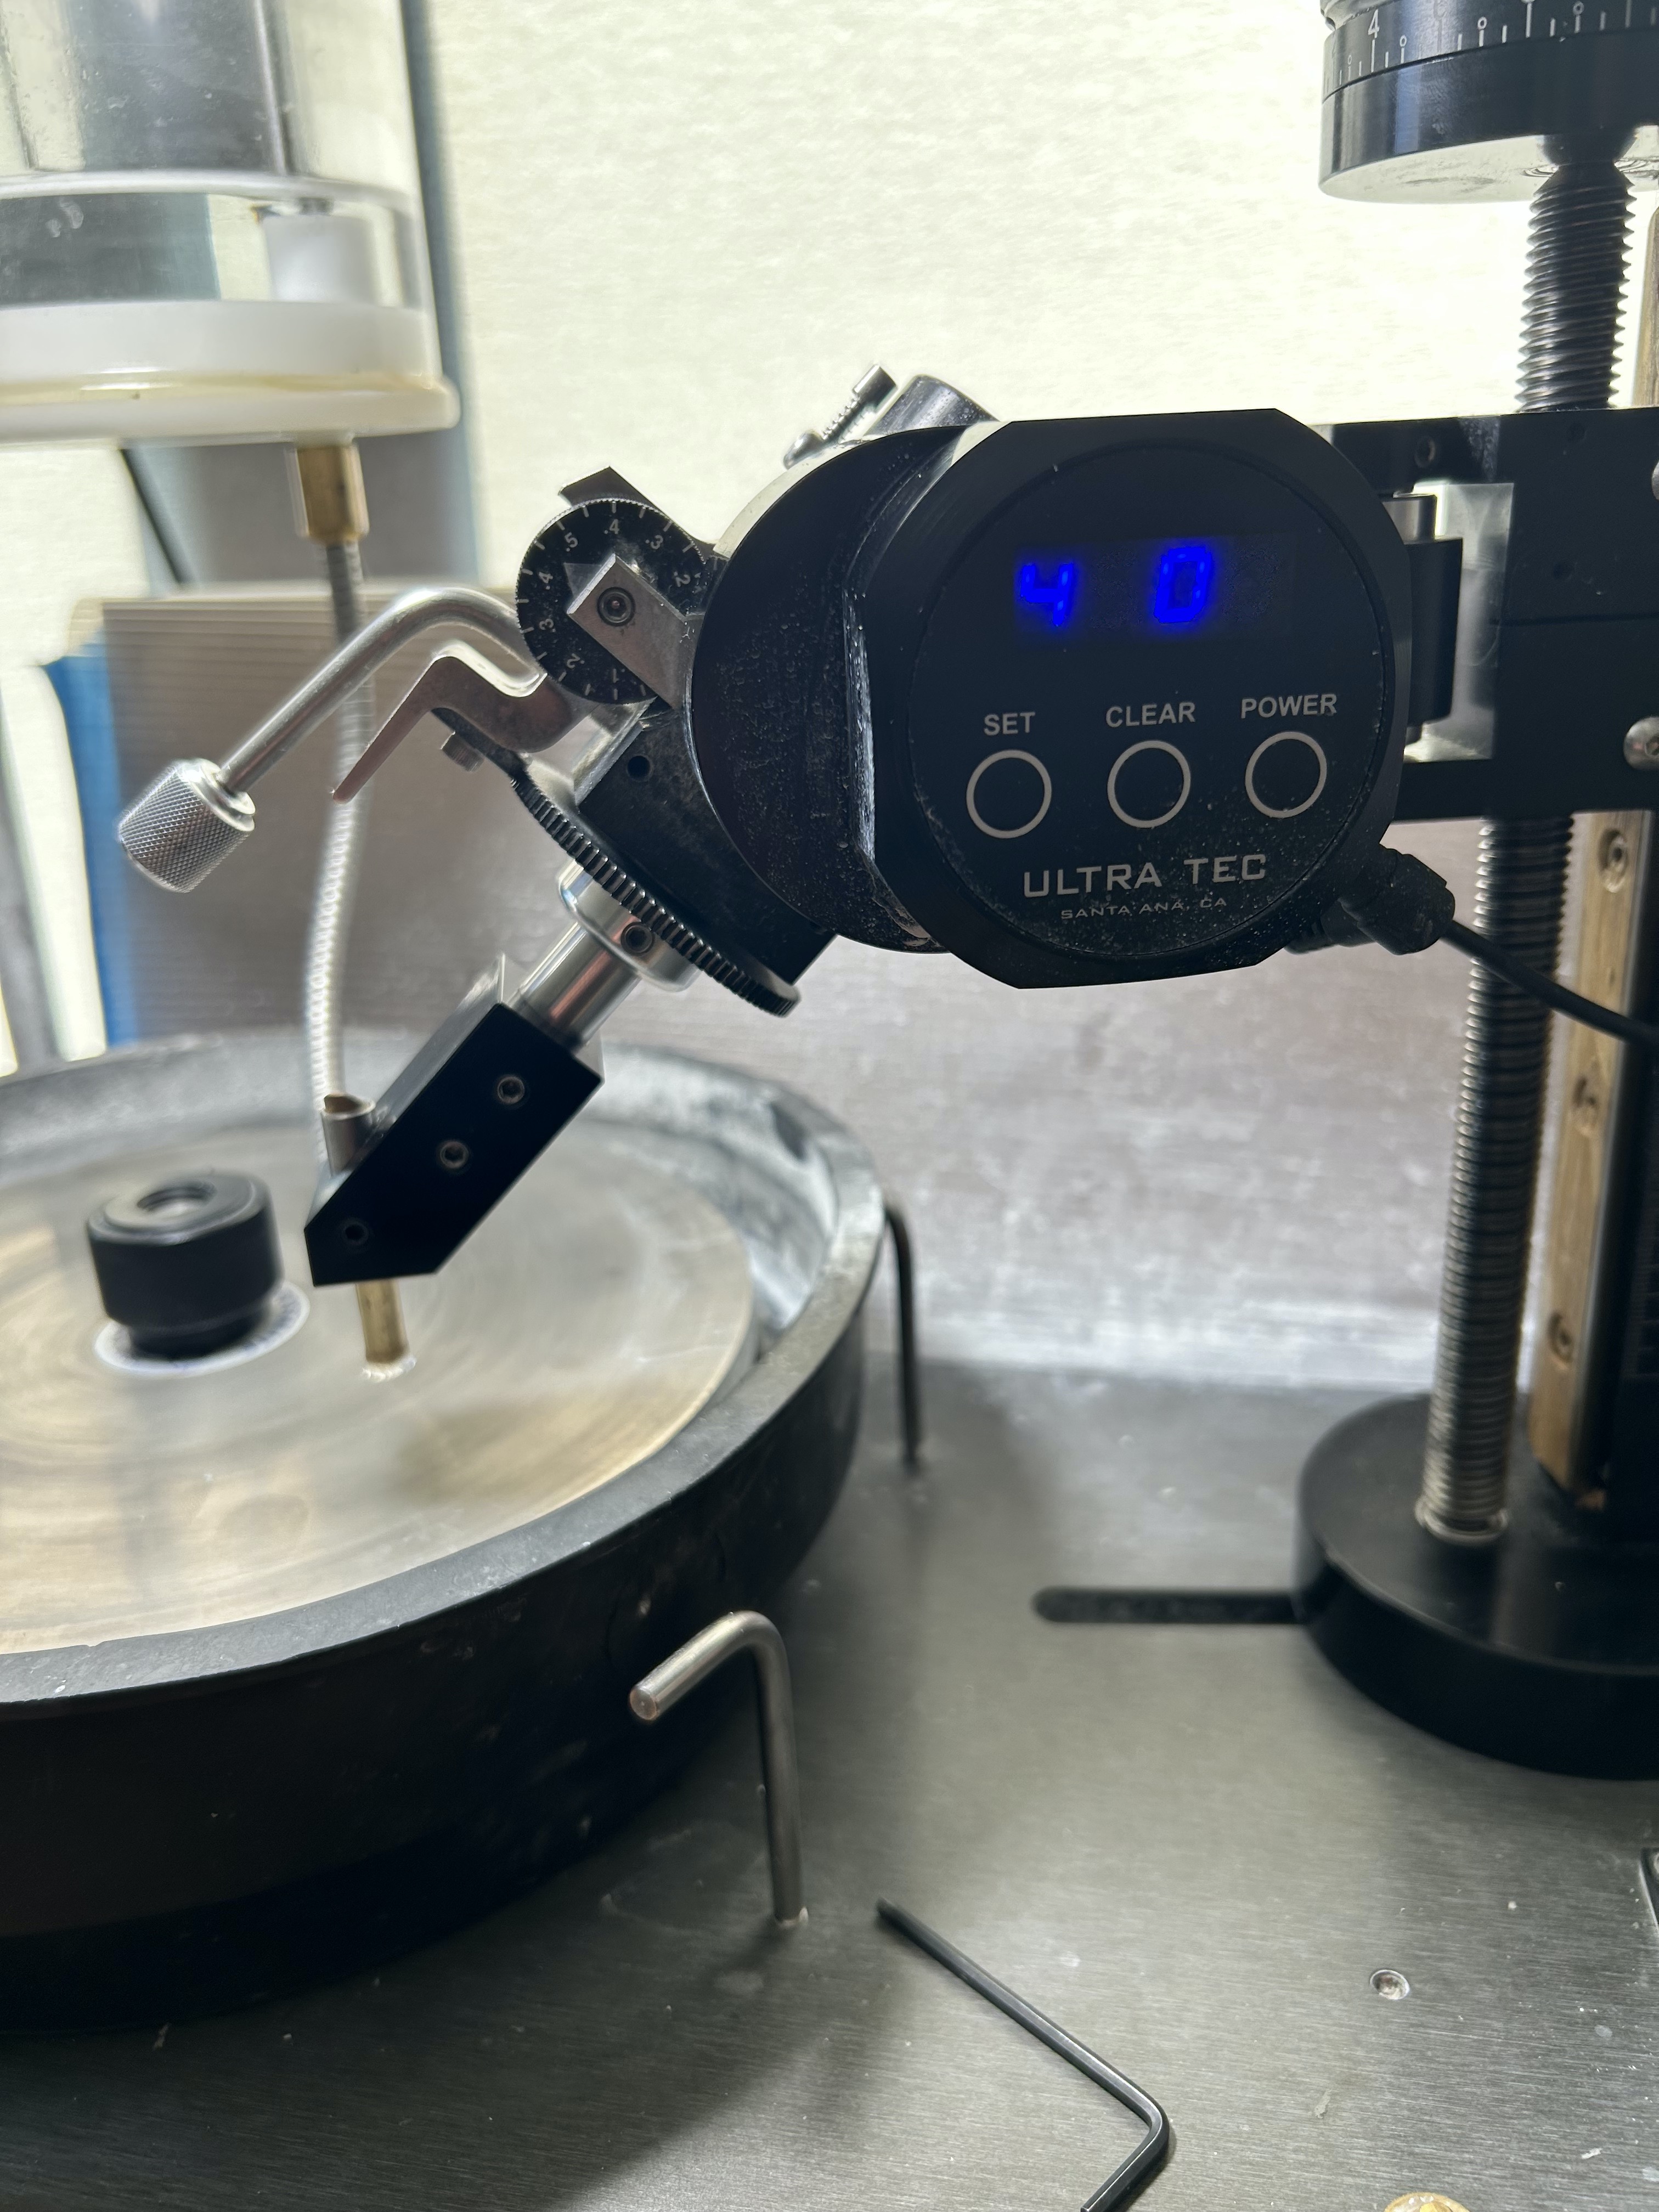
Table is cut, and just needs to be polished.

Lets look at the render again:
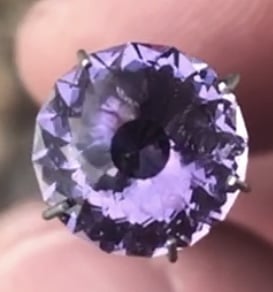
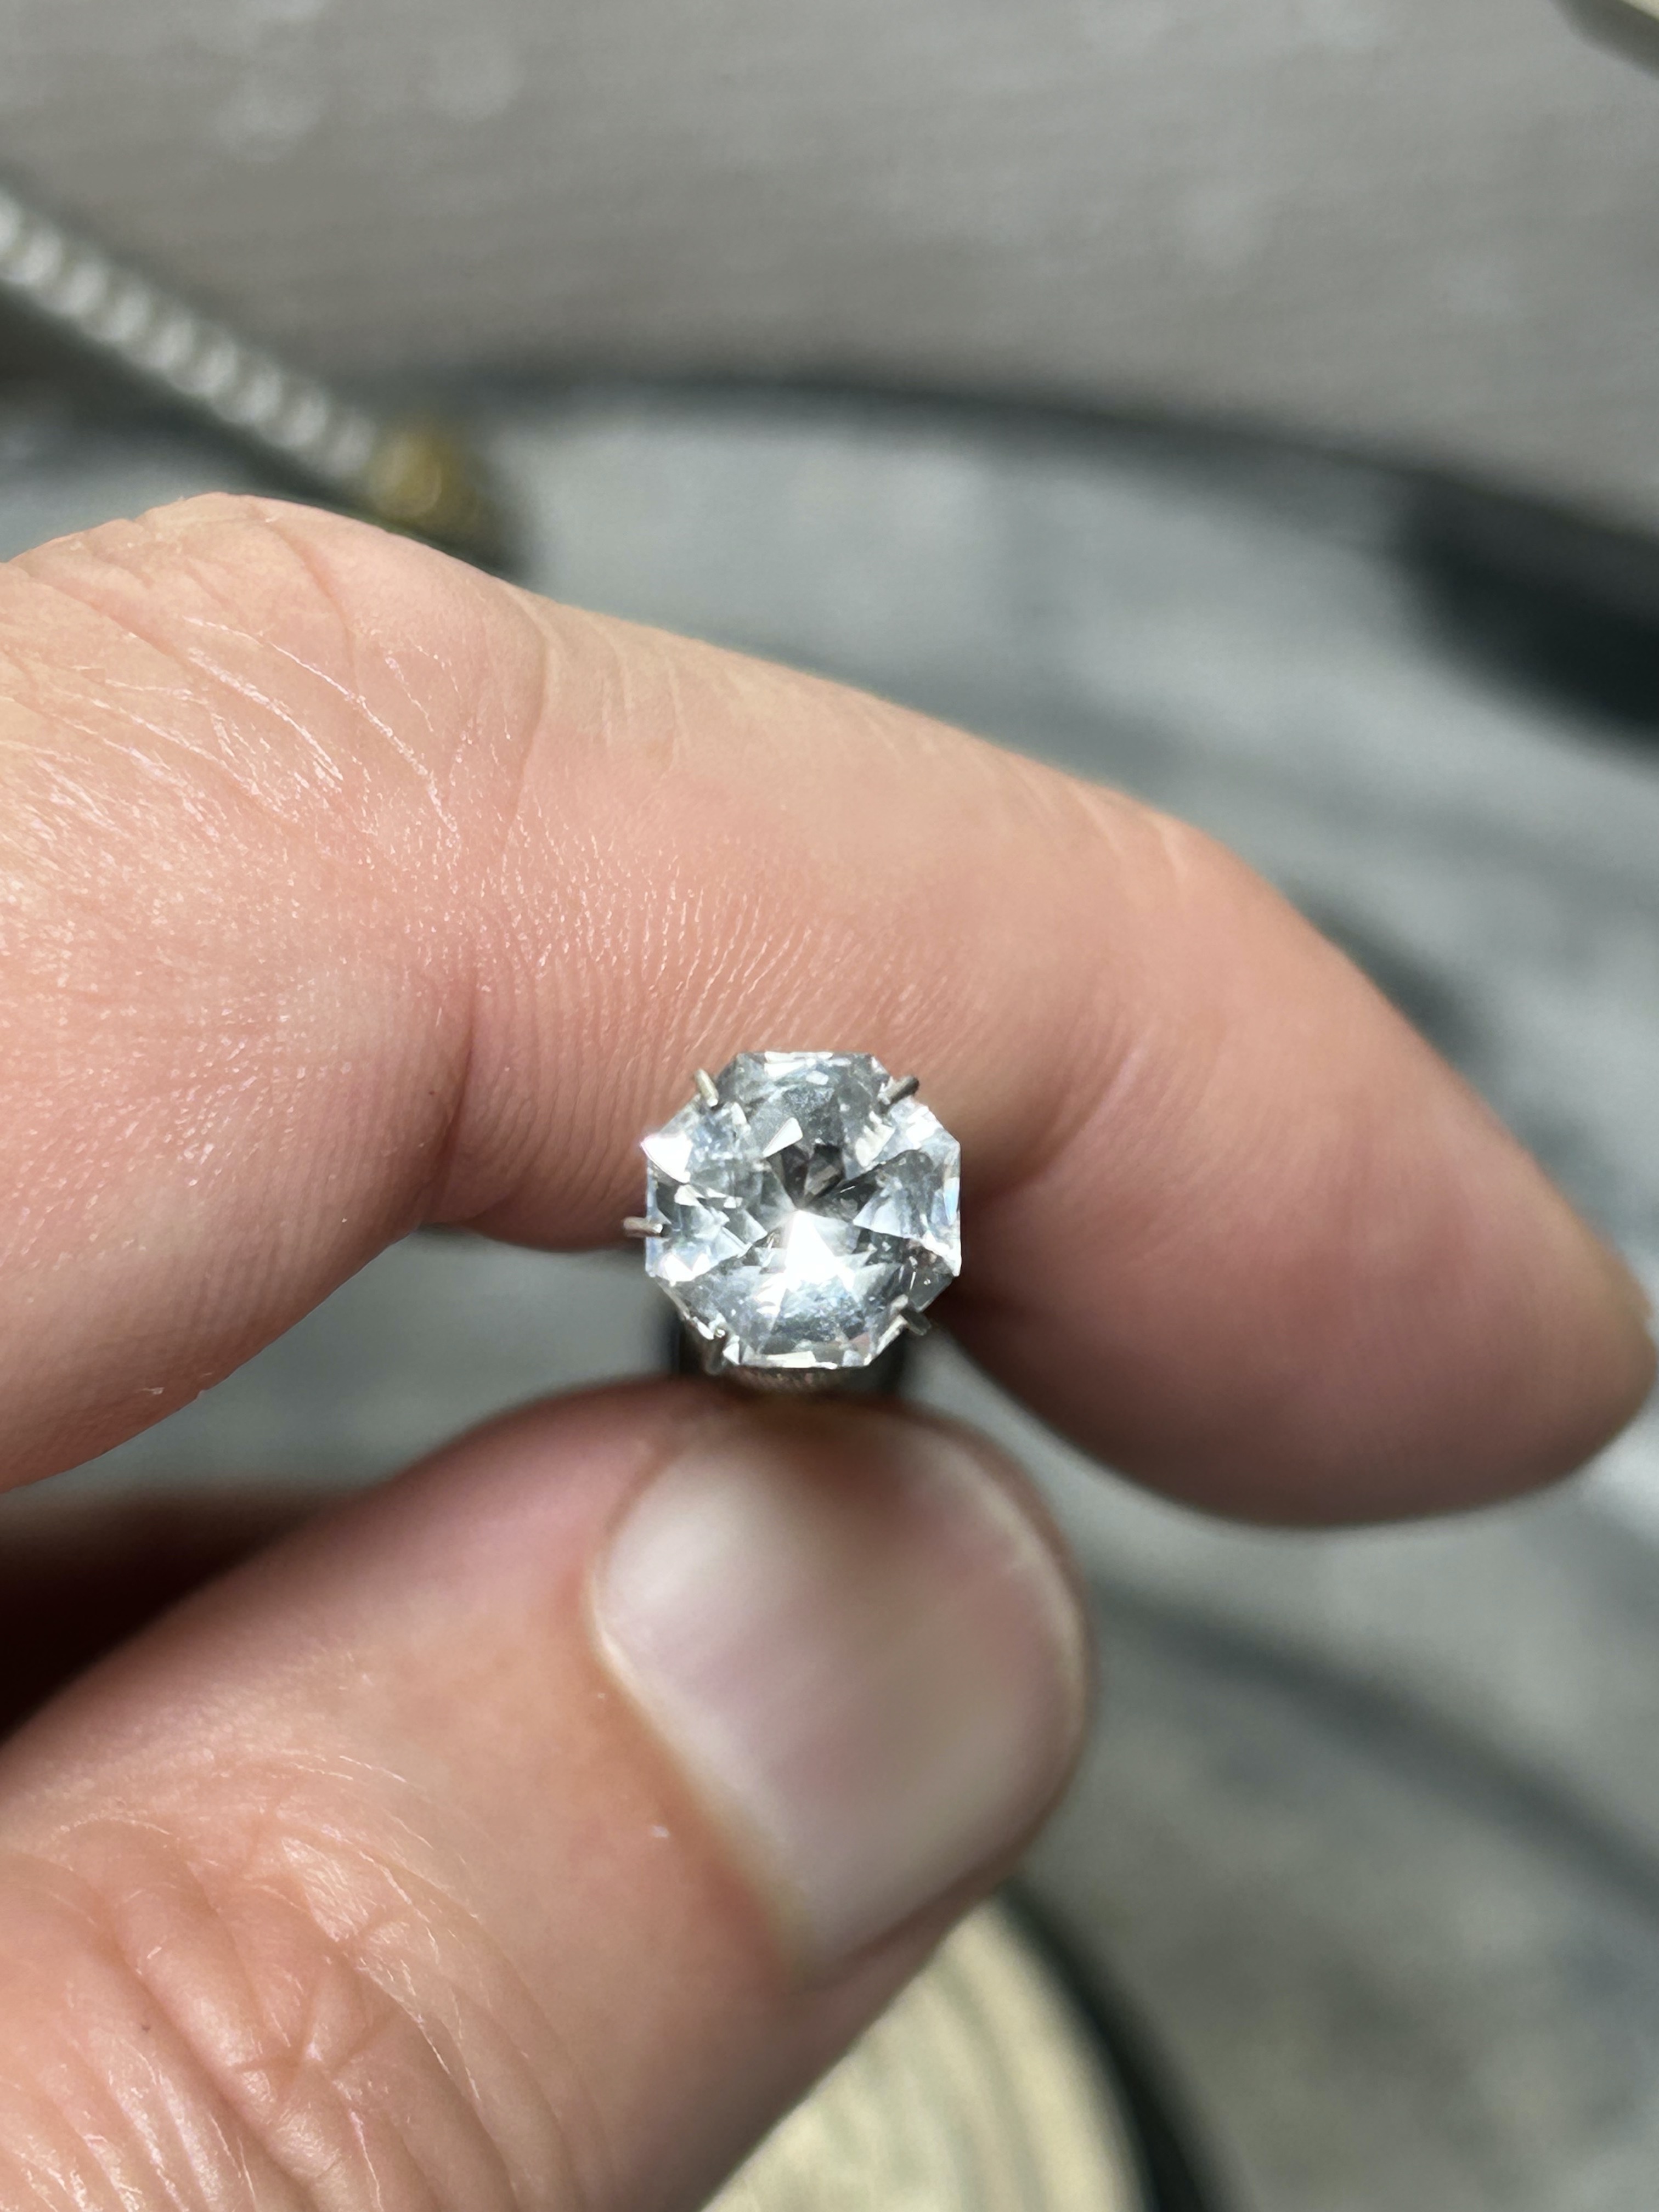
Here is the final stone, under a lamp inside.
Outside in the sunlight
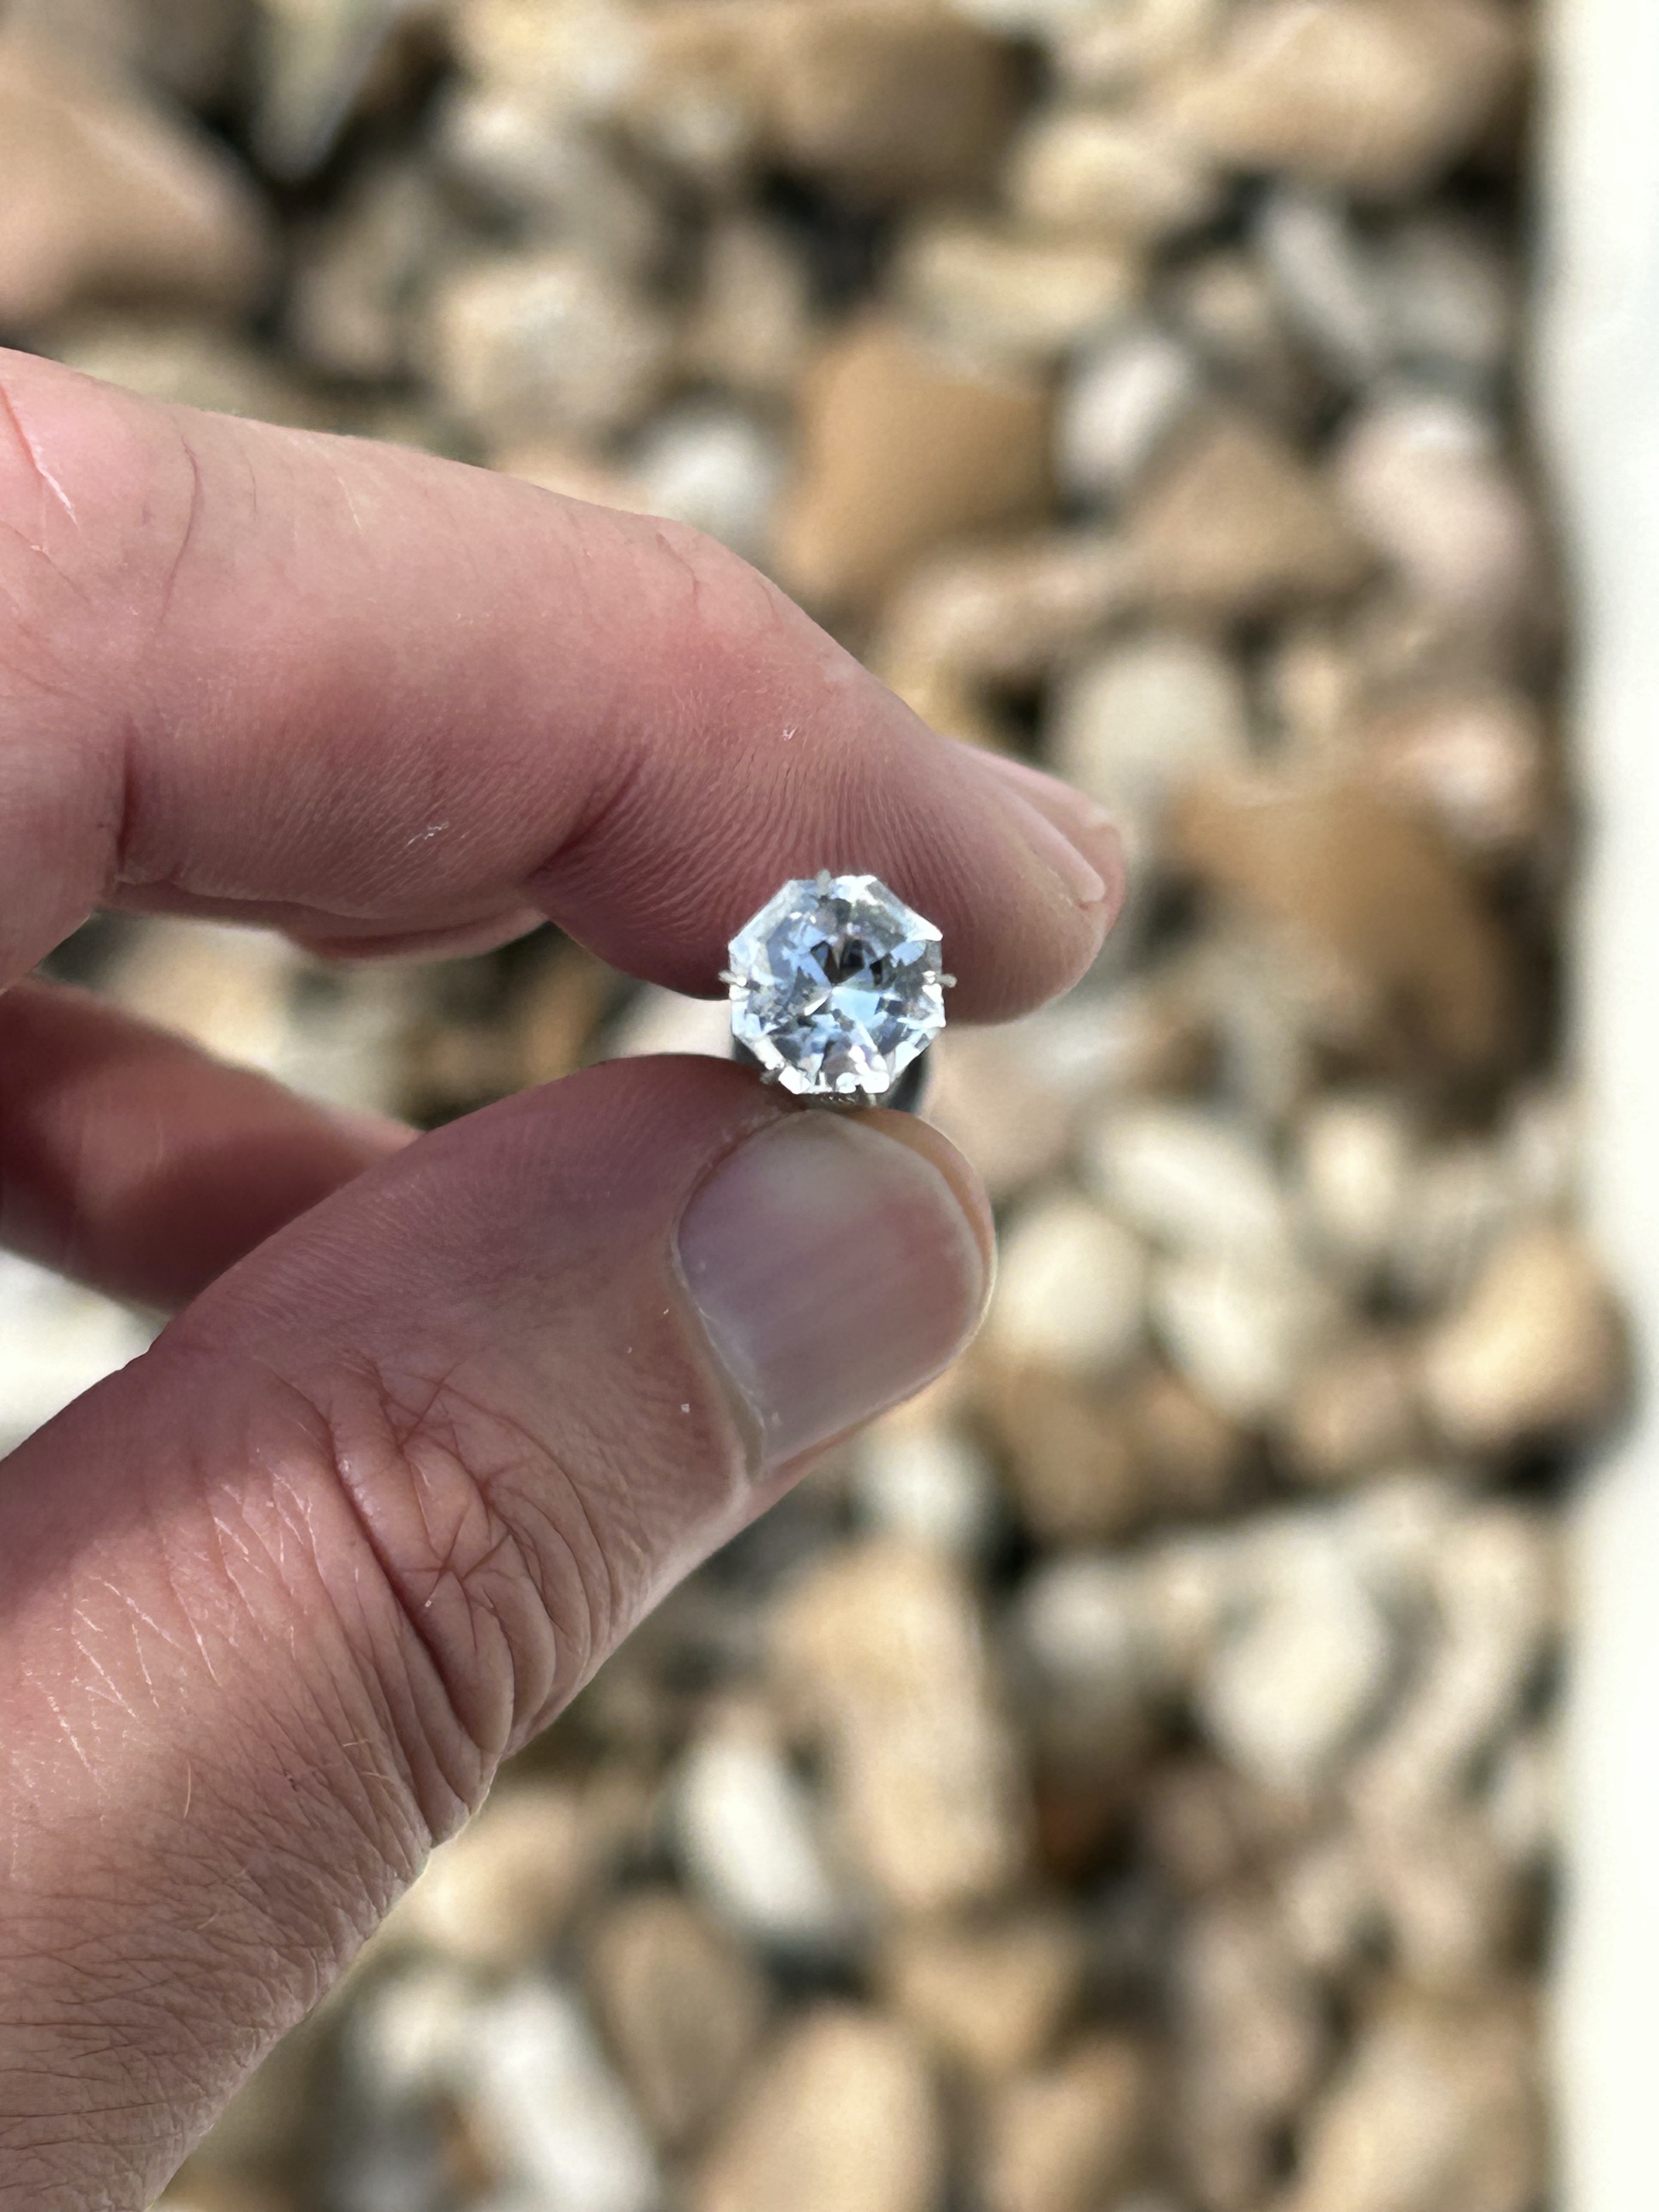
In a box with backing inside.
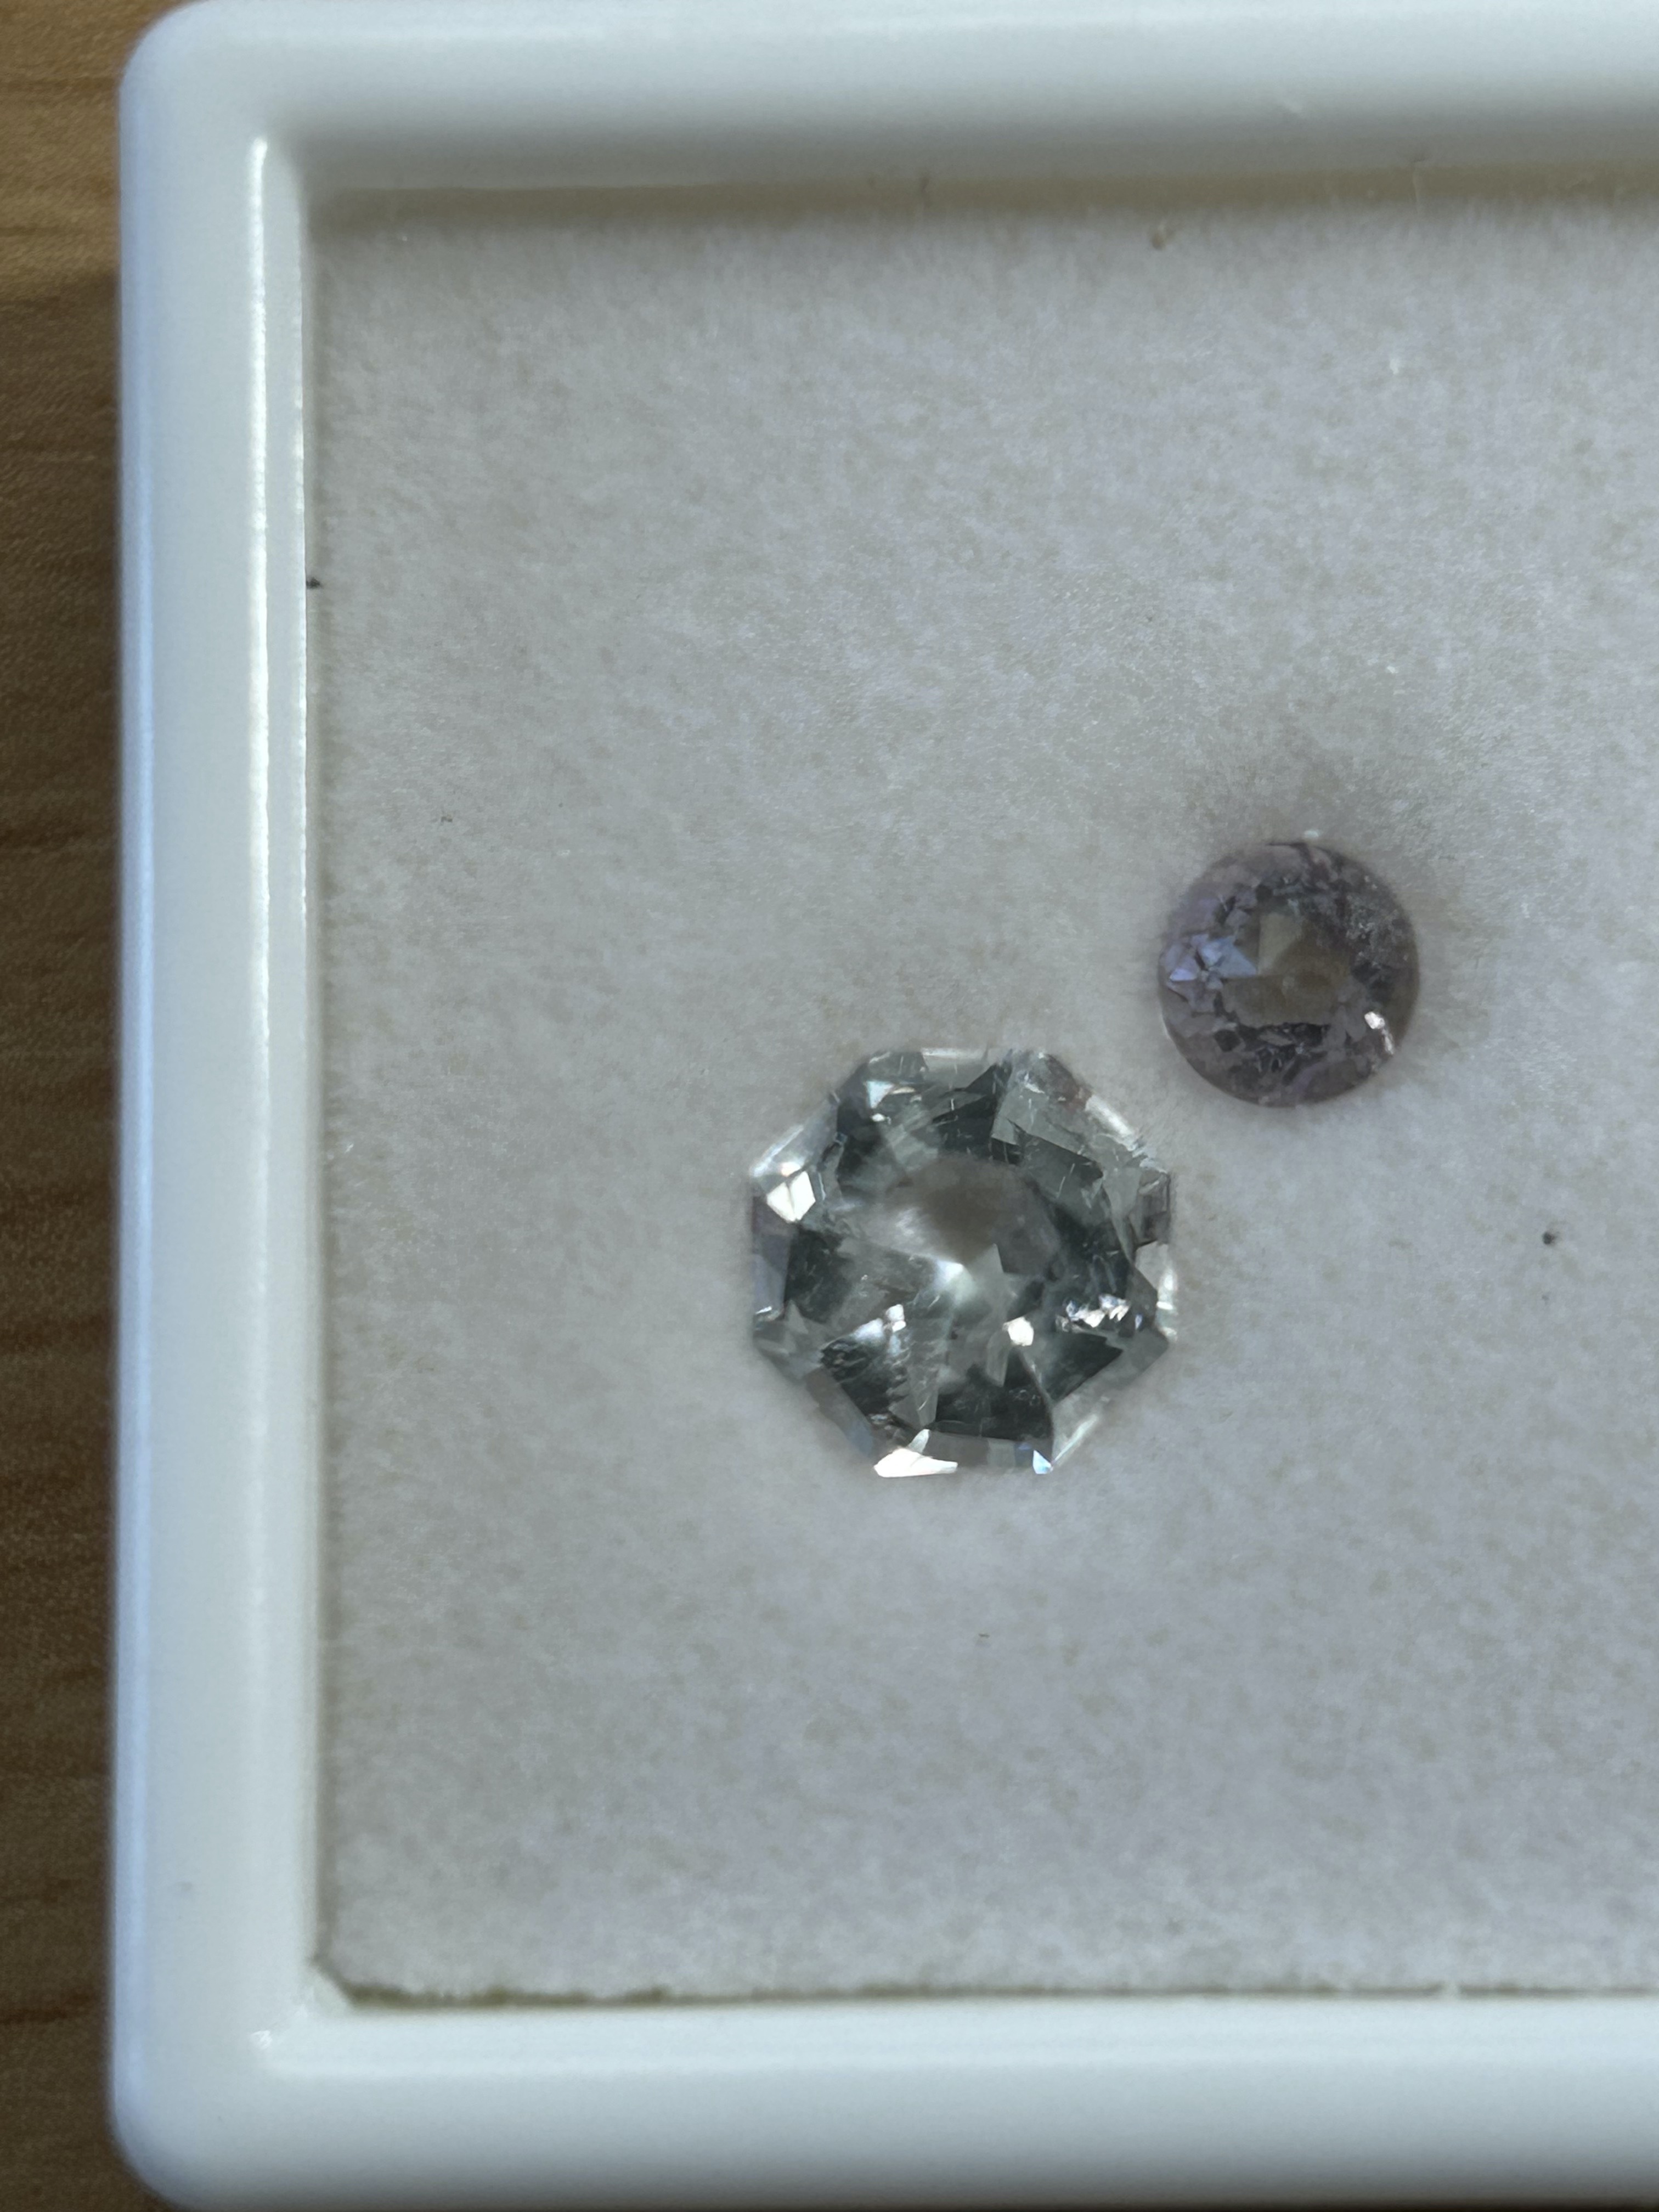
As you can see you get different light return based on the kind of light and how the stone is held. In the last image you can just see what the render was showing.
I’ve enjoyed sharing how I cut stones, feel free to ask any questions.
Thanks!!