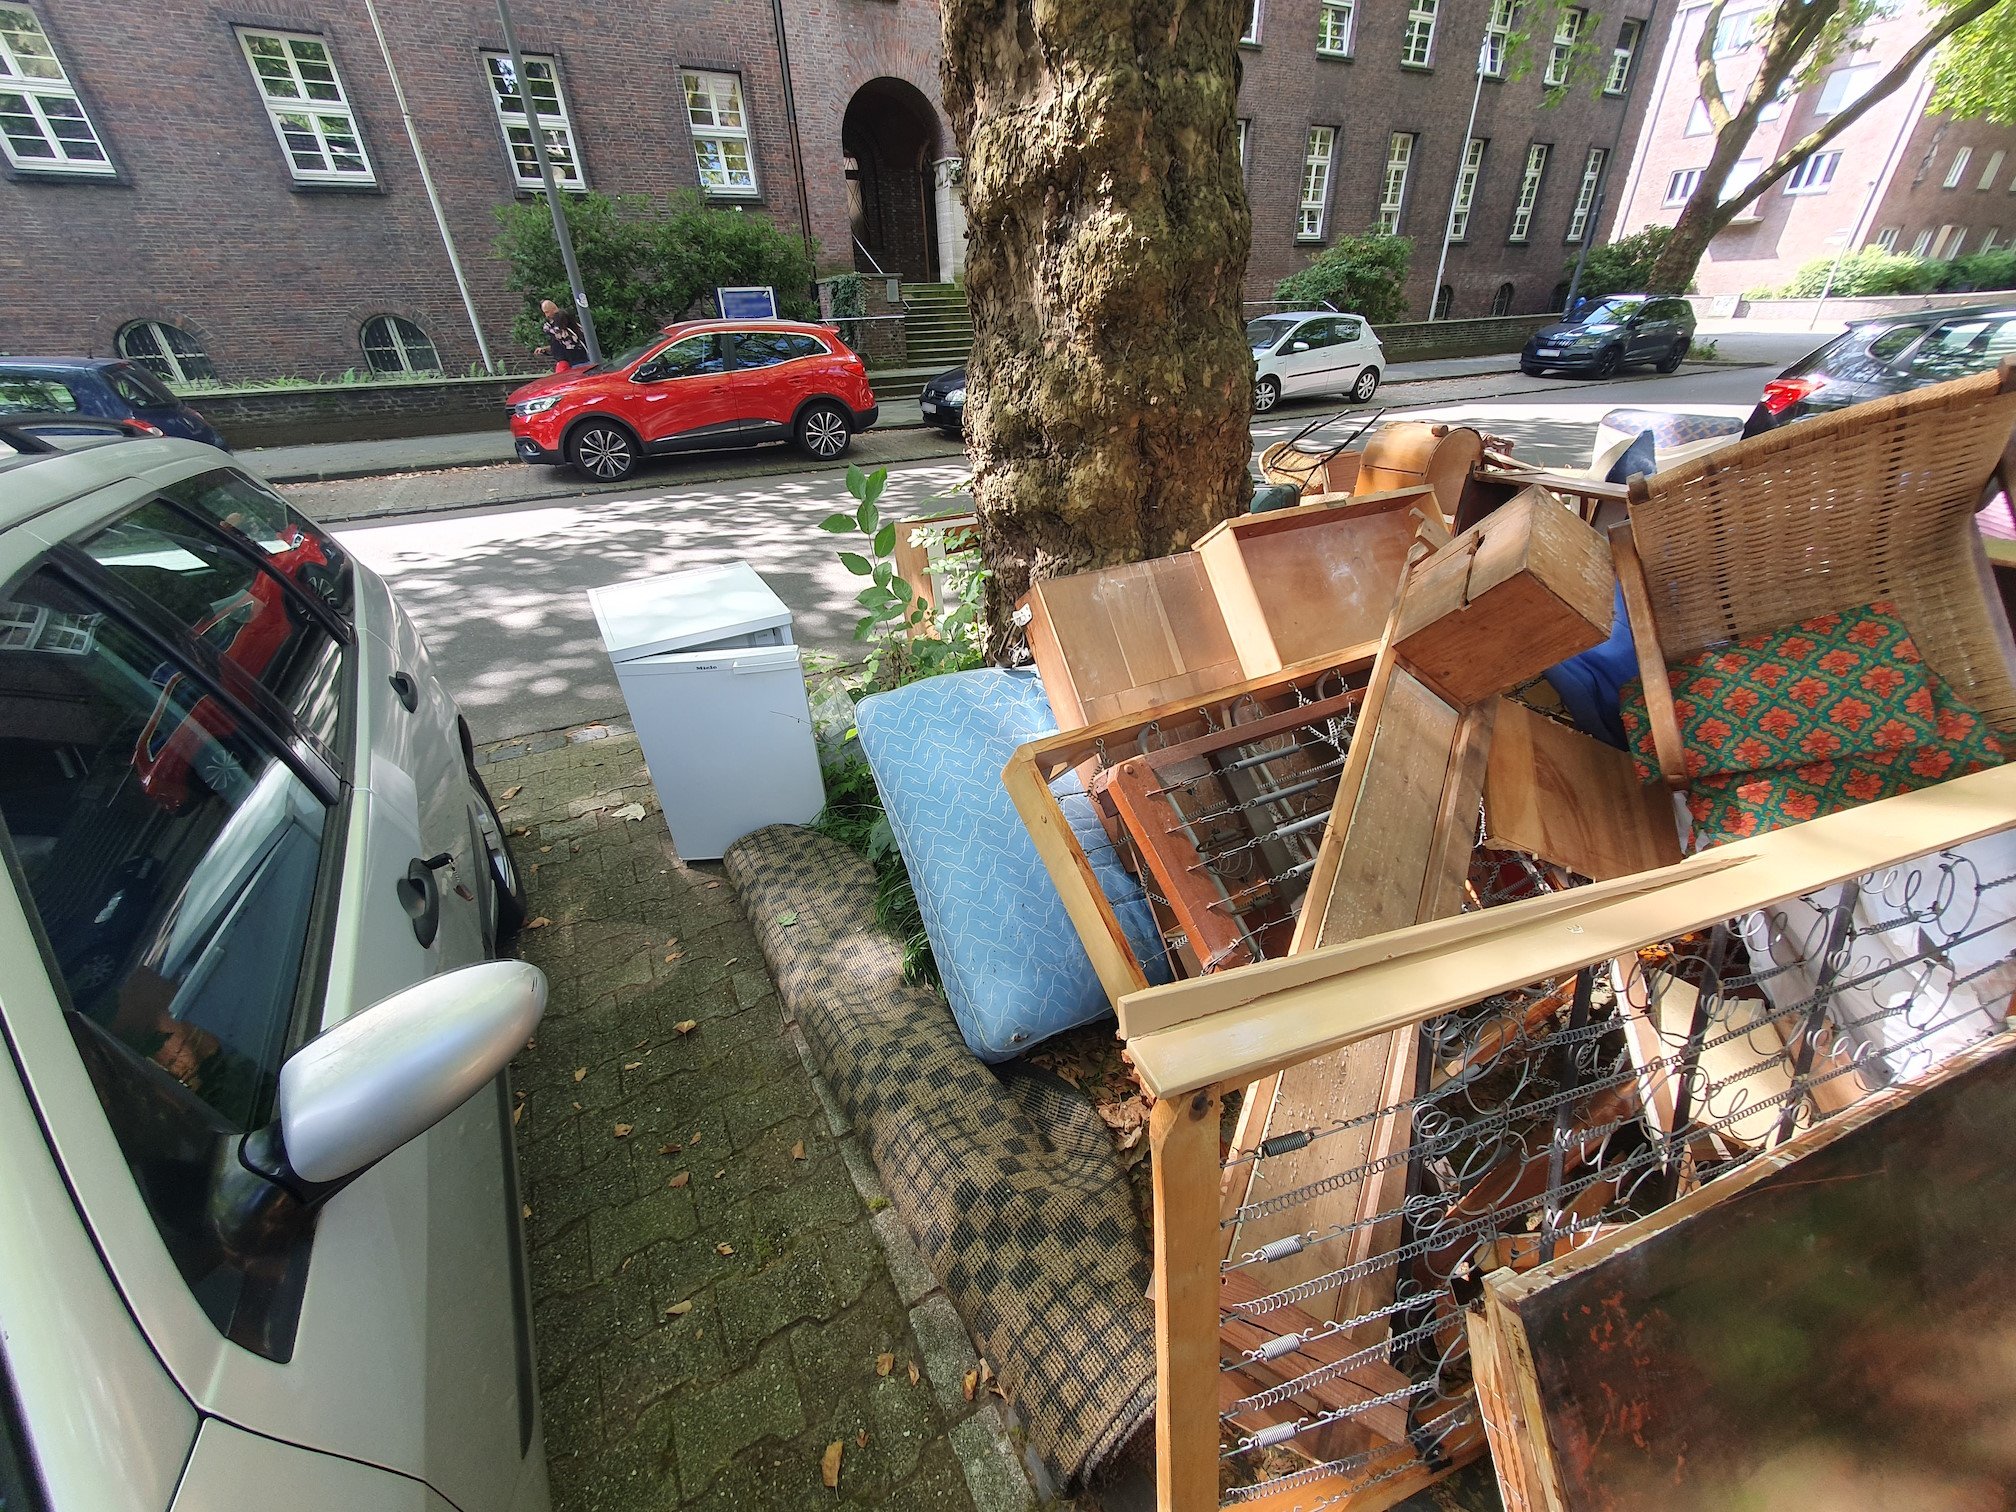
This is were I found it. I only remembered to take a picture when I already put the thing into my car. It was laying tube down on the fridge.
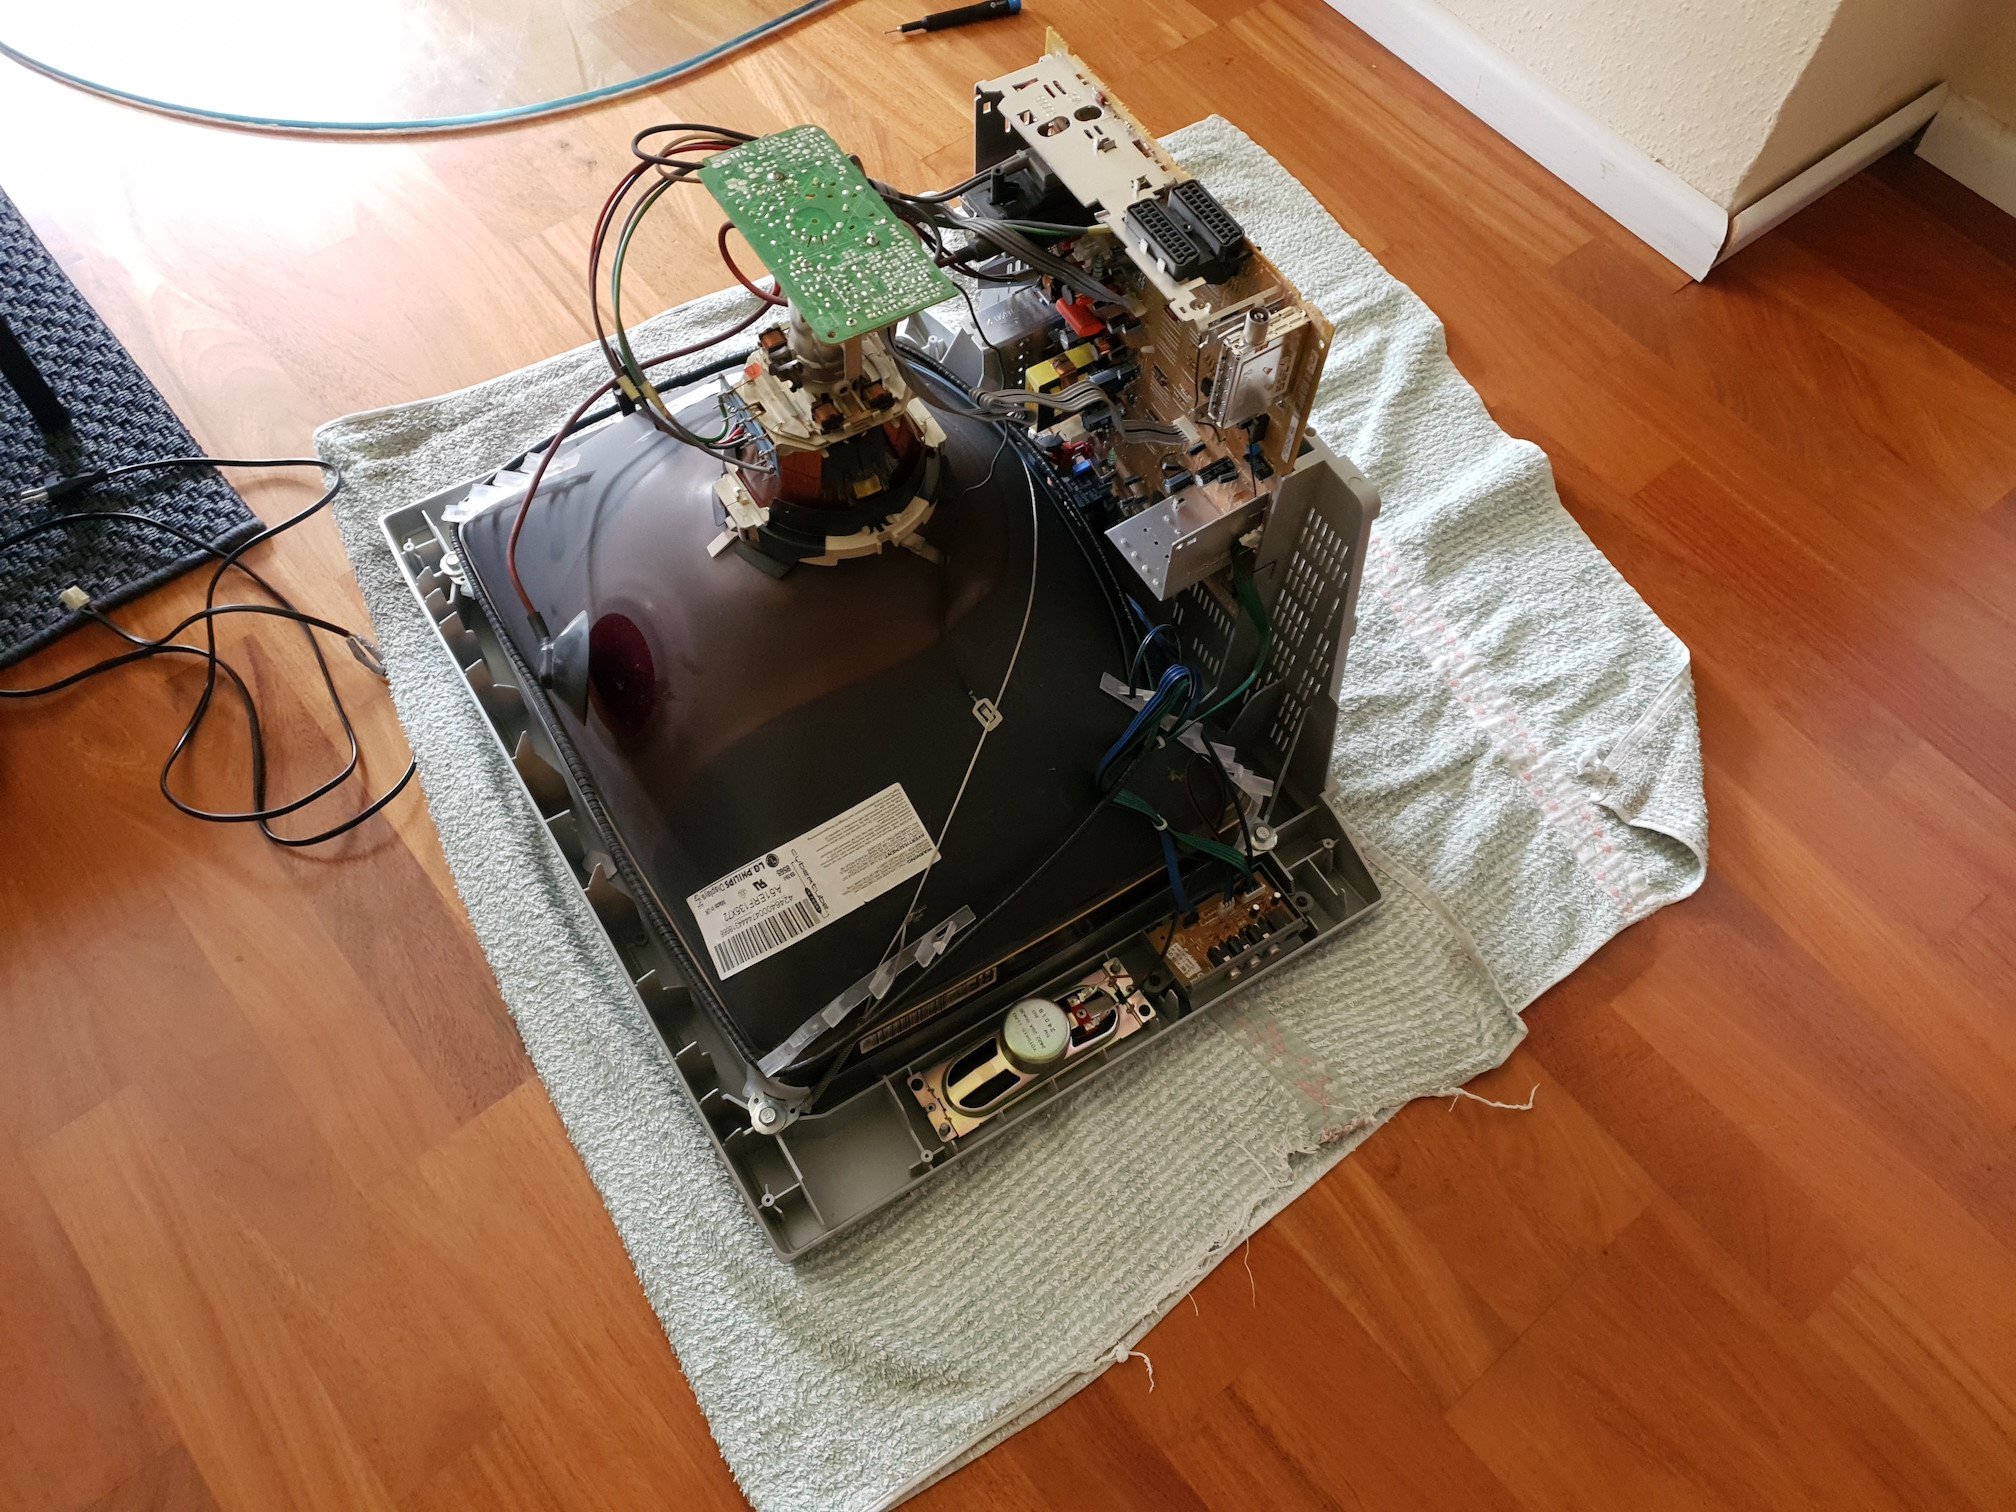
This was also my first time working on a CRT. Was kinda scary, but nothing happened in the end. Not even a spark when discharging. Guess these newer sets all have a resistor that drains the voltage built in (this TV is from November of 2002).
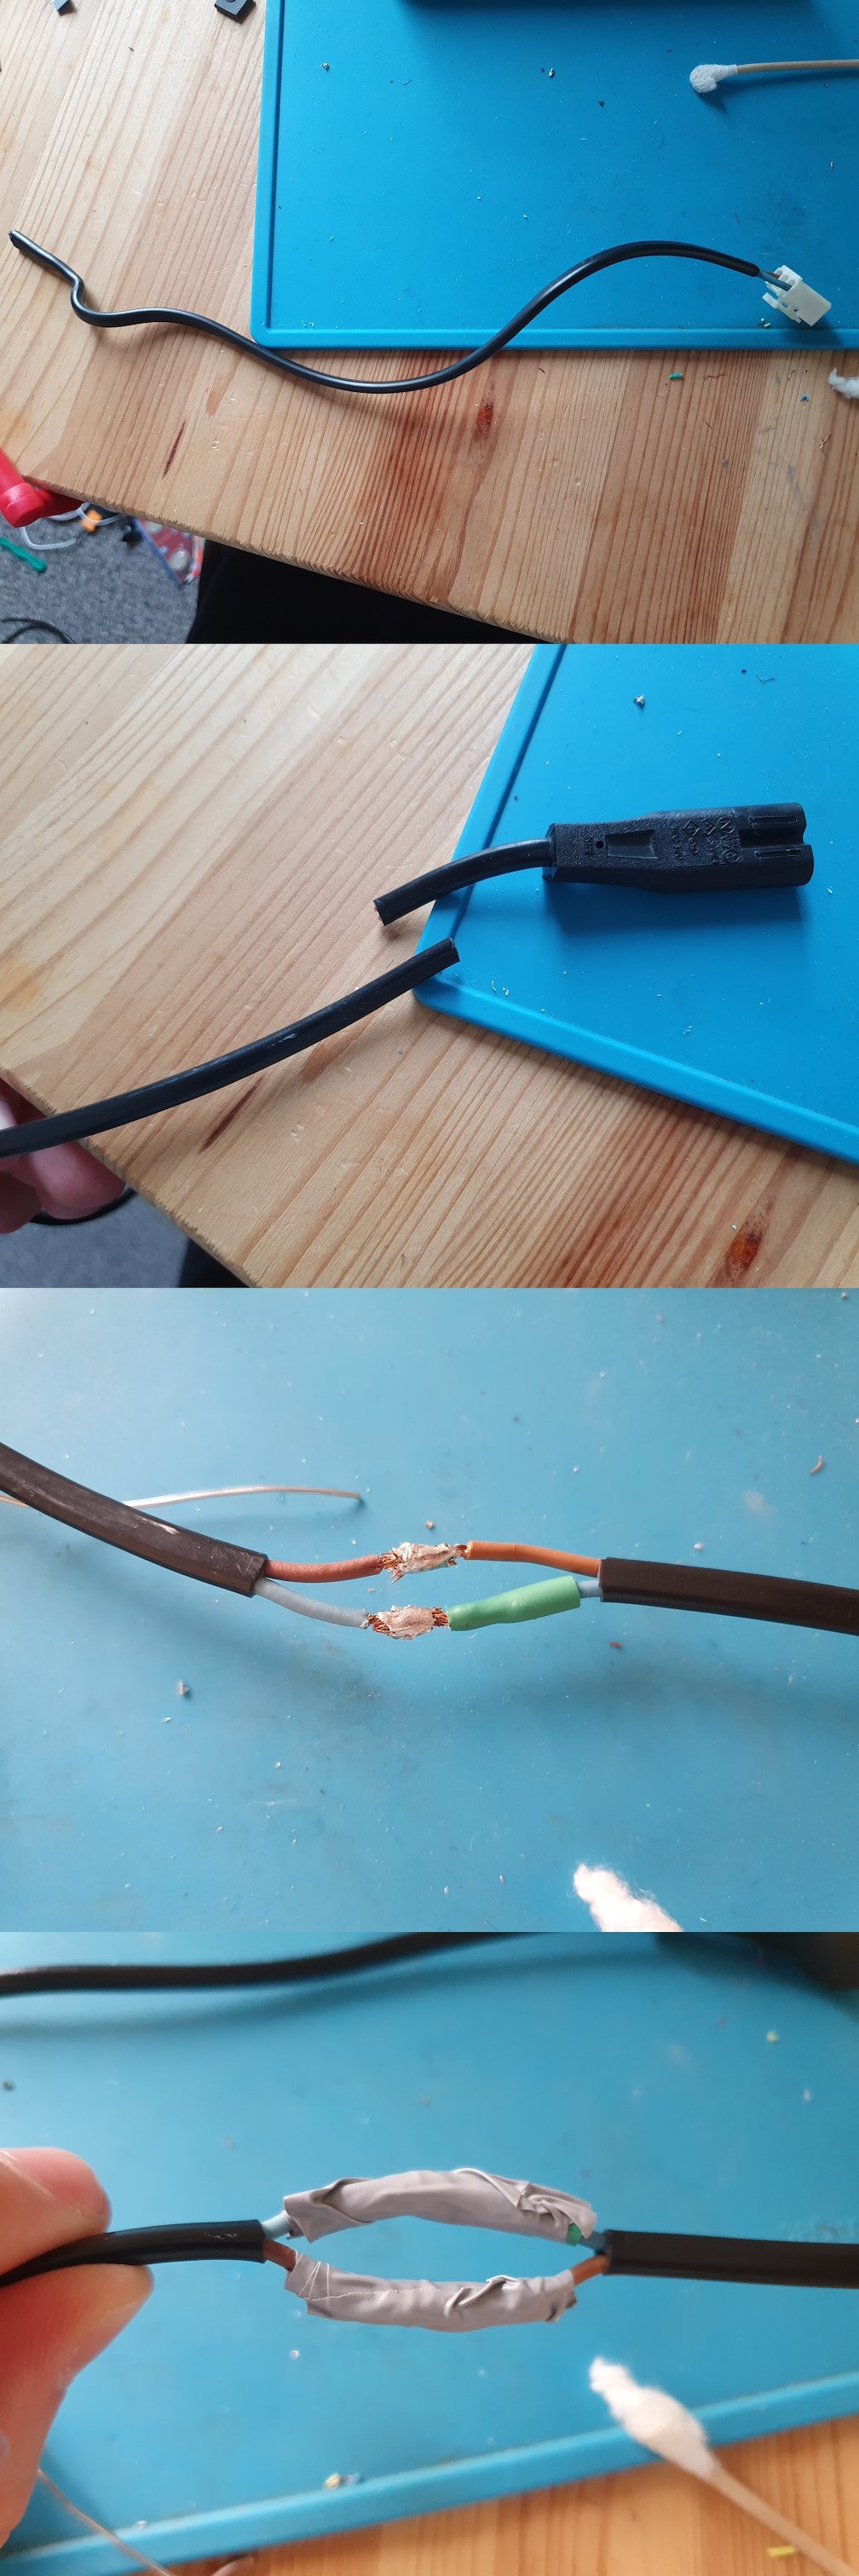
The power cable uses a connector, so I could just remove the cable and solder a new one to it. Soldering it directly to the board would have probably looked cleaner, but I guess this worked well too. I simply cut off one end of a normal power cable and soldered it to what was left of the existing one. I planned on using heatshrink tubes, but they already shrinked while soldering. I just ended up using electrical tape instead. Not the cleanest soldering work, but it does the job.
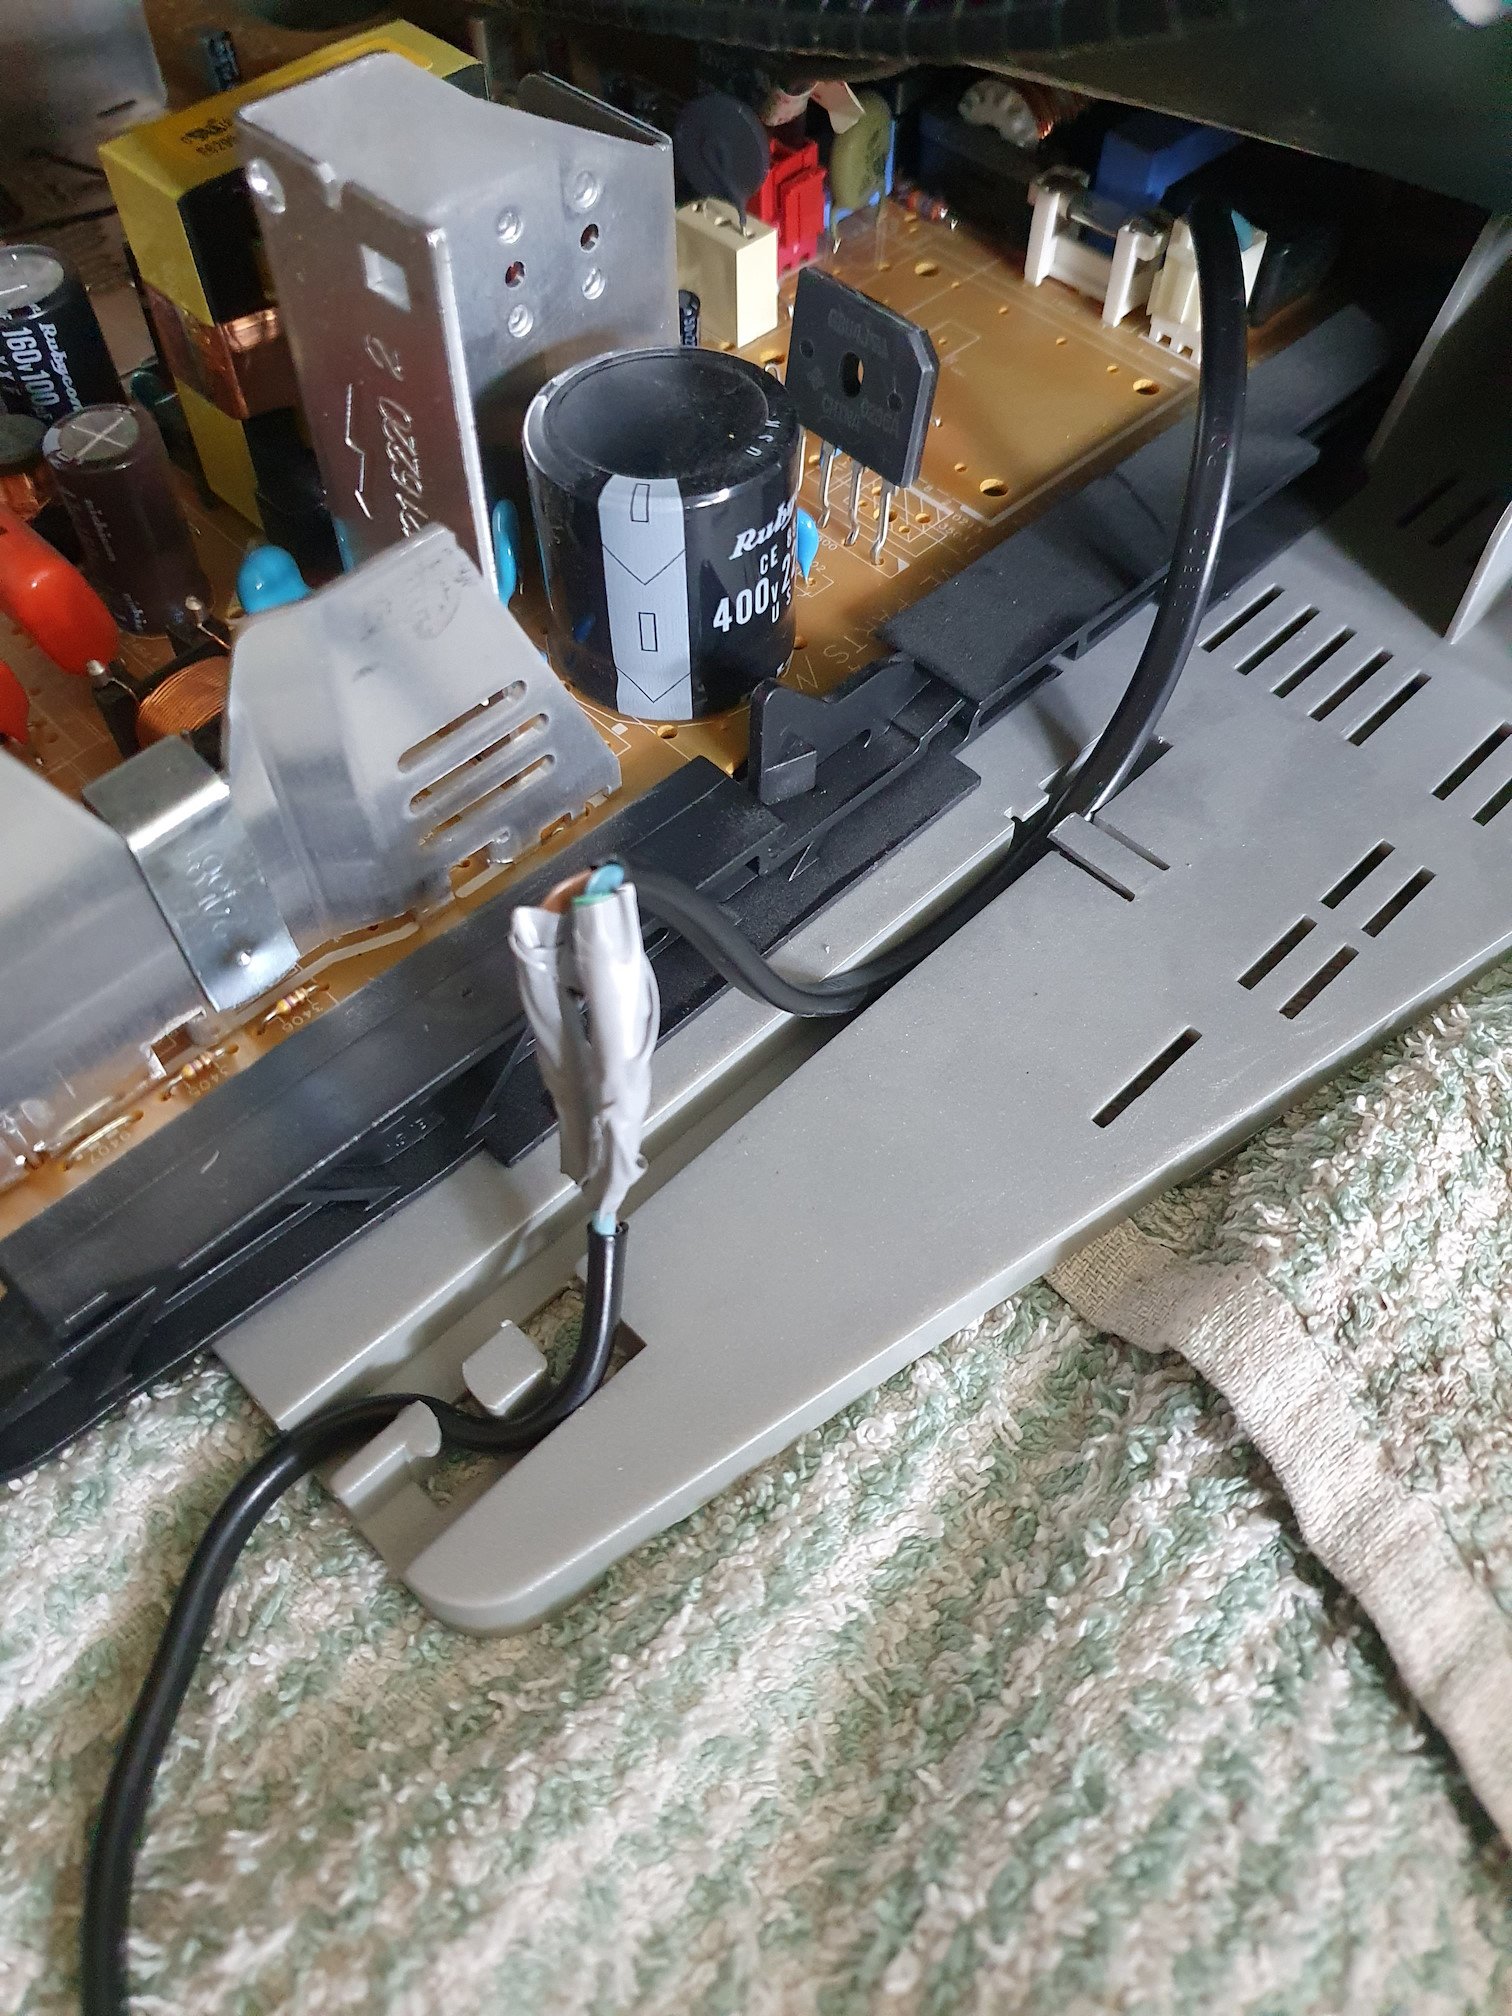
This is how it ended up looking inside the TV:
I wanted to be on the safe side when turning the CRT on for the first time, so I did it outside.
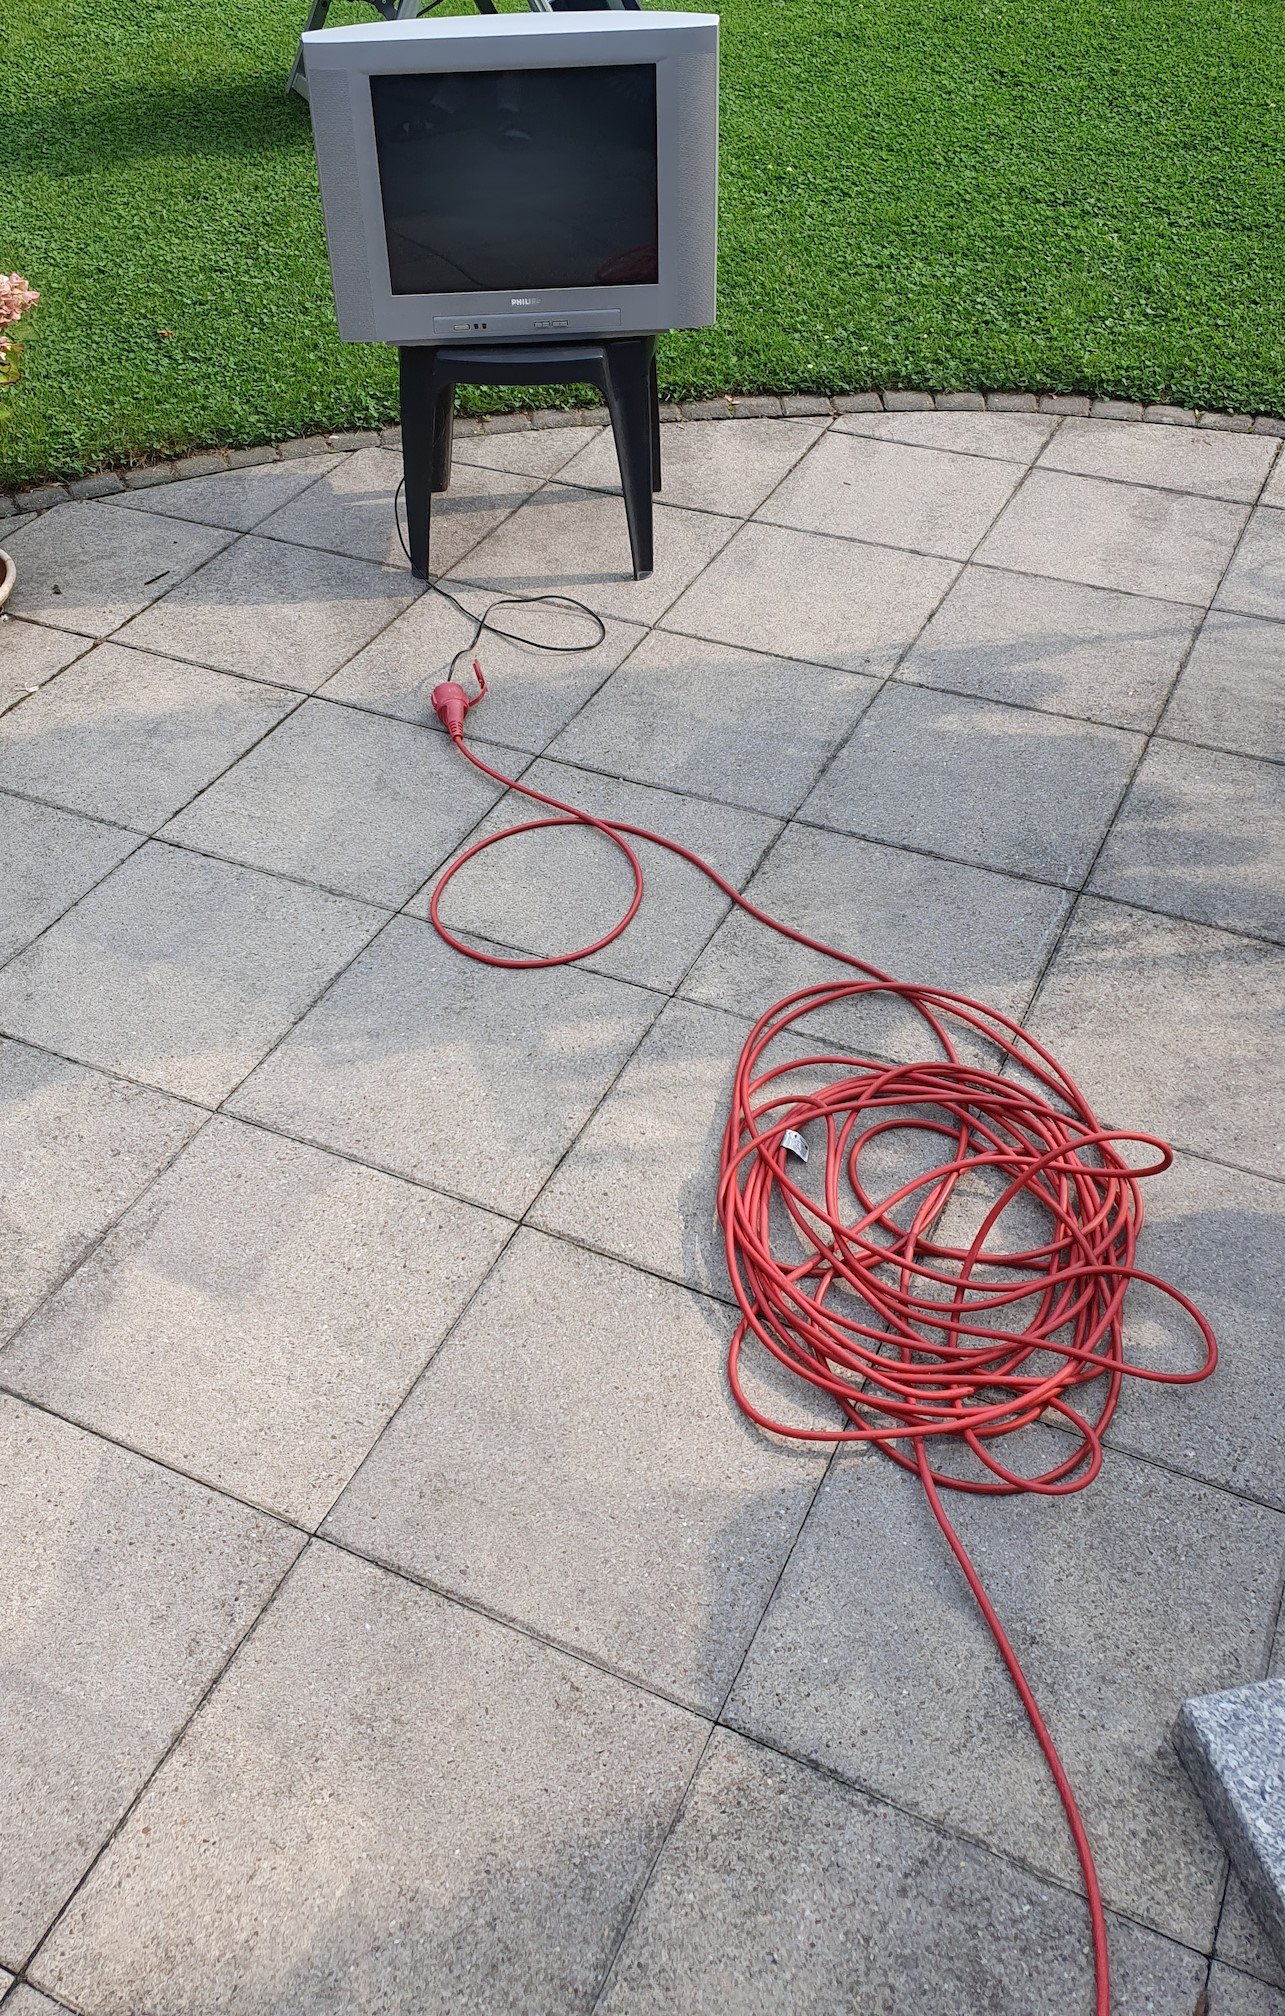
It did power on, and looks pretty damn good!


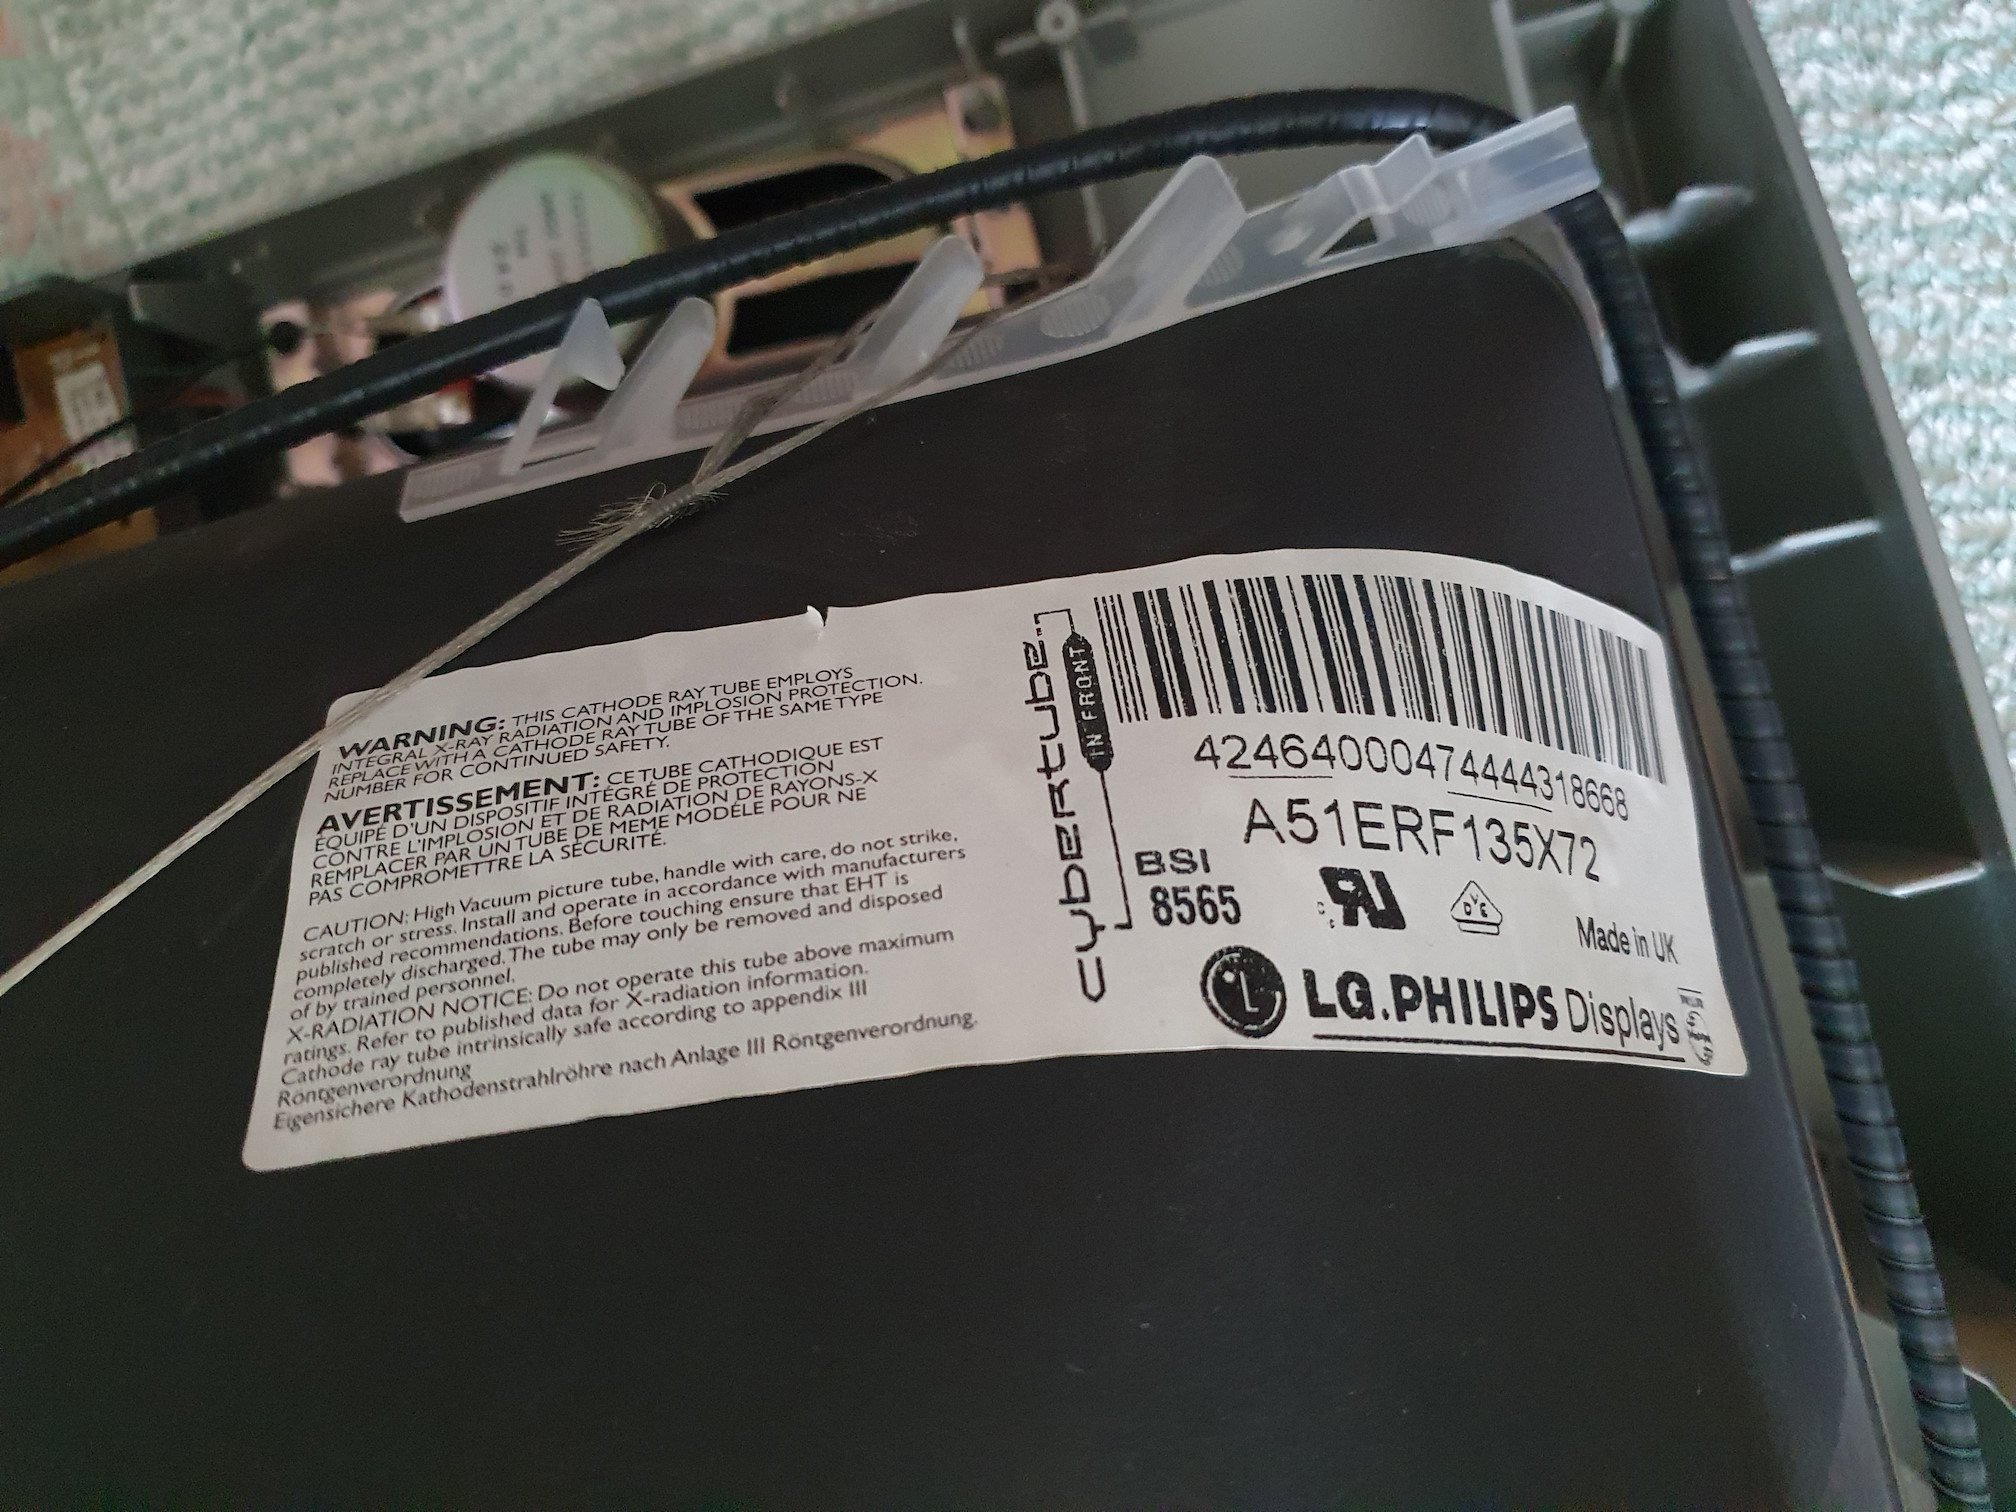
As it turns out, the tube was actually made in the UK. I think that’s pretty cool, since everything has to be made as cheaply as possible today. The whole thing seems very well built in general, Rubycon capacitors everywhere.
 #
#
Of course I don’t have the remote for it, so I didn’t change any setting when taking these pictures. The black levels were still pretty bad, and geometry could be better as well. I ordered a remote to dial everything in, I hope it looks even better after that.

Wonderful to see! Nice job on the repair, may your crt glow for many years to come.
Thank you :) I’ll see how many hours it was used once I get the remote for it. It’s probably not too much, since the tube looks pretty bright.