- cross-posted to:
- 3dprintedgaming
- tabletopminis
- cross-posted to:
- 3dprintedgaming
- tabletopminis
cross-posted from: https://lemmy.world/post/2082060
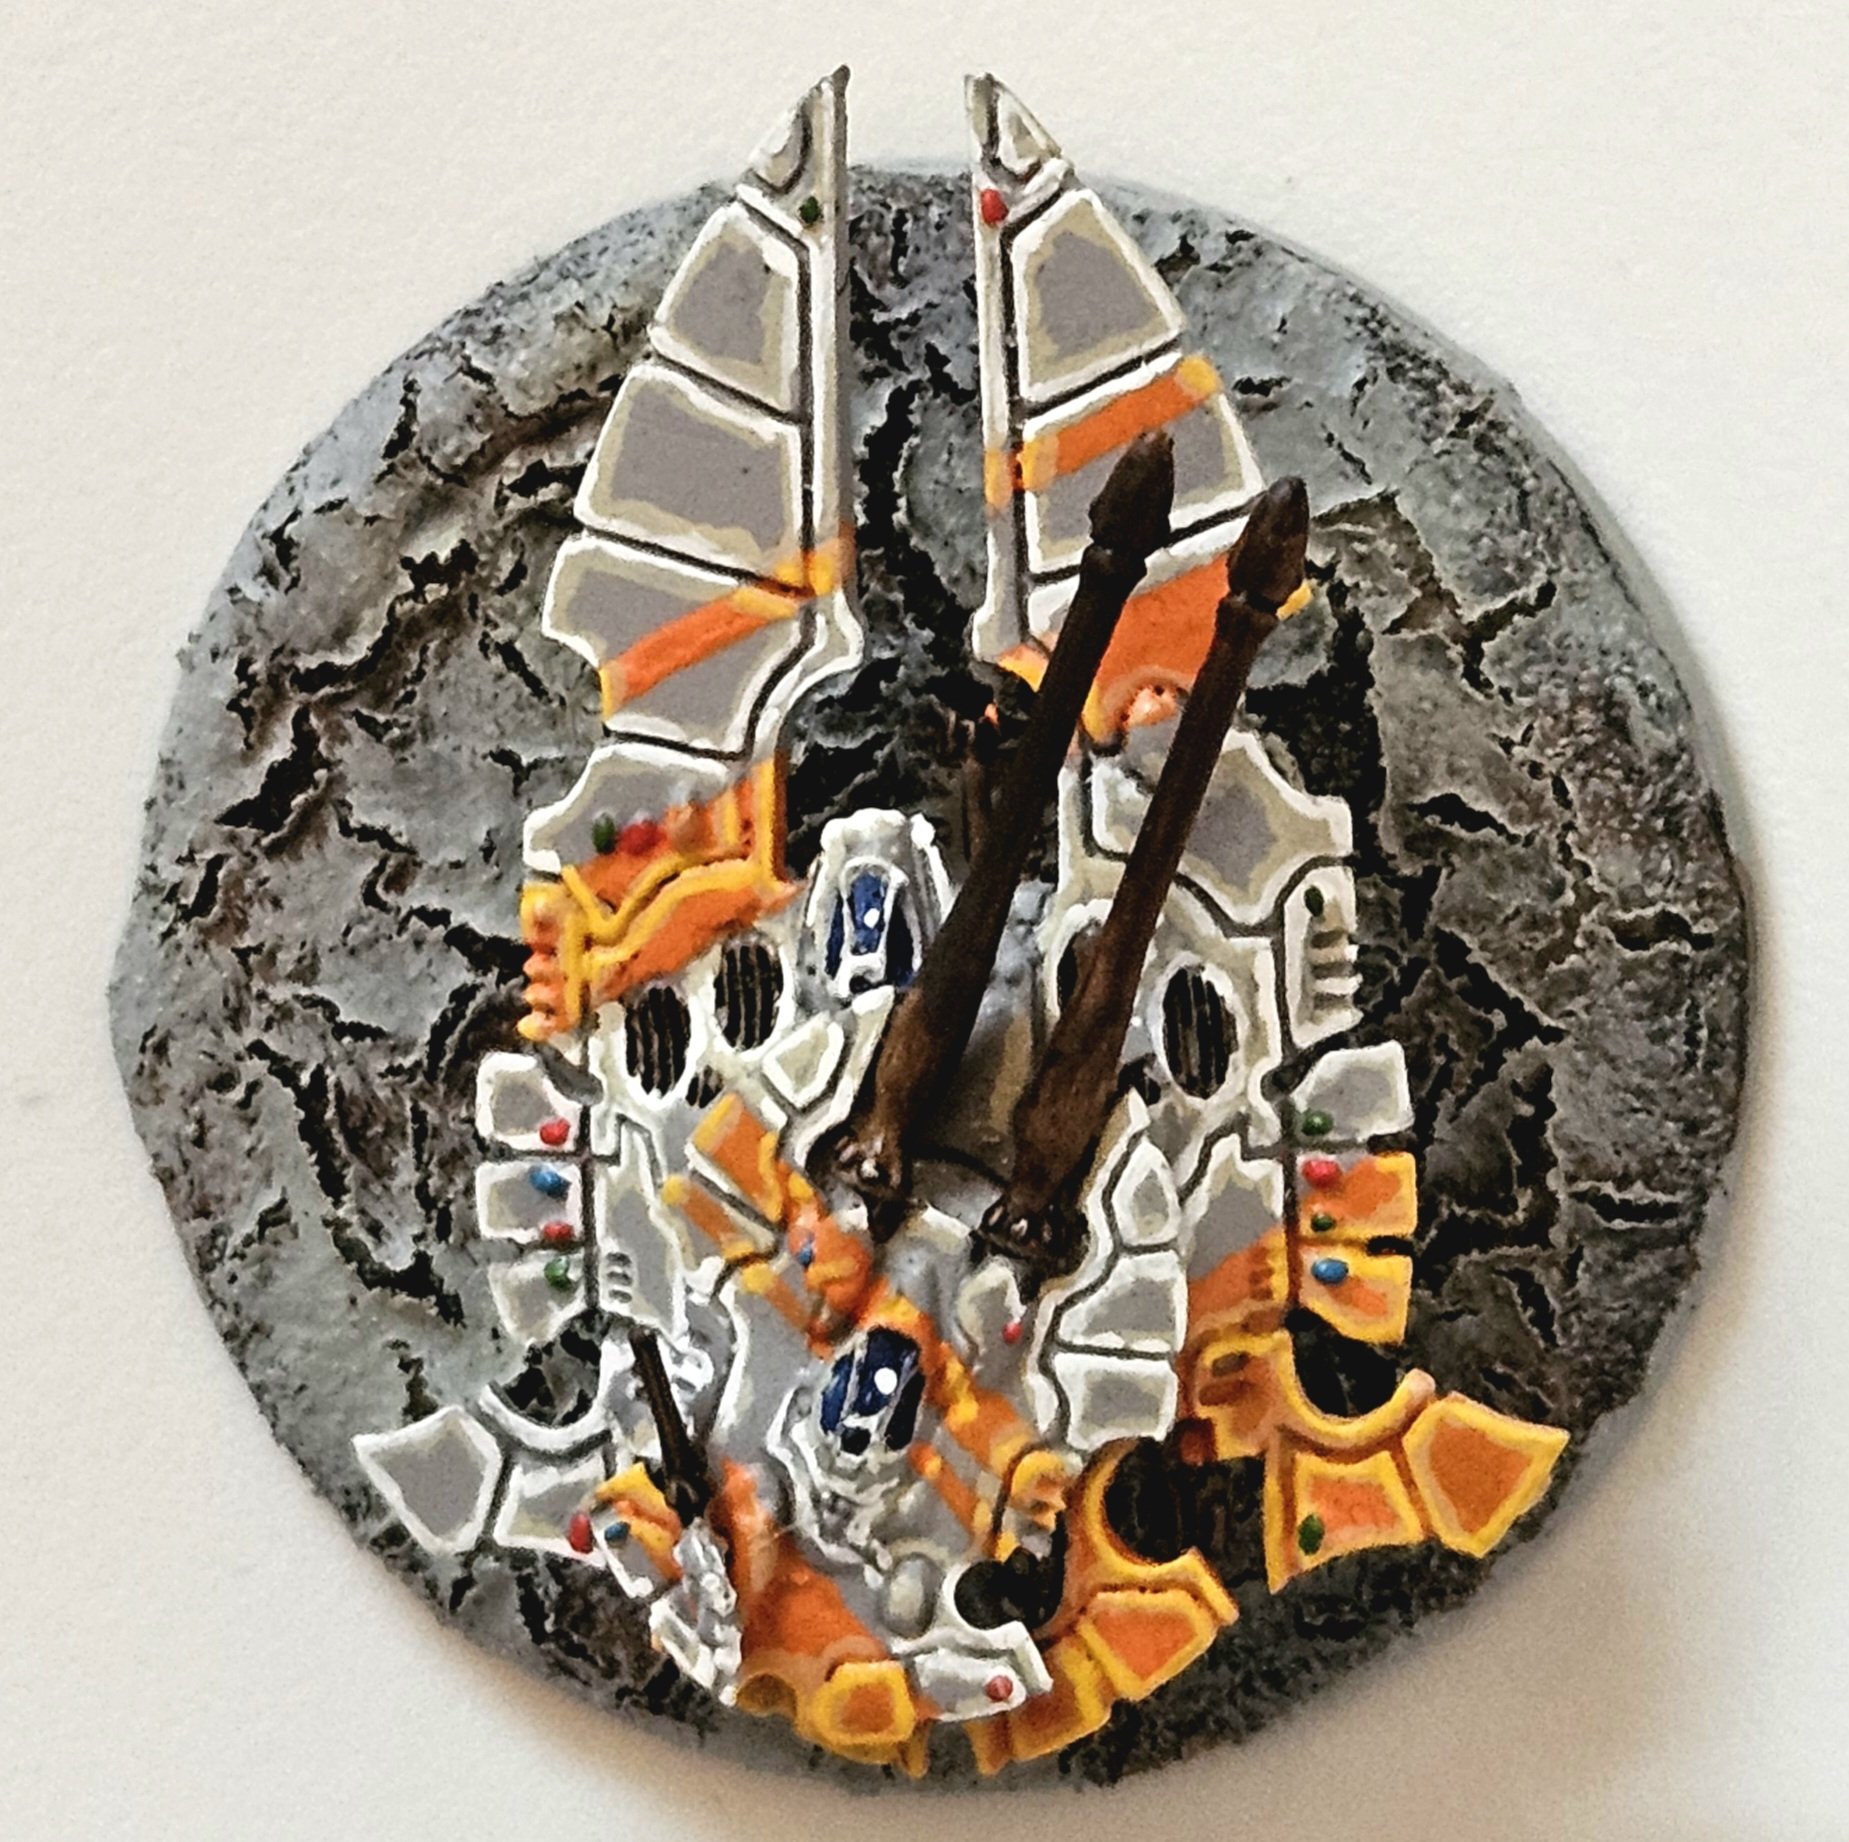
It’s done because I’ve got two other primed but unpainted tyranids ready to go and that feels like more fun than working on this one any more, which is good enough for the table. This is the way.
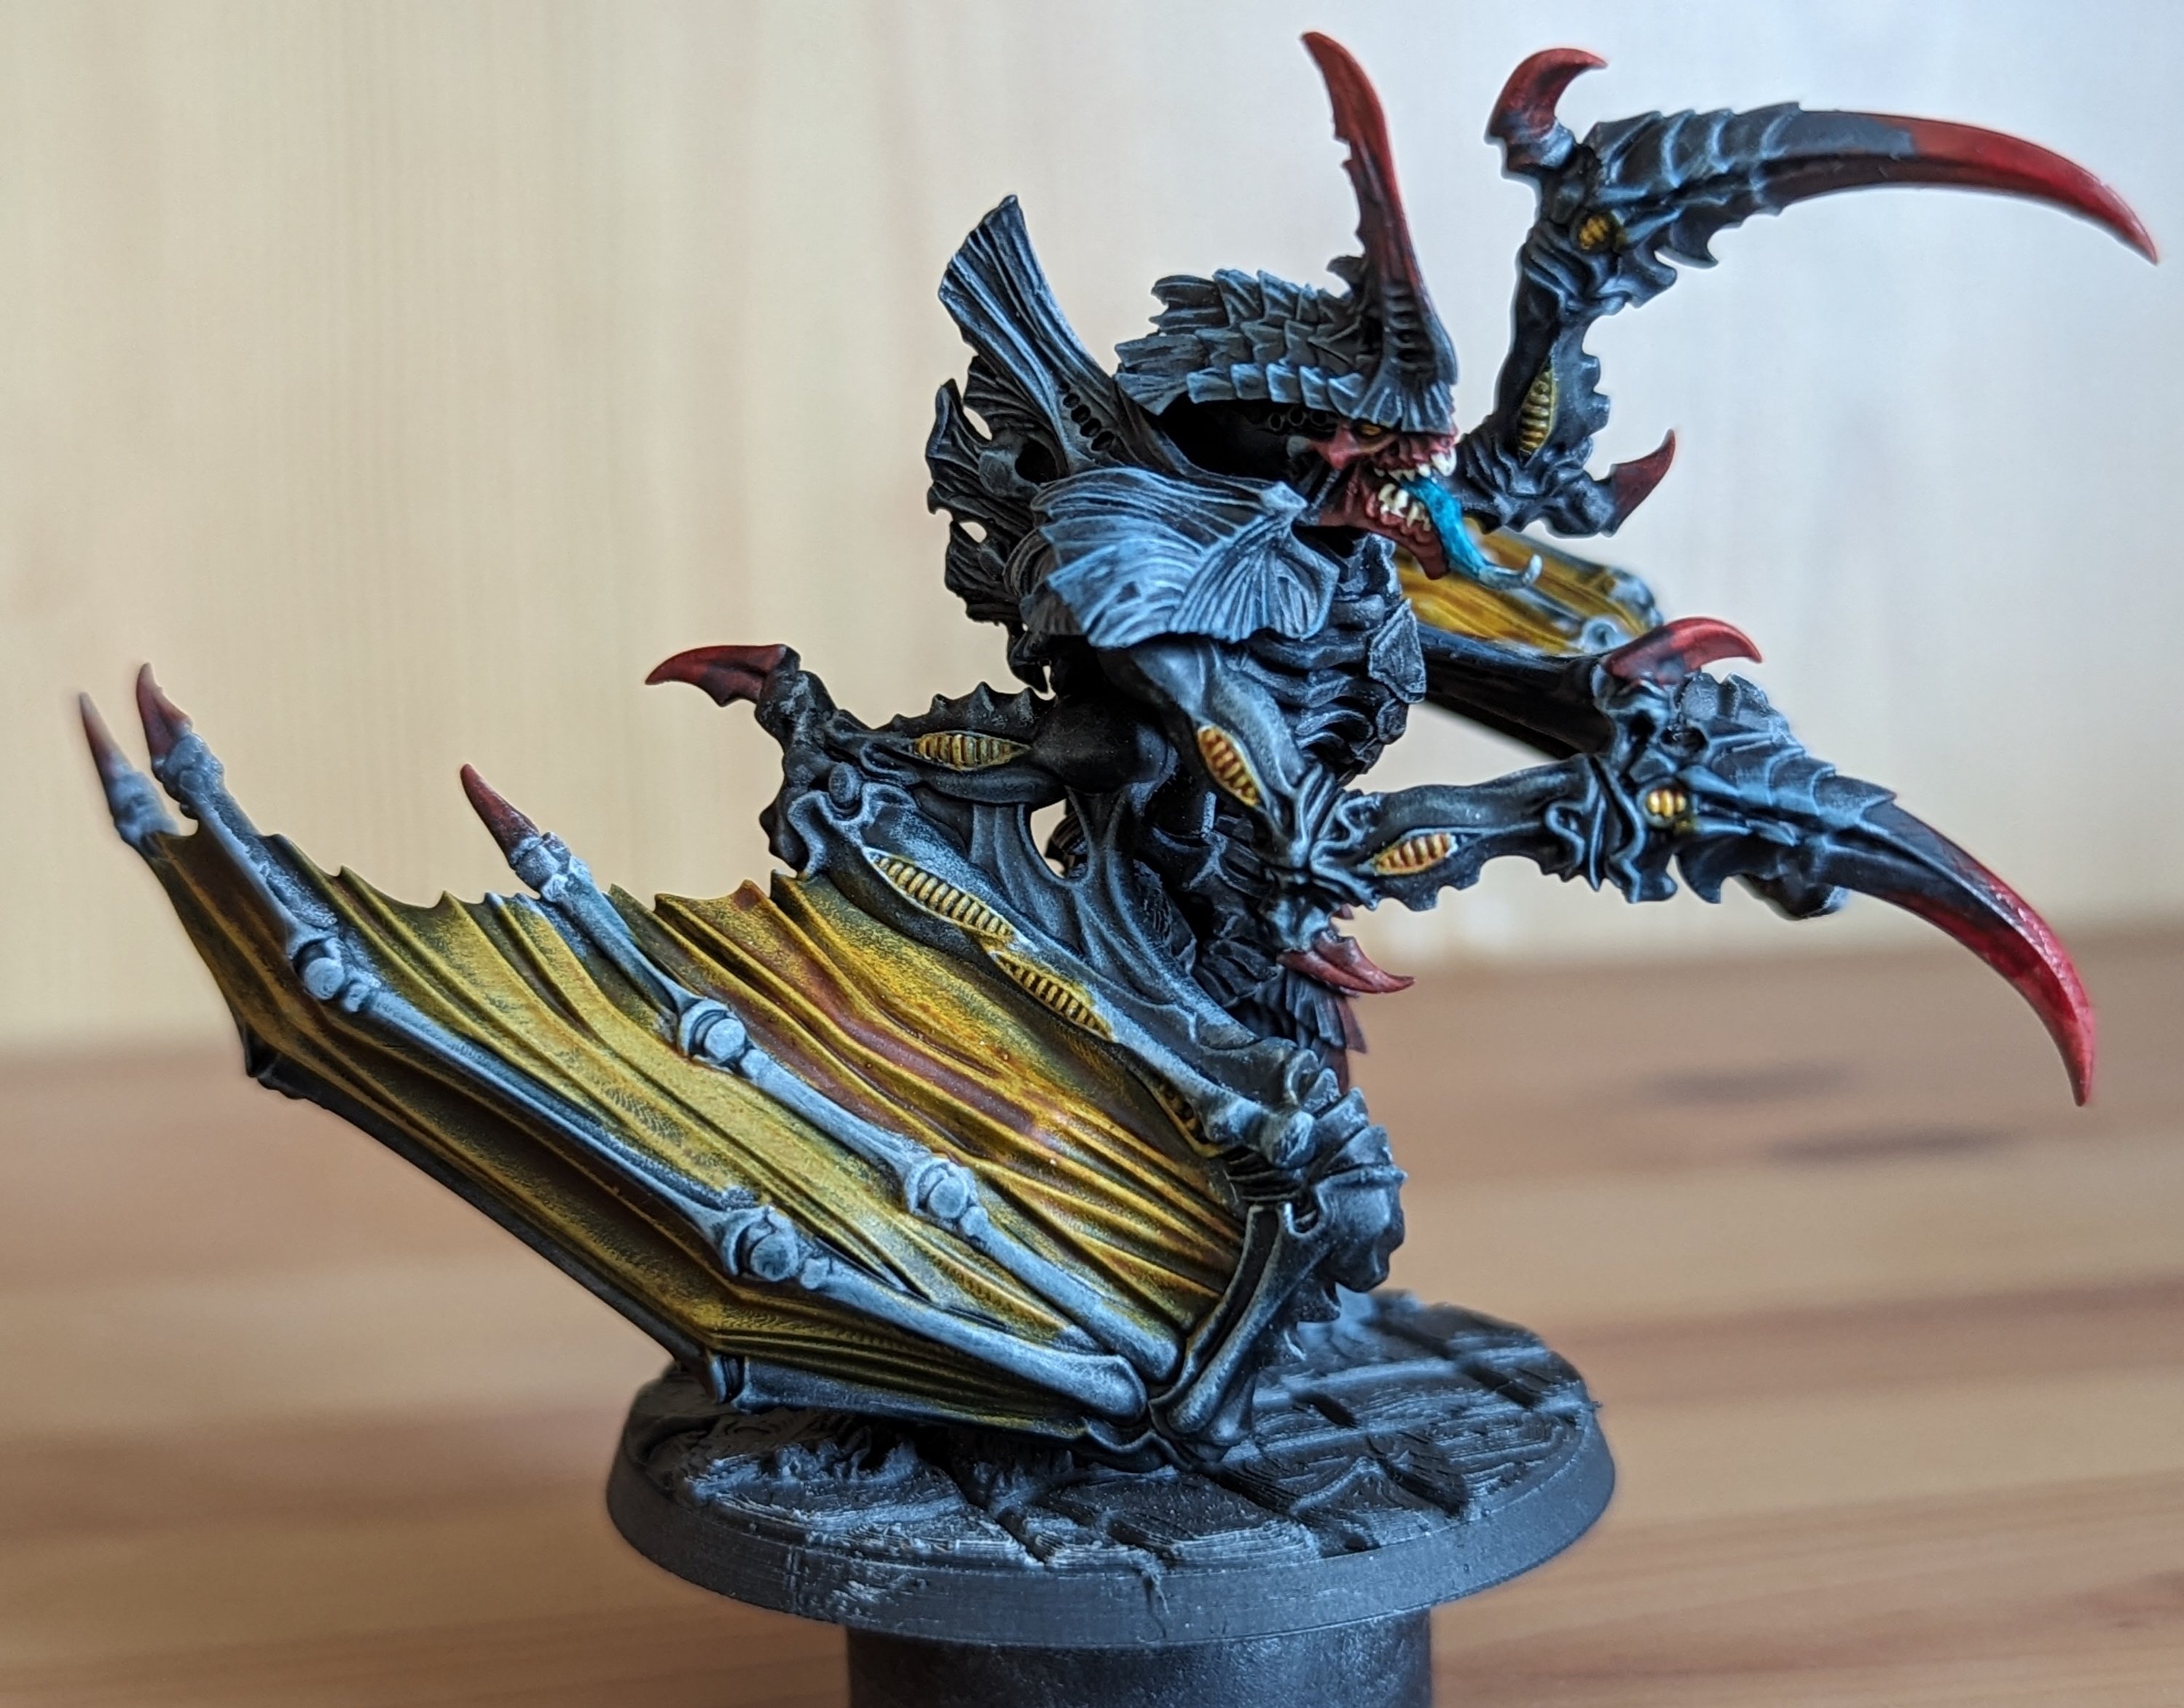
What was your technique for the highlighting on the body? It looks like you would have had to dry brush it but it also looks really controlled.
It’s just drybrushing! If you look at the original model the detail on the armour is fantastic so it was really easy to drybrush some blue on. I did use quite a small drybrush to keep it accurate. I think on the actual GW nids those panels are flat so you need to actually draw the lines on to mimic this texture.
I followed this tutorial, although I didn’t have half the paints and had to improvise a ton of stuff https://www.lorenzosasso.com/tutorial-painting-tyranids-with-3rd-edition-color-scheme-high-tabletop-quality/
This is the unpainted model where you can see the armour texture
Oh wow. Nice work! What printer/resin do you use?
It’s an Elegoo Mars 3 Pro with Siraya Tech Fast Abs-Like. On Lychee slicer there is a Vroom profile for this combo. Honestly I just set it to that, confirmed with a test print of the Cones of Calibration and it’s printed almost perfectly since. Unbelievably good. It takes no skill at all :)