- cross-posted to:
- laserengraving
- lightburn
- ender3
- ender3v2
- creality
- crealityfalcon
- cross-posted to:
- laserengraving
- lightburn
- ender3
- ender3v2
- creality
- crealityfalcon
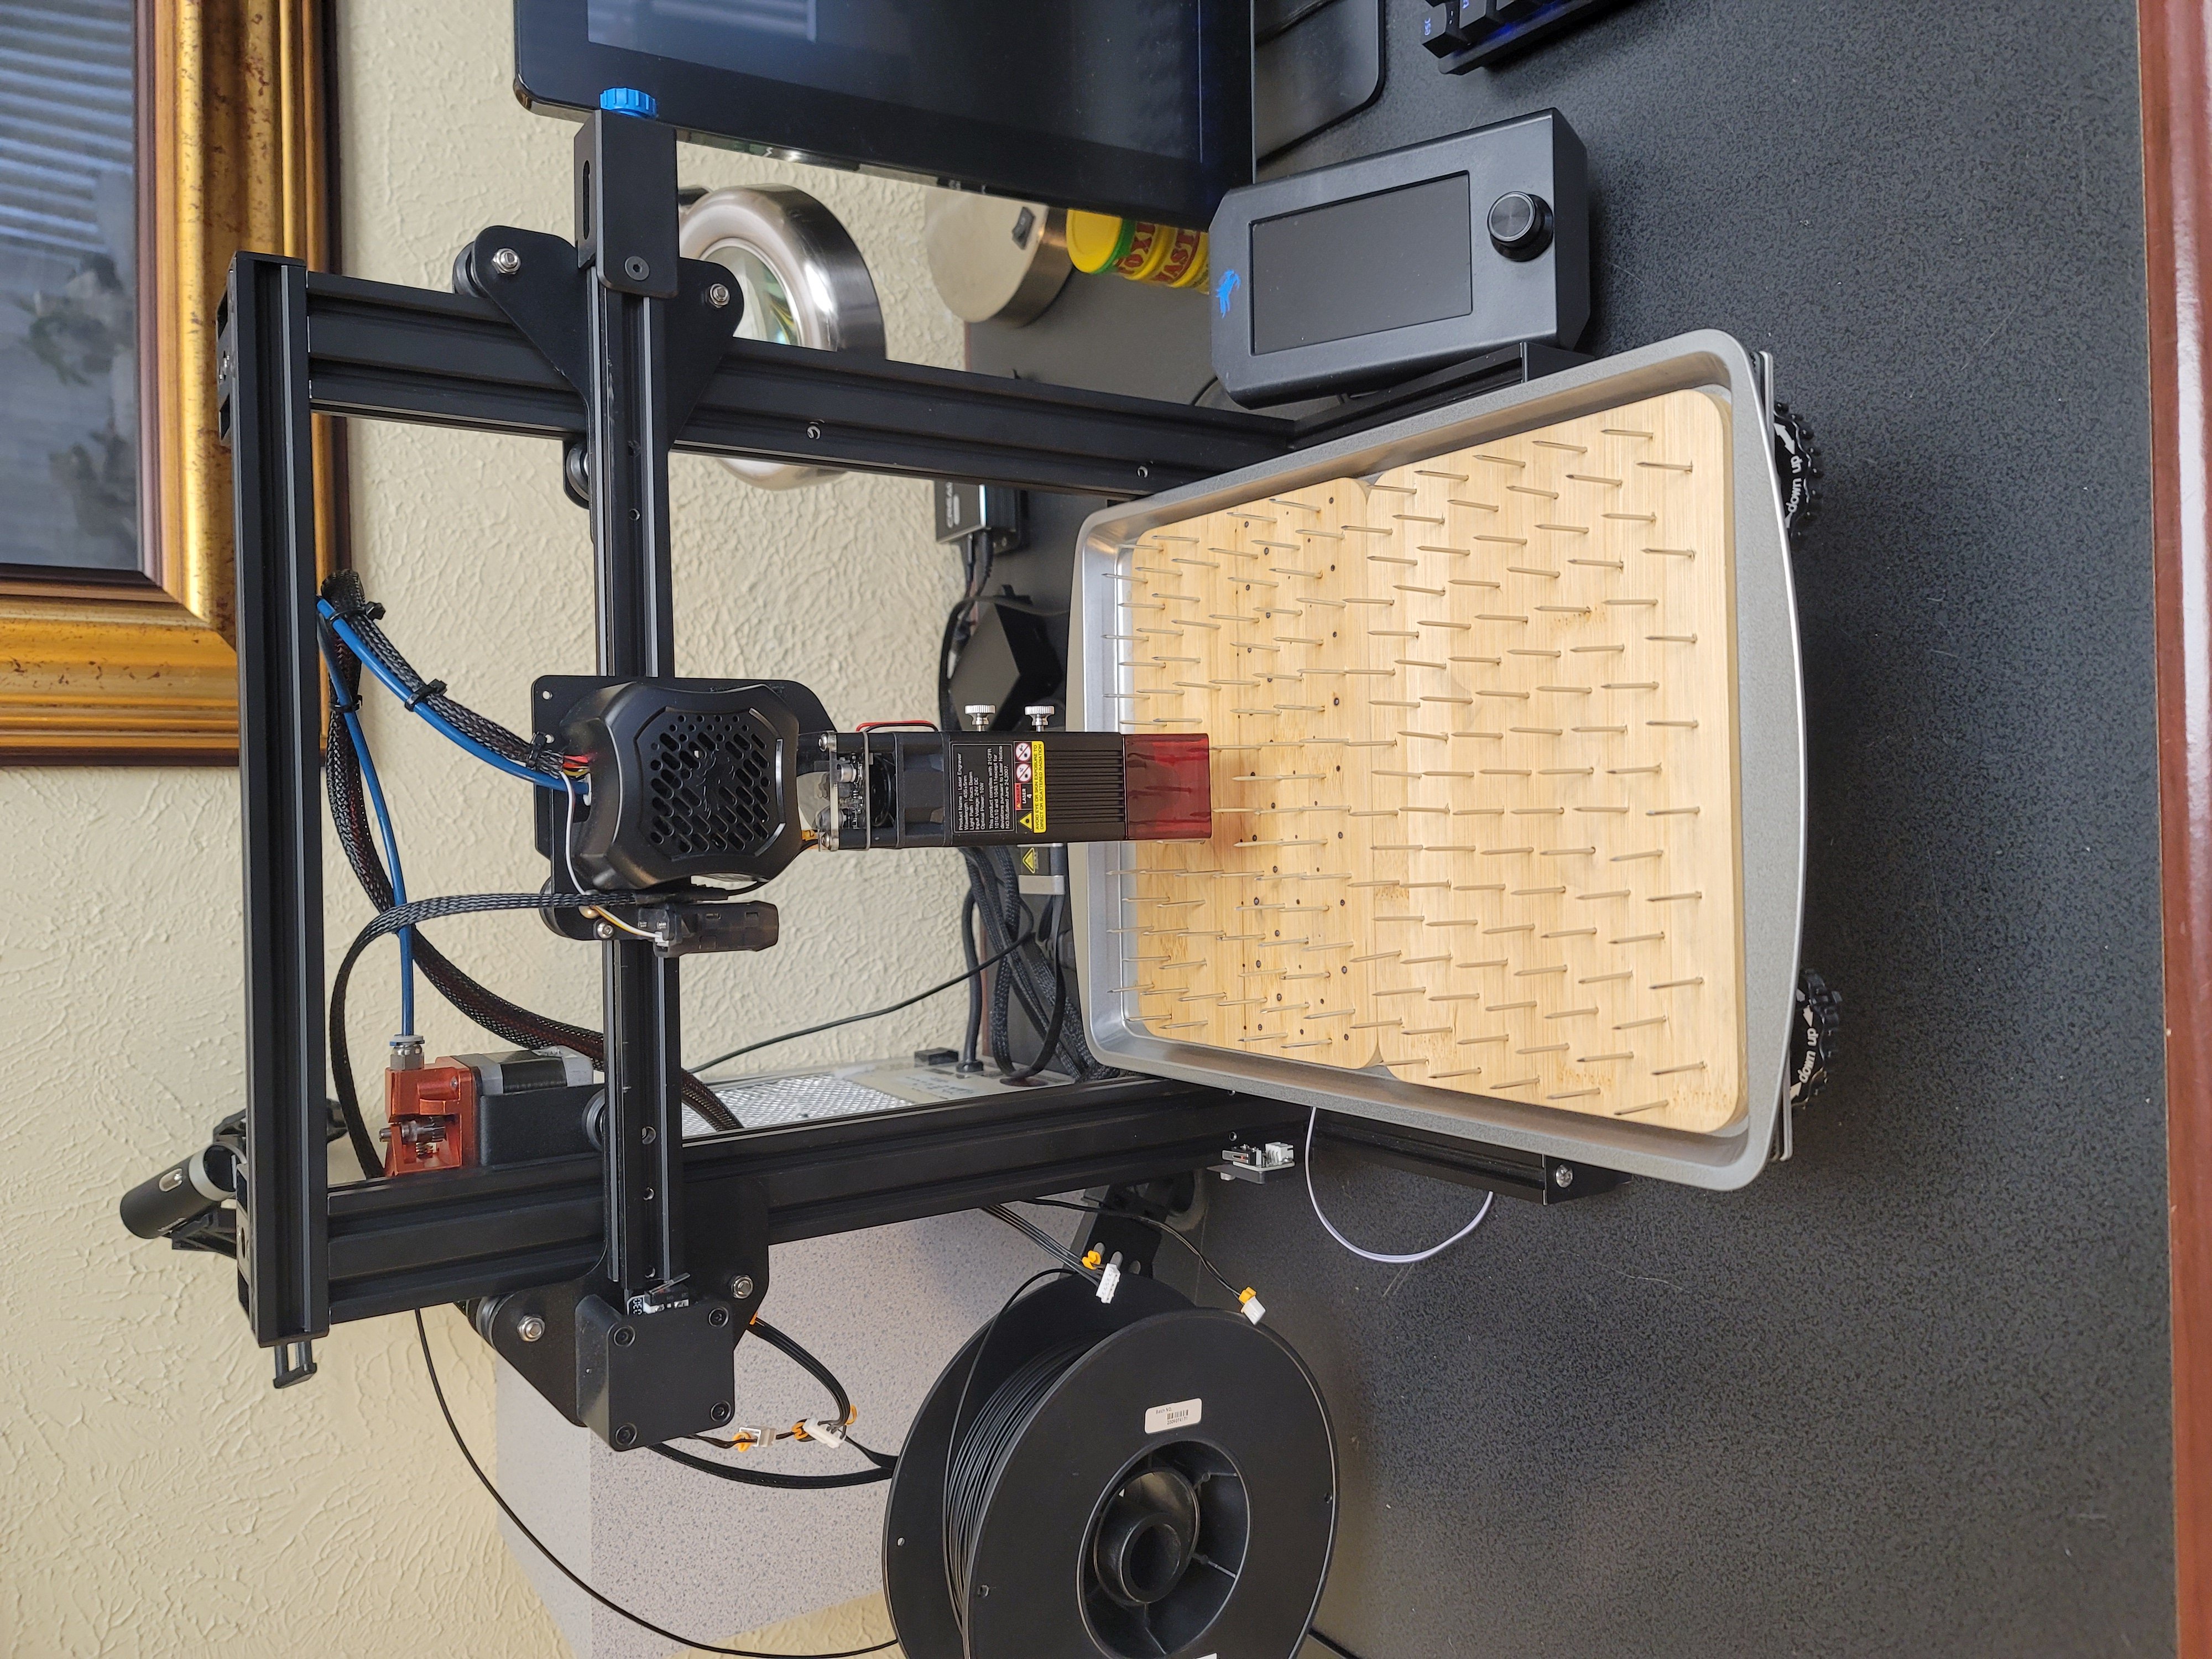
I made a couple of laser bed nail boards for my Creality Falcon Module on my Ender 3 V2.
I originally made this model for a nail board, that used the bamboo cutting board from Dollar Tree.
I started by making a template in Fusion 360 and exporting a DXF file for LightBurn. (The export is completely doable with a personal license - with just a few extra steps)
And glued some magnets on the bottom to keep them from moving around.
I used:
2 ea. Dollar Tree Bamboo board
1 ea. Dollar Tree 9 x 13 Aluminum pan
3 ea. Home Depot #16 x 1-1/4in Wire Nails (1oz package)


I just opened the .DFX file in Inkscape, it was shifted off of the start page to the bottom left side. But looks like you could work with it. I have not worked with Inkscape enough to know what you would do next.
It is sad to hear that LightBurn is not working with the xTool M1.
Are you simply saving your Inkscape project as a .SVG file to use with the XCS software? Or some other type?
Inkscape looks amazing, by the way.
In its stock configuration my fully enclosed cutter is not able to handle the additional height of the board and nails, so I would have to figure out something there first. It should be possible though as they do sell a raiser with a honeycomb panel seperately. So far the included aluminum triangular prisms do the job. But I am keeping your idea in mind.
For the workflow, yes, I open the default Inkscape svg files with XCS, sometimes with a raster image included for engraving. All manufacturing specific settings are done in the machine’s software then, so things like path colors and width are ignored. For all the praise it gets I expected to miss LightBurn more and on the side I am learning more and more about Inkscape.