

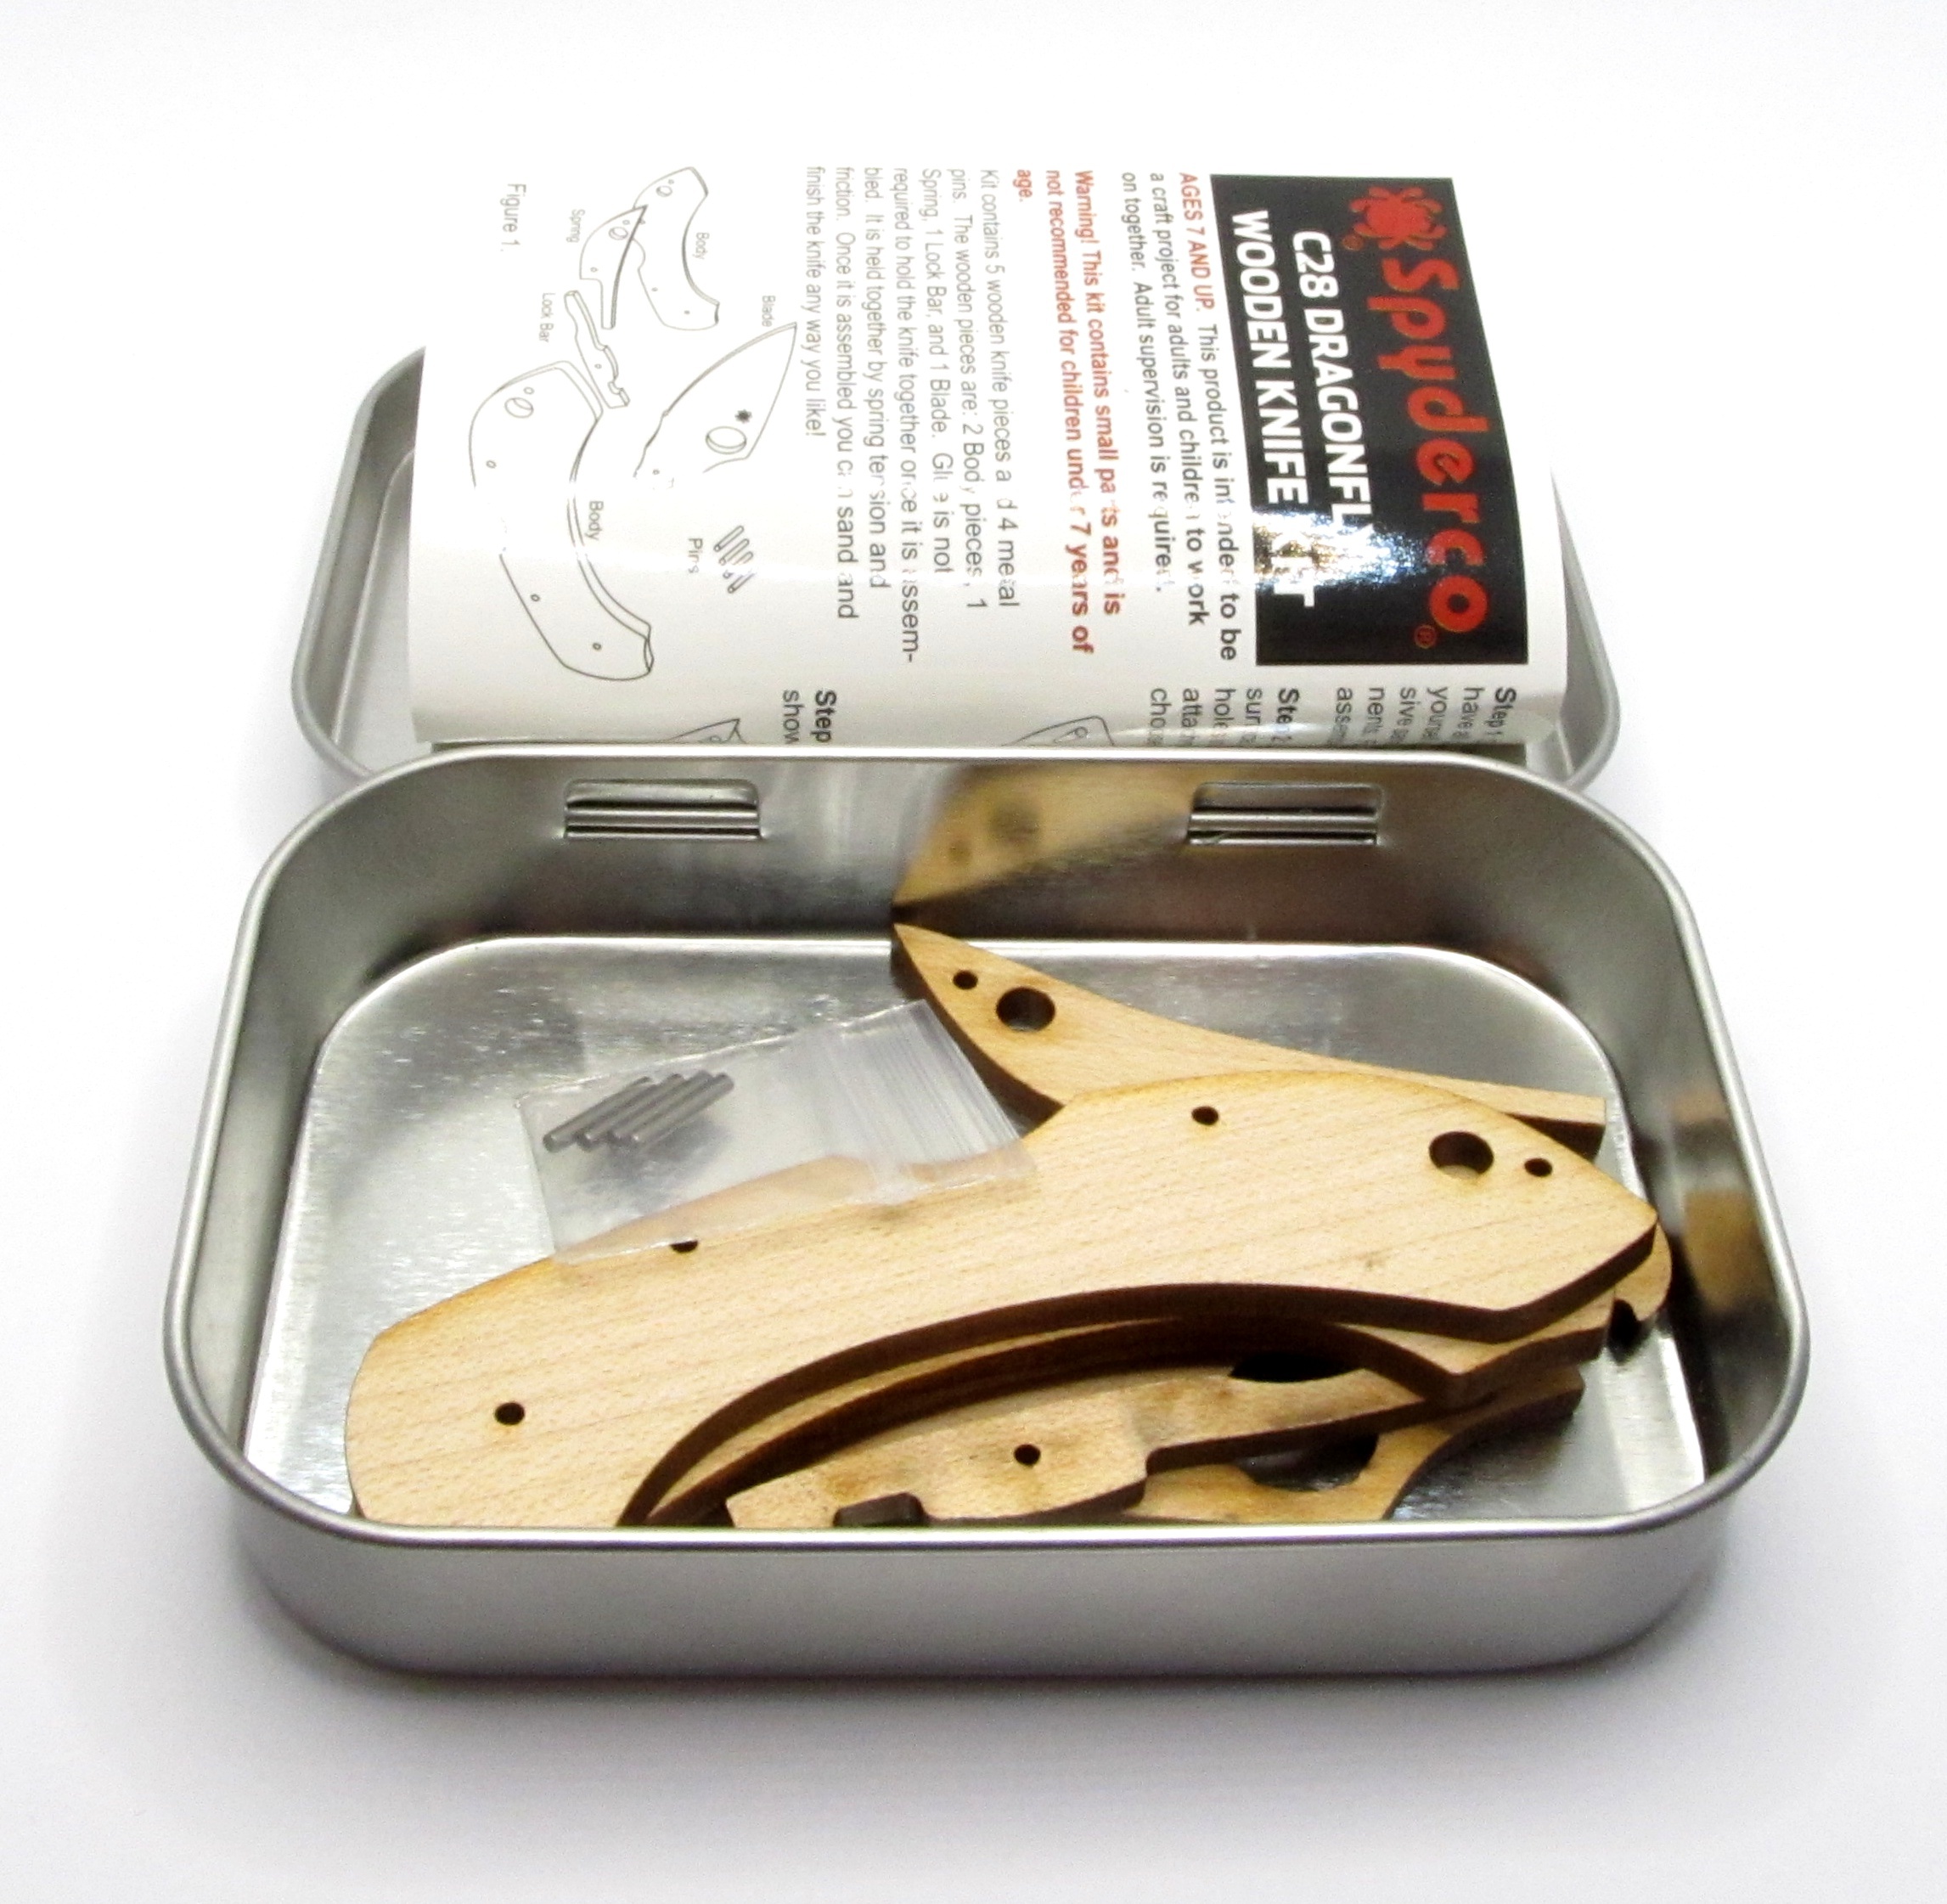
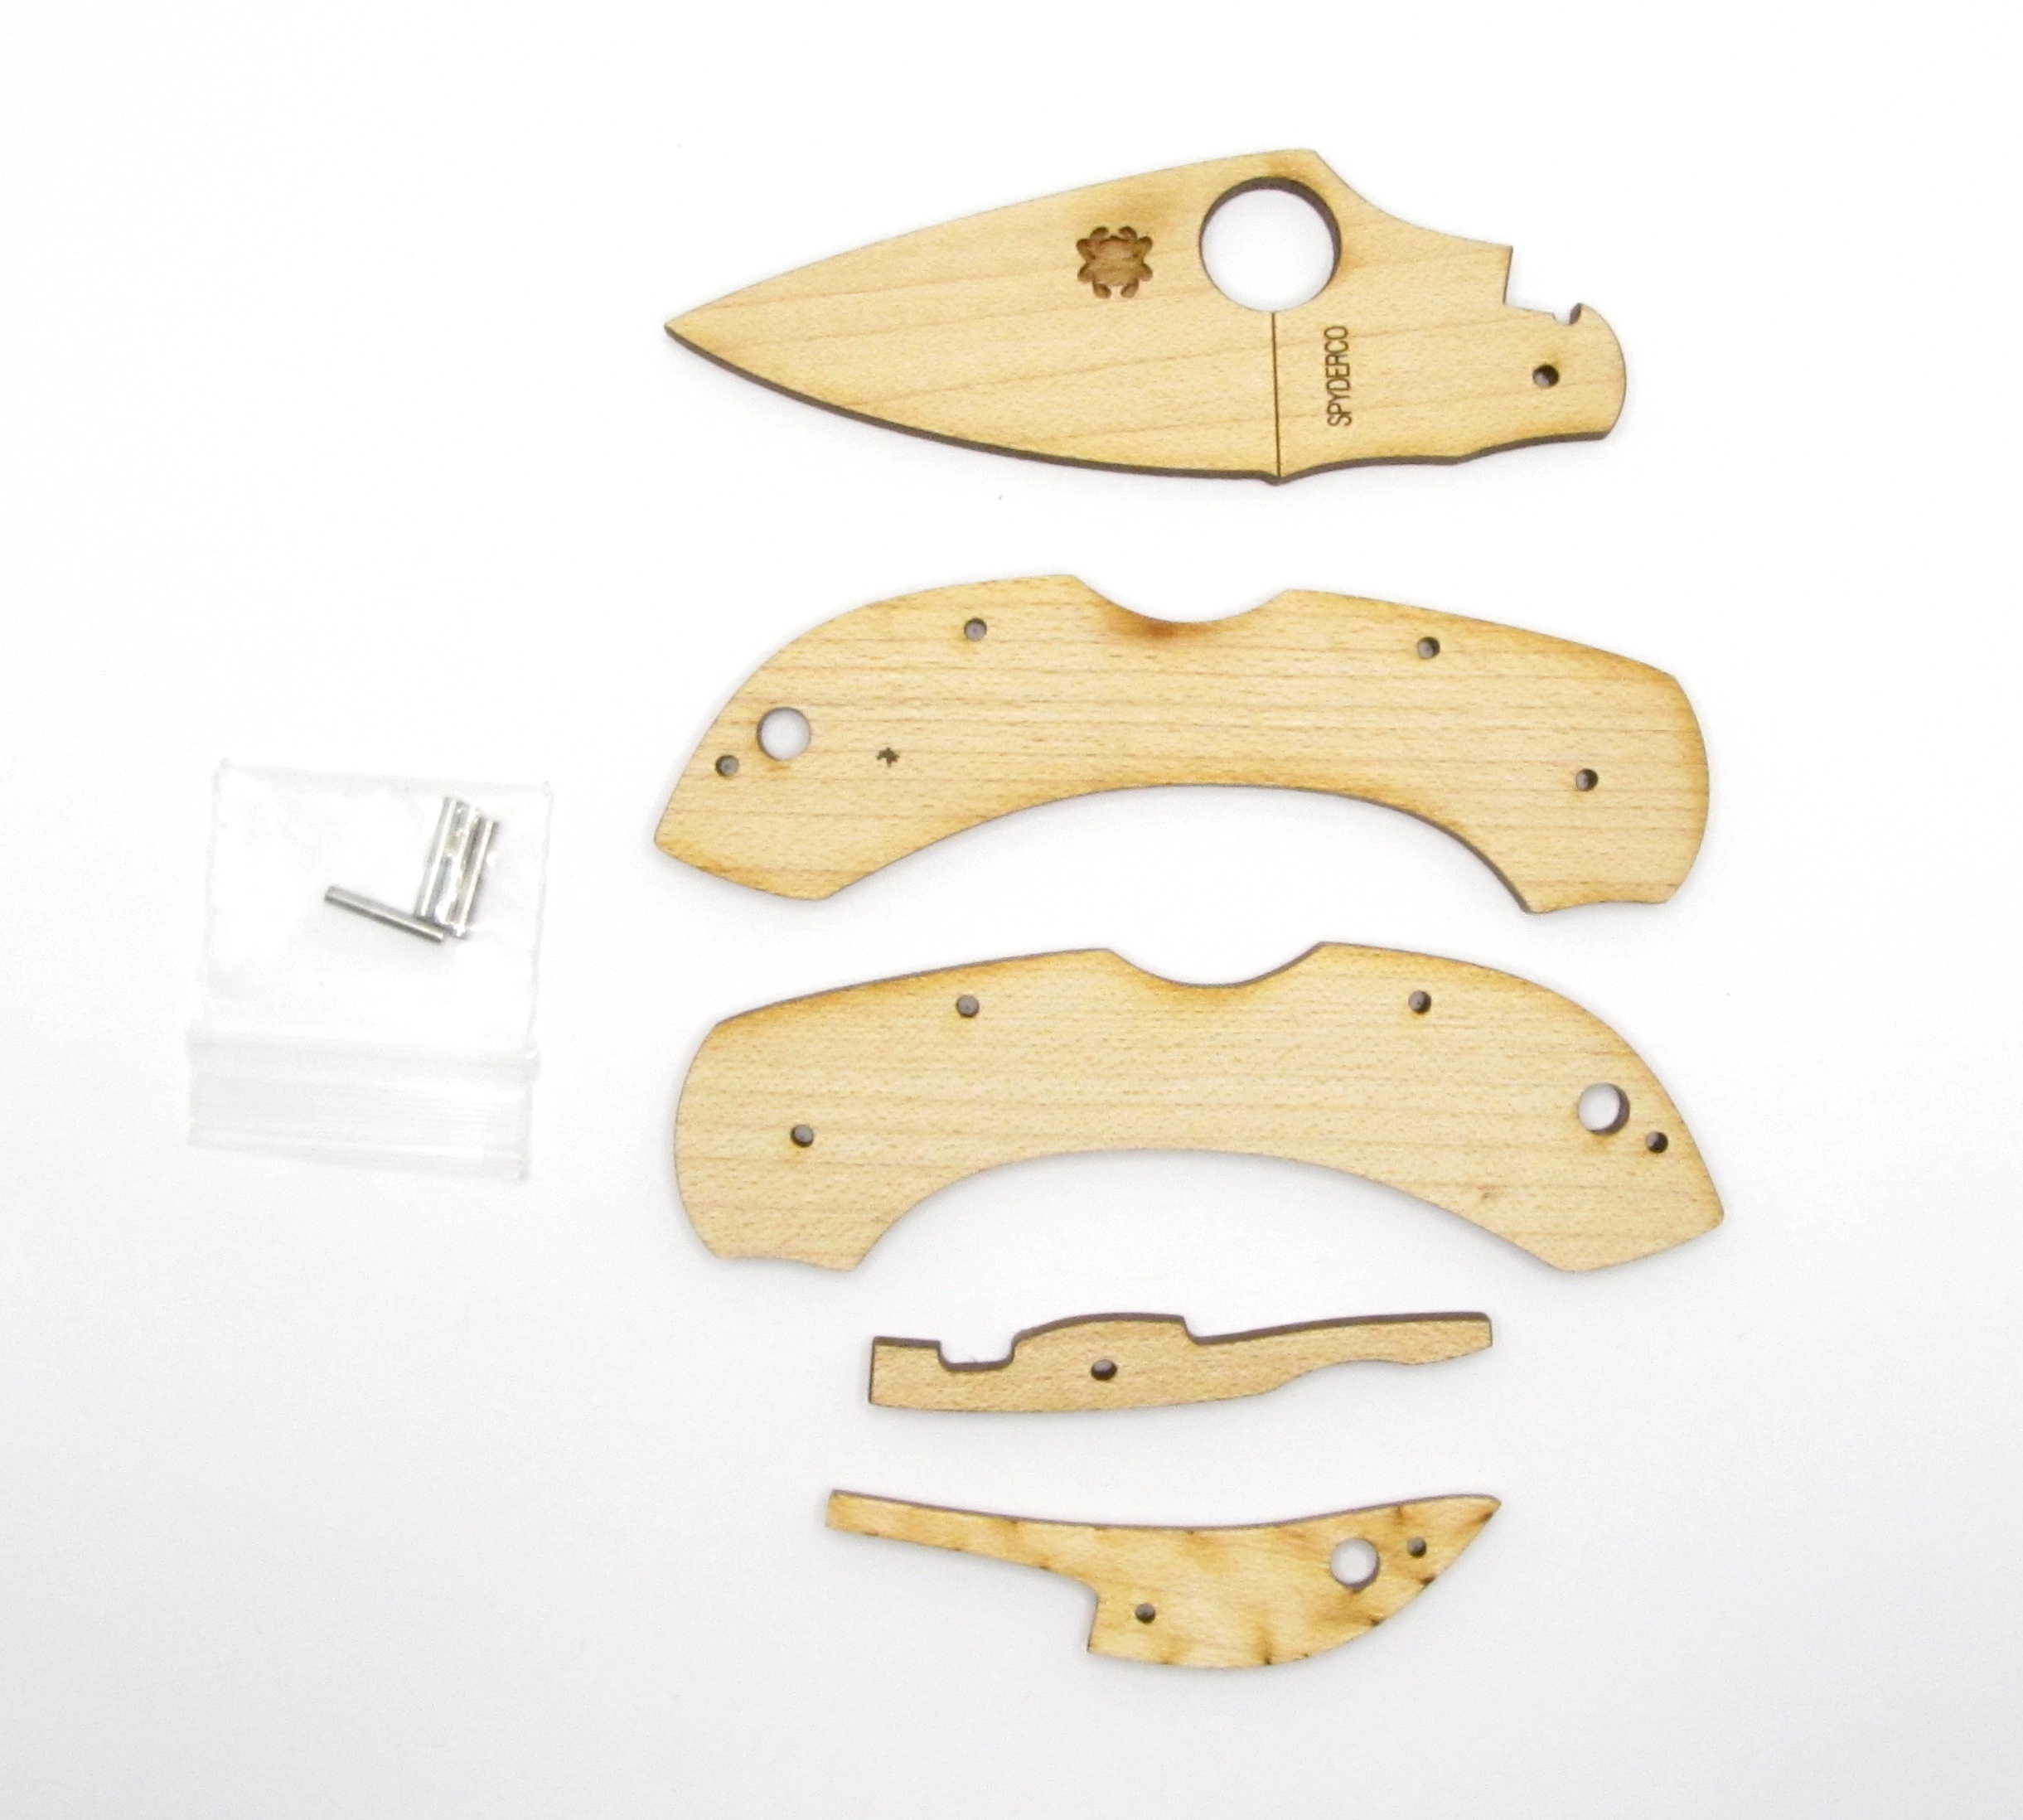
What’s in the box?
It’s almost, but not quite, a knife!
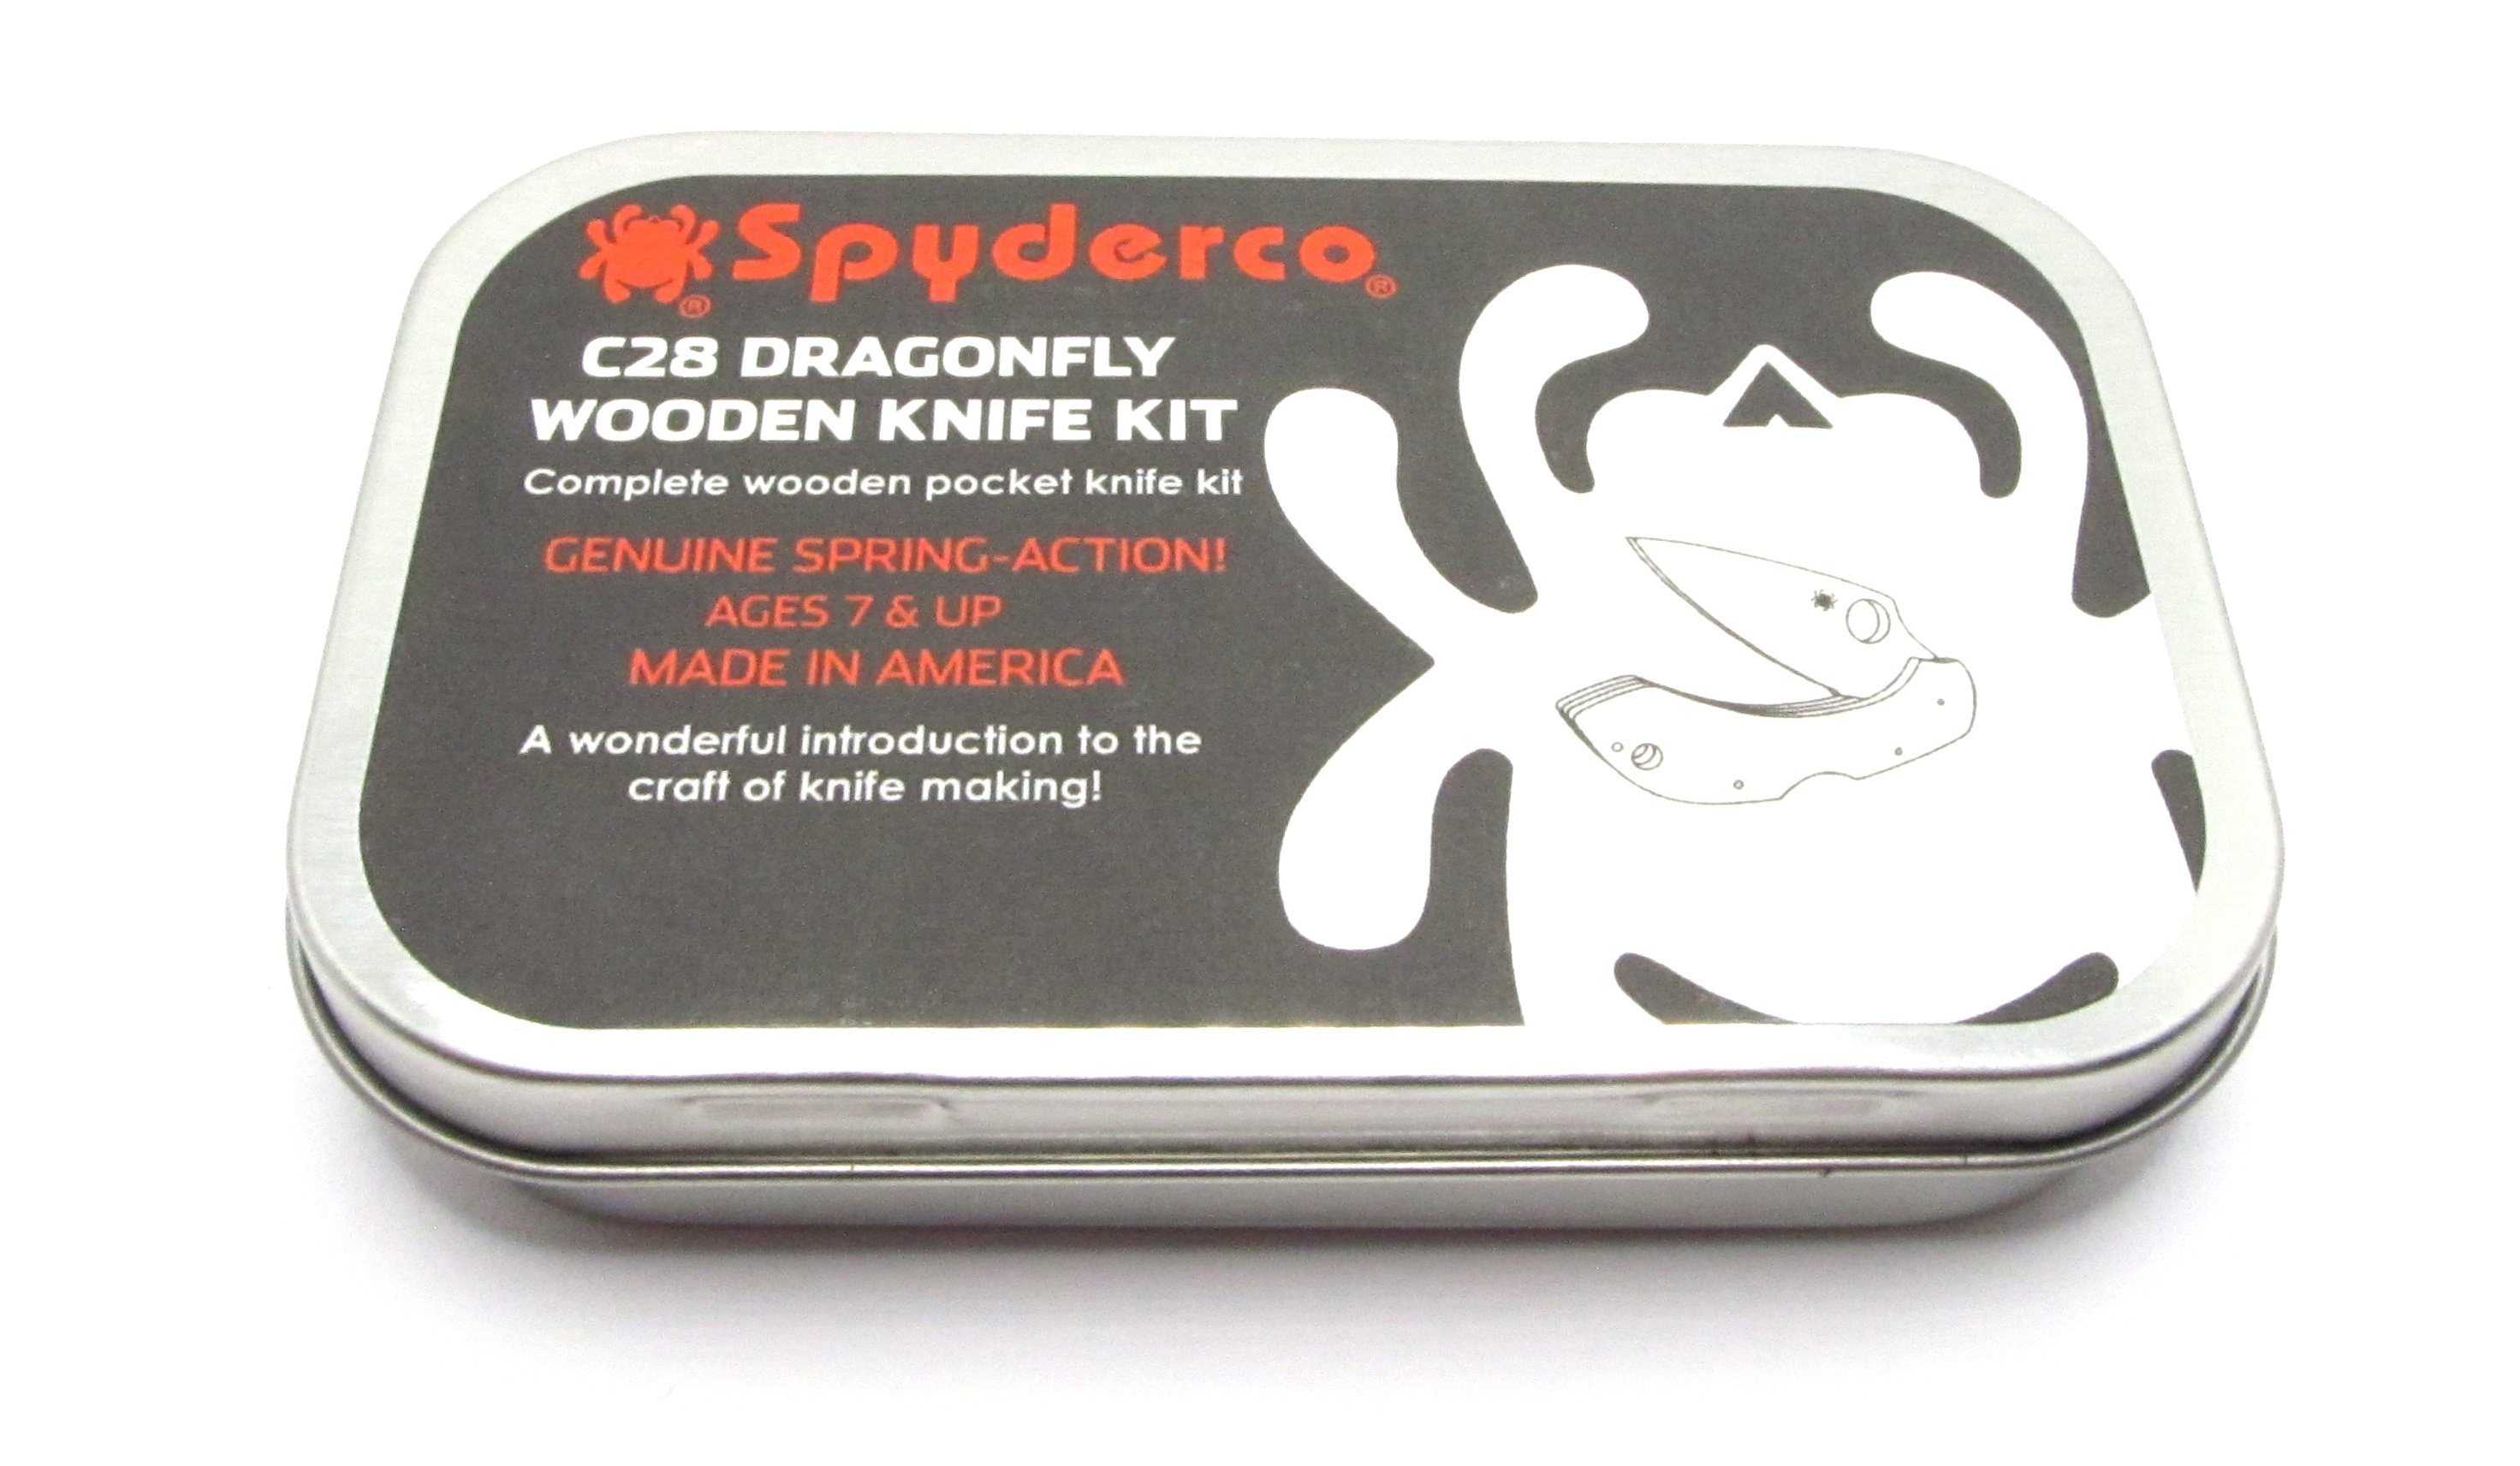
This is the Spyderco C28 “Dragonfly” knife kit. It’s an assemble-it-yourself replica of the Spyderco Dragonfly, as you would expect. But just like your Jakobs rifle, it’s made made out of freakin’ wood. Spyderco seem to think this is aimed at youngsters who are maybe too little to be entrusted with ownership of their own real pocketknife.
And also any suitably ridiculous adults. We know who we are.
This kit will set you back about $20, and if you care to look at it that way I think it’s the cheapest way to get your hands on a Spyderco “knife” since the Dragonfly model it’s based off of is the thick end of $105.
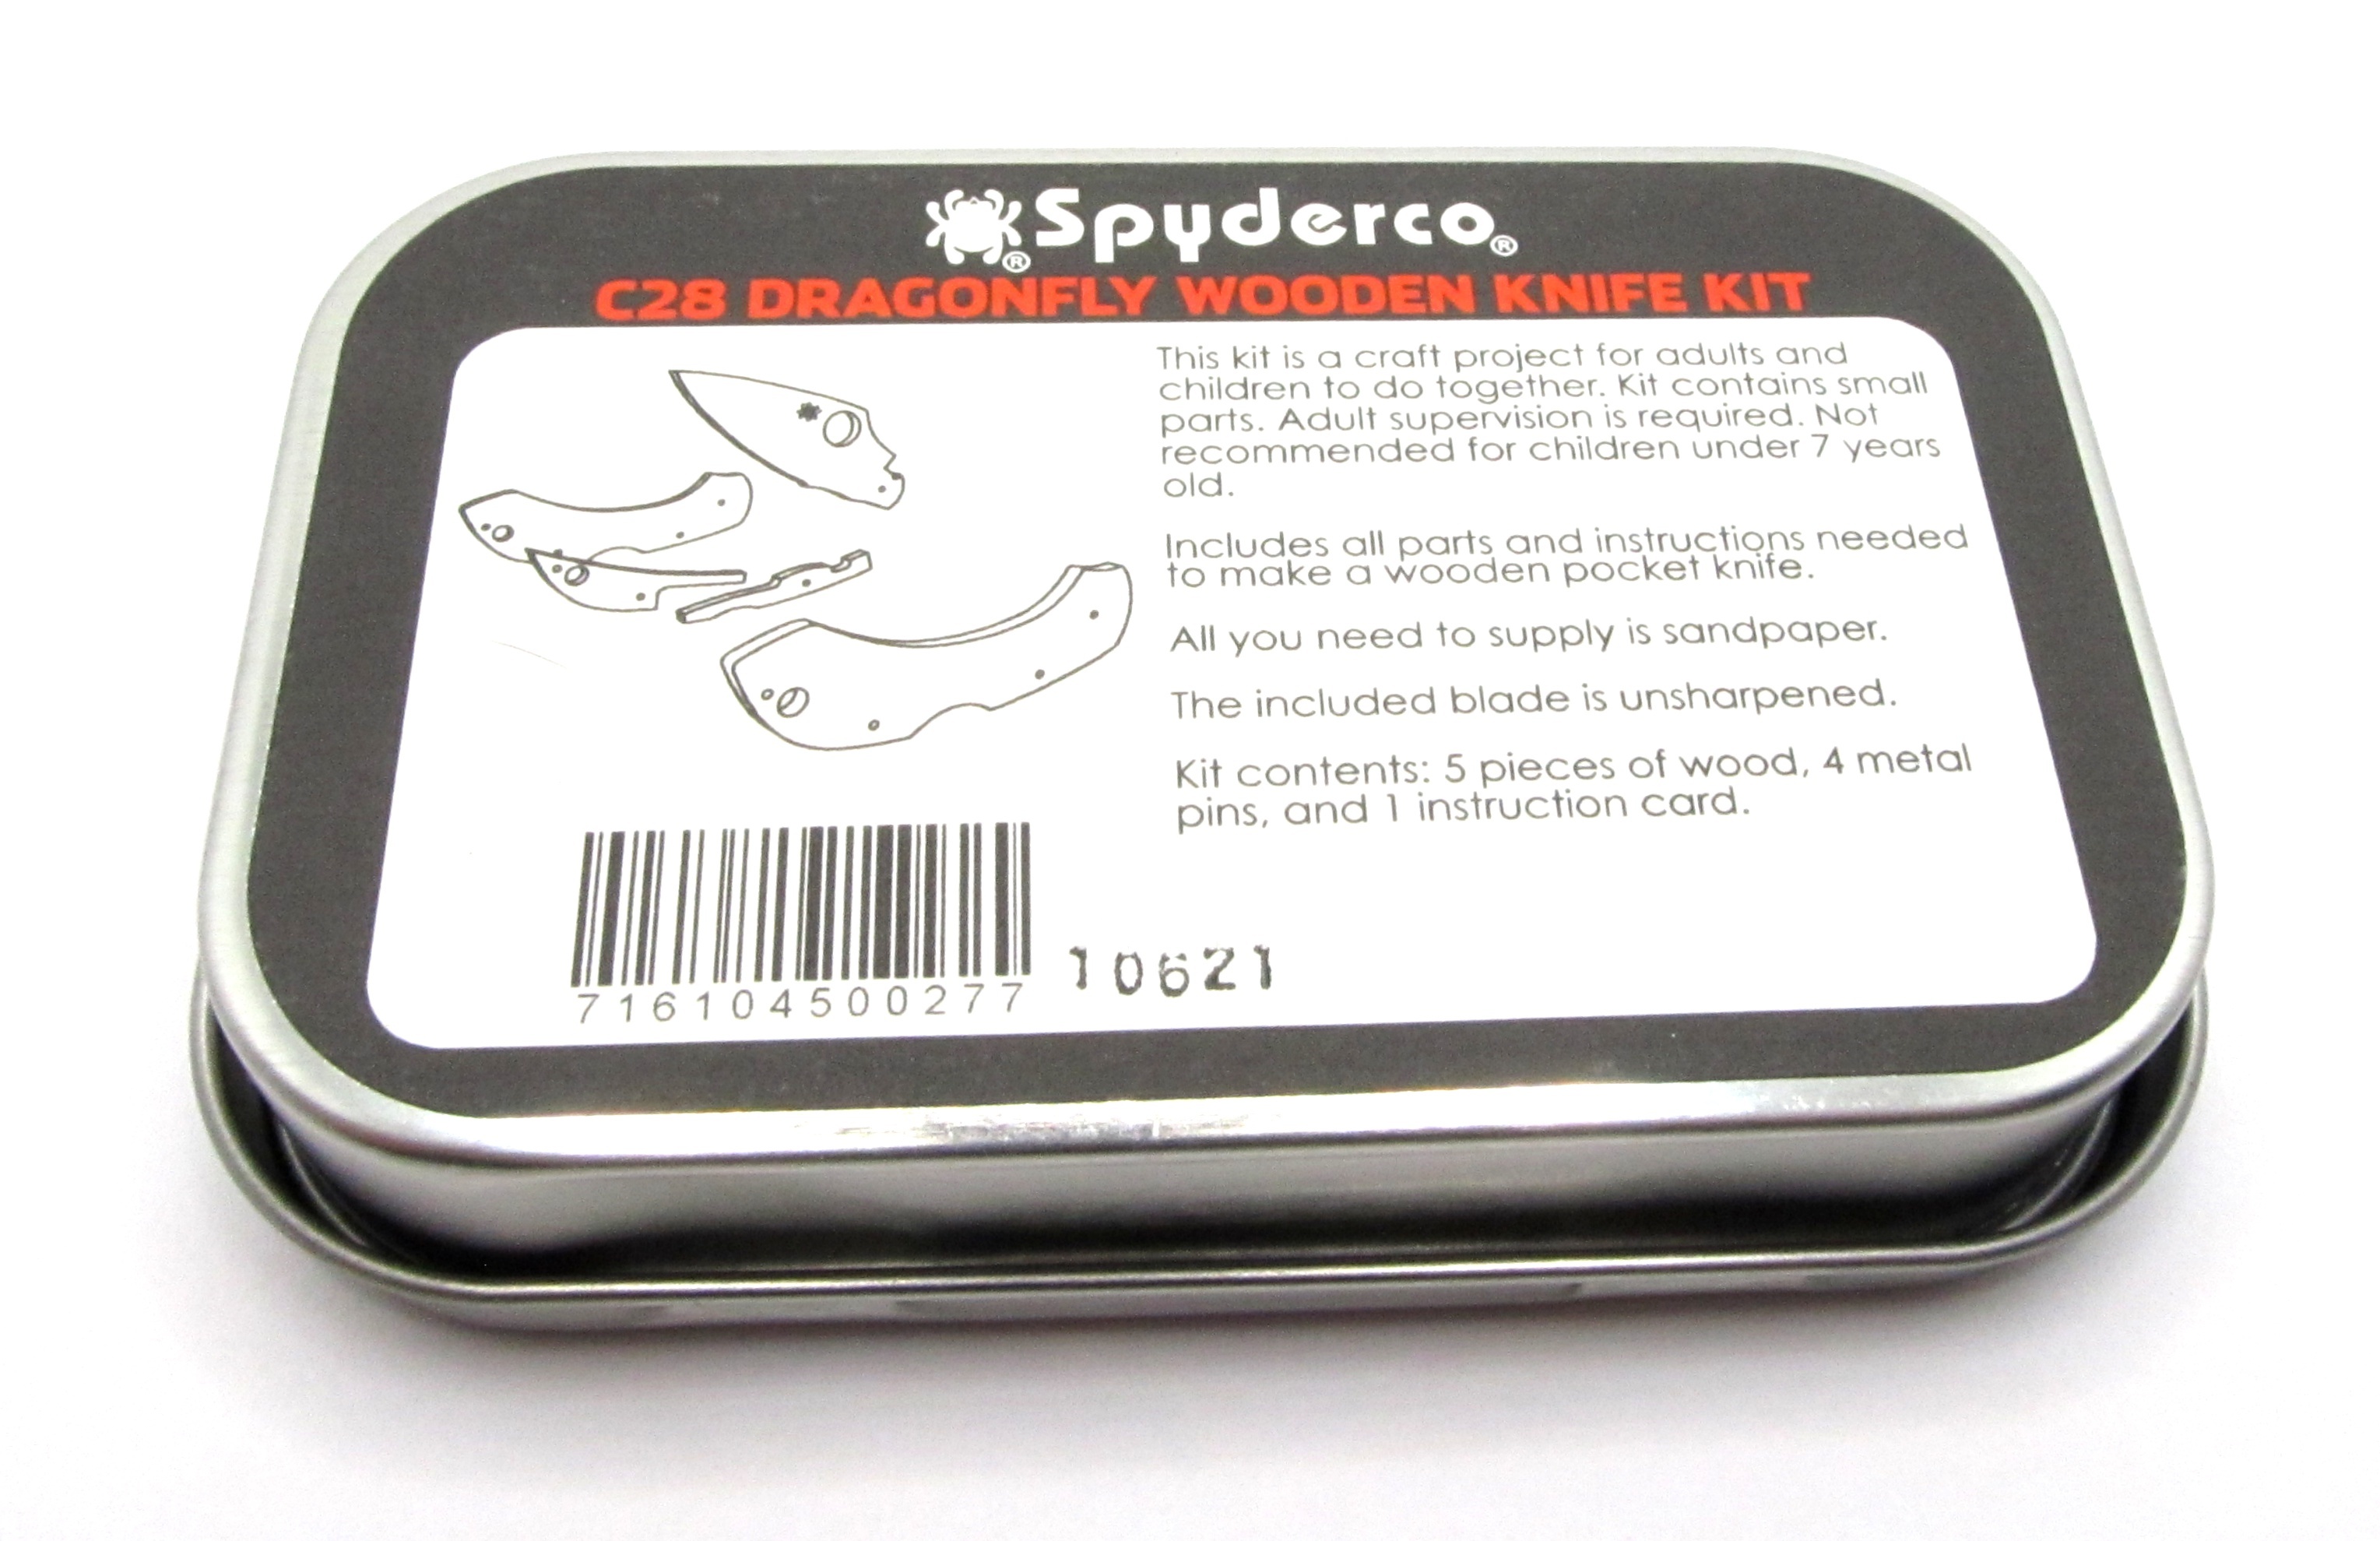
It also comes in a swank little tin. The back tells you most of what you need to know. It claims you’ll need sandpaper, which is not actually required to put the kit together, but the instructions inside suggest you could sand and finish the wooden parts after assembly if you wanted to.
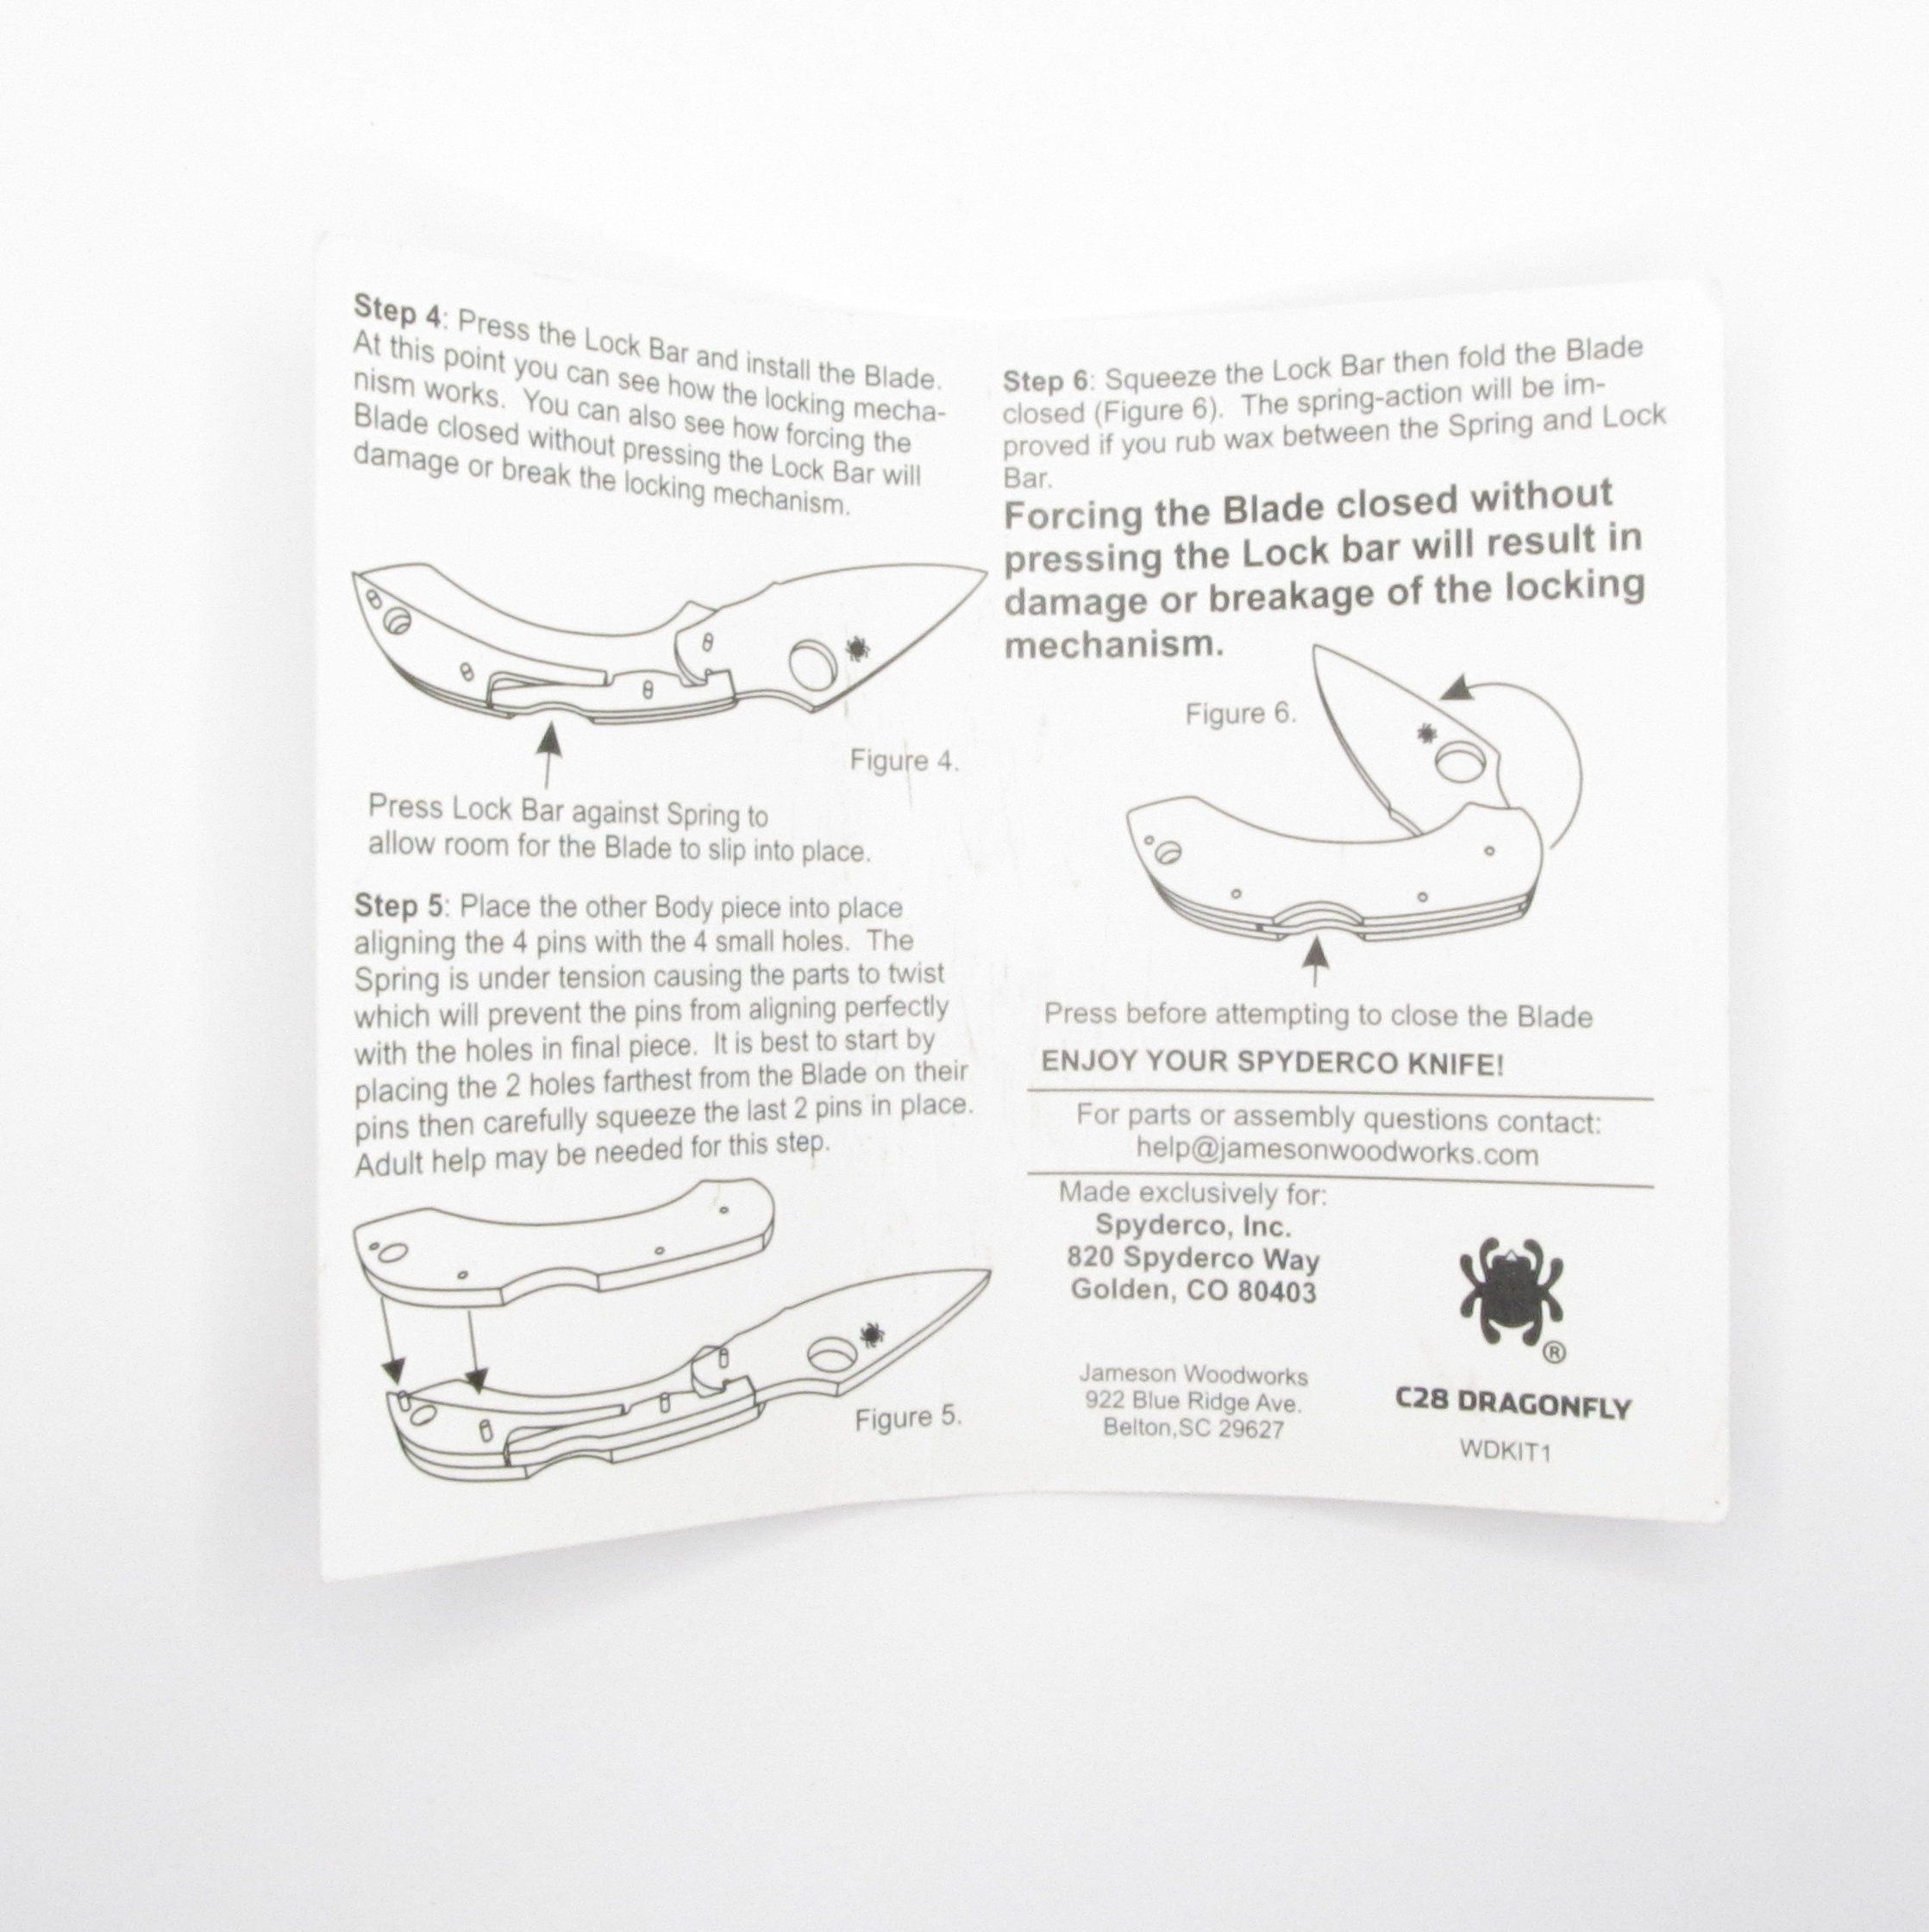
Here are the instructions, by the way:
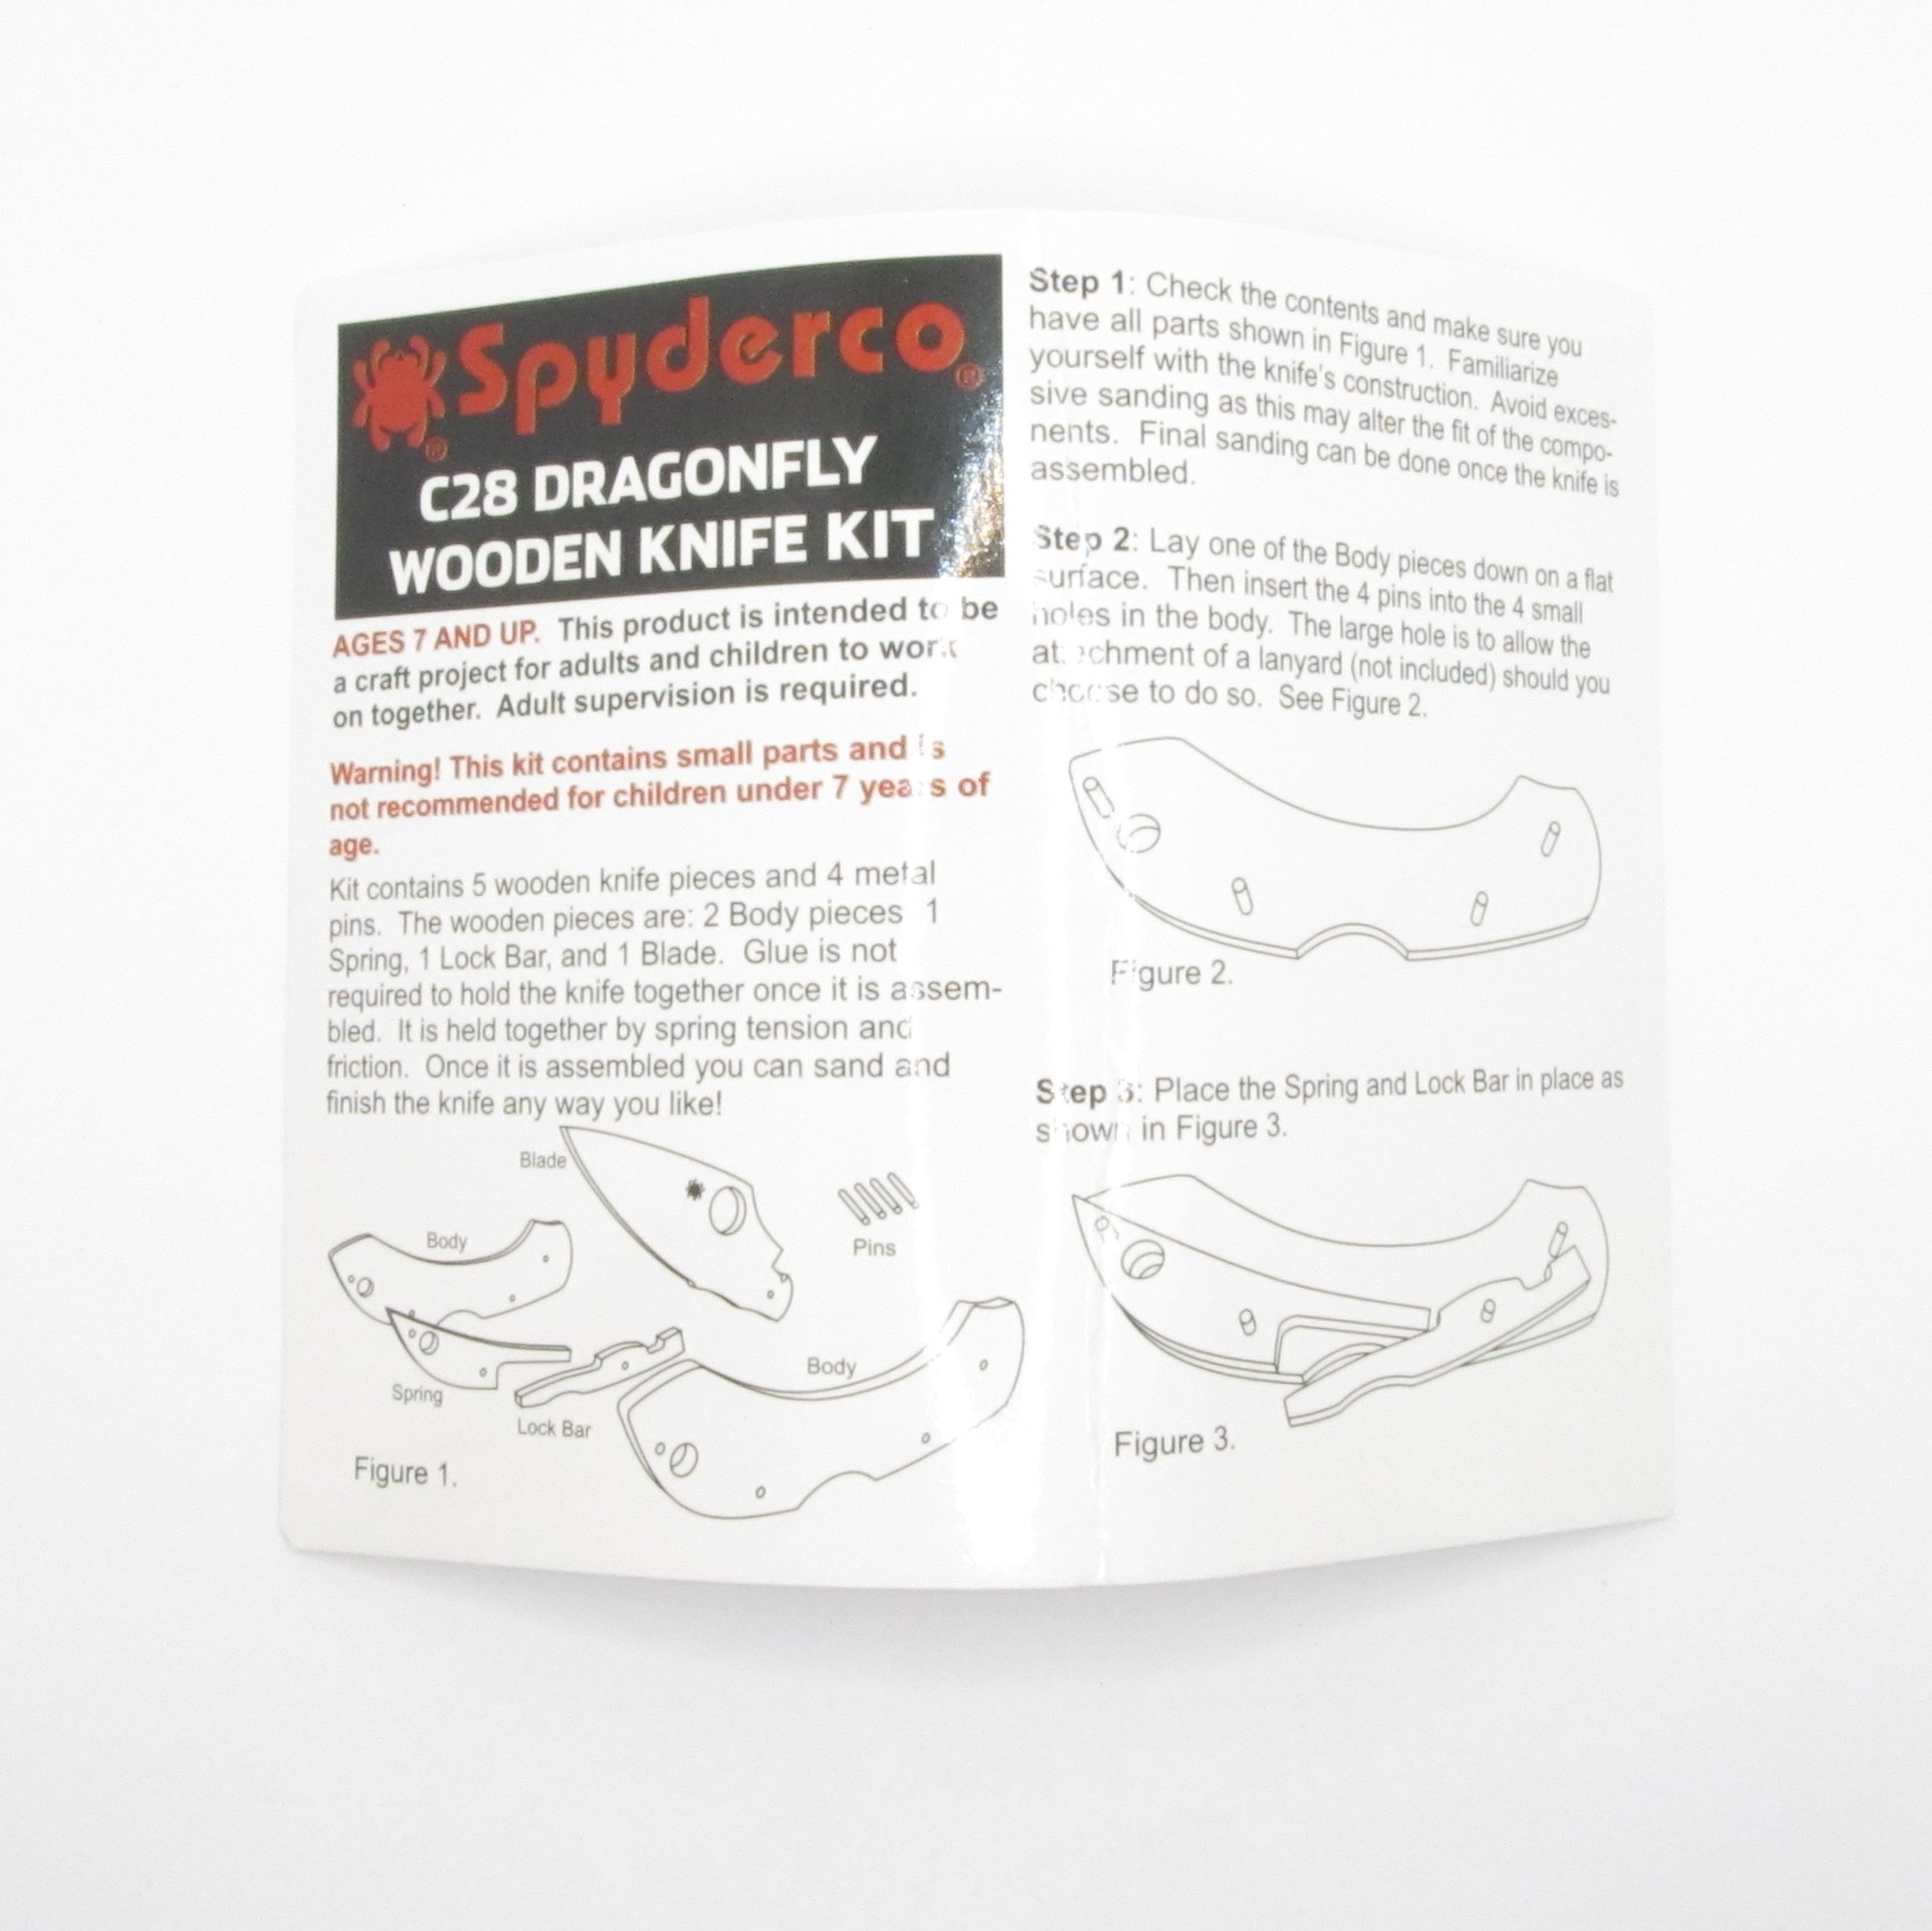
Both the instructions and the front of the tin imply that this would be a suitable project for a kid (ages 7 and up, it says) but as we’ll see in a little bit that may actually be a tall order. If you’re planning on giving this to a child, I’d say that adult assistance is definitely going to be required for one of the steps at the very least, and maybe borrowing dad’s Leatherman tool for a minute would be helpful as well.
Neither the kit nor instructions actually say what kind of wood the parts are made out of. It’s definitely not balsa wood. If I had to guess, I’d say it’s probably birch. All the parts are quite clearly laser cut and there is some evidence of this with some varied light char marks around the edges. The Spyderco logo and brand name are also laser etched into it, as well as a little line that’s meant to represent the ricasso that you’d find on the real deal. The parts are only engraved on one side, though.
So normally in these endeavors I’d spend a lot of words talking about the knife in question, maybe torture a few metaphors, and we’d all take a drink after I compare it to my EDC knife (you know which one it is). And then we’d take it apart. But since this already comes disassembled, today we get to do it the other way 'round.
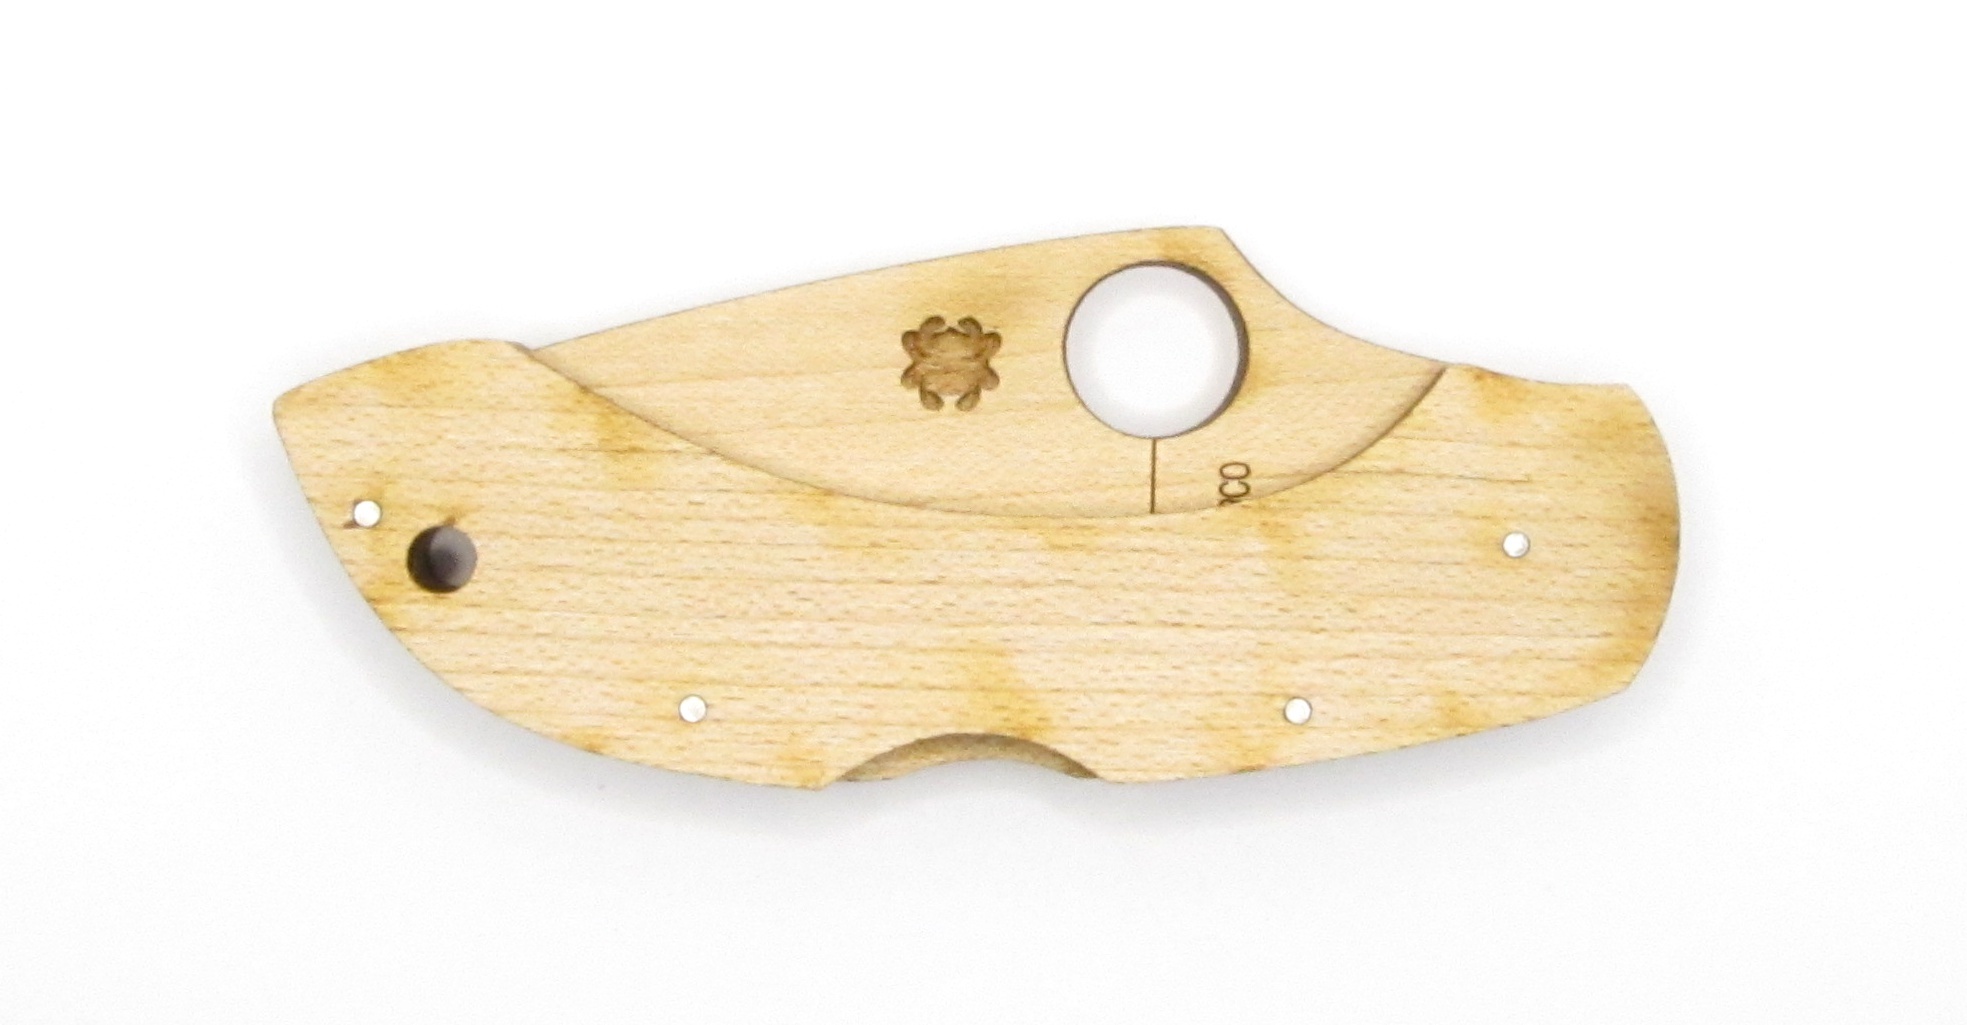
First you draw a circle, then you dot the eyes First you pick which sides of the two handle scales you want to be facing outwards. One of mine had a visible pock mark on it as you can see in the picture above, so I made sure that this wound up on the inside. Then you stick the four provided tiny metal pins in the pre-drilled holes.
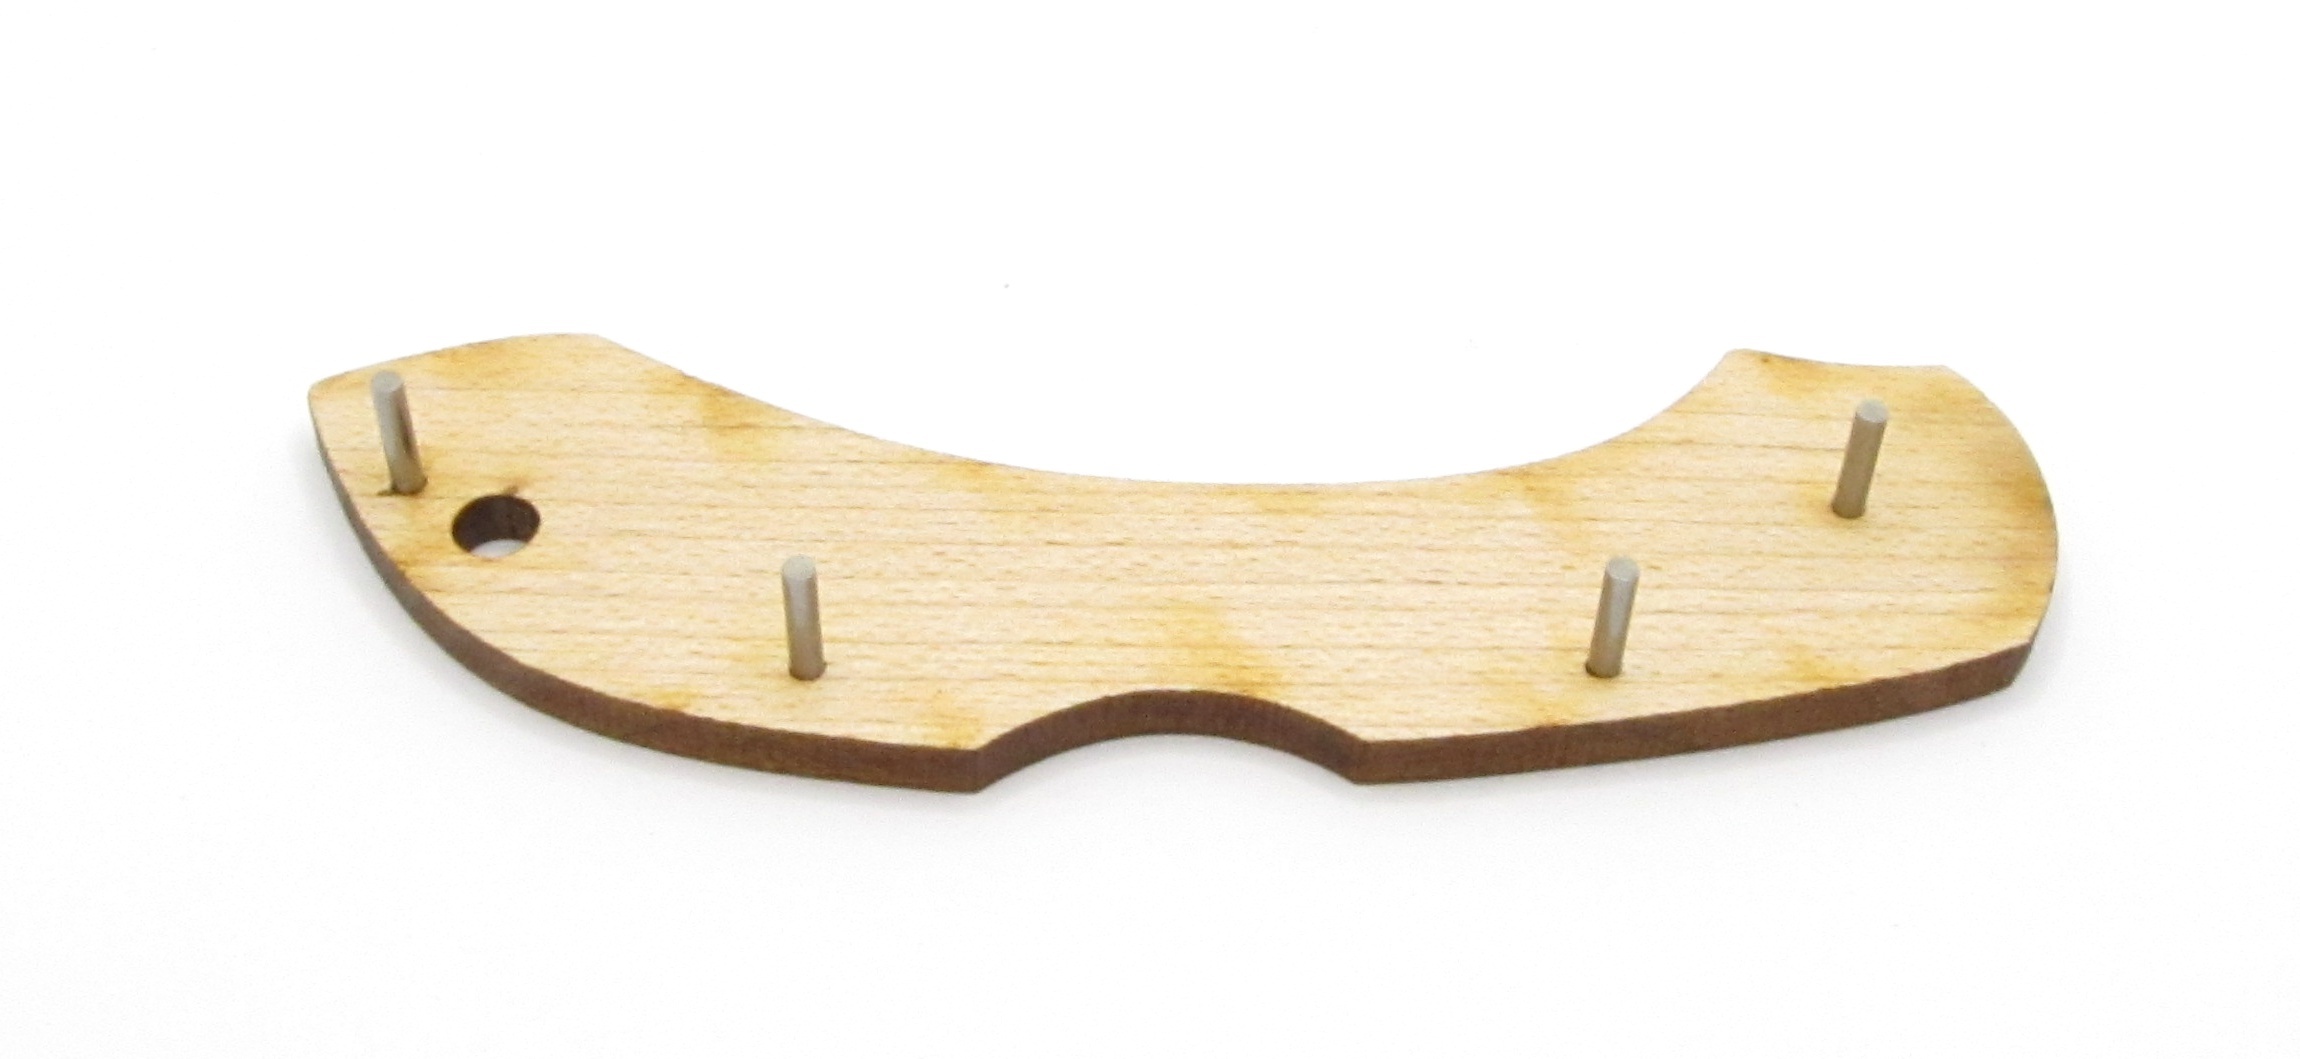
It definitely helps to have the handle scale against a sturdy flat surface when you do this. There’s nothing preventing the pins from being pushed straight through, which you don’t want. They should be flush with the outside of the scale. There’s some variance in the diameters of the holes, too, and it was much tougher to push a pin into one of them than the other three. I used a penny to assist in pressing it through, but you also want to make sure they go in straight and you don’t waller out the holes while fighting with it. Younger kids, or those with less patience, may have trouble here.
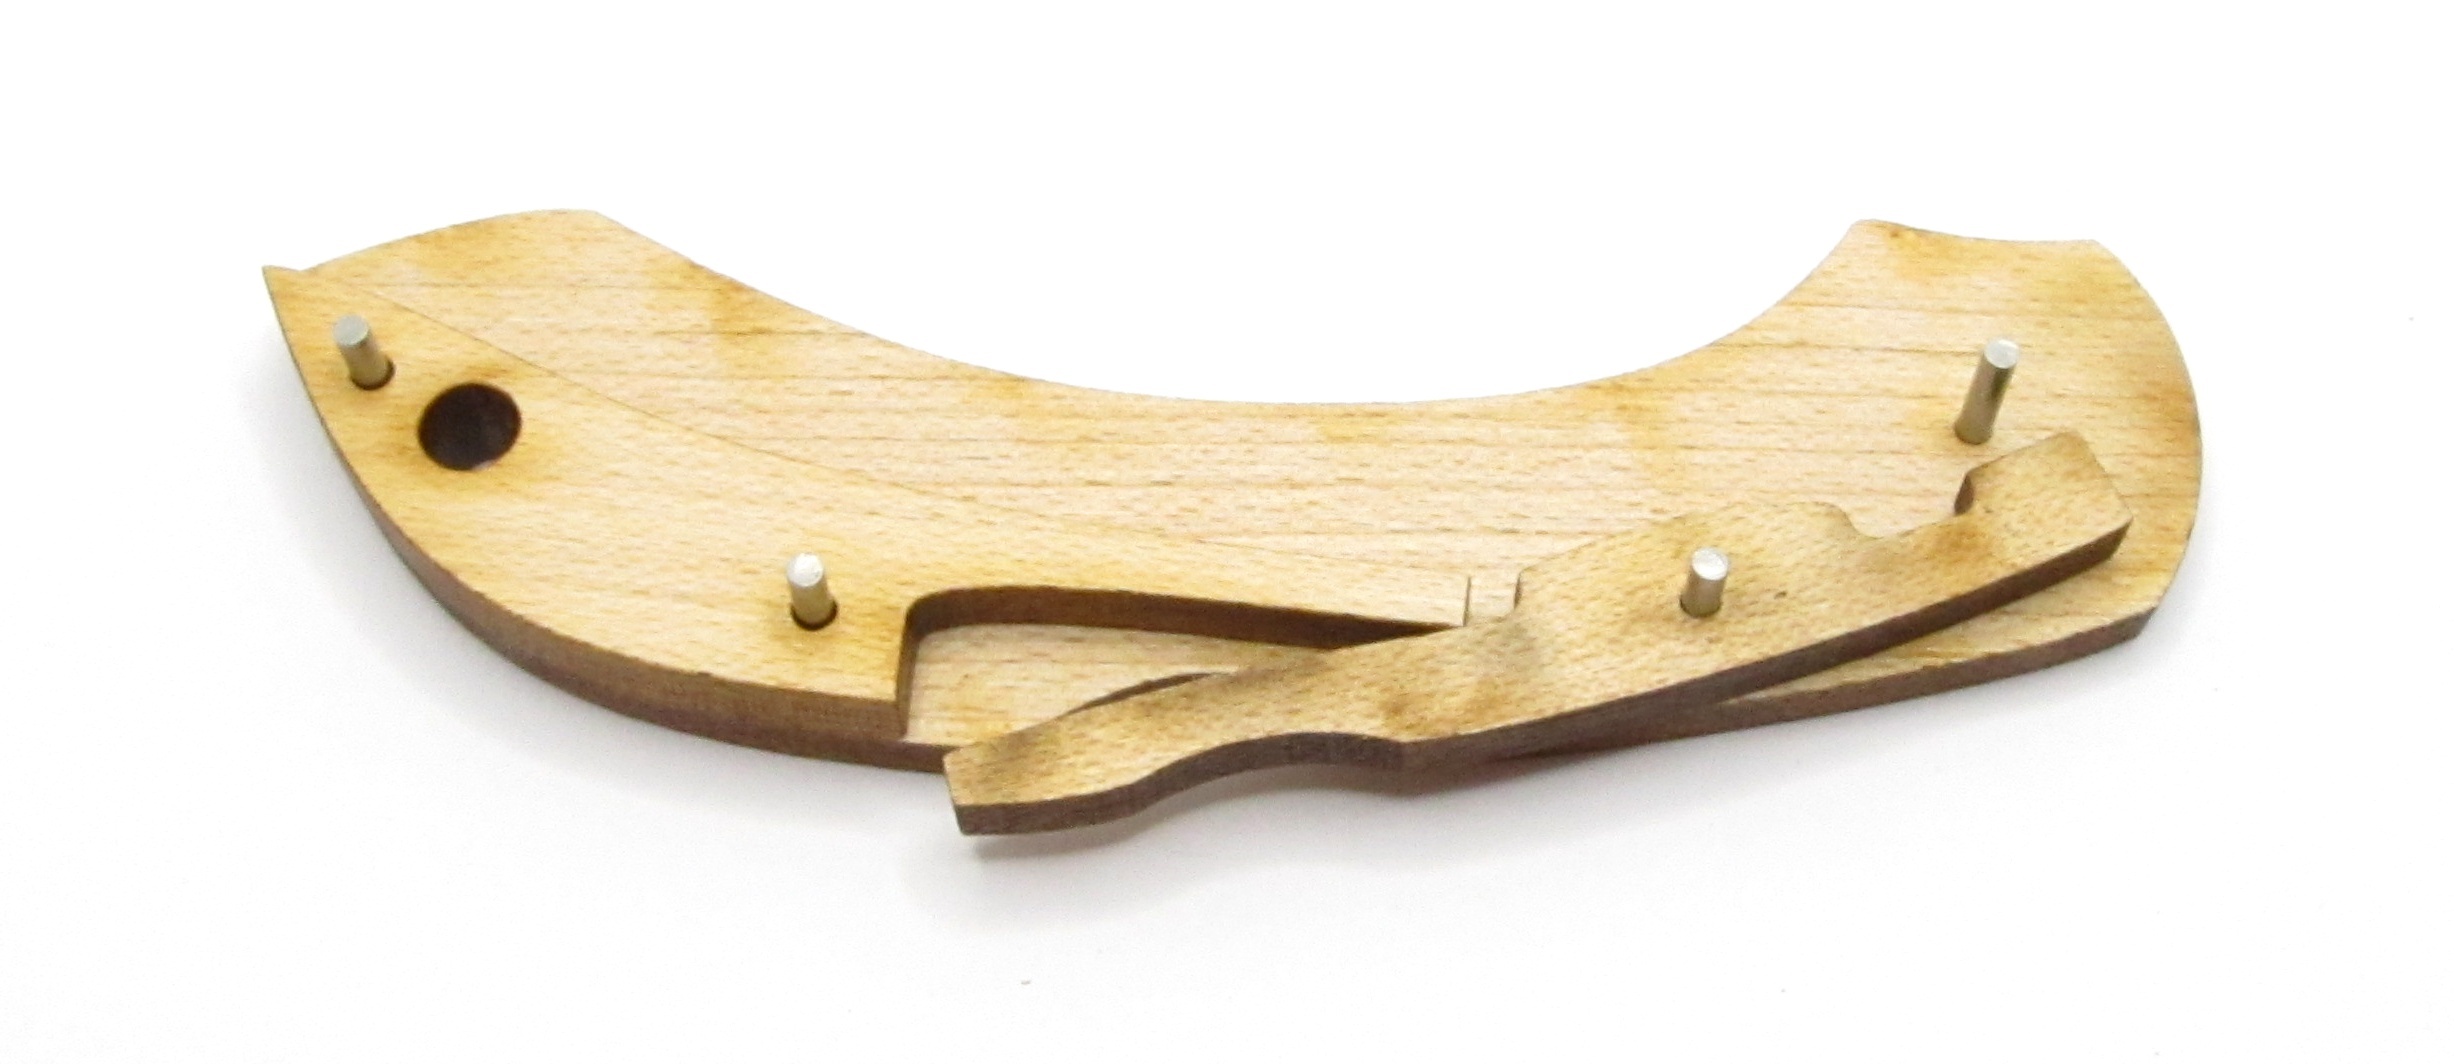
Next is to drop the lock bar and “spring,” as the instructions call it, onto these pins here. There is no metal spring in this knife and it just uses the natural flexiness of the wood to provide the spring action for the lock. Take note, if any part of this knife breaks in the future it’ll probably be the wooden “spring.”
Then you have to press the lock to put the mechanism in the unlocked position and slide the “blade” piece onto the last remaining pin.
The final step is the toughest by far, and that’s to put the other handle scale on. This is not a precision instrument, and little dinky slices of wood are far from the most rigid parts in the world. All four pins have to go into their matching holes on the handle scale, but what you’ll find is that inevitably none of them will be quite straight relative to the others, and the one going through the lock bar is under tension so it’ll want to point off in just slightly the wrong direction. The instructions actually flat out recommend that this step will require adult intervention. I ultimately wound up having to gently persuade one of the pins into position with the pliers on my Leatherman to get it all to line up.
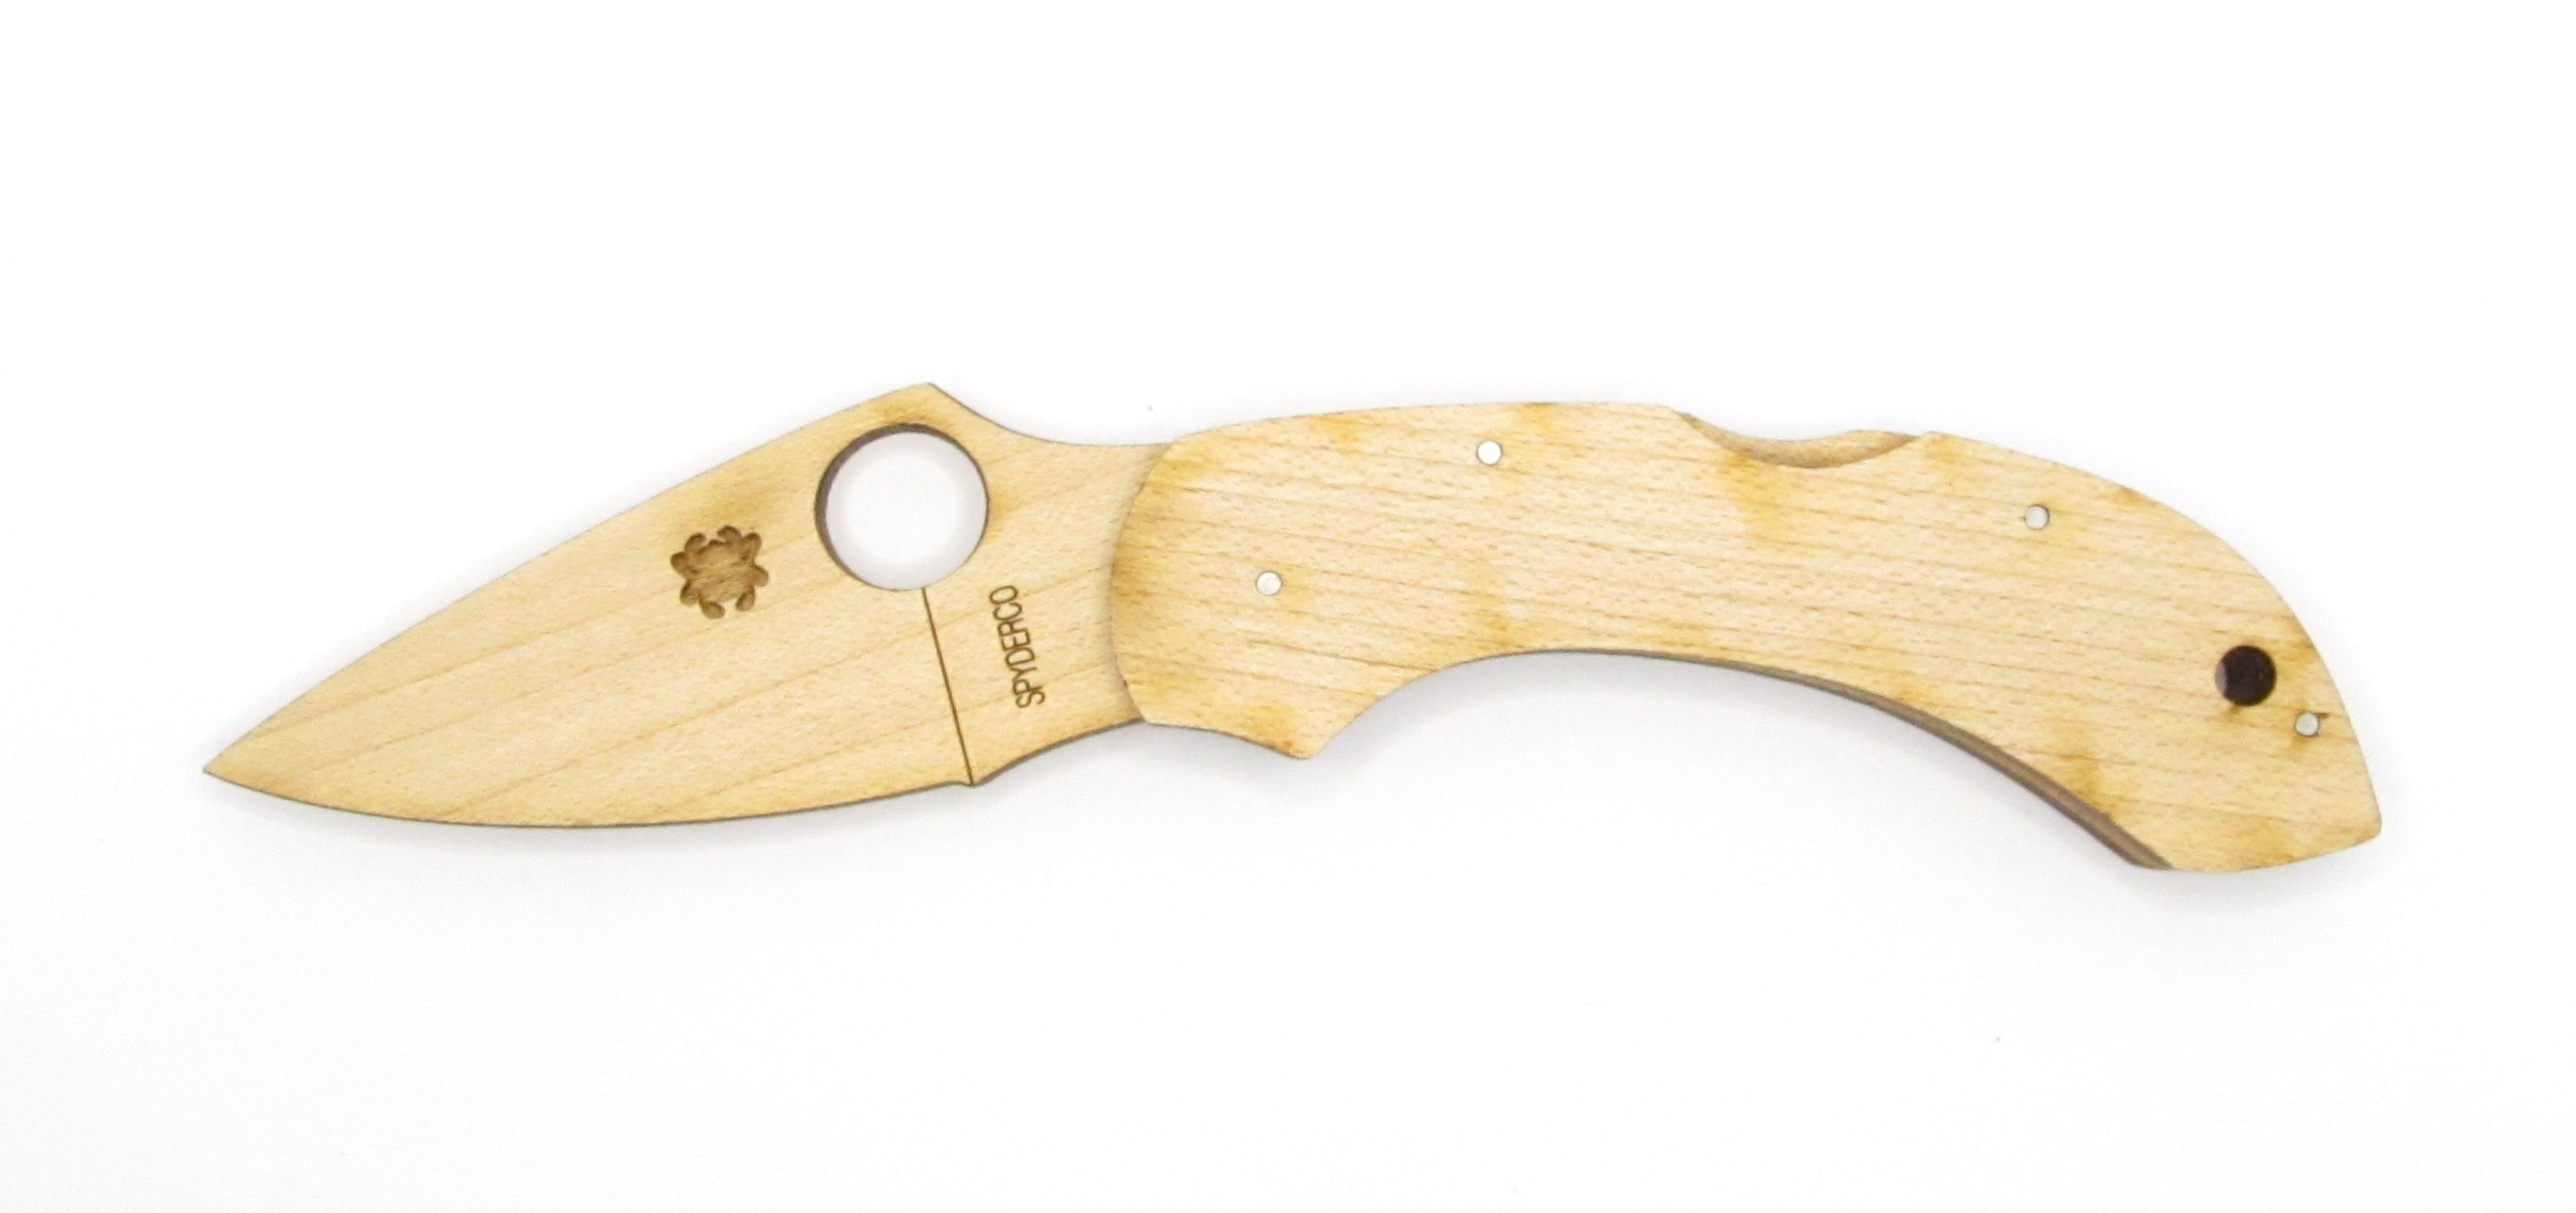
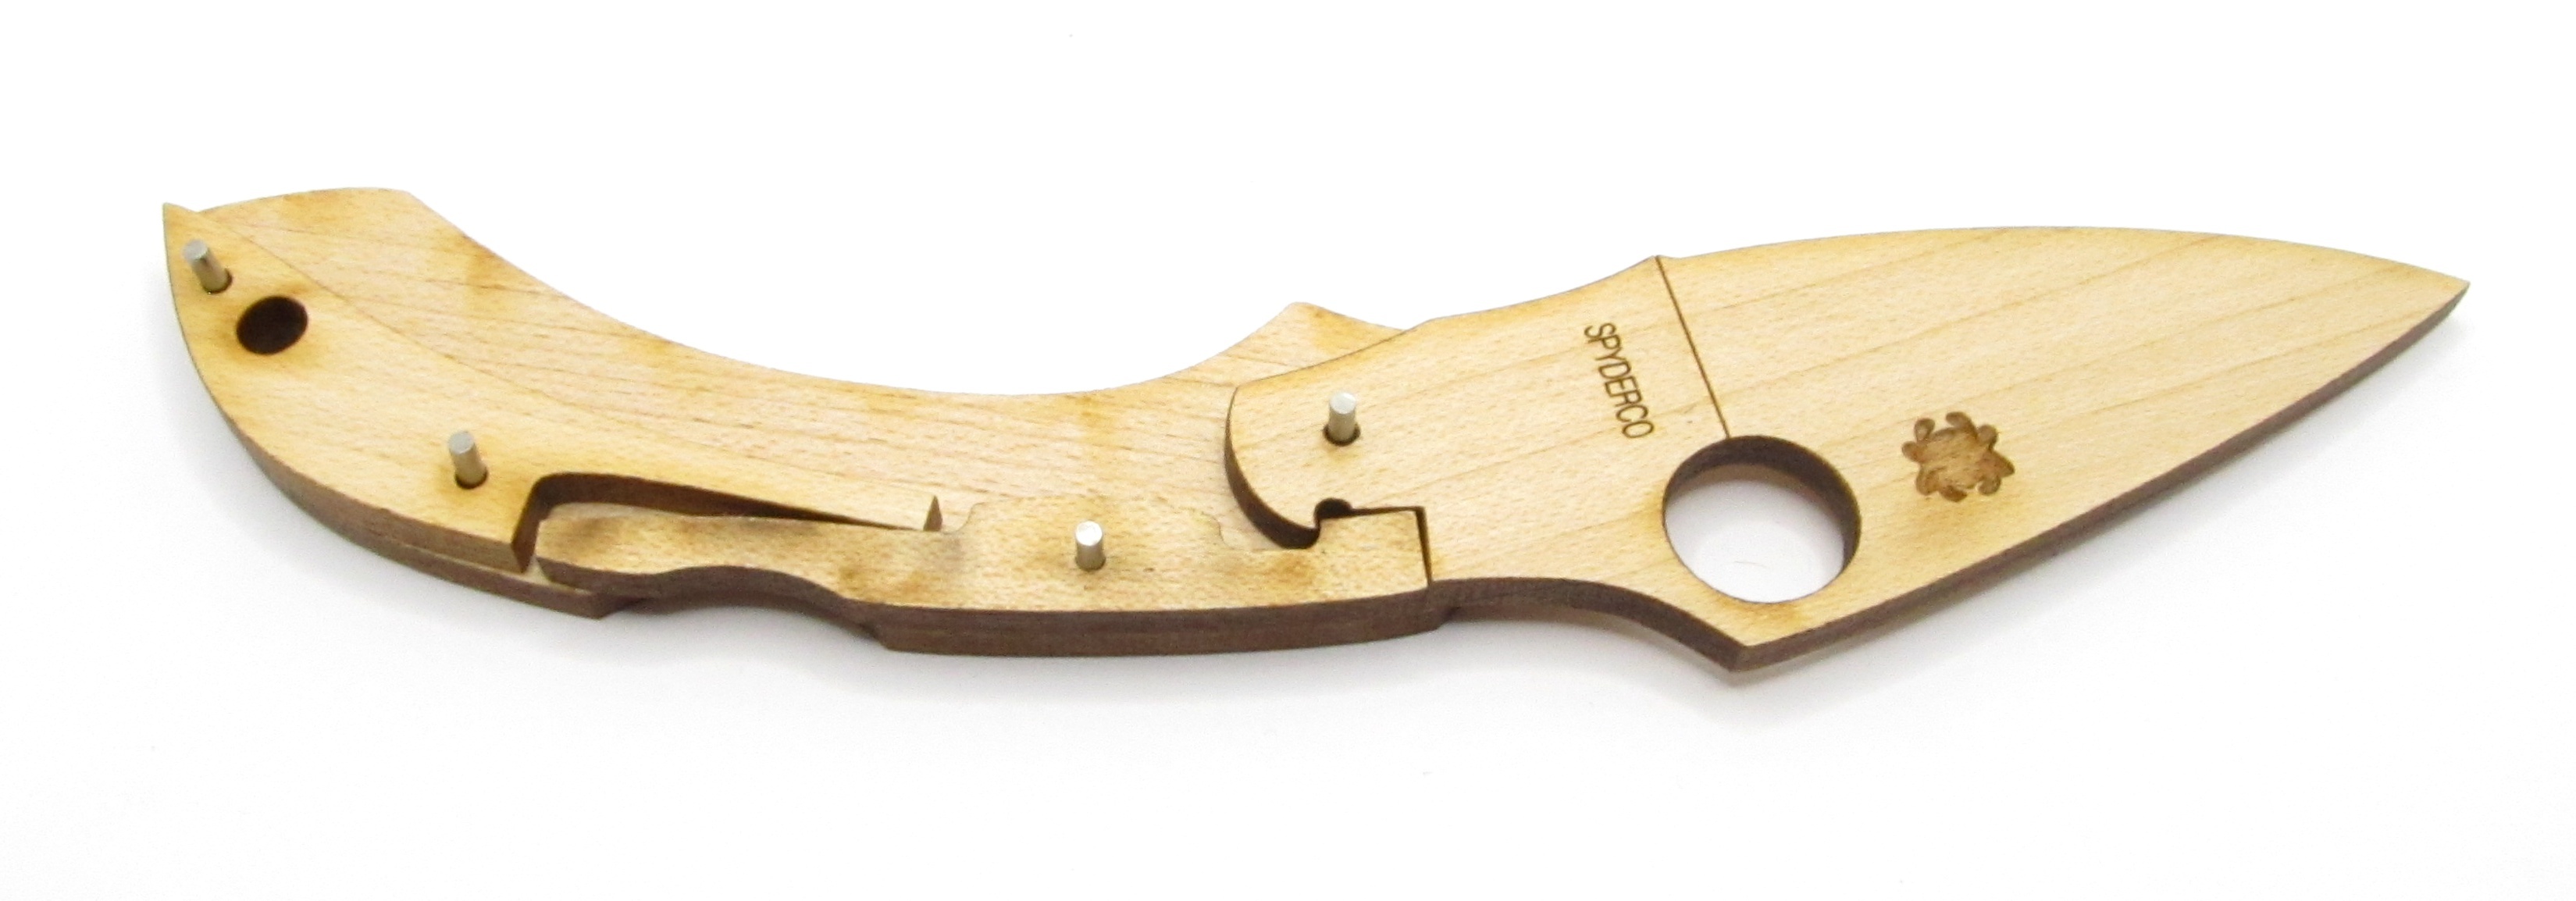
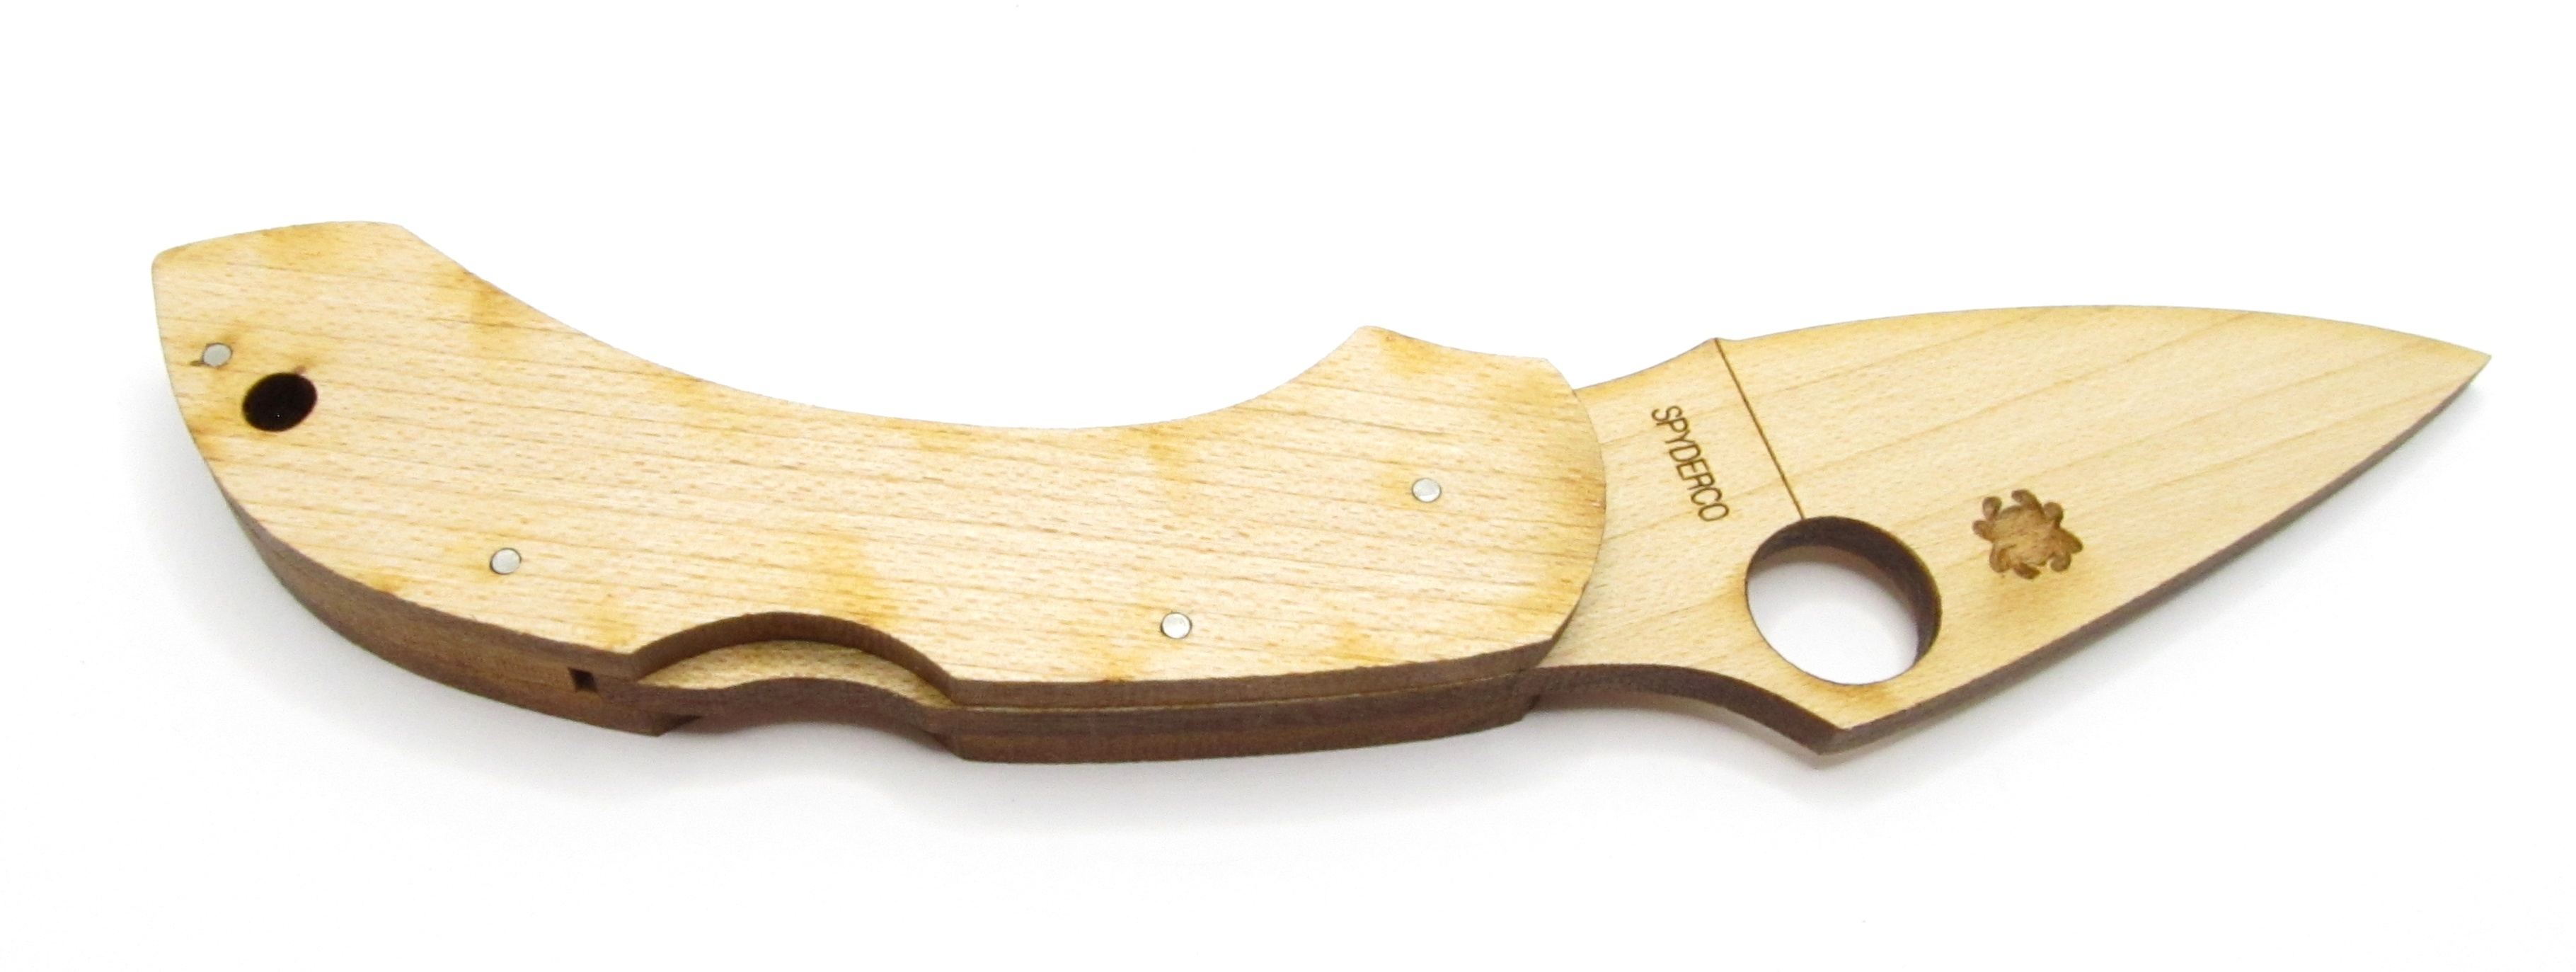
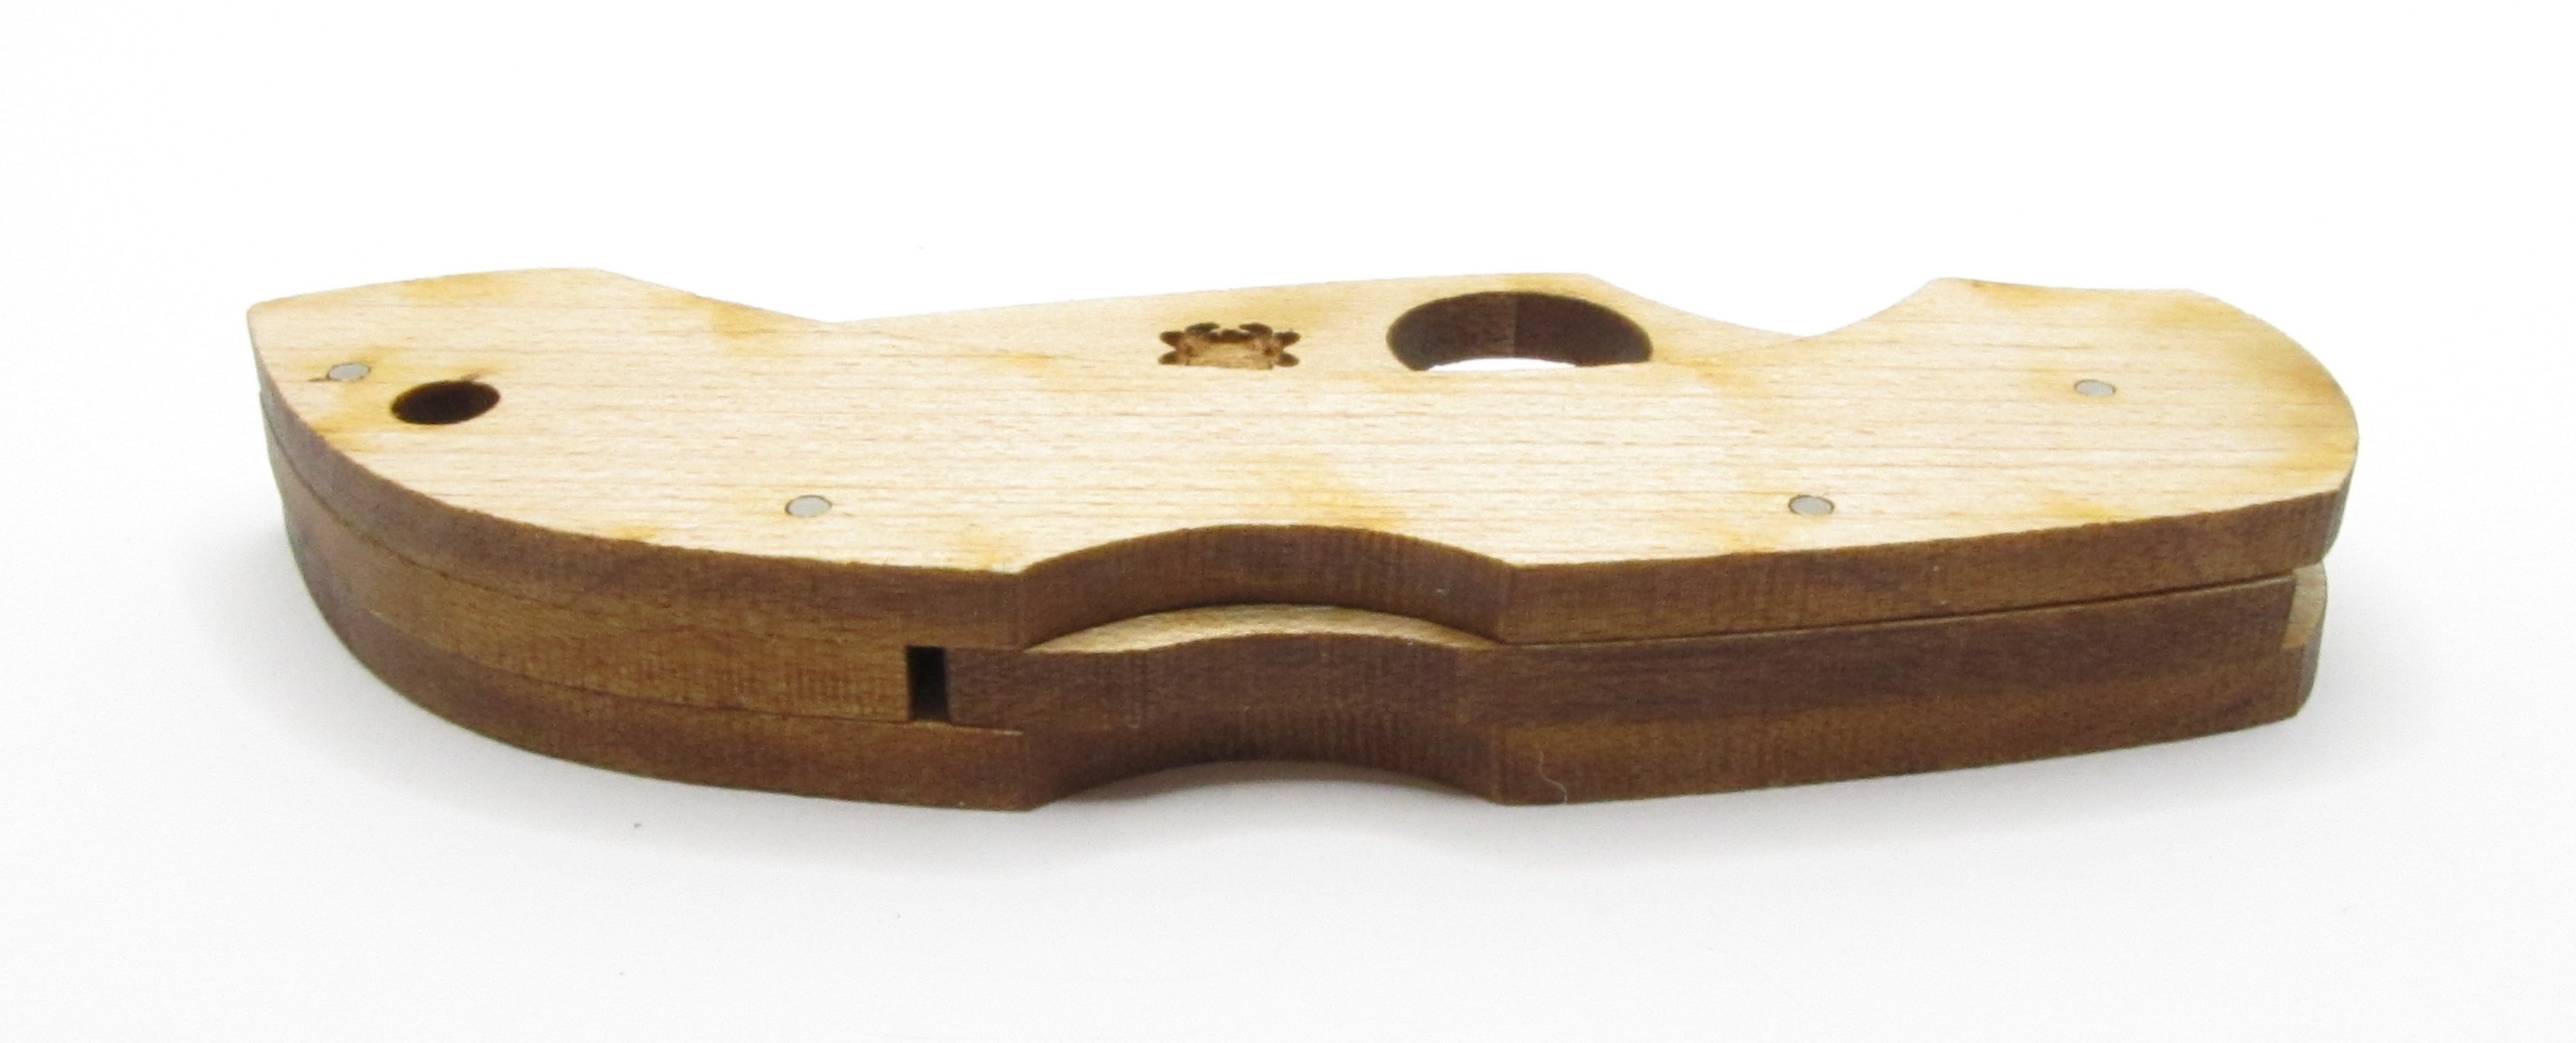
And then you have the finished product.
It does lock, unlock, and fold just like the real thing. But since the pivot is a huge contact area of wood-on-wood, the pivot action is very draggy and mine actually chirps like a bird when you open it. Yes, I could wax the inside faces to make it quieter, but it’s also ridiculous so I love it. I’m leaving it alone.
The instructions warn that attempting to force the “blade” closed without pressing the lock will break the locking mechanism, and I believe it.
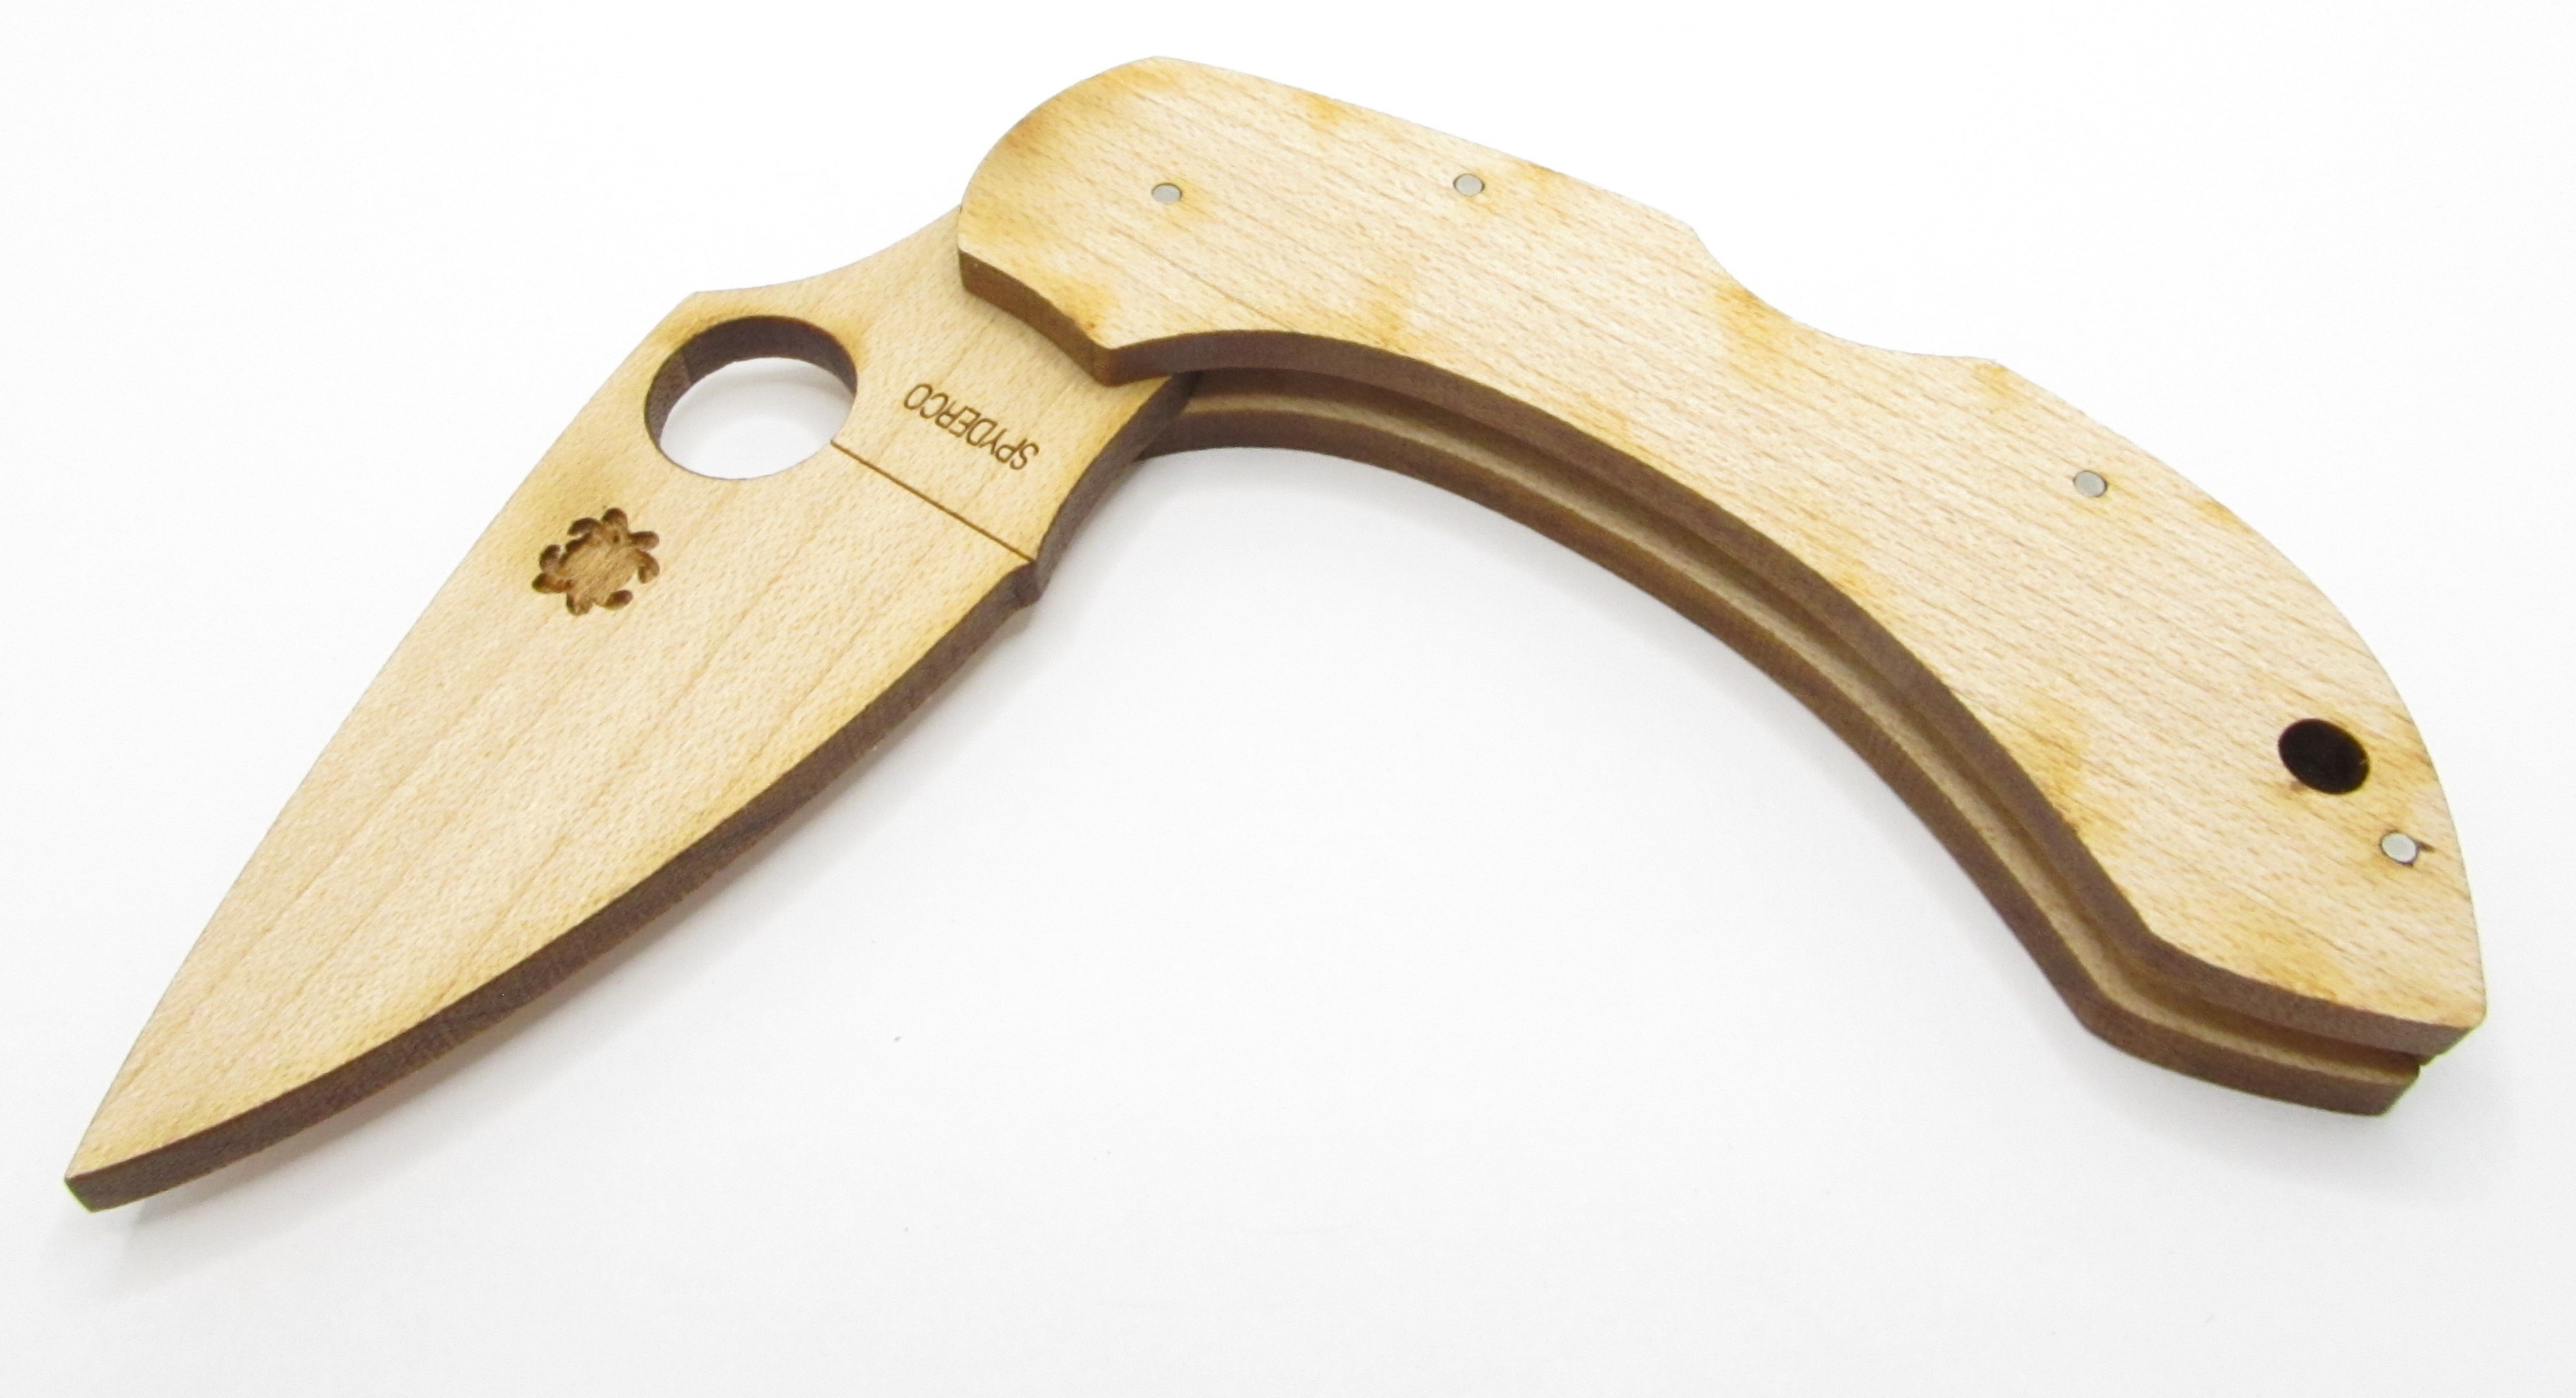
There is no edge on this thing whatsoever. Not even a hint of a taper; all the vertices of the “blade” are equally squared off. It’s got a point on it, though. Probably not enough to cause any significant injury, but definitely enough to, say, annoy an older sister via repeated poking. Methods and efficacy of sharpening it are left as an exercise for the reader. But you can rest assured, any boy between 8 and 16 you give this to is guaranteed to try it, eventually, one way or another.
The Inevitable Conclusion
I would have been over the moon if my parents gave me this when I was about 9. I think you’ll know if there’s a kid in your family who would be into this sort of thing. The asking price is a little high, if you want my opinion on it. A nontrivial fraction of that has to be the tin it comes in. Assembling it is indeed a bit of a faff, but it’ll teach your little grasshopper patience. Or at least when to ask for help.
The construction is also dead simple, so if this sort of thing appeals to you and you’re sufficiently handy, just to see this it is to understand how it’s made. You could knock out your own version on a scroll saw in about ten minutes, if you wanted to.
My youngest and I built the CRKT “Nathan’s Knife” a few years ago and it was a lot of fun. A really good Saturday project. We stained it, built it, and then sharpened the blade before sealing the wood. For quite a while he used it to open amazon boxes before graduating to “real” knives. It held up well. He still shows it off to people as he put a lot of work into making it.