I made a mistake while ordering the parts for the Ferris Sweep: I only ordered one 301230 battery. I ordered the other one, but the >1 month delivery time is a bit long. I am wondering if it is possible to solder and build the keyboard now, while only installing battery in one of the sides, and use the only side only with USB-C. If yes, I have two more questions:
- Which side should I install the battery in? From my understanding, one of the sides usually works as a “hub” for the other side
- Is it easy to add the battery to a already assembled keyboard in the future?
- Are there any good tutorials for assembling the wireless variant of the Ferris Sweep? I have mostly been able to find resources for the wired versions.
You must log in or register to comment.
You don’t need the batteries as long as you leave them plugged into the USB-C the whole time. Since you need one side plugged in the whole time, it doesn’t really matter which side you install the one battery… which side would be least intrusive to have a wire running on your desk? The main side (usually defaults to the left side, but can be configured to whichever side you want) does consume more power, so the battery won’t last as long on that side.
If you’d like to use the Bluetooth to connect to multiple devices, maybe put the battery on the main side. The USB cable on the peripheral side is only for charging and flashing and can’t be used for connecting the keyboard to be used as a wired keyboard. By default, plugging in the main side to a computer will switch it to a wired connection to just that device, though, again, whether the wired connection or bluetooth connection should be prioritized can be configured.
Here is a battery guide for the ferris sweep. : https://docs.beekeeb.com/other-guides/installing-a-battery-to-the-ferris-sweep-v2
The battery was the last part that I soldered on my corne build, though if you have a case you’ll have to unscrew the case to do more soldering later.
Thank you! It seems I might be able to just start the build process. Is it easy to install the battery later? I would assume I might need to remove the nice!nano and reinstall it? Would I then need to desolder?
I am super sorry for being such a noob, but can
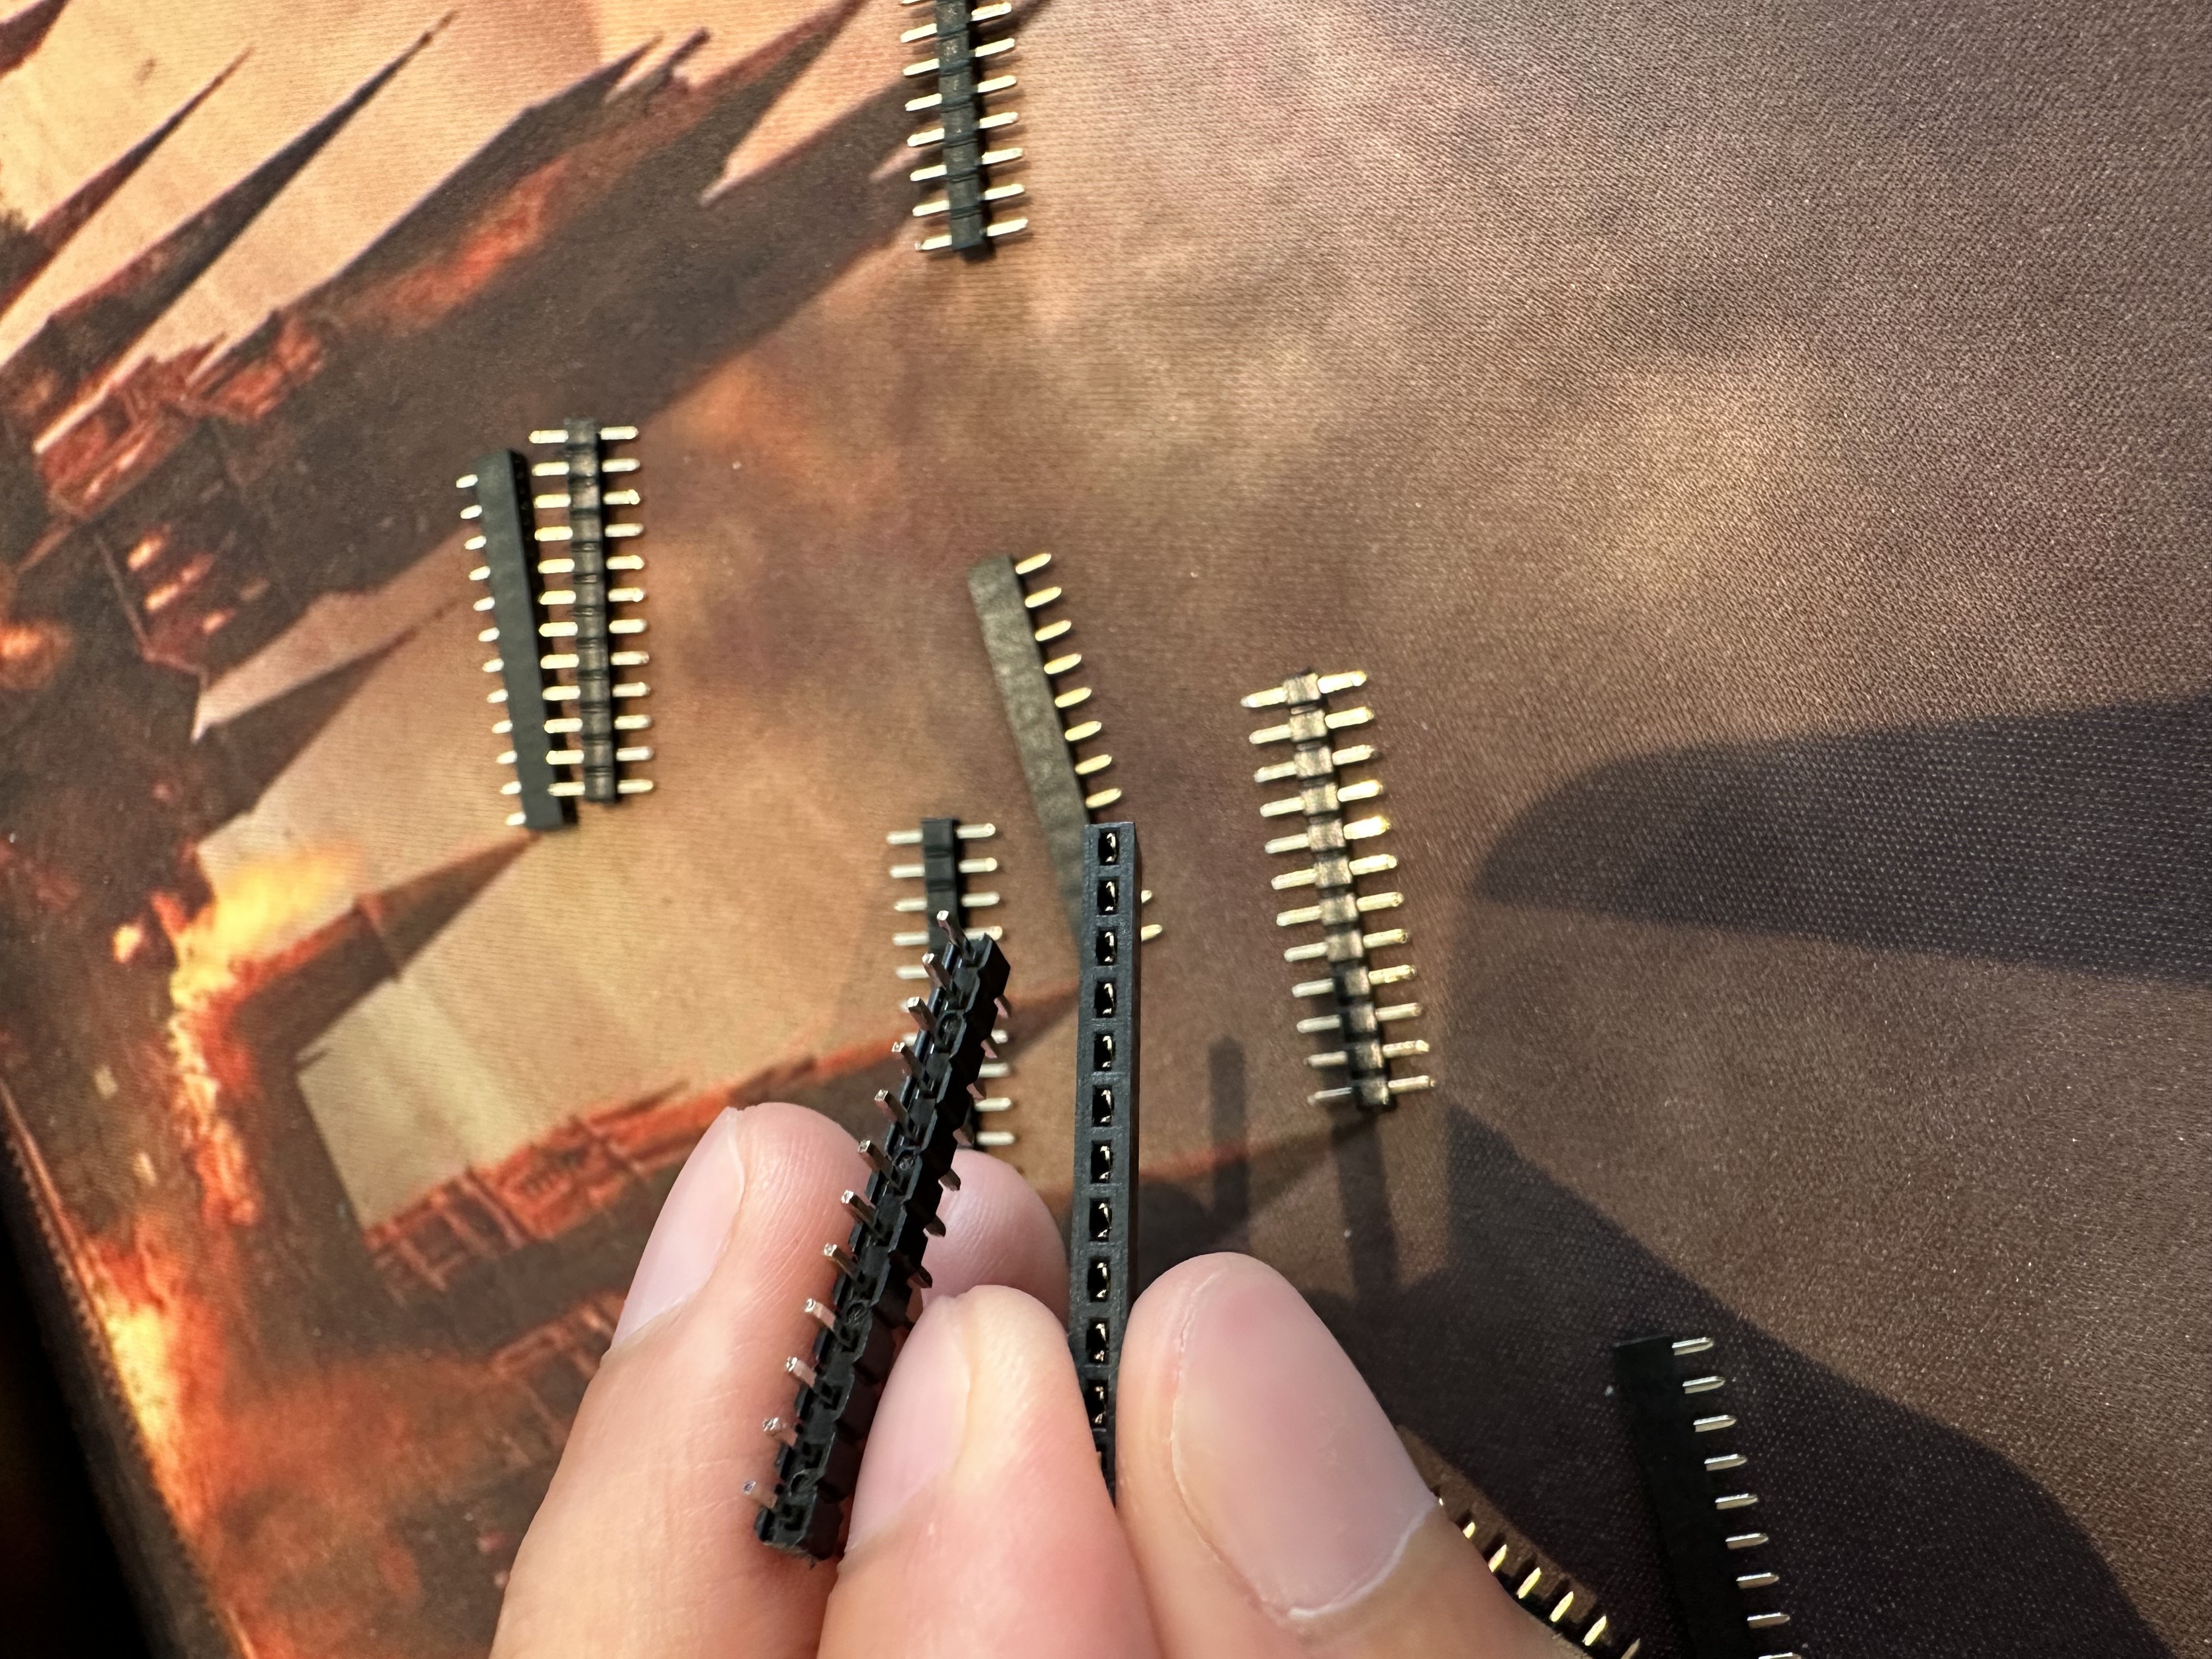 be used to socket the board? And if yes: Do I solder the ones with pins only on one side to the pcb and the other ones to stick into the holes and solder to the nice!nano?
@nan_1337 if they fit each other (and the PCB) the „standard“ would be to solder the sockets to the PCB and the headers to the MCU. And no worries, everyone sarted somewhere 😉
I installed my battery after installing my nice!nano, so no, you wouldn’t need to desolder your controller to install the battery, even if you directly solder your controller instead of using sockets.
Regarding documentation, you could have a look at splitKBs Aurora series build guide. They made their own Sweep variant but it might just be similar enough to still use it as a nice build guide for your ferris sweep.
EDIT: It also has a part about installing batteries, power switches and all the other stuff needed for a wireless build.Yeah, I would recommend using the “central” (master) side as the one plugged in, the “peripheral” (slave) side should last at least a month on one charge and will talk wirelessly to the central half. By default with the Sweep ZMK firmware the central is the left and peripheral is the right.
Socket your controllers, not least because they’re expensive and it’s nice to reuse them in future if you get a different keyboard rather than buying more, but also because it’ll make installing new batteries easier. Don’t forget the power switches.
Good luck with the build.