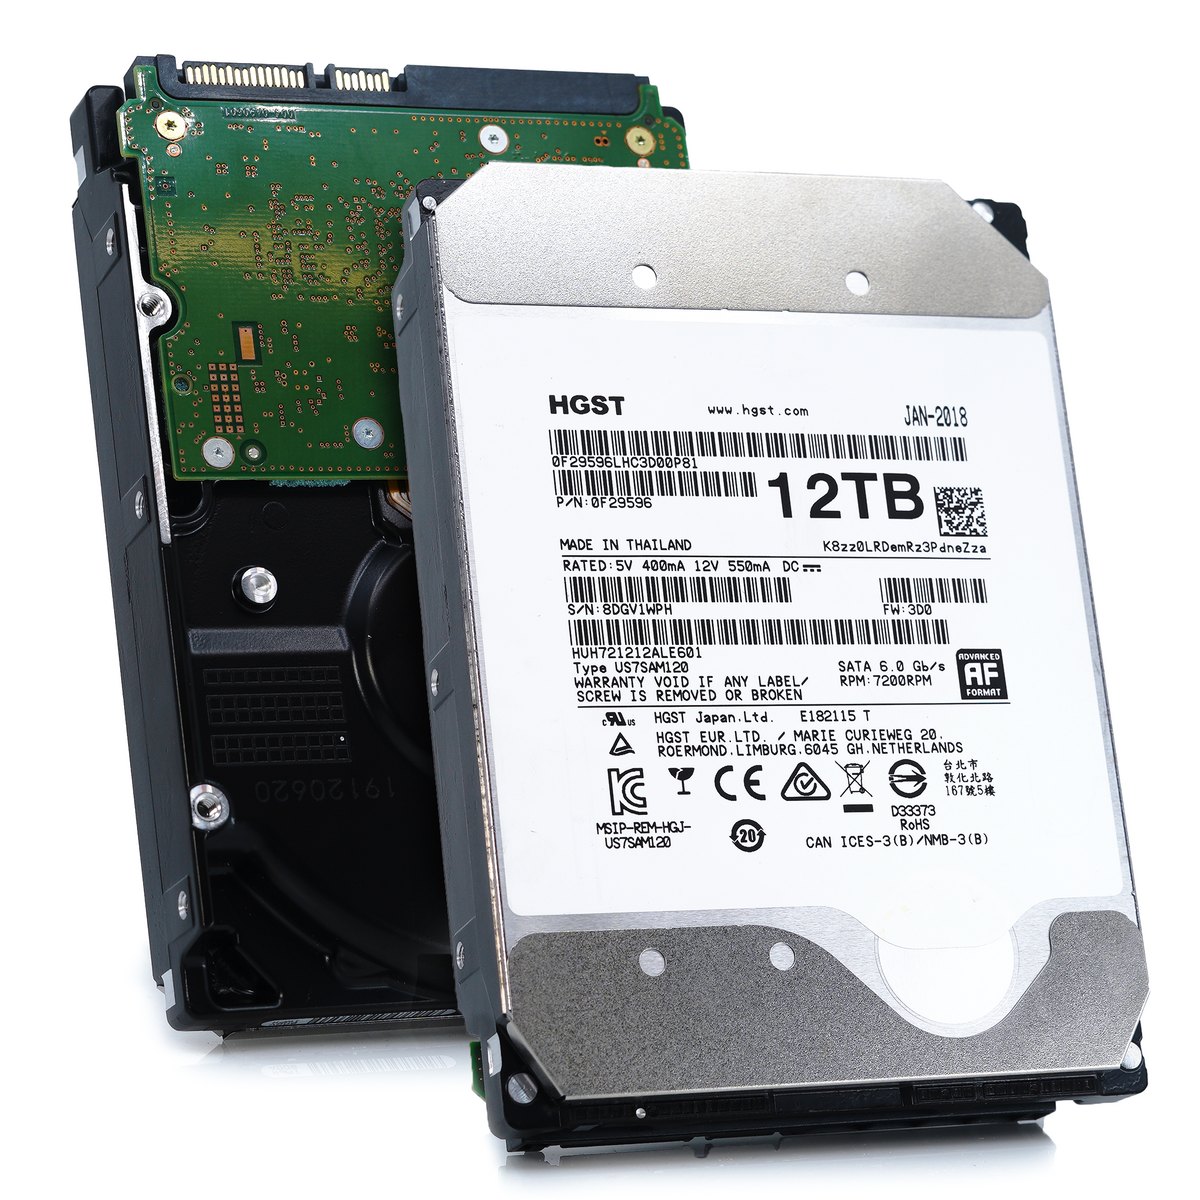
- cross-posted to:
- selfhosted
- cross-posted to:
- selfhosted
Pi doesn’t have a SATA controller built in. You could use a SATA to USB adapter with this drive and it would work though.
I sometimes have trouble getting a low powered device like the pi to power a 3.5 hdd over usb. You’ll need the power source coming from the wall directly to the HDD most likely.
Equipment
- HGST Ultrastar He12 hard drive: (https://serverpartdeals.com/products/hgst-ultrastar-he12-huh721212ale601-0f29596-12tb-7-2k-rpm-sata-6gb-s-3-5-hdd)
- Raspberry Pi: Any model should work.
- SATA to USB Adapter: Since the Raspberry Pi lacks direct SATA ports, this is essential.
- External power supply for the hard drive:*
The Raspberry Pi won’t be able to supply enough power for a 3.5-inch hard drive.
Steps
-
Connect the hard drive to the adapter:
- Carefully plug the SATA power and data cables from the SATA to USB adapter into the corresponding ports on the HGST Ultrastar He12 drive.
-
Connect to the Raspberry Pi:
- Plug the USB end of the SATA to USB adapter into an available USB port on your Raspberry Pi.
-
Power the hard drive:
- Connect the external power supply to the hard drive. Do not attempt to power it solely through the Raspberry Pi.
-
Mount the hard drive (on the Raspberry Pi):
- Check if the drive is detected: Use the command
lsblkto list connected block devices. Your hard drive should show up (e.g., /dev/sda1).
- Check if the drive is detected: Use the command
- Format: The hard drive might come pre-formatted with a filesystem that Raspberry Pi doesn’t recognize. You may need to format it using a Linux-compatible filesystem like ext4. Use
mkfs.ext4 /dev/sda1(replace ‘/dev/sda1’ if necessary). - Create a mount point: Use the command
sudo mkdir /mnt/mydrive(you can replace ‘mydrive’ with any name you prefer).- Mount the drive: Use the command
sudo mount /dev/sda1 /mnt/mydrive(replace ‘/dev/sda1’ with the actual device name if different).
- Mount the drive: Use the command
Important Considerations
-
Power: Raspberry Pi’s USB ports cannot provide enough power for a large hard drive. Using an external power supply is crucial to avoid damaging the Raspberry Pi or causing the hard drive to malfunction.
-
Automatic Mounting: To automatically mount the drive on startup, you’ll need to edit your
/etc/fstabfile.
Additional Tips
- Enclosure: Consider getting an enclosure for the hard drive and its adapter for protection and portability.
- Data Transfer: File transfers over USB 2.0 (if your Raspberry Pi has that) will be slower than directly connected SATA.
PS: I’m a human who started typing out half of this, then wanted to see if the AI could come up with a better response. I gave it the image from the posting above and said “I want to connect this to a Raspberry Pi” and I thought it came out with a better response. Mine originally only mentioned the USB-SATA part, while the LLM came back with instructions (I had to reorder them, but otherwise they looked good)
Well done. I’ve had this set up with Kodi and it ran like a dream for years. Only took it offline because I upgraded to a Nvidia Shield Pro when it came out back in 2019.
Edit: I can say that your average spin disk over USB 3.0 read speed is sufficient for 4k Remux if that’s the goal.
Thank you for your remarkable work here — and for the confirmation that the LLM got it right!


