Time for #advice
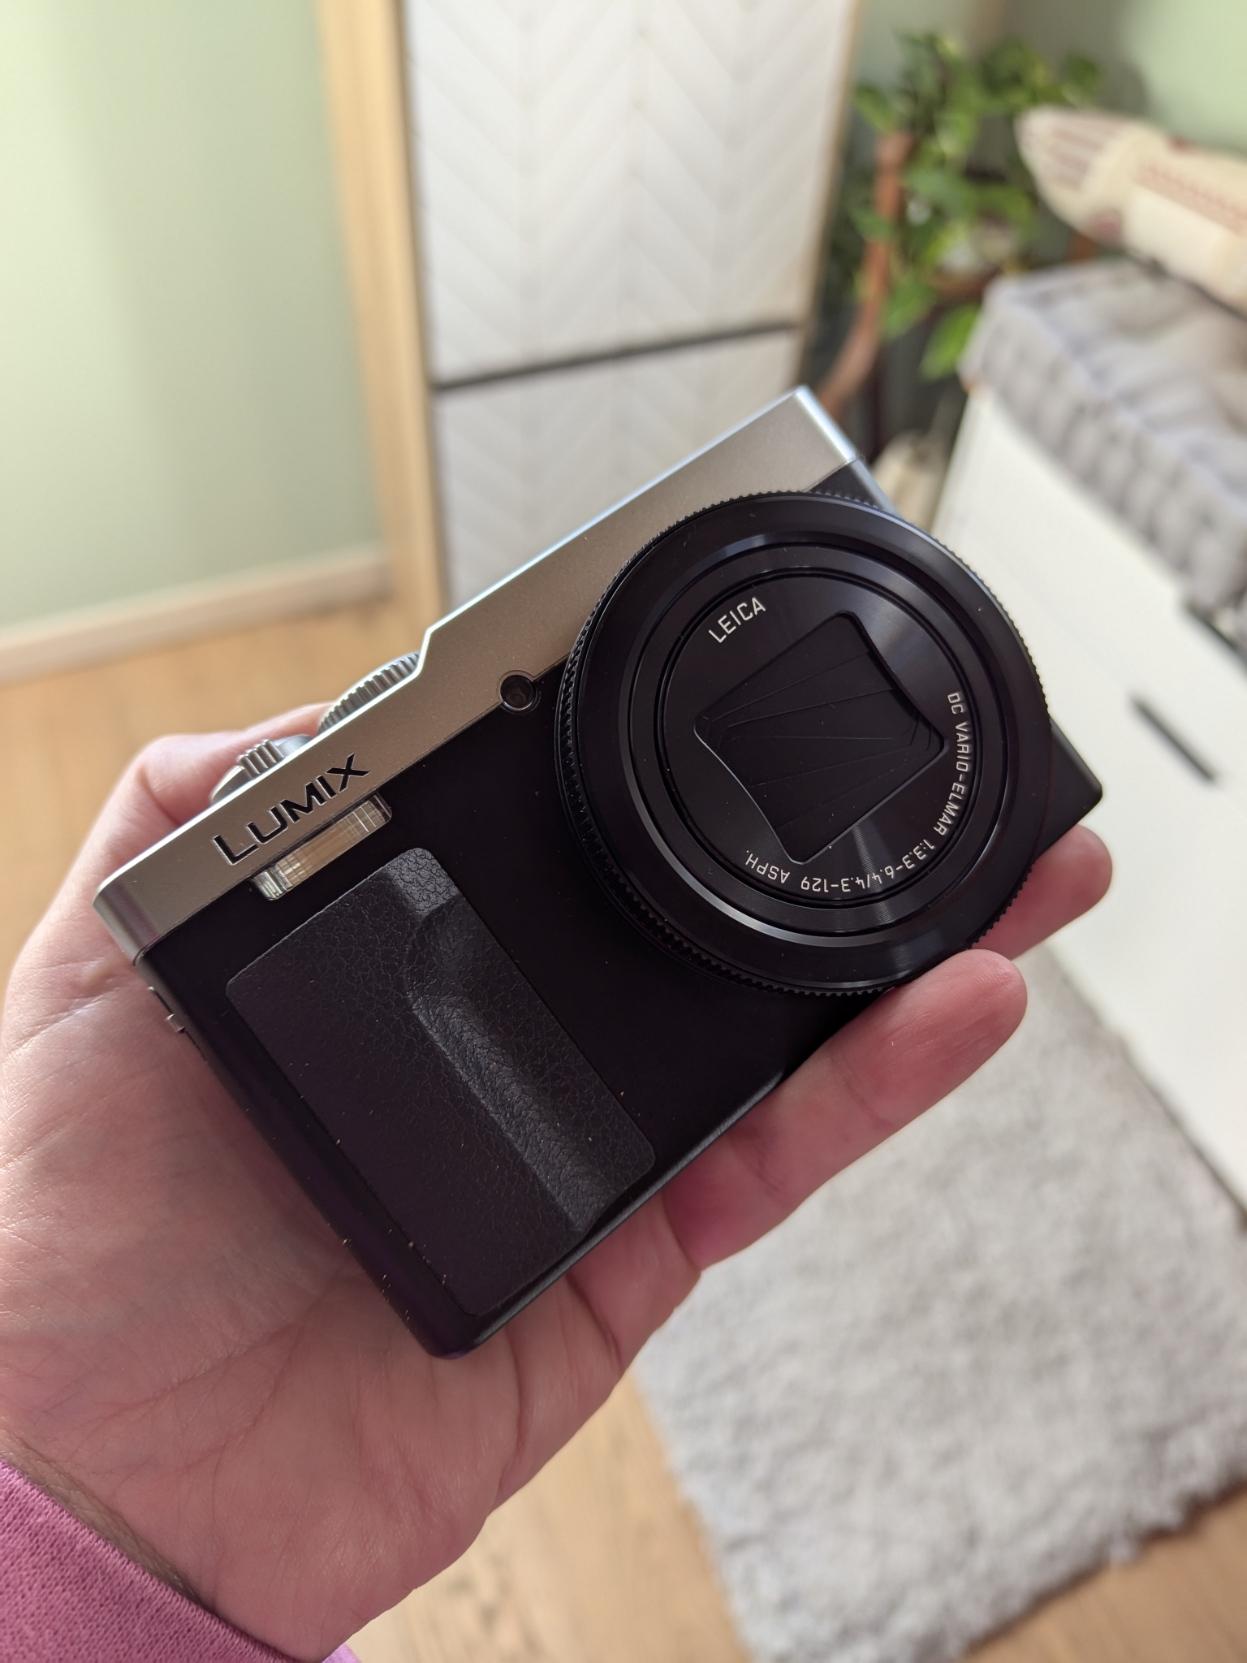
We bought the Panasonic Lumix DC-TZ99 and it’s such a nice camera, but I realised I really need to start studying #photography again.
Does anyone know a good online course I can attend to make the best out of this small one?
I am already studying the instructions pamphlet, watching videos and trying to remember what I studied when I was younger, but I’d love to do more.
Thank you!
#photographygear
@[email protected] @[email protected]
IMO forget the online resources. Buy a book by someone who knows what they’re doing, such as Michael Freeman. He’s got some excellent books on composition and photography in general. As for the tech stuff, forget about it. Set it to aperture priority, select a good aperture and shoot away. To really improve you need to shoot a lot, and I mean a lot a lot. Shoot daily, even if it’s just your way to work. In the evening, look at the pictures you took. Are you happy with them? How could they be improved meaningfully? One of the best exercises I’ve found is to shoot hundreds of pictures of a single object. Because this will force you into new perspectives, even if they don’t work, it’s still meaningful. You’re also learning why some things work and why others don’t. There are as many ways to shoot a house as there are sand grains on planet Earth. The only limit really is the imagination. So focus on an object and get as much out of that object as you can, if you get 300-400 of the house in the previous example, you can move on. You can also combine this exercise with the books. So if you read something about converging lines, try to get converging lines in a house.
@ZkhqrD5o thank you, this is an amazing advice as well. I’ll start finding some books and experiment with my camera on a daily basis
Oops, I forgot to mention, I highly recommend starting your exercises in black and white. This is important because it gets rid of the distracting colours. It will really help you to see graphical elements and shapes instead of objects. And this is such an important skill. You need to learn to segment the frame and abstract objects into shapes, lines and points because this is what photography is, at its core.
@ZkhqrD5o oooh I didn’t think about that. Thank you again!
@ZkhqrD5o @gilraen79
I think all thoses advices are great, but, on one point, I do disagree : “In the evening, look at the pictures you took. Are you happy with them? How could they be improved meaningfully?”
In the evening might be too short.
The moment to review your photograph should be after a while, when you do not really remember the photograph.
It could be at the end of the week, or the next one.
But reviewing a picture when you just took it will not help you.
Shoot a lot. Do it enough and you’ll organically be drawn back to how to do X on this camera.
Expose yourself to others’ work. Tatiana Hopper has a great channel for biographies on famous photographers. Make a day of going to a local library with a good photobook collection because no one can afford to buy that stuff once it’s out of print.
@gilraen79 @[email protected] @[email protected]
What kind of photos do you want to do?
My wife and I live in Venice, if you drop by one day. We could go photographing together.
@seindal @[email protected] @[email protected] I would love to focus on nature and mountains, which are my main interest. I’d love to stop by in Venice, it’s really close to home and if I happen to go there I’ll send you a message! I see you also organise tours of the city, I will forward my customers to you 😊
@gilraen79 @[email protected] @[email protected]
We’ve been inactive for some time, but would like to restart. We mostly did street photography and city images.
Mountains and nature aren’t that abundant here in Venice.
Some of my photos are here:
https://venicestreetphotography.com/
@gilraen79 Hi! There are lots of online courses (and YouTube channels) to learn photography (below you’ve got a classic one and a Petapixel page with more courses).
My advice is to work in mode A (Aperture priority) to control depth of field, letting the camera handle the rest of the settings. The wider the aperture—that is, the lower the f-number—the shallower the depth of field, meaning a smaller area in focus (ideal for portraits). Also, set the minimum ISO necessary to avoid a blurry photo.
Only in situations where shutter speed is crucial (e.g., taking a photo of someone running) is it better to switch to S mode (Shutter priority), letting the camera choose the other settings (again, with the lowest ISO so the photo doesn’t come out too dark if the lighting is low).
If you have questions, feel free to ask—talking about photography is always a pleasure ☺️
http://www.r-photoclass.com/
https://petapixel.com/best-free-online-photography-courses/@the_heruman @[email protected] @[email protected] thank you! I’ll start using the A mode and see what I can do. I’ll probably ask for more advice as well 😊
I’d recommend a couple of fundamentals:
The Zone System, to understand how to do exposure rightly, so you’re always keeping as much as you can within your film/sensor’s range,
& Strobist, for working with light, the substance that you’re capturing.
McNally’s books might be worth borrowing from your library…
Photo.net was good, a decade or 2 ago, haven’t been there lately.
_ /\ _
@gilraen79 @[email protected] @[email protected]
And, since you’ll get a zoom attached to your camera, keep in mind that the zoom will be better between it’s maximum values :
the focal distance is 4.3mm to 129mm, so try to avoid 4.3 and 129 mm ; start at 4.4 or 4.5 mm and go to 120 mm. If you couldn’t do otherwise, you could use them, but keep in mind that those values are not the best ones.
Also, try to avoid lowest aperture (from 1/3.3 to 1/6.4 ), because those values are not the best one.@gilraen79
I did what you are trying to do a few years ago. Didn’t do an online course as such but what helped was searching for “Exposure Triangle”. Some links came up that really helped me understand the relationship between aperture, shutter speed and ISO
@photography @photography@richard @[email protected] @[email protected] thank you! I’ll look for that as well 😊
@gilraen79 @[email protected] @[email protected] do shoot in RAW. With that option, you could get a better photograph once the image will be on your computer.
The RAW format is the format where you’ll get all the information received by the camera, even in the dark / the shadows, or even in the bright zones.