
Years ago, nearly a decade ago in fact, my wife enrolled in a pottery class at our local community college. We planted a shrub while she was enrolled, dug up some clay in the process, and her professor let her make something with it and fire it. To everyone’s surprise, it went smoothly.
Enter kids, increasing work responsibilities, etc. A decade passes. Along the way we discovered our yard is 2-3" of top soil followed by nearly 100% gray clay. There’s no marbeling, basically no sediment, nothing. Just slightly sandy/gritty gray clay.
I recently buried a gutter downspout and added a French drain in our yard, so I trenched my way through a ton of clay. I set some aside, since our oldest kid is now messaging with clay at our community center.
Here’s the quick rundown of how I processed it:
- Manually remove the topsoil layer
- Toss clay into a 5 gallon bucket
- Cover in water, let sit a day or so
- Mix with a grout/thinset/cement mixing paddle attached to a drill to break up the chunks
- Sive for coarse material, like roots. I used some burlap as a screen and poured between buckets
- After you’ve screened the clay, remove the excess water. You can just let the bucket(s) sit and wait for evaporation to do its thing, you can wait a day or two for some water to separate and pour it off, you can use some fabric you don’t care about much as a cheesecloth, etc
- Once the clay is the appropriate consistency, make something!
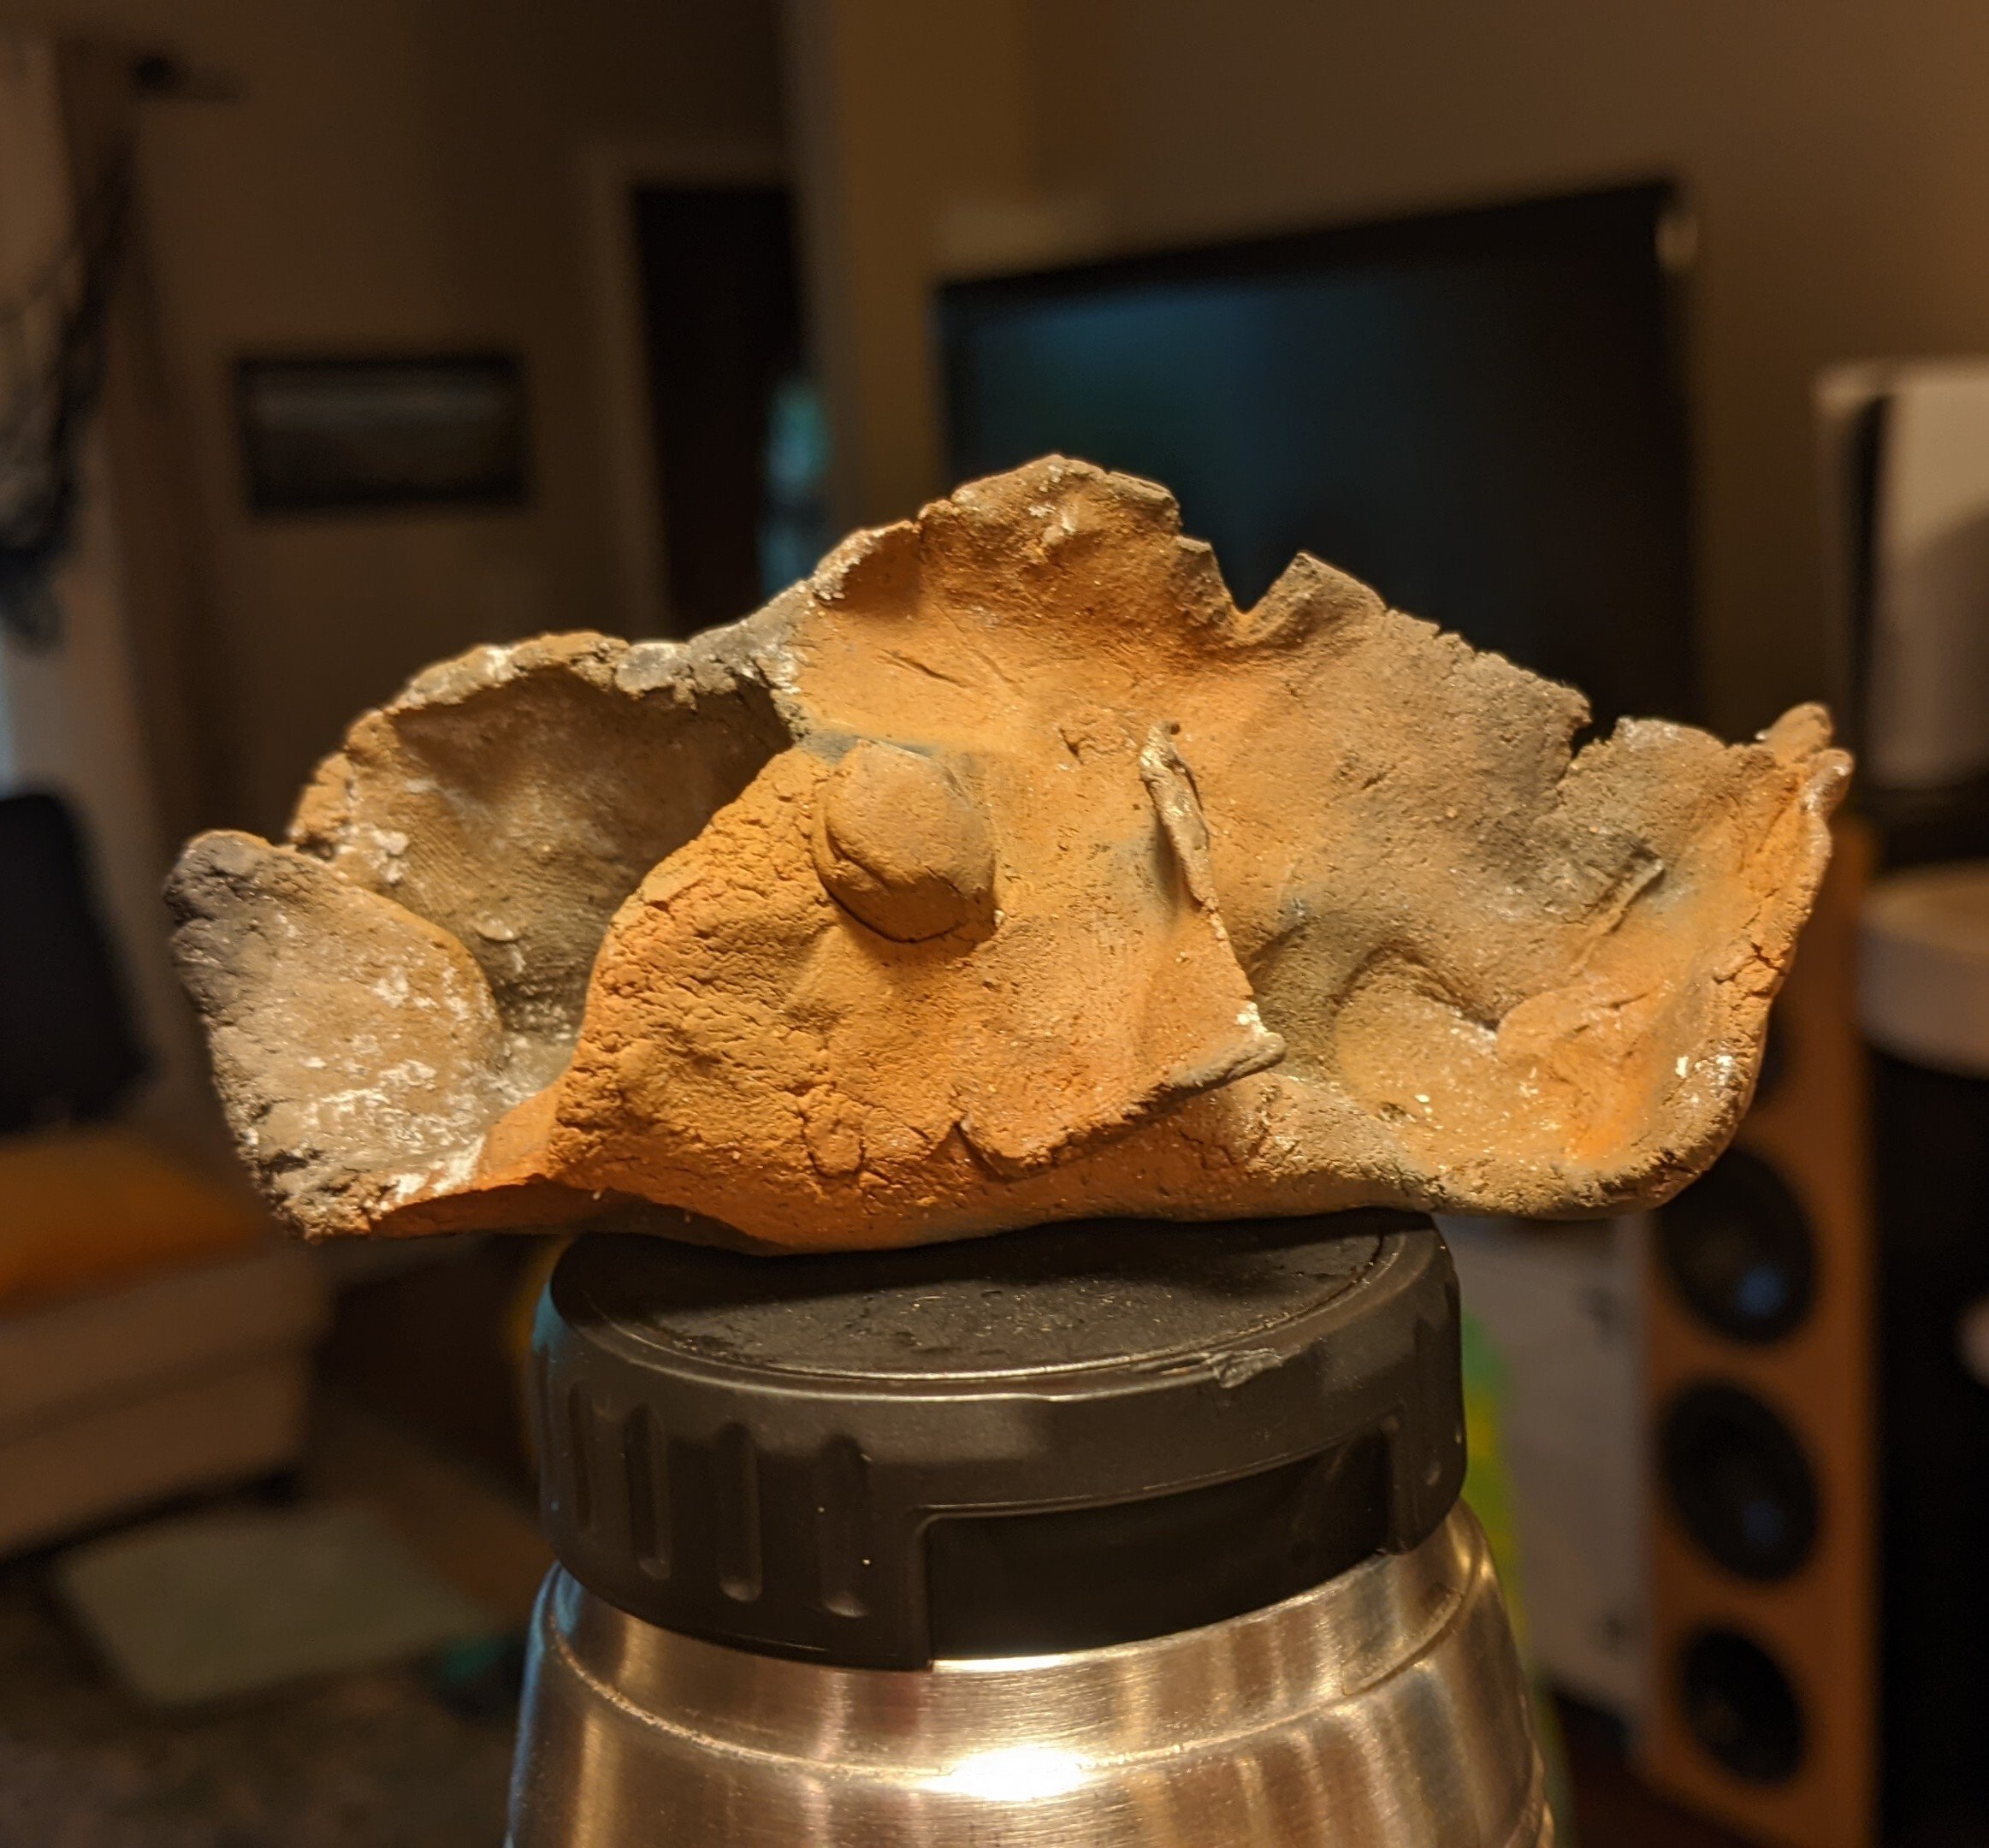
I made was a ceramic fish following the instructions of our oldest, who had just made something similar at the community center. The one pictured was meant to be the ugly sacrificial test piece before the “nice” one got fired, but our youngest broke the nice one into pieces, so I guess the ugly one is the nice one now.
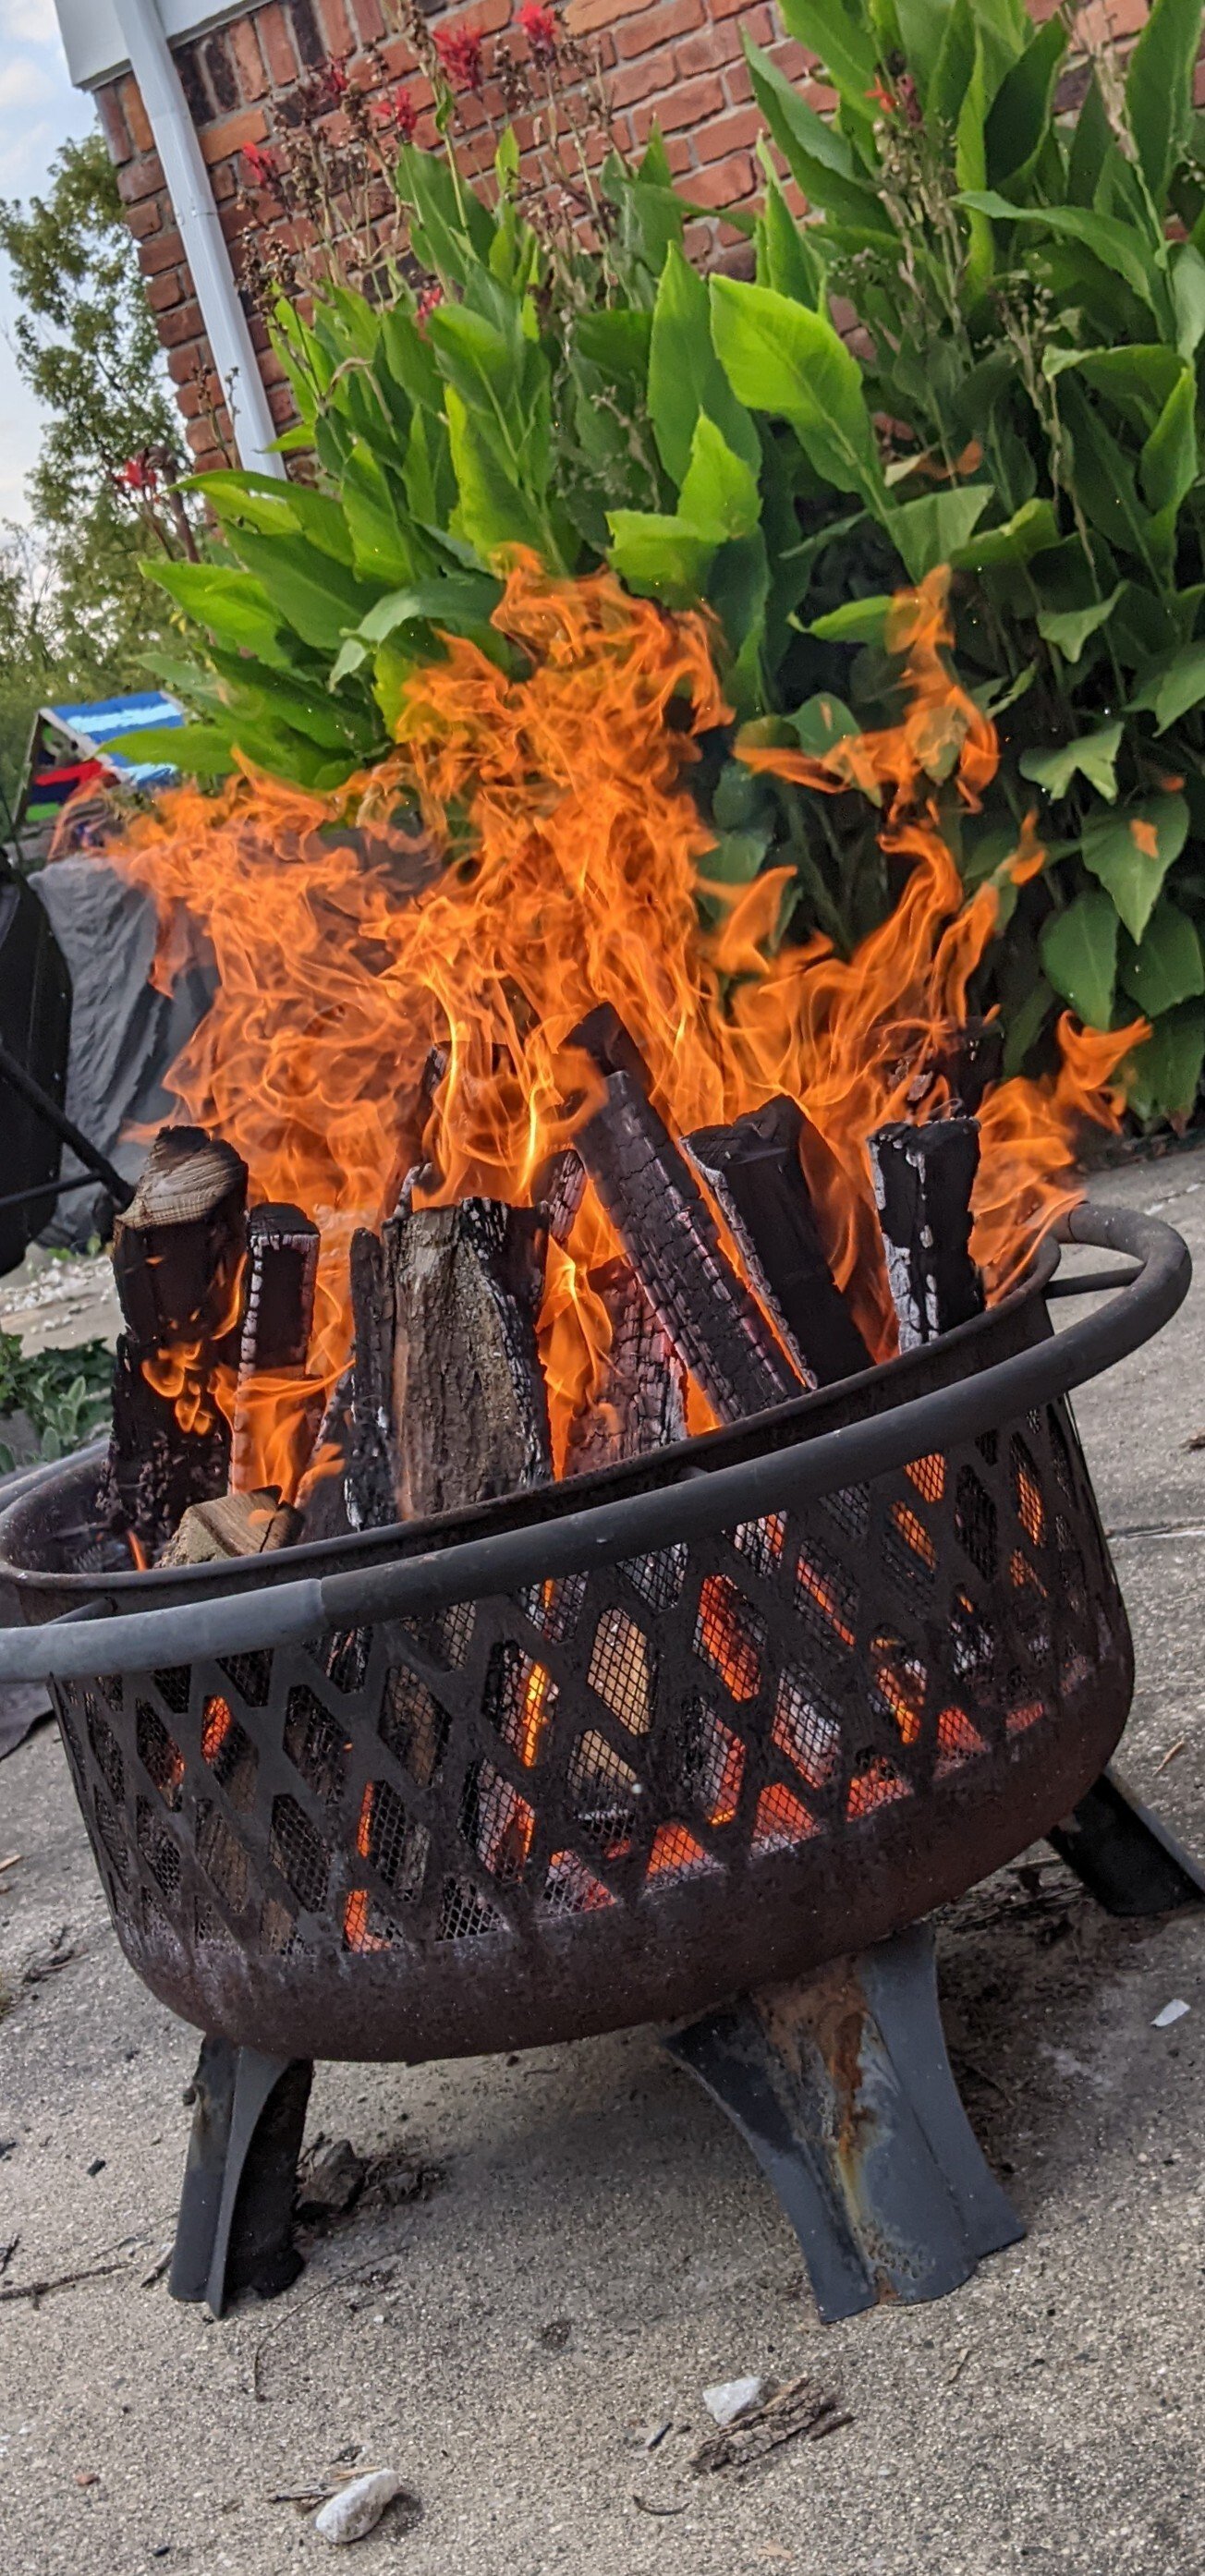
I left the fish under our porch for a few weeks to dry out. After that, I put them into our fire pit, lit a small fire to warm them up somewhat gradually, and then built the fire up over a half hour or so.
Burningaton:
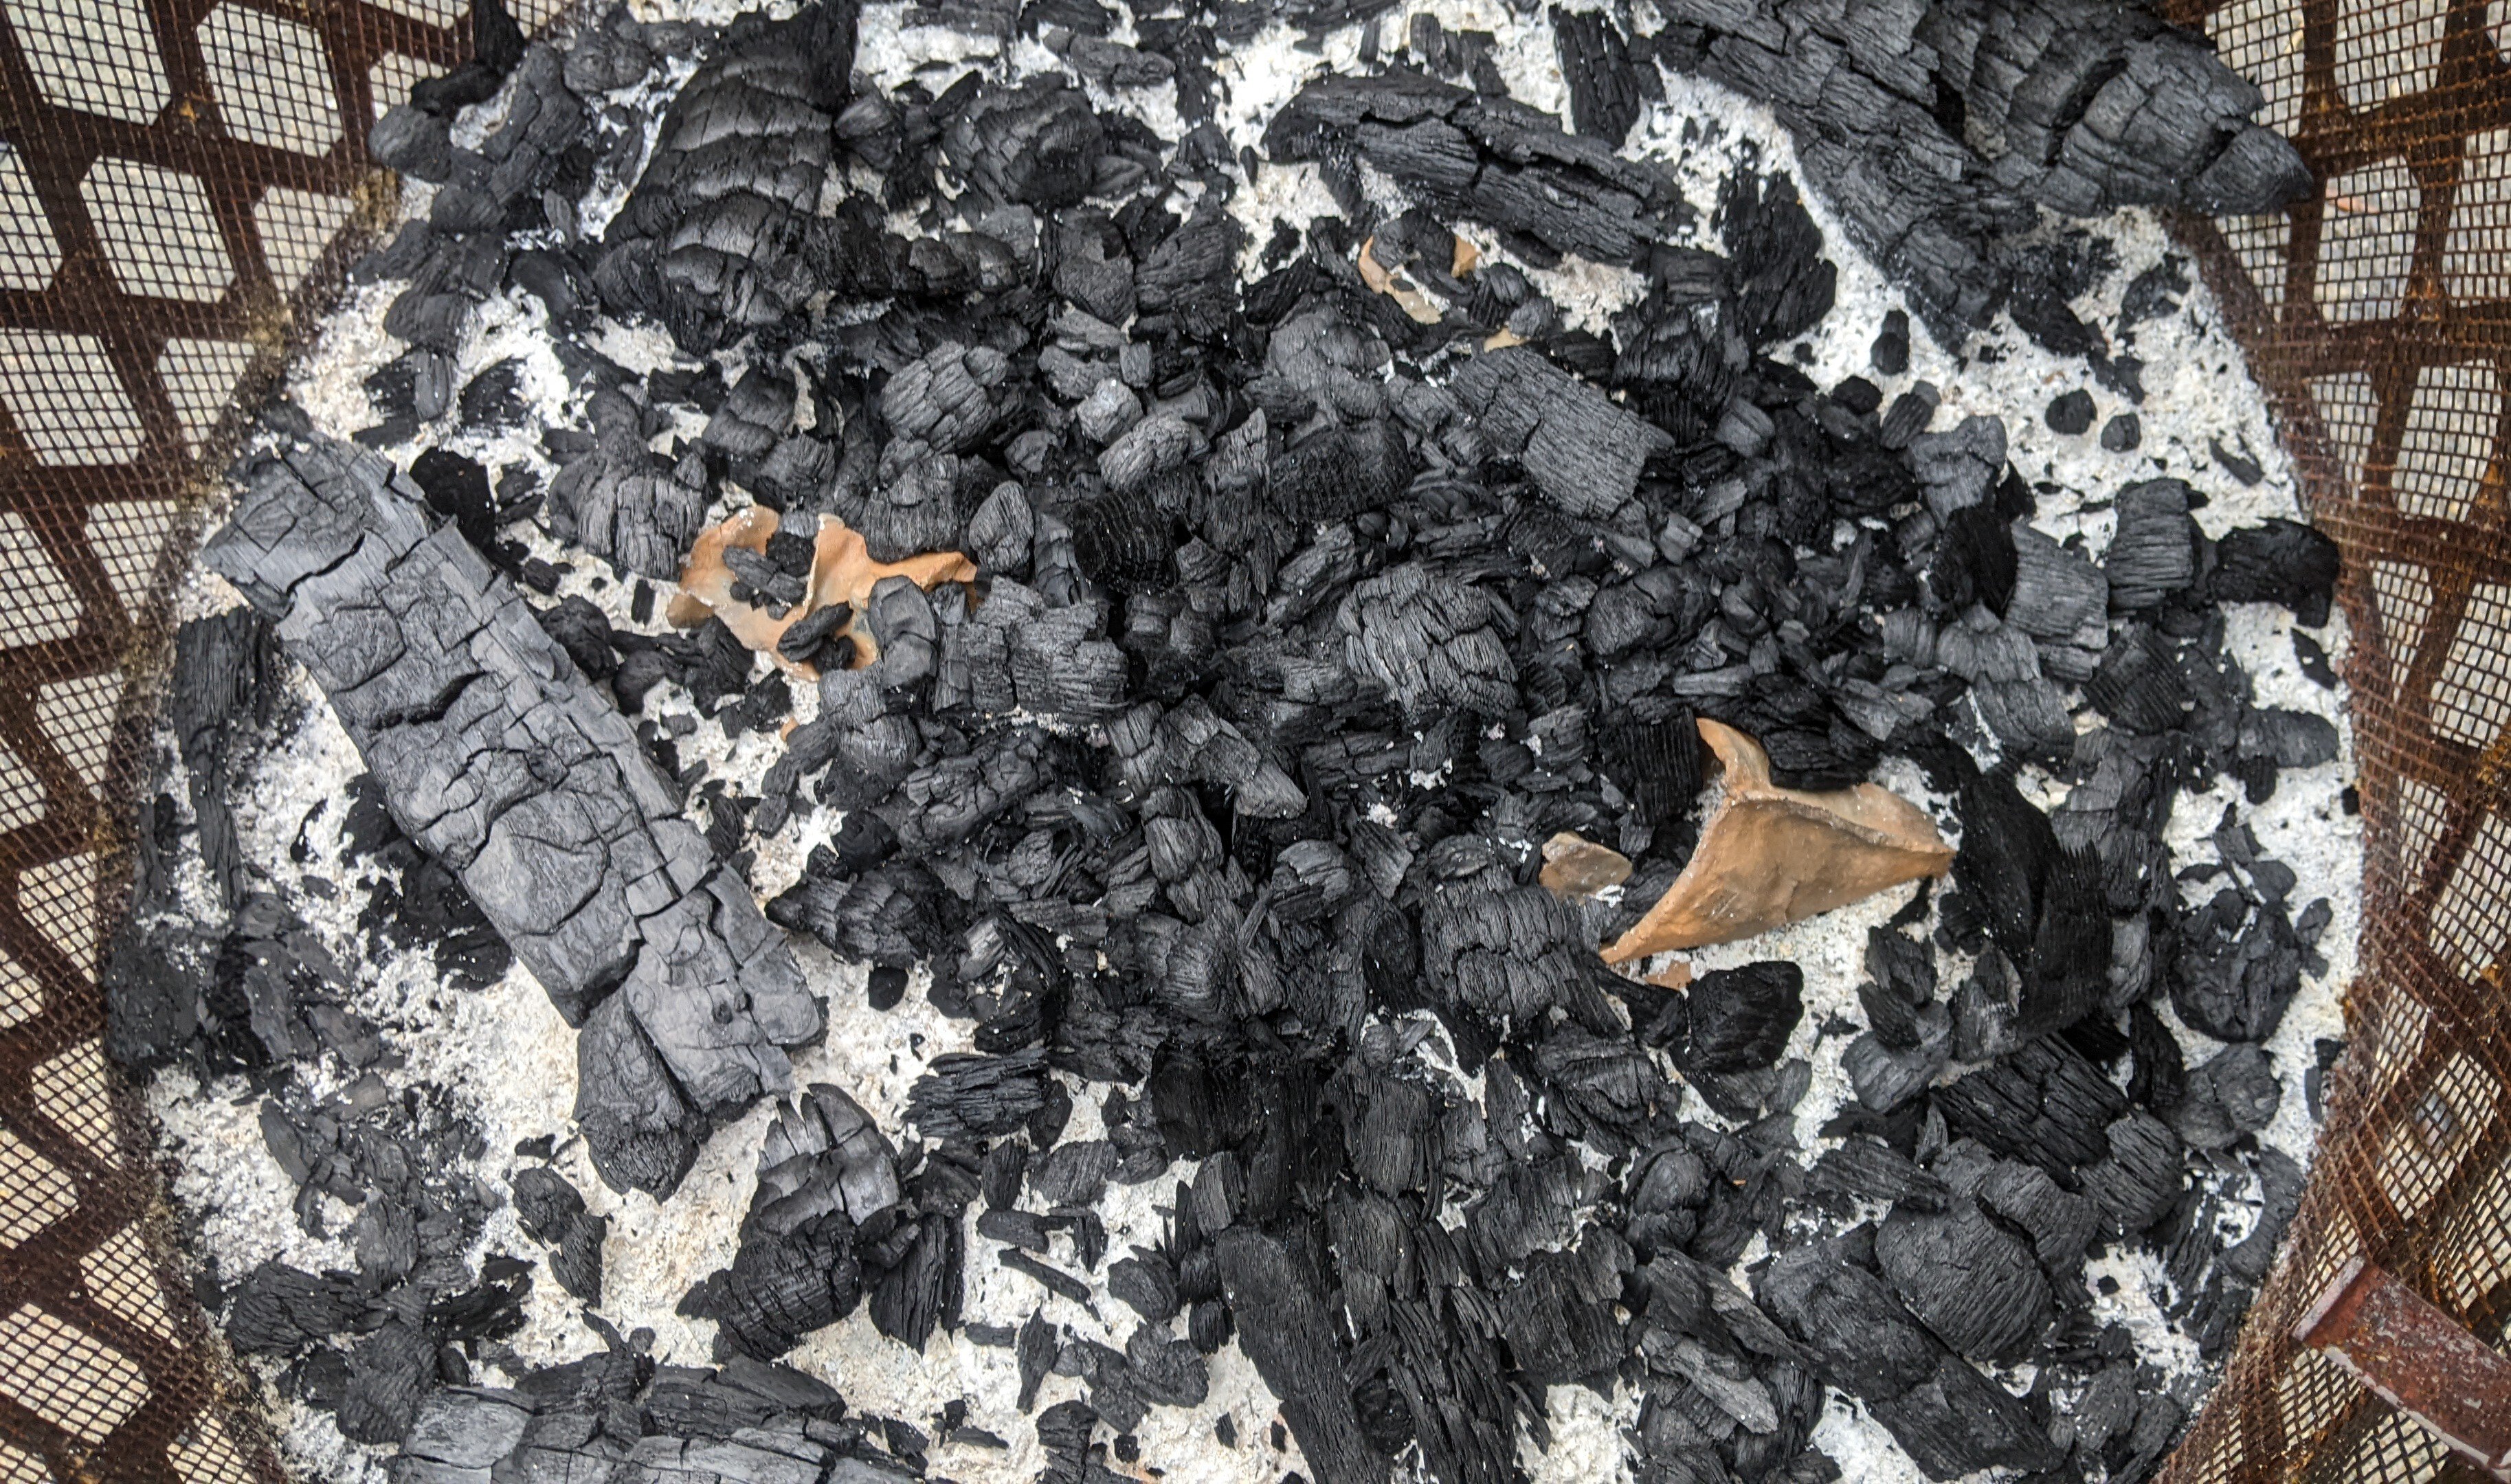
Post burn:
Call it Nacho Demon