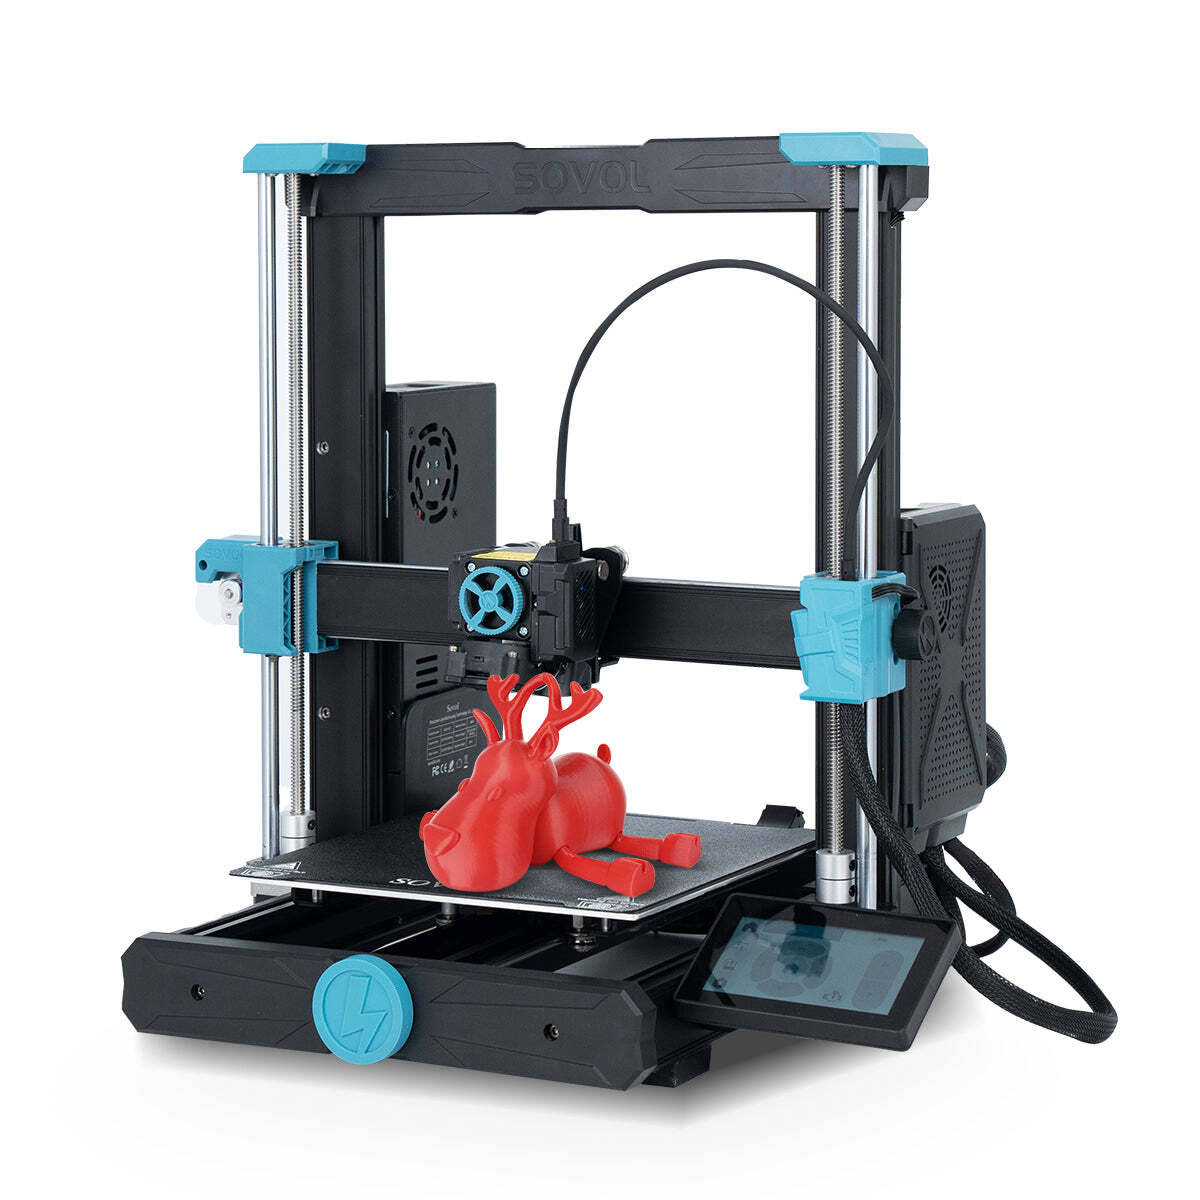
After immersing myself in 3D printer content on YouTube and Lemmy, I’d talked myself all the way up to spending AU$2000 which is just absurd for a first timer, but then talked myself into the Sovol3D S06 ACE as a decent starting point, haha
Anyhow, I’ll be running this in my garage (garage door open) and I think the first batch of filament in the pack is either PLA or PETG, which seems beginner friendly
I’ve been wondering about 3D printer profiles and calibration in slicer apps… is there a way to print as many benchies that will fit on the bed, but each which different profile parameters, so I can see which profiles do or don’t work best? Or do current slicer apps always produce a plan that uses the same parameters for the entire job?
Note that I’m 100% on Linux (no Windows here), so I’m probably limited to https://github.com/prusa3d/PrusaSlicer or https://github.com/SoftFever/OrcaSlicer (or maybe https://github.com/GladiusSlicer/GladiusSlicer if I’m in the mood for contributing my own code)
I’ve consumed probably too much YouTube at this point, but any especially important hints and tips for a first timer would be appreciated!
P.S. oh, just noticed, https://lemmy.ml/post/23597074 thanks!


Not per item “Profiles” but a lot of slicers let you do overrides.
For example you can override with per object settings in OrcaSlicer (and I presume Bambu). In Cura you can add settings that even apply to a box region (such as increasing infill in a certain weak part of a print or using adaptive layer height just as the top of some Conical shape)
I feel like an idiot because you’re absolutely correct, and I’ve even used this recently in Bambu Studio (which I believe is forked from PrusaSlicer, so it may be there as well). I haven’t used Prusa or Orca slicers, but it is somewhat limited in Studio, especially when printing “per object” instead of “per layer”
I’d still recommend OP print one benchy at a time because it’s very easy for one object to wipe out the entire print bed of parts if misconfigured.
No need to feel like an idiot, I’ve done it too. Even looked up how to do some obscure thing only to find a link I’ve read before and comes out I have a bookmark for it from a year or so ago.
As for switching settings across objects I agree. I use these things when dialing in one setting across a range such as flow rate. Never for an entire print, though, since a failed print component is going to be dragged across others, etc.
Or the change in temp, flow, retraction, etc may cause strings, or blobs, etc. to affect the others when it’s printing the layers. Unless you’re doing one object at a time which presumes they’re small enough, etc. And even then it failing could mean what remains of the entire object may be dragged across hitting others. It’s just not worth the hassle.
It does show them thinking about processes which is a good mindset to have though.
Experience is a good teacher in this hobby.