
Hi folks, I’ve been working on this keyboard pretty much since January of this year, and I’ve finally got it to the point that I can call it done! If you’d like to build one, all files are available here.
This is an MX-based keyboard, 36 keys with integrated trackball. The github page has a bunch more details. I also have a choc version in dev using the same style that’s based off the Trinidox.
Let me know what you think!
Can you tell me which setting you used to print the top shells? I just got a printer (Elegoo Neptune 3 Pro) and would like to try my luck with them.
Nothing out if the normal. I’m a big fan of tree supports, but aside from that it’s just a standard layer height for a 0.4mm nozzle. Temp will depend on the type of filament you decide to use. I have to admit, I’ve had my printer for around 2 years and I’ve gotten by with learning very little about it and doing almost no maintenance… I’m somewhat paying the price now because the thing is giving me nothing but trouble 😭
Excited to see how it looks!
Ah. I think I overdid it. I am.printing a first test in black PLA, with 0.2 mm layer height. I chose normal supports, because tree supports only generated three or four supports and I feared that would not be enough. Because I read it somewhere as a tip for Dactyl shells, I went with 100% infill. This will be one massive shell and a lot of cleanup work, when it is finished!
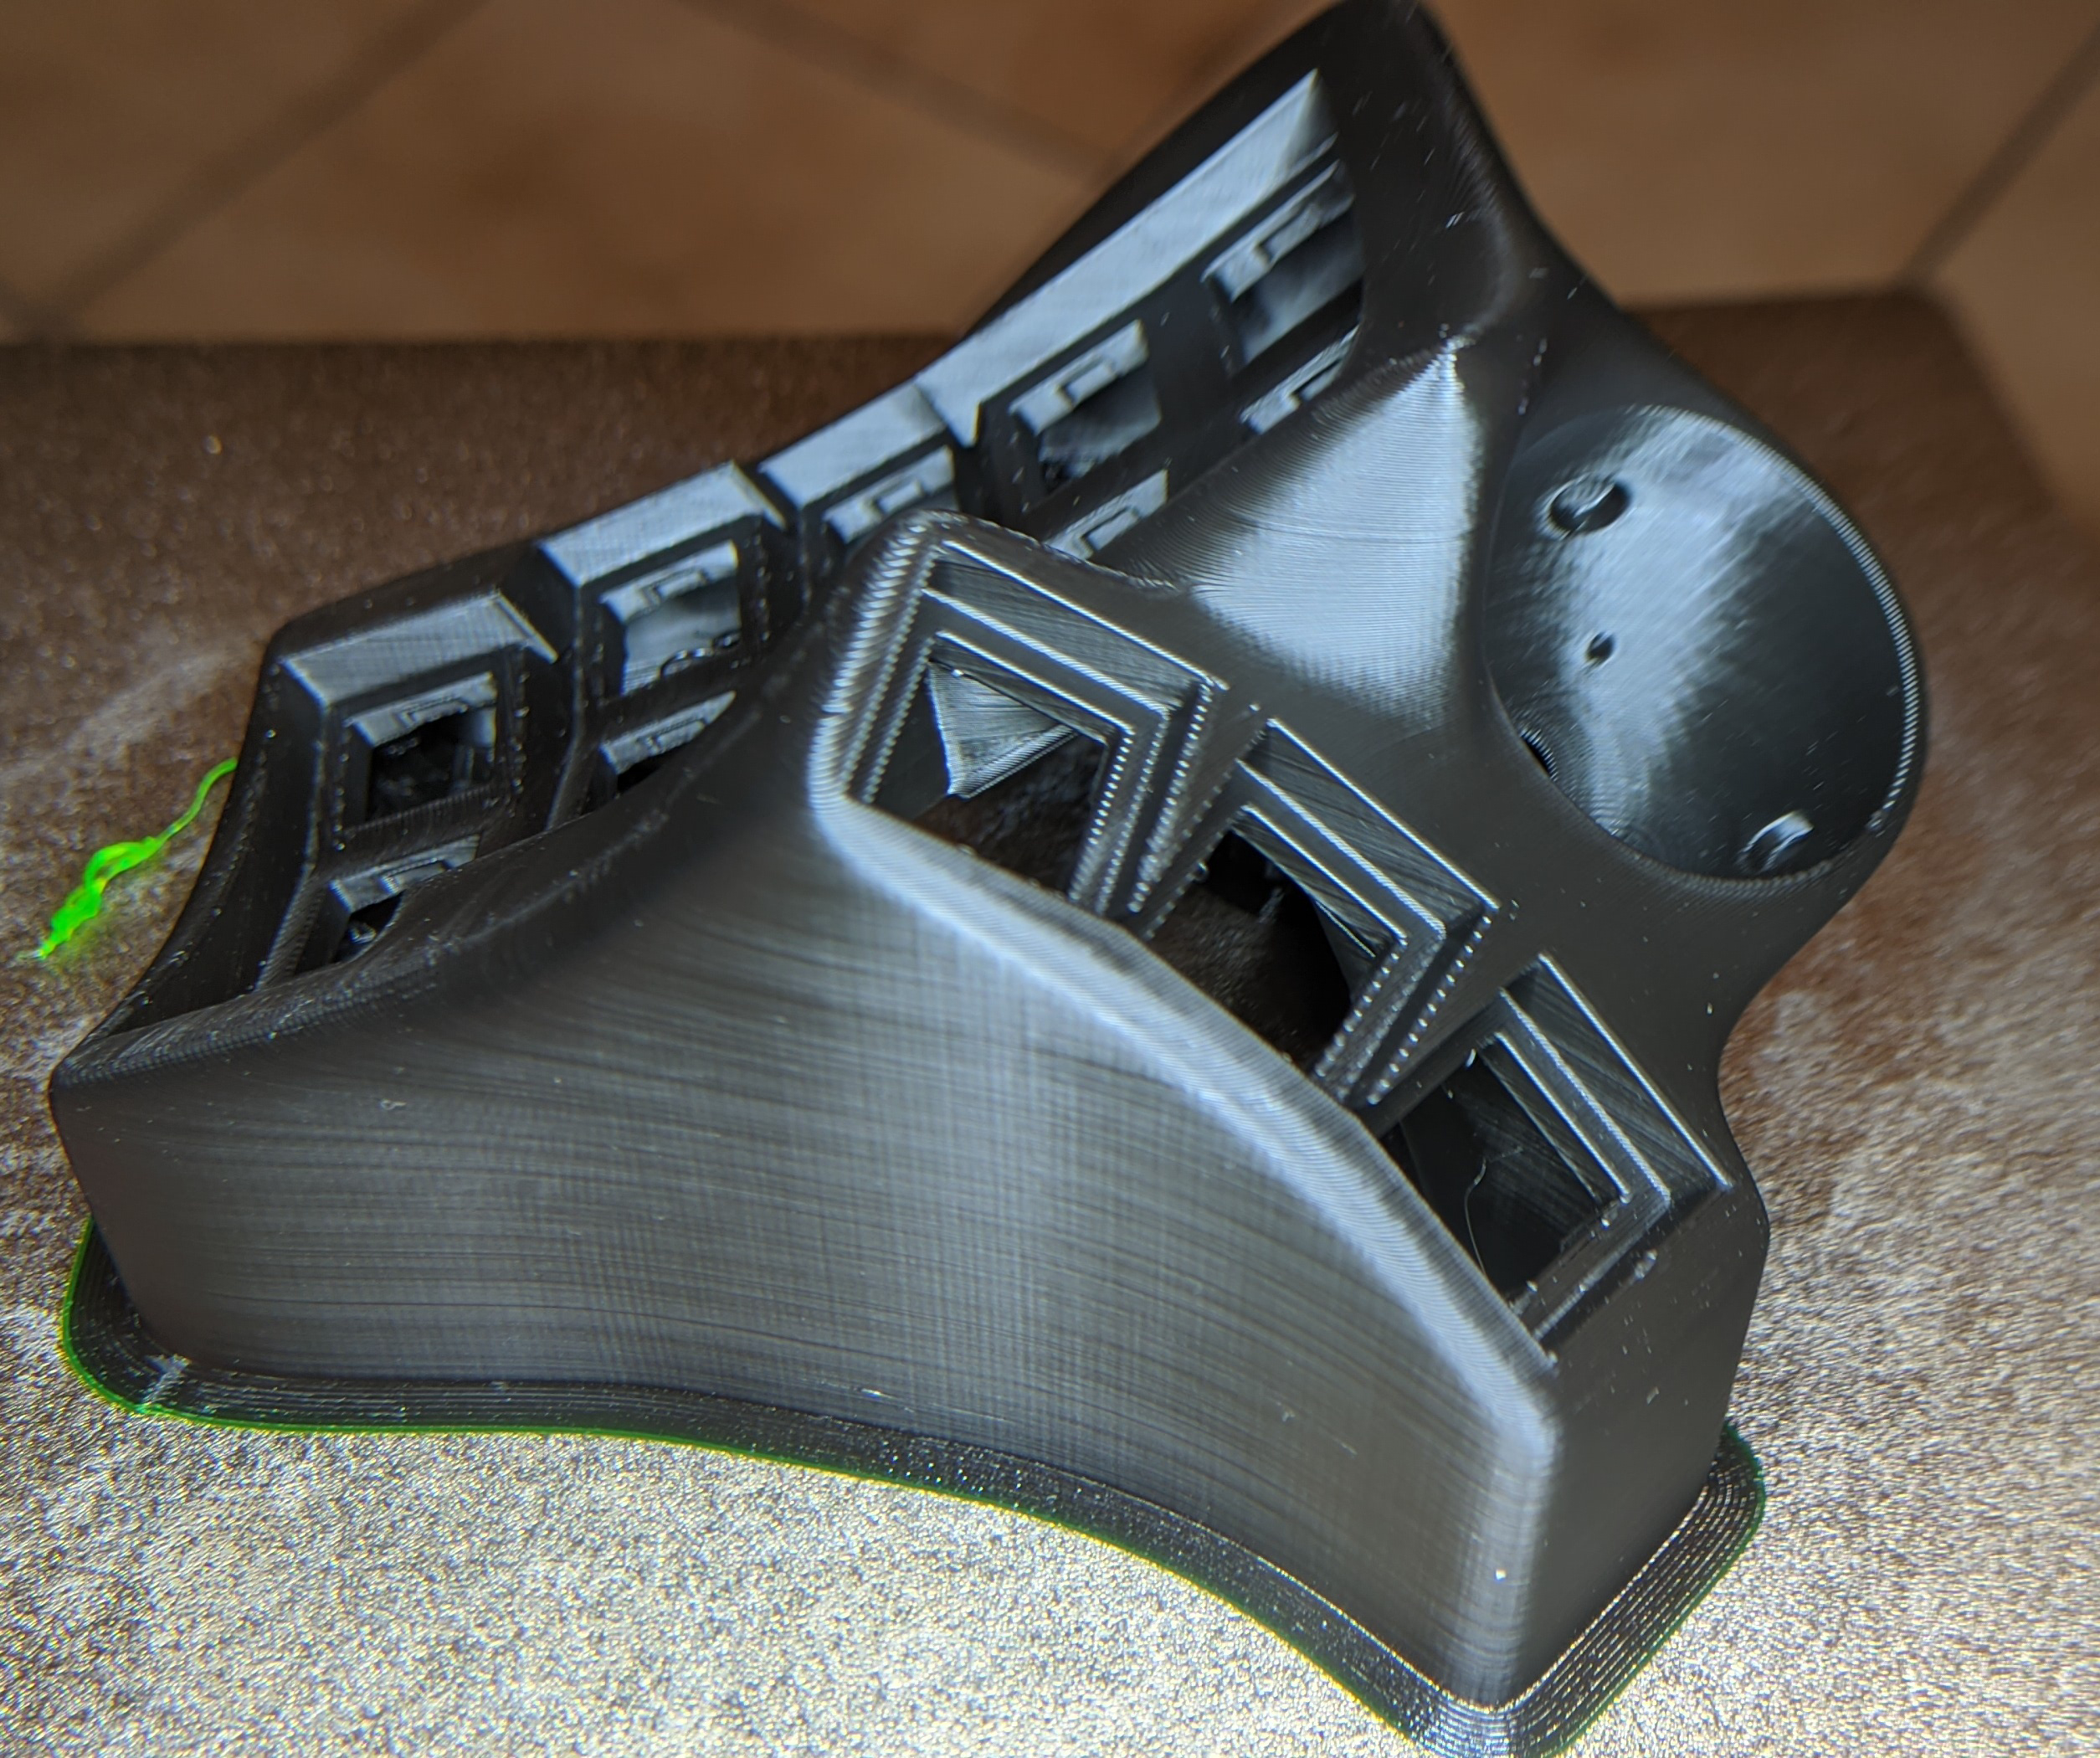
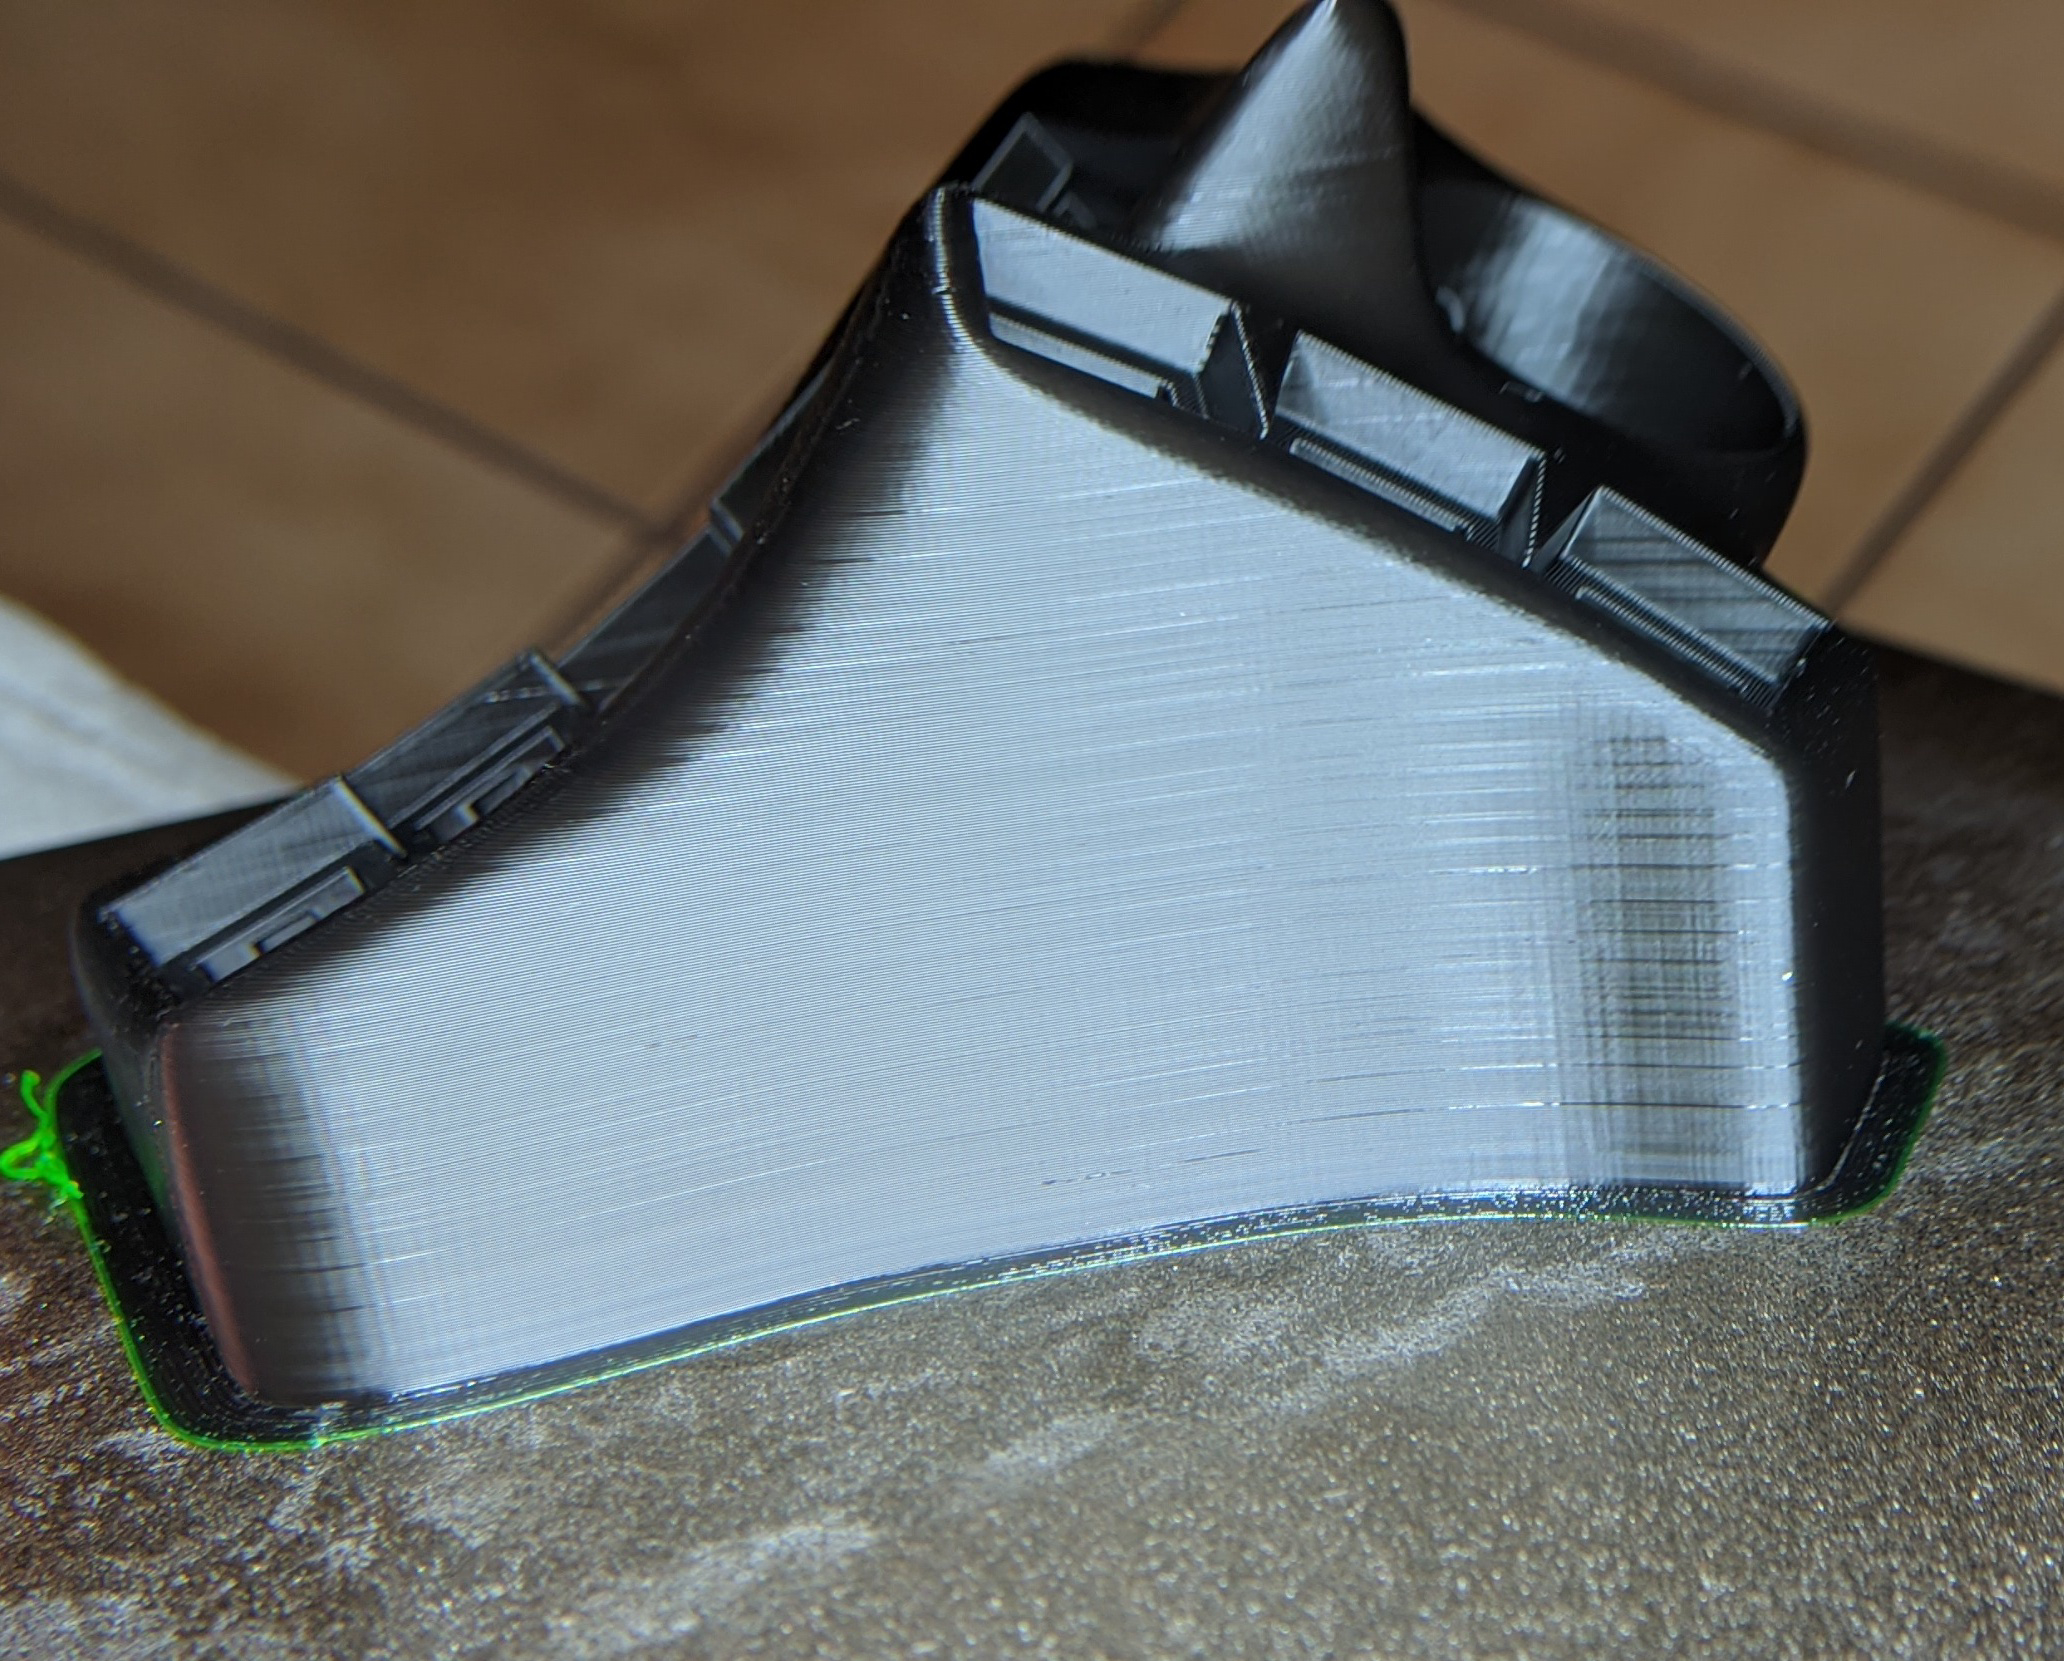
My first test print:
Came out OK with a few caveats,
Looks pretty good! I remember the pain of removing normal supports… Your picture of the removed supports with the pliers reminded me, hehe. With tree supports, it comes out in about 30 seconds as one giant blob. Usually I have a blob laying around but I recently cleaned up. Have you printed a temp tower with your new printer? Might help to really dial in the temp for some of the overhang areas.
This is a second test print in PLA, with pretty much standard settings (I raised the nozzle temp to 210 C and lowered the bed temp to 60 C after the first layer), 15% infill and tree supports:
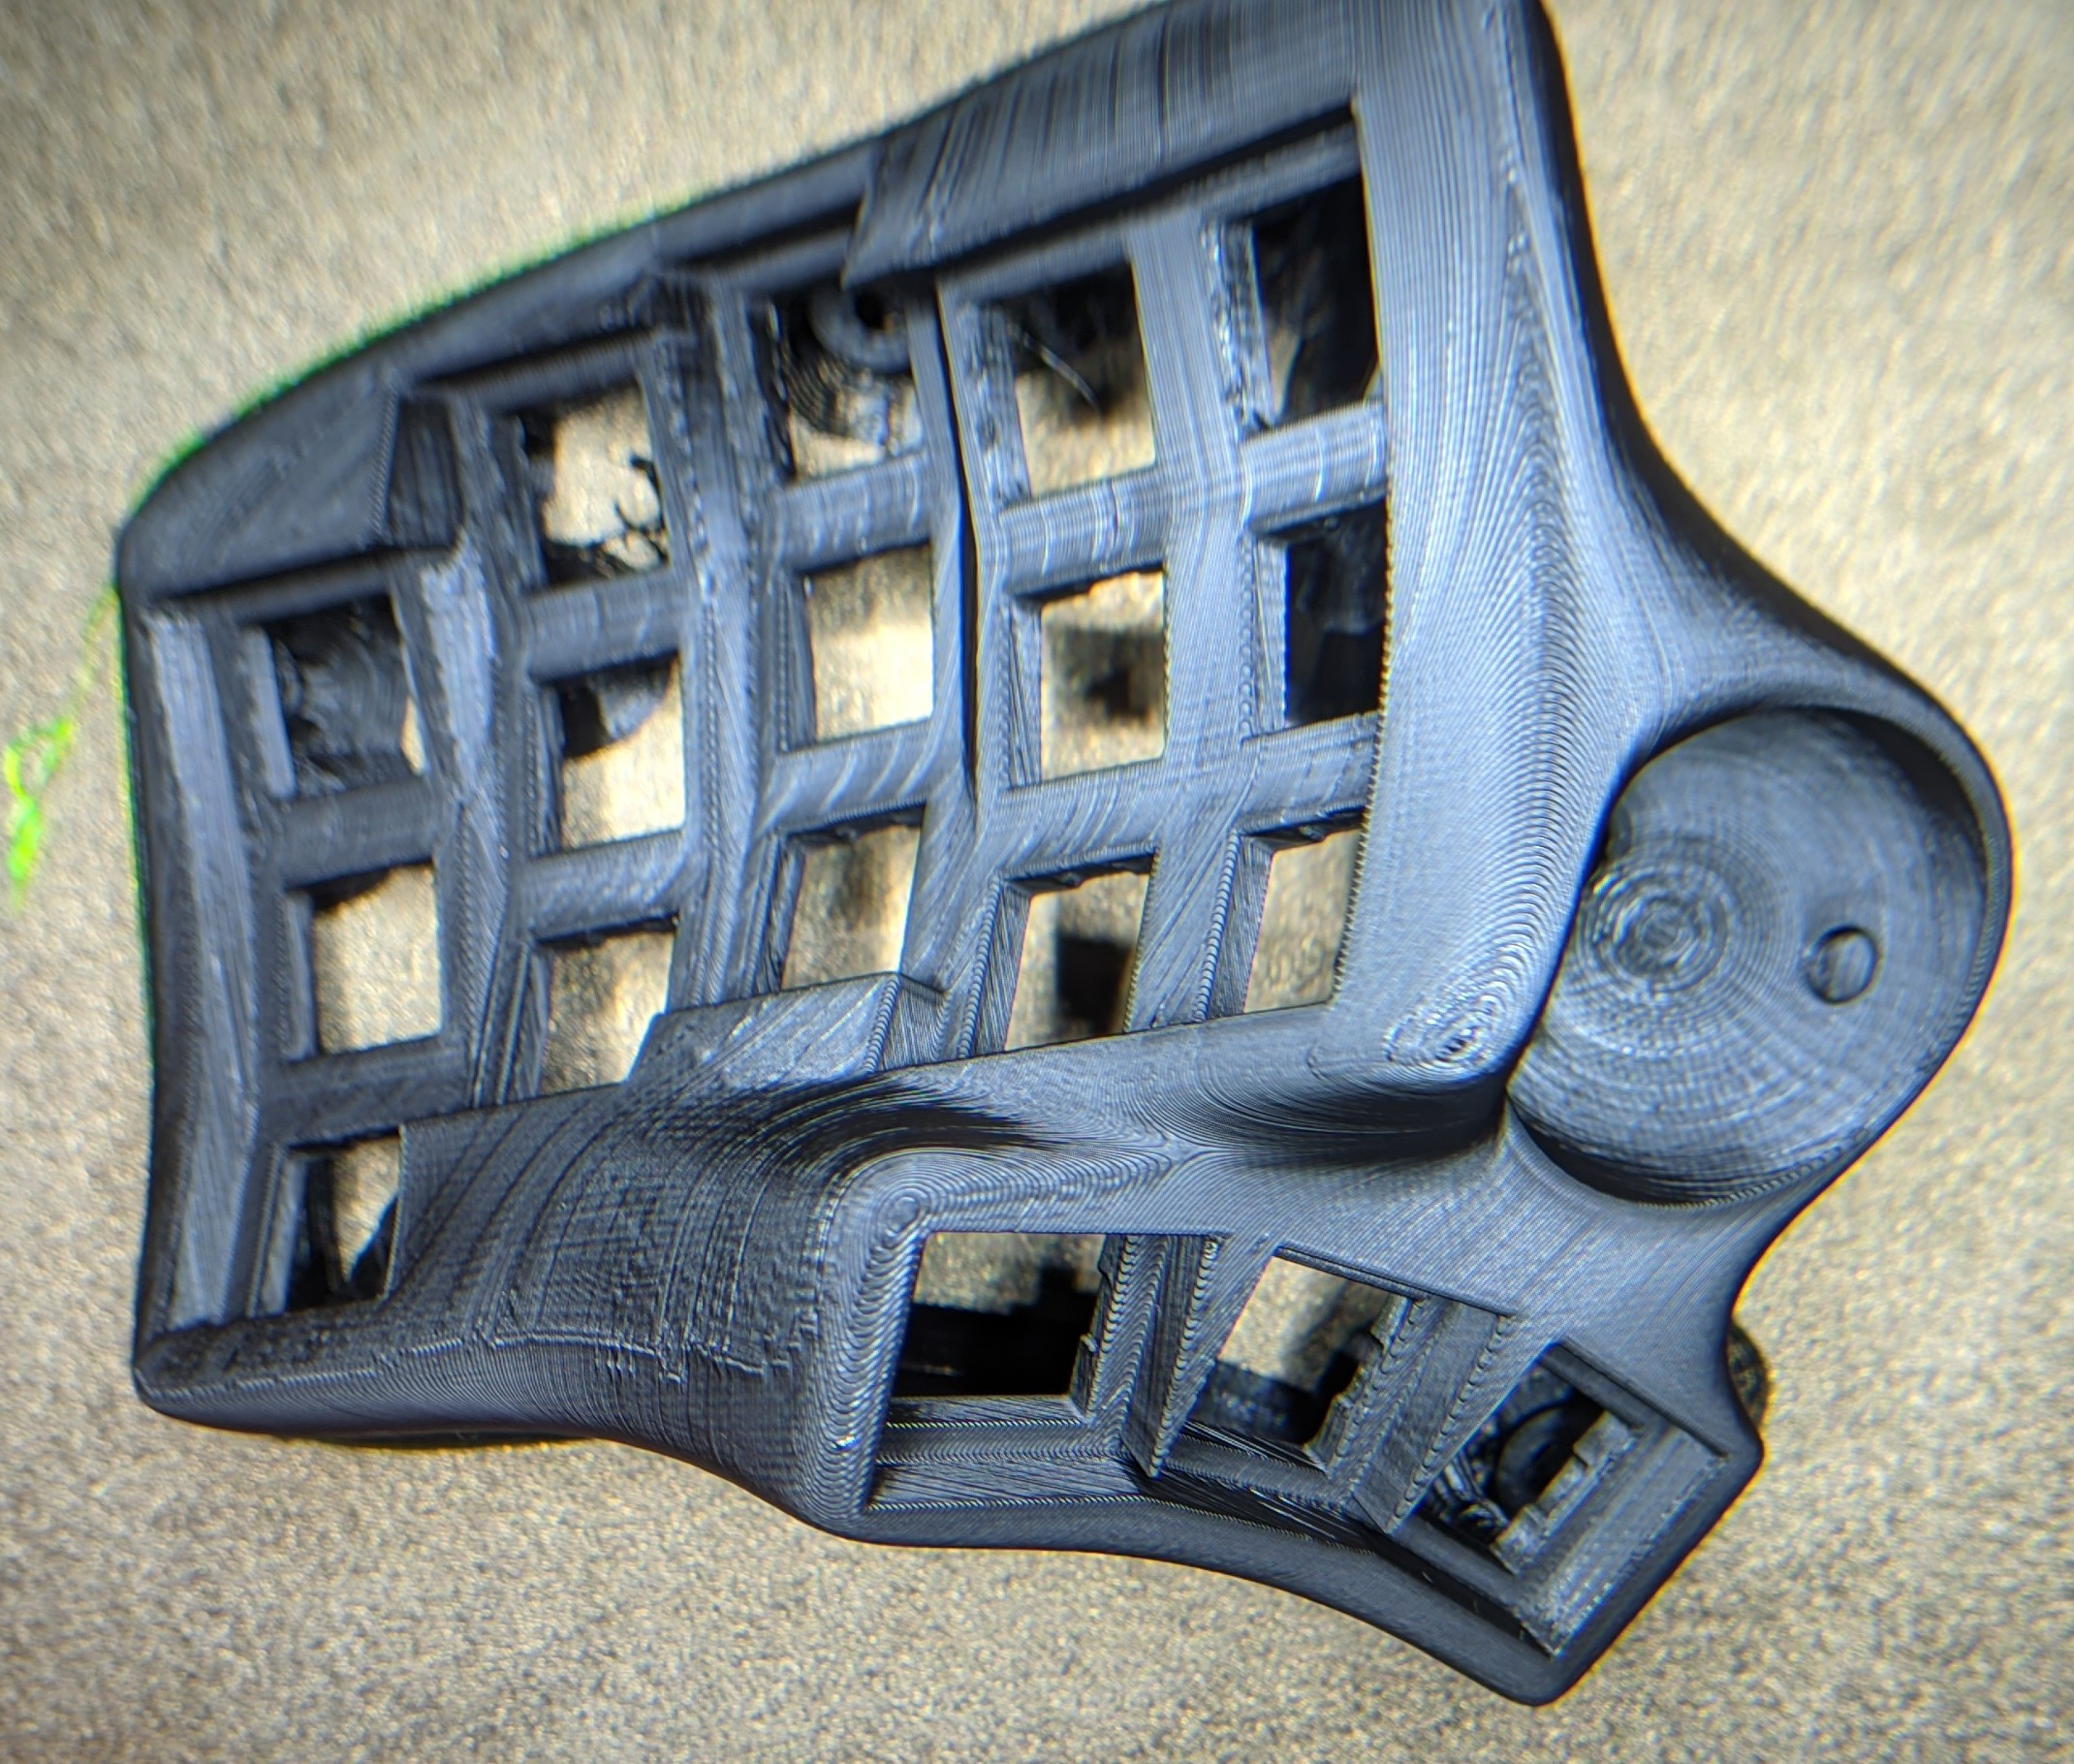
Nothing warped only a small print error on the inside that affects nothing.
It is way lighter with 15% instead of 100% infill though. ;)
Also, I’m really excited to see 2 trackballs!
You will have to be patient. I am still re-practising my soldering and need to order additional parts and I have procrastinated on this build (when it still should have become a Charybdis) for months already. ;)
Haha, ya I bet it’s lighter. Looks fantastic. One thing I messed around with in the slicer (cura for me) is the z-seam (where the layer starts printing). I moved it to the back to hide it. Ideally it would be on the inside of the case, but I didn’t spend enough time on it to figure it out. I think the z-seam is going down the front to the left of the thumb keys, yes? If it doesn’t bother you, keep going!
Yeah, that is the Z-seam. I thought activating “Retraction on layer change” might get rid of it,but it doesn’t. It would not bother me much to have it there but then again, this is still a test print. I will probably print the final part in PETG. Then I will position it for the Z-seam to be on the back simewhere.
not sure if this interests you, but I’m just about to publish a flow plate for the right side (text doesn’t mirror). Should be there soon!
I will print it in the final version that I will (try to) assemble.