
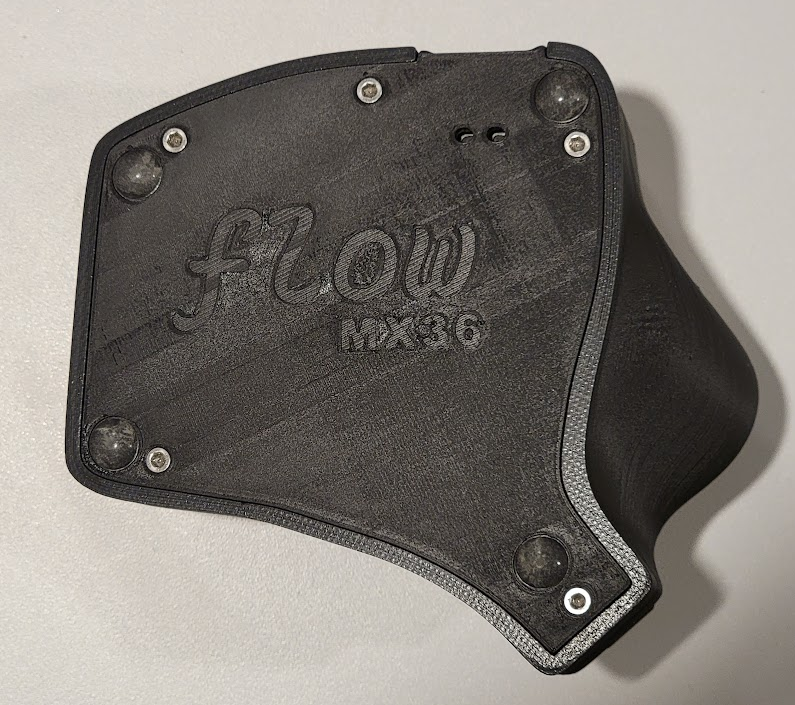
Hi folks, I’ve been working on this keyboard pretty much since January of this year, and I’ve finally got it to the point that I can call it done! If you’d like to build one, all files are available here.
This is an MX-based keyboard, 36 keys with integrated trackball. The github page has a bunch more details. I also have a choc version in dev using the same style that’s based off the Trinidox.
Let me know what you think!
deleted by creator
haha sorry! Decisions are tough…I say build both :-)
I’m not quite sure what you mean by two trackball halves…do you mean a trackball on both the left and right? Totally possible if that’s what you mean since each side has a uC…but I think I’m not quite catching your question.
I’ll get some pics of hand on home row and hand on trackball. I aim for it to be equivalent to a “row shift”, meaning when using the trackball, the fingers rest comfortably on the top row which then become the mouse buttons. This works well if you use HJKL for VIM style arrow keys since it can all be on the same nav layer: home row for arrows, top row for mouse buttons. Take a peek at the Trinidox page I linked to…it has pictures of home row and trackball use and should be very similar to the flow-MX36.
Thanks for your interest! Keep me posted…would love to see another build in the wild!
deleted by creator
Ok, ya should totally be possible to have 2 trackballs. You made me think I should provide details about the trackball placement philosophy on the github page… I’ve been neck deep in this design for so long, I’ve forgotten many of the design features that makes it unique. Touch base of you make one! Would be awesome to see a double trackball version :-)
deleted by creator
I built it using amoeba royales. It’s certainly tight. I modeled the amoebas plus components and had a cutter to create the necessary space, so that part was pretty easy. The tightest key is the bottom row on the left most column (for the right side case with trackball). It fits but needs a little jiggling.
deleted by creator
This is fucking amazing. Thank you for sharing the files. How do you like the built in trackball? I’ve never been one to ball with my thumb but I like the concept a lot.
Thanks! Regarding the trackball, I can’t imagine not having it. I found it pretty natural from the start. When I’m stuck without it, I really notice when I have to move my hand between the keyboard and mouse. It’s almost as if everything has the speed and convenience of a keyboard operation… And with that statement, I’ve just triggered the whole VIM community, haha
This looks really cool. I’ve been interested in the idea of keyboards with built in trackballs for a while now, I really need to make some time to build one.
Thanks for sharing!
Fingerpunch.xyz has a few boards with integrated trackballs. Ximi, FFKB v3, Rock On v3 and upcoming Vulpes Majora
I was pretty blown away the first time I used a split with integrated trackball. I’ve since been on a mission to get a trackball on all my keyboards 😎
That’s awesome. I’m currently in the process of designing the PCB for the 40% ortho I’ve been working on. Once I’m done with this one I’m definitely going to build a split, maybe I’ll have to build one of yours because the more I look at it the more I like it lol.
Nice… I’d really like to tackle a PCB design. I’ve been playing with the idea of make a flex PCB for the flow series, but I have too many projects already, hehe. Looking forward to seeing your project!
This is such a nice keyboard, and the documentation with all the AliExpress links is awesome 👍
good to know, thanks! I wasn’t sure if the links would be helpful…good to hear it helped you out!
Can I upvote a second time for the ThinkPad?
Haha 😅
Looks amazing! The mouse-ball I think is really cool addition, never seen something like that before
Thanks!
This is so awesome! Really curious about the choc version, I’ve thought about putting my printer to use, and a choc variant would be a good candidate.
Should be ready in a month or so :-)
Coolest keyboard trackpad combo I’ve seen by far.
I’d be lying if I said I understood what the extra buttons where I expected the spacebar to be. Anyone care to explain.
They are really whatever you want them to be. But usually space enter backspace shift etc + layer switching. These 36 key keyboards don’t have the number row, function row or even some of the symbols. So you use other ways to get that to function. Here’s a video of a 34 key layout that I think explains things well https://youtu.be/8wZ8FRwOzhU
Super nice!!
What is the difference between the MX and the choc version? If I understand correctly, chocs also fit in the 14x14 mm plate holes that the MXs need. And since you’re hand-wiring, there is no PCB with different holes. Shouldn’t the chocs just fit the MX version?
You’re totally right. The thickness of the key matrix could have been 2mm for choc (instead of 4mm for MX), and I bet there’s a way to combine the recesses for the difference in key switch grippers.The spacing between keys in a column can be 2mm closer for choc (key cap difference), meaning the choc keys in an MX board would have an extra 2mm between keys (more reaching, gasp!). Unfortunate, but doable.
The deal breaker for me was the position of the trackball. A choc key is much lower than an MX key, meaning a choc on the MX would lead to reaching up to the trackball. I found that quite uncomfortable. I actually had a trackball placement somewhat like that during dev and used it for a week…I injured a tendon in my thumb and had go back to another board for a while, hehe. Trackball placement is finicky.
Sorry I might not be understanding this correctly, but does that mean the choc version will have proper choc spacing and be 2mm closer? And a properly located trackpad on top of that?
That is exactly what I’ve been waiting for. I printed the case for a MX Skeletyl but found the spacing a bit too far, and the choc skeletyl that I printed felt a bit off for some reason.
They keys within the columns are spaced as tightly together as I could get them without interference. The column to column has more space though - I just found it more comfy as I ran through some iterations. But now I’m getting curious about smashing the columns together again…I think the keyboard could be considerably smaller. I’ll release this version and continue to mess around…I’m just working through some annoying under-extrusion issues on my printer, so I’m hoping that I can have it released in a couple weeks.
Please give us another update here once the choc version is done, I’d be super interested in trying it out!
Will do! I’m sifting through some annoying printer issues, and combined with a family vacation, I’m a bit behind where I wanted to be at this point…
it’s somewhat visible in the picture below…this is from the first version (Trinidox) but the key placement is the same.

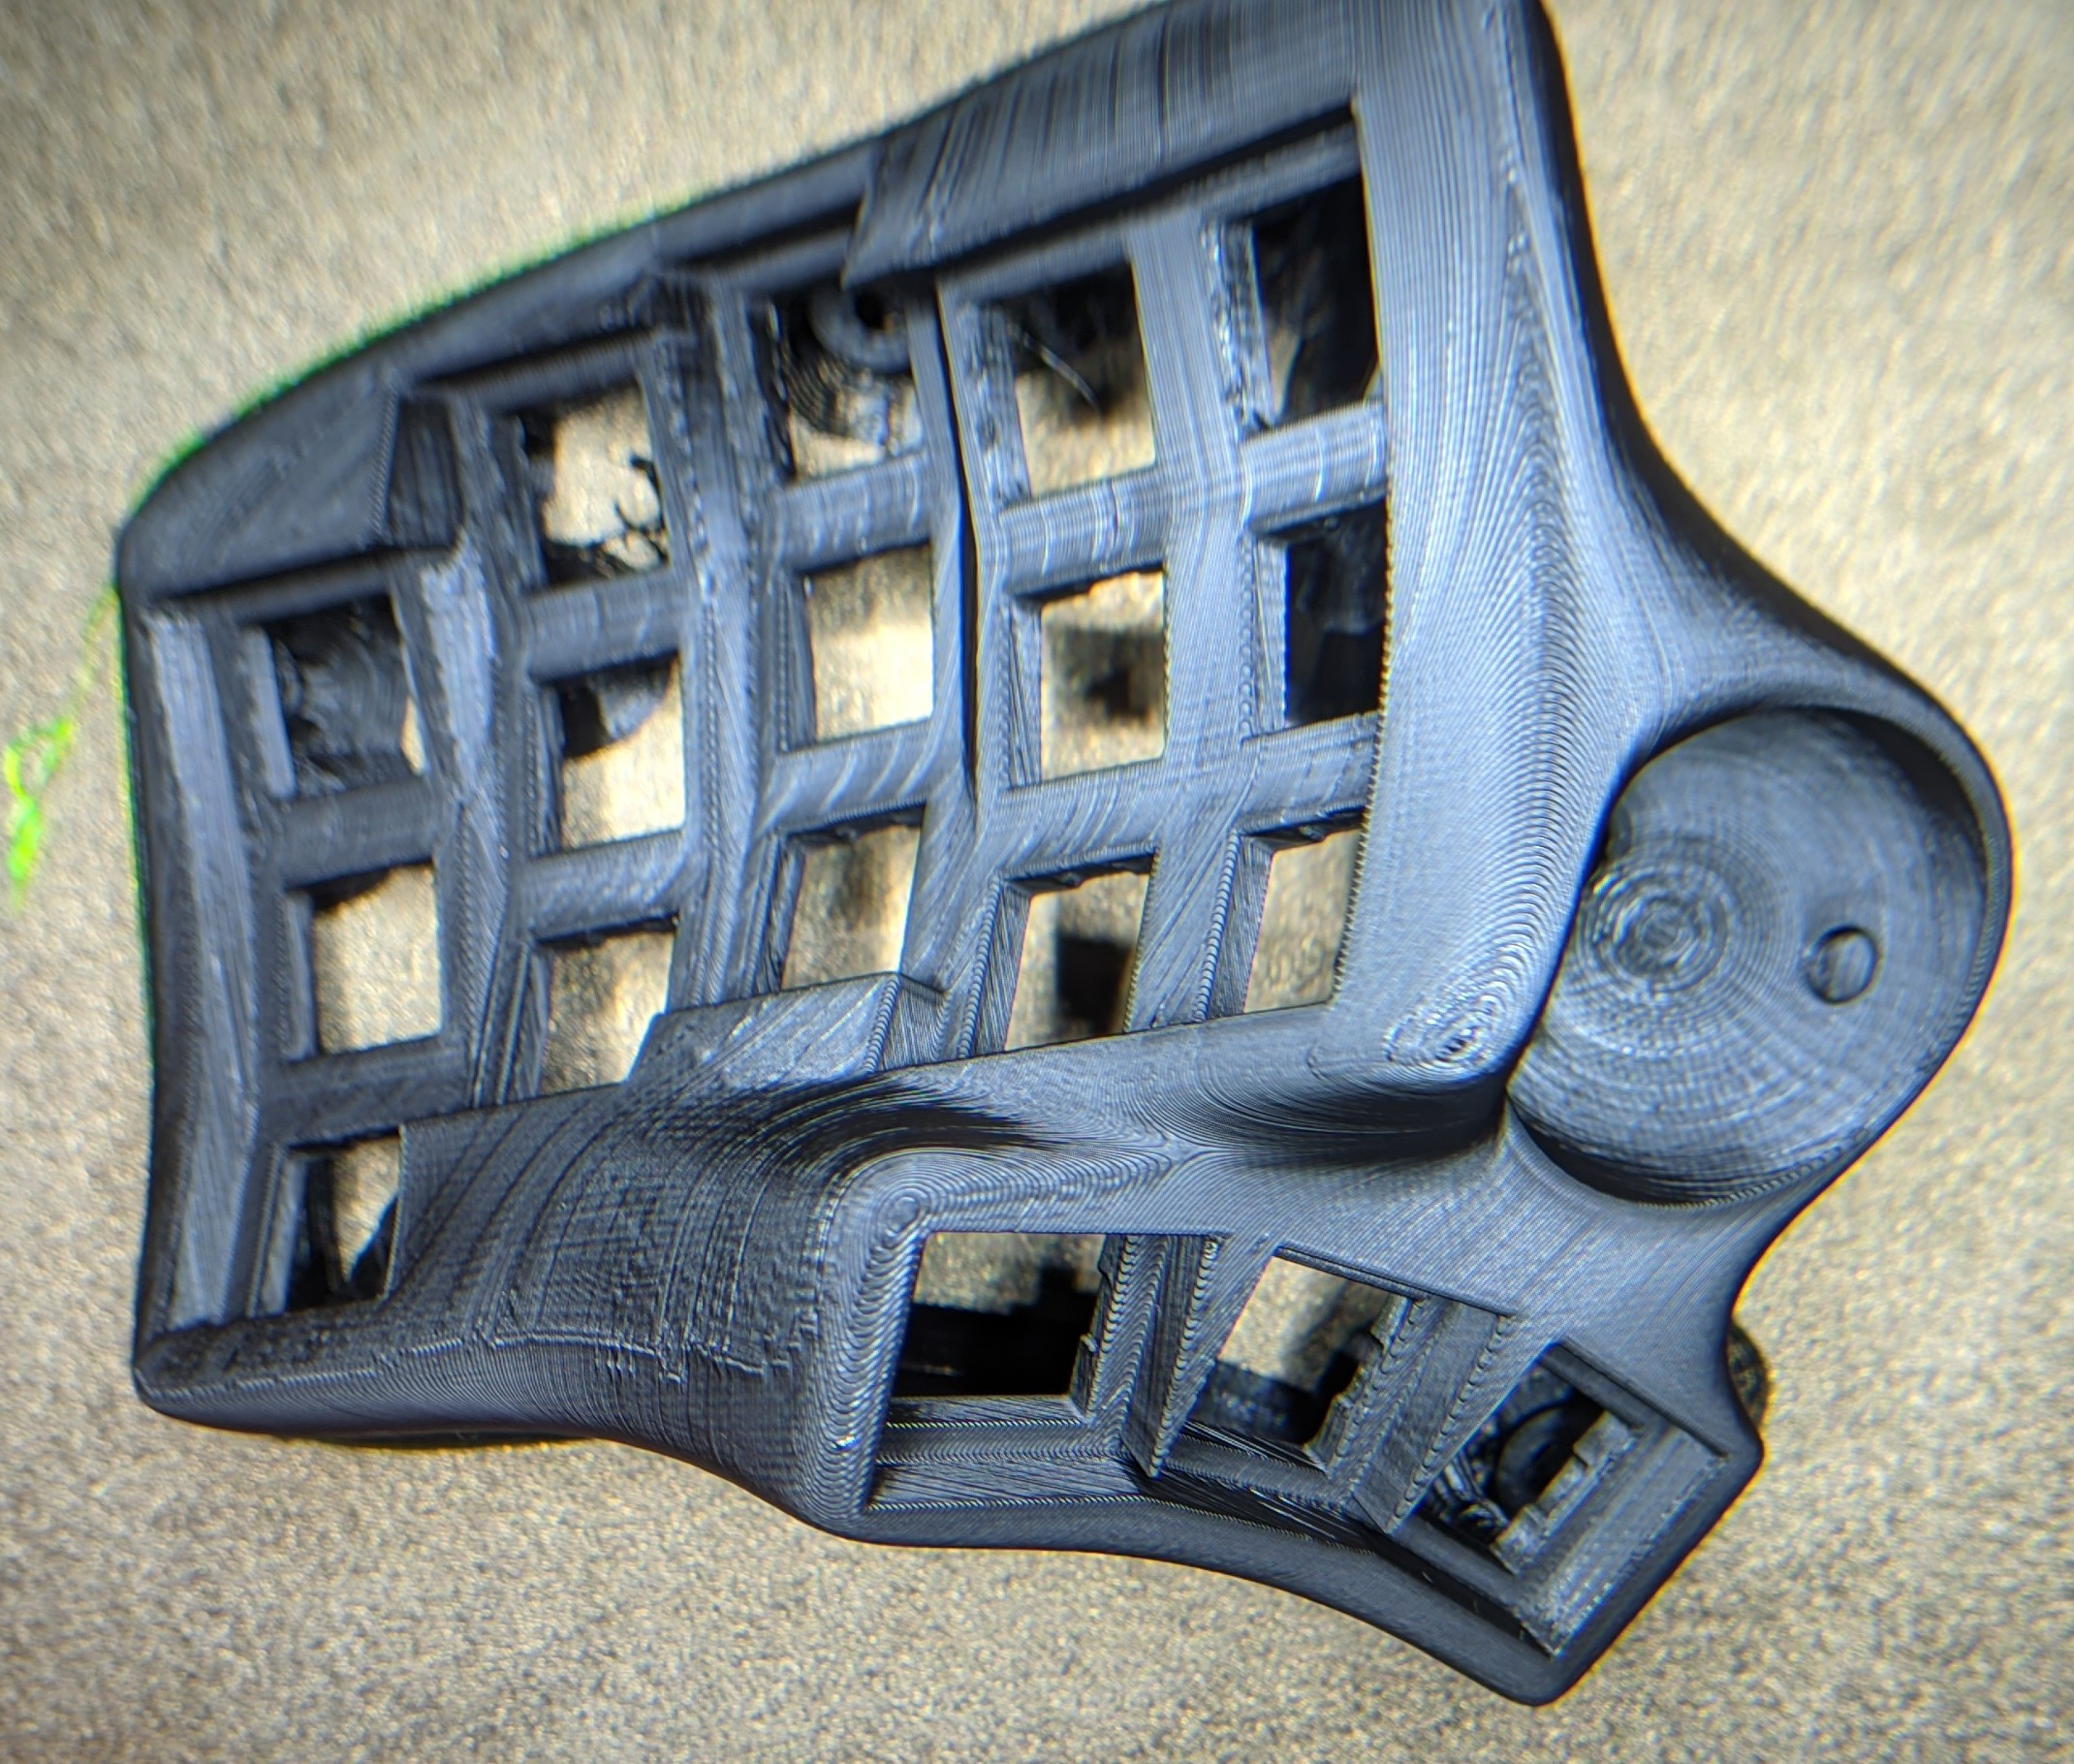
Can you tell me which setting you used to print the top shells? I just got a printer (Elegoo Neptune 3 Pro) and would like to try my luck with them.
Nothing out if the normal. I’m a big fan of tree supports, but aside from that it’s just a standard layer height for a 0.4mm nozzle. Temp will depend on the type of filament you decide to use. I have to admit, I’ve had my printer for around 2 years and I’ve gotten by with learning very little about it and doing almost no maintenance… I’m somewhat paying the price now because the thing is giving me nothing but trouble 😭
Excited to see how it looks!
Ah. I think I overdid it. I am.printing a first test in black PLA, with 0.2 mm layer height. I chose normal supports, because tree supports only generated three or four supports and I feared that would not be enough. Because I read it somewhere as a tip for Dactyl shells, I went with 100% infill. This will be one massive shell and a lot of cleanup work, when it is finished!
My first test print:
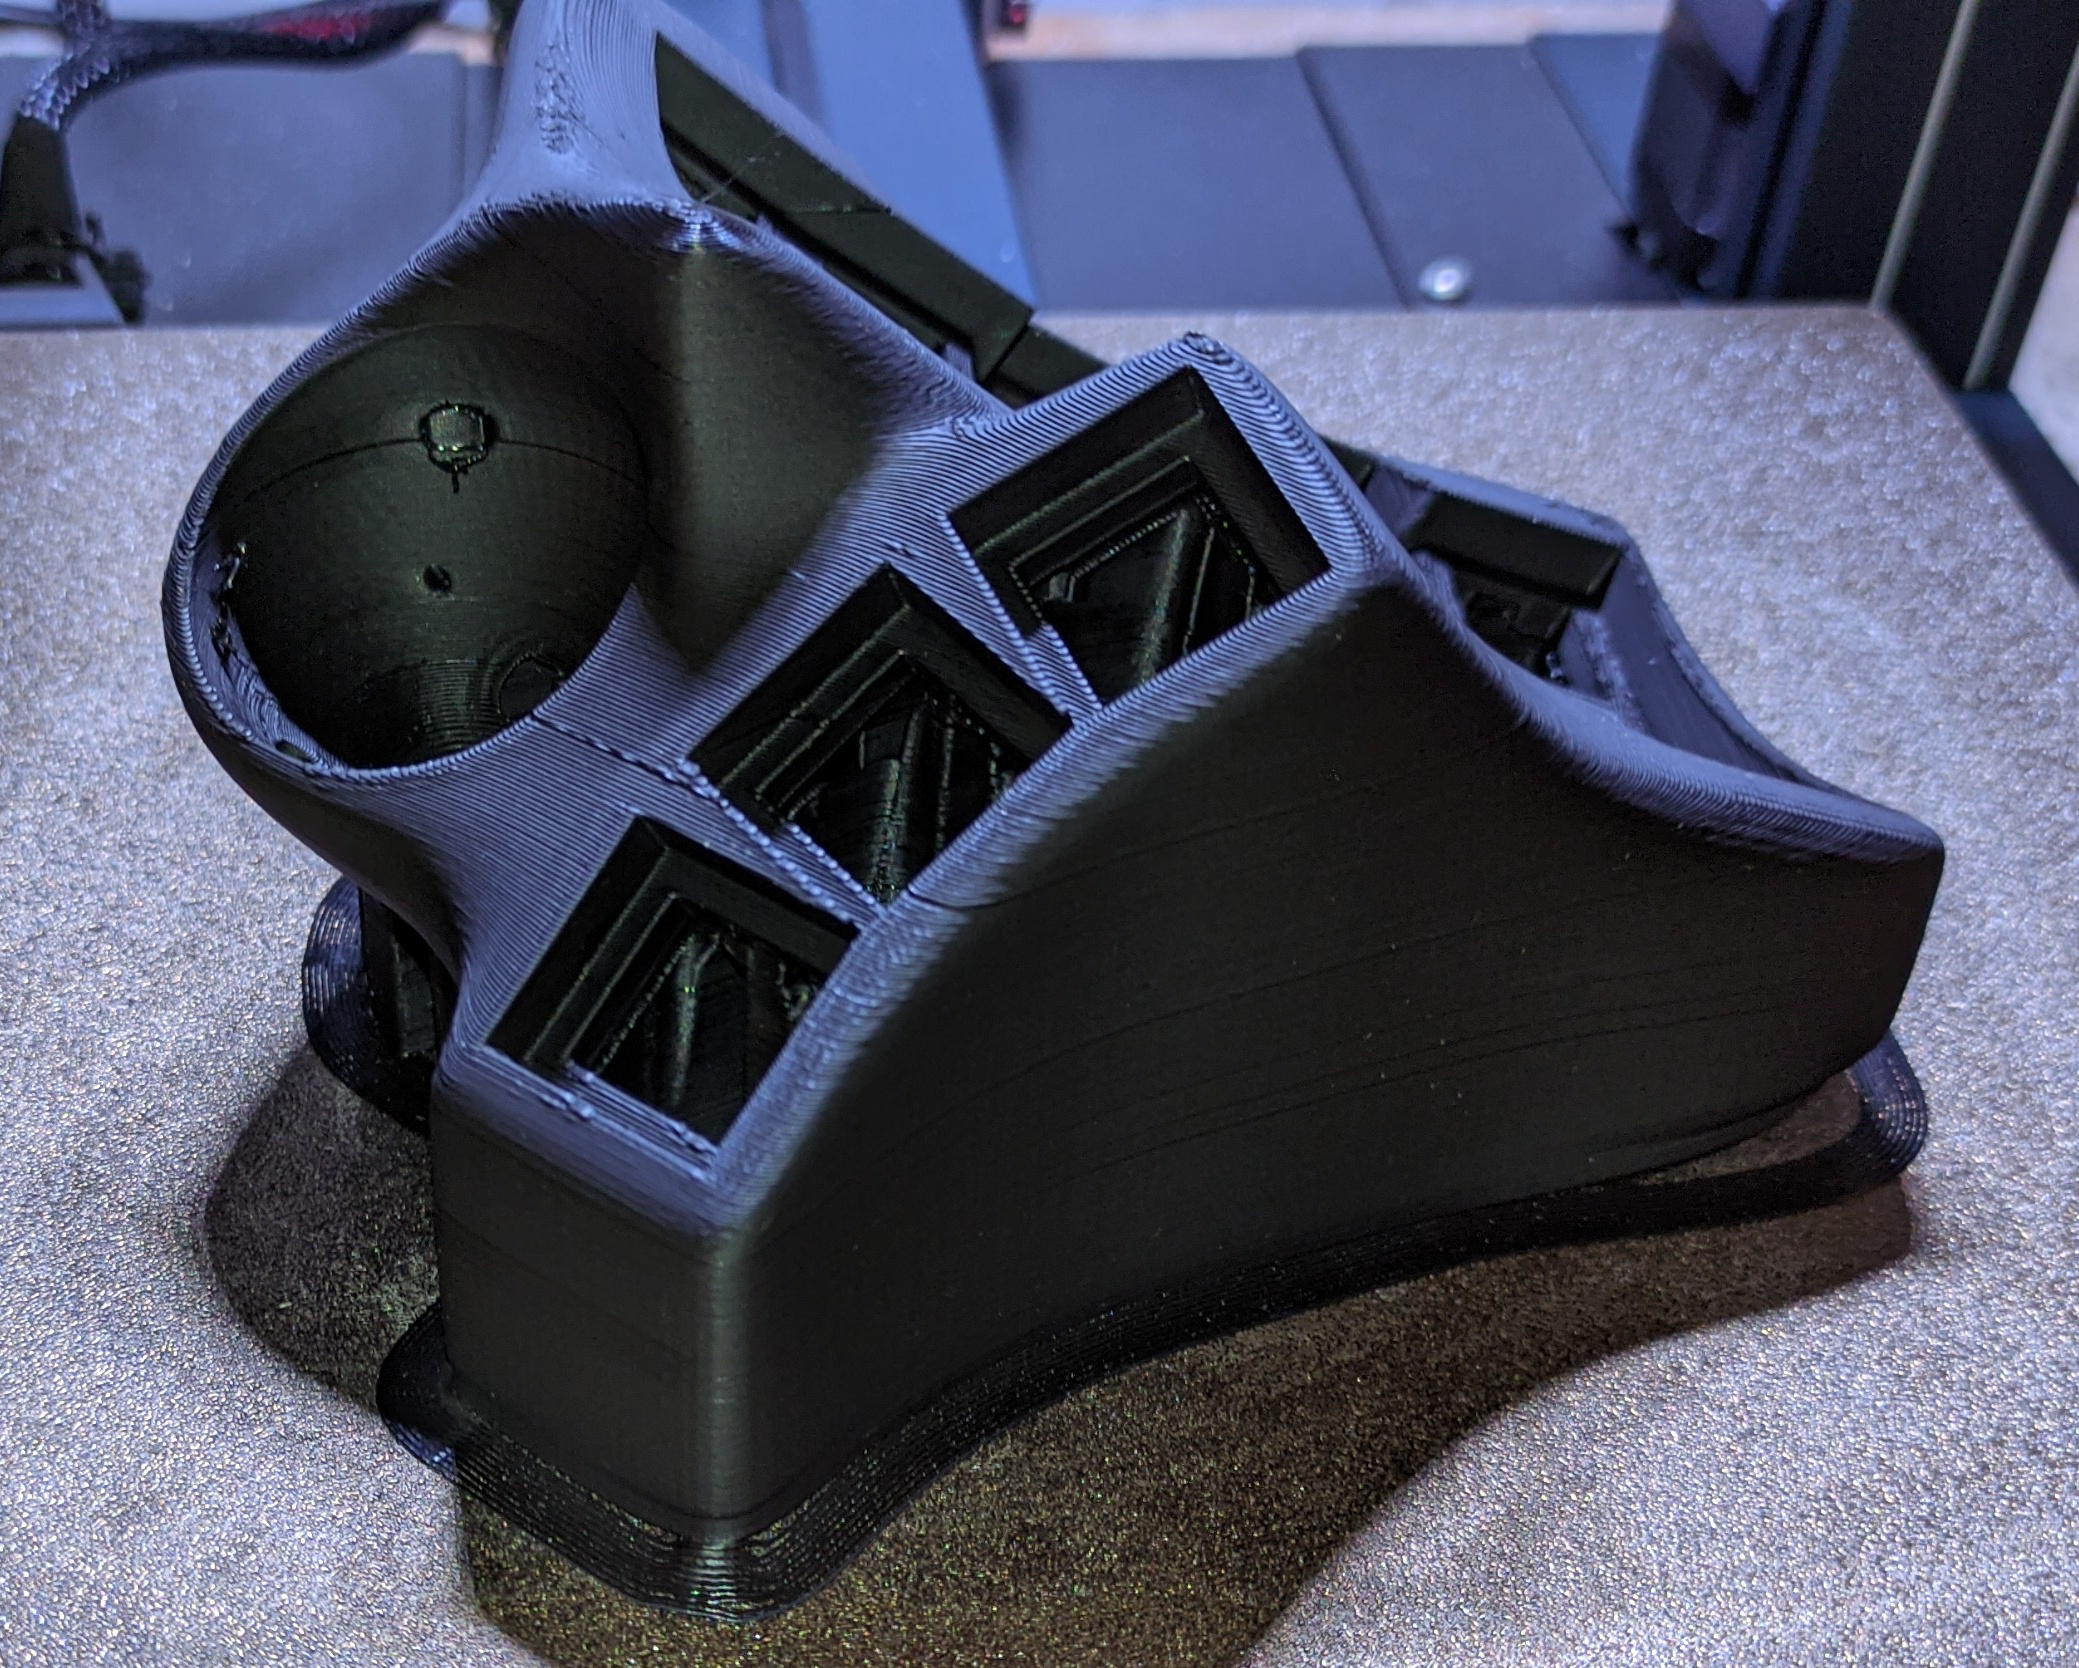
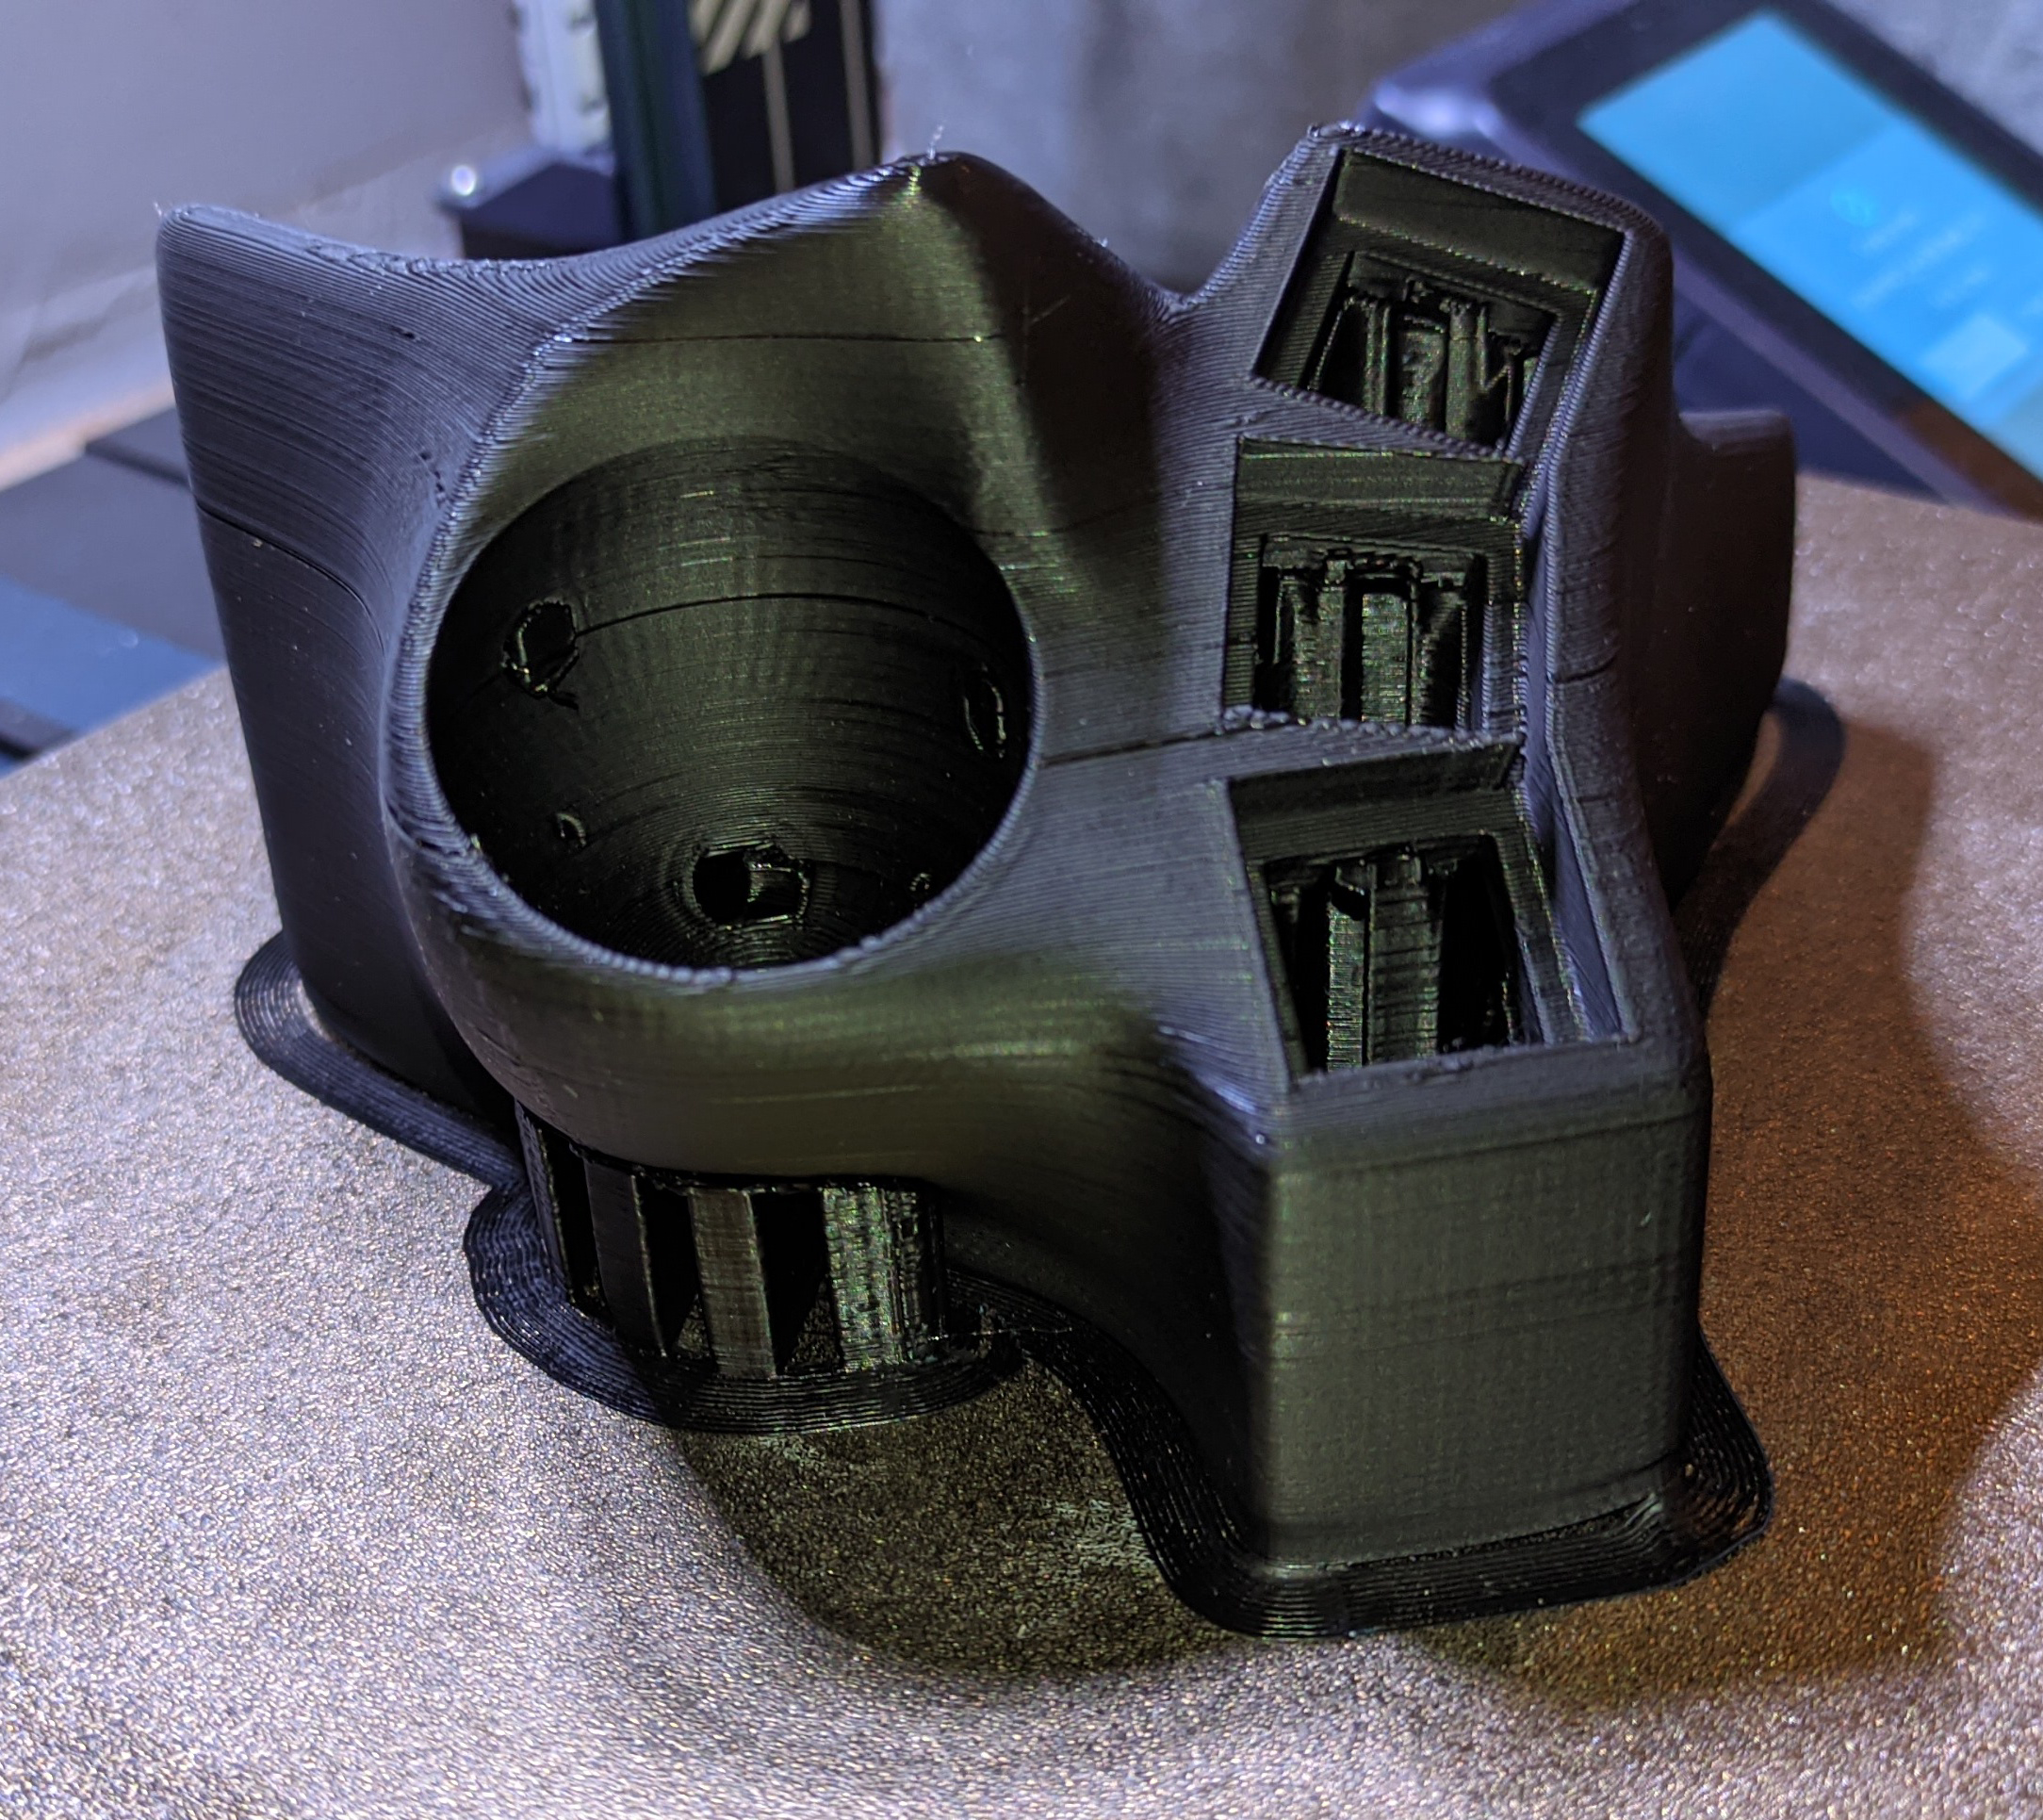
Came out OK with a few caveats,
- Way too much support material

- A few warps and a horizontal line from where I paused the print overnight

Looks pretty good! I remember the pain of removing normal supports… Your picture of the removed supports with the pliers reminded me, hehe. With tree supports, it comes out in about 30 seconds as one giant blob. Usually I have a blob laying around but I recently cleaned up. Have you printed a temp tower with your new printer? Might help to really dial in the temp for some of the overhang areas.
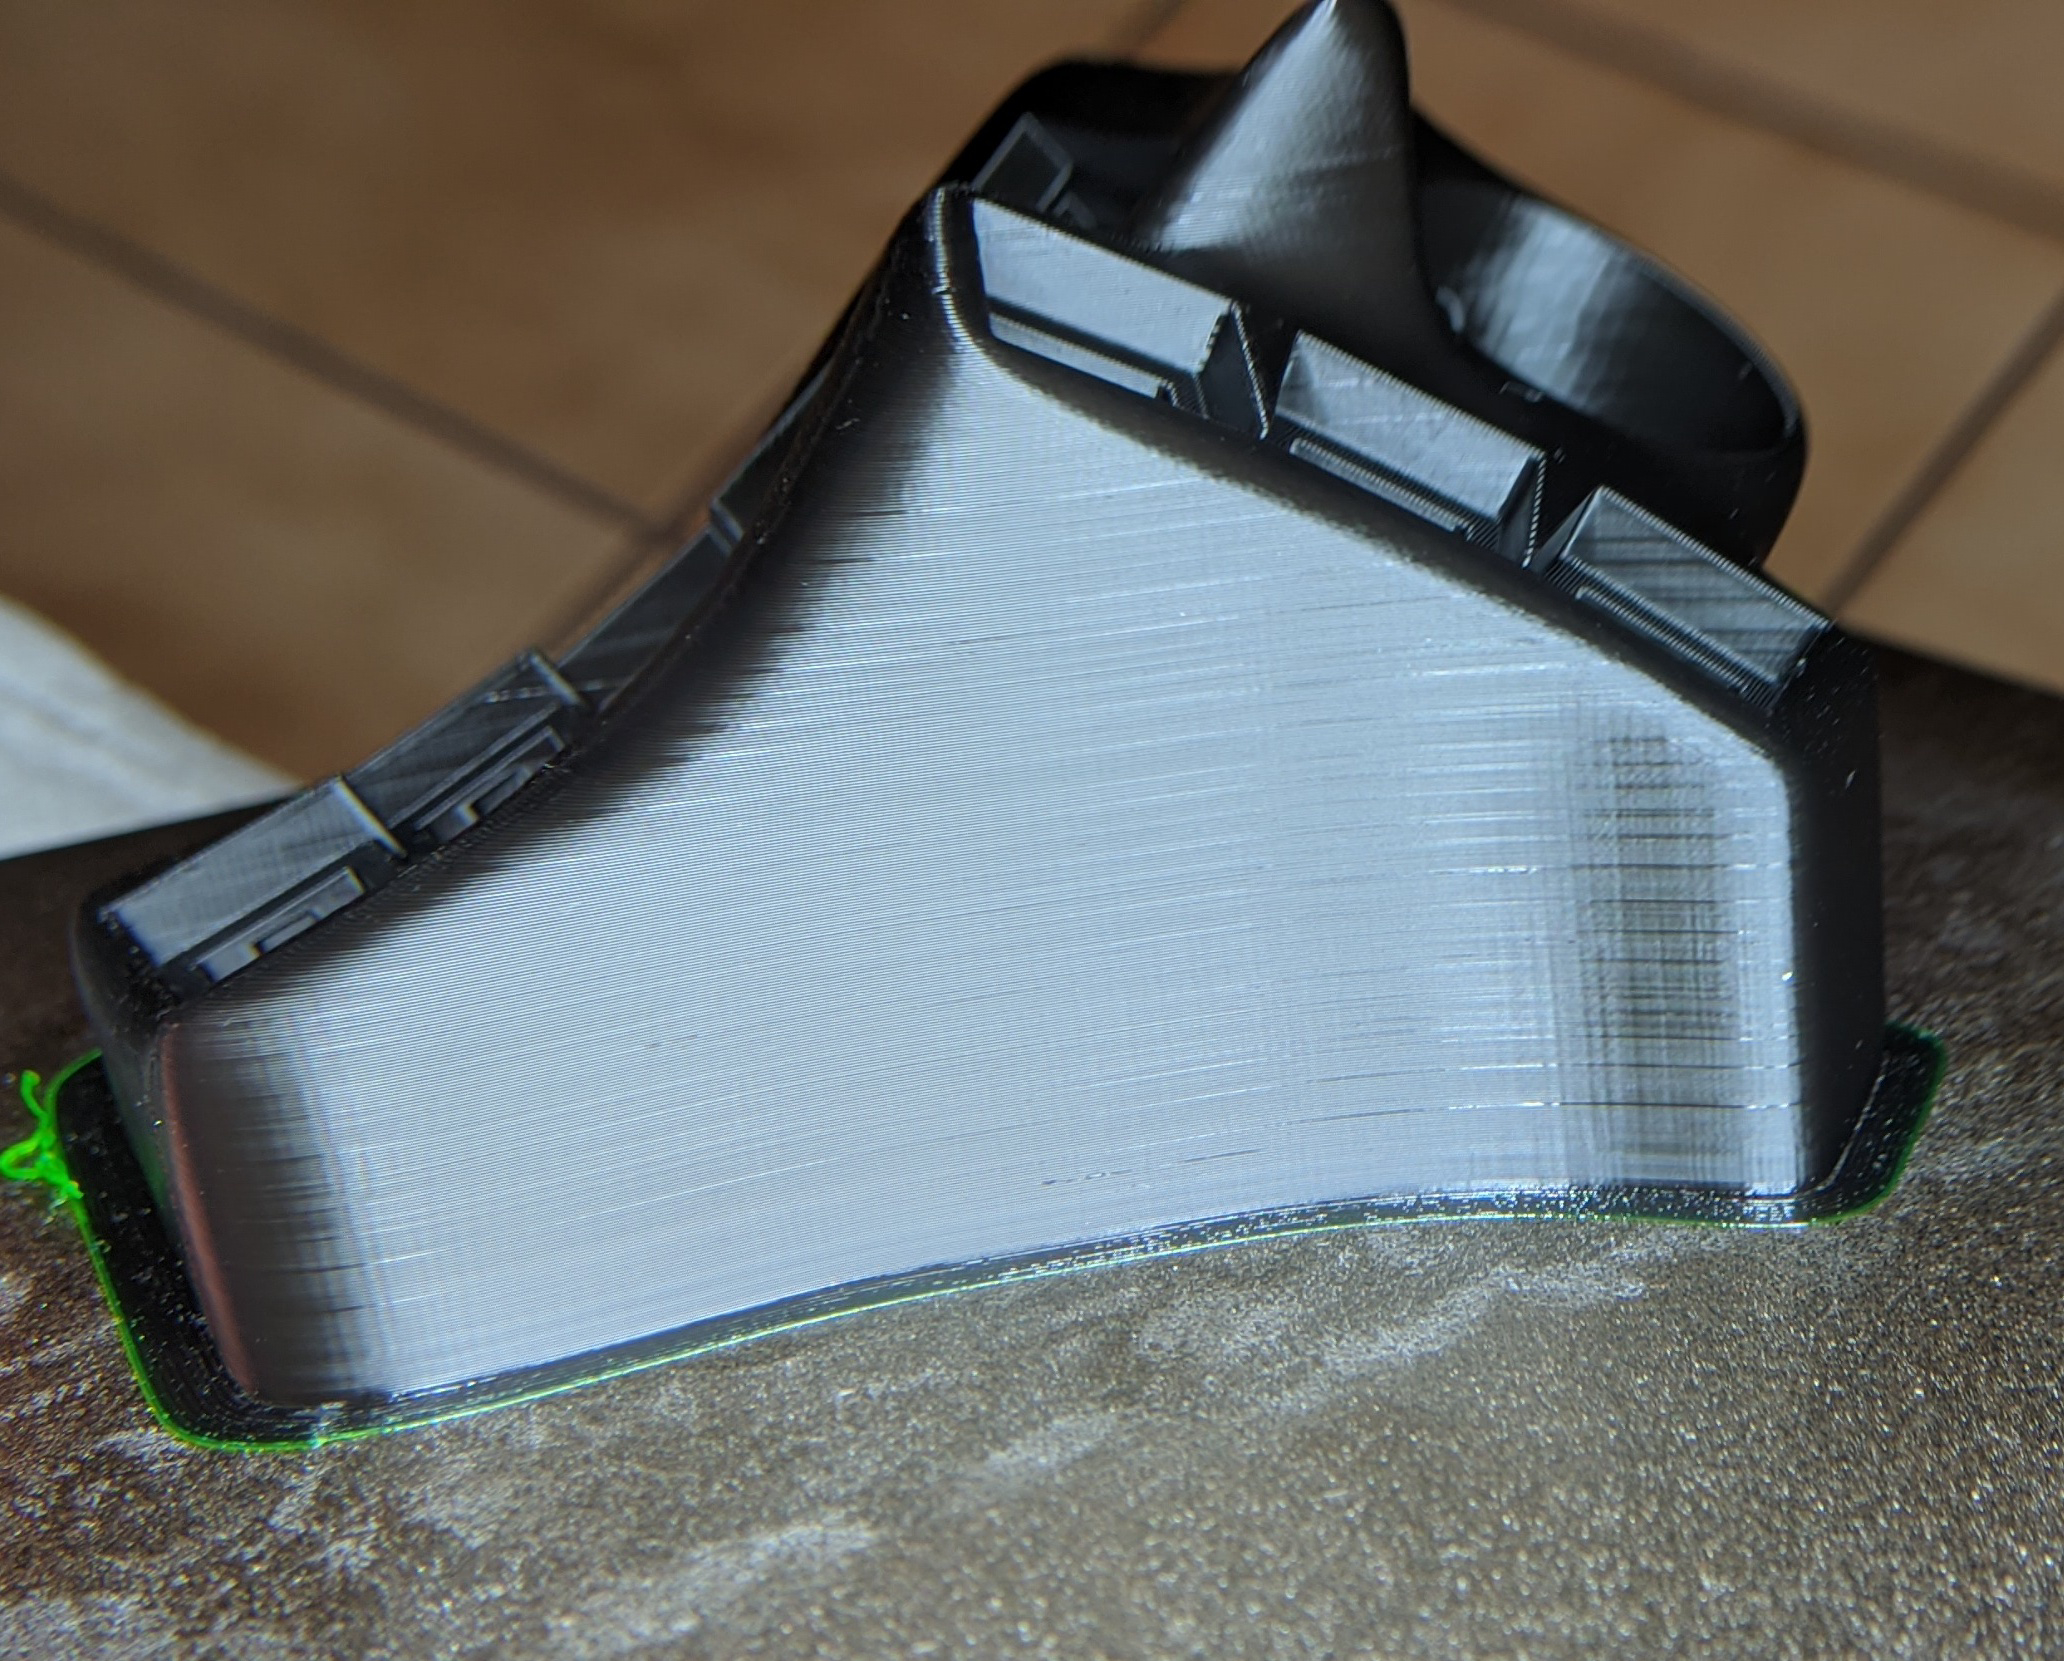
This is a second test print in PLA, with pretty much standard settings (I raised the nozzle temp to 210 C and lowered the bed temp to 60 C after the first layer), 15% infill and tree supports:
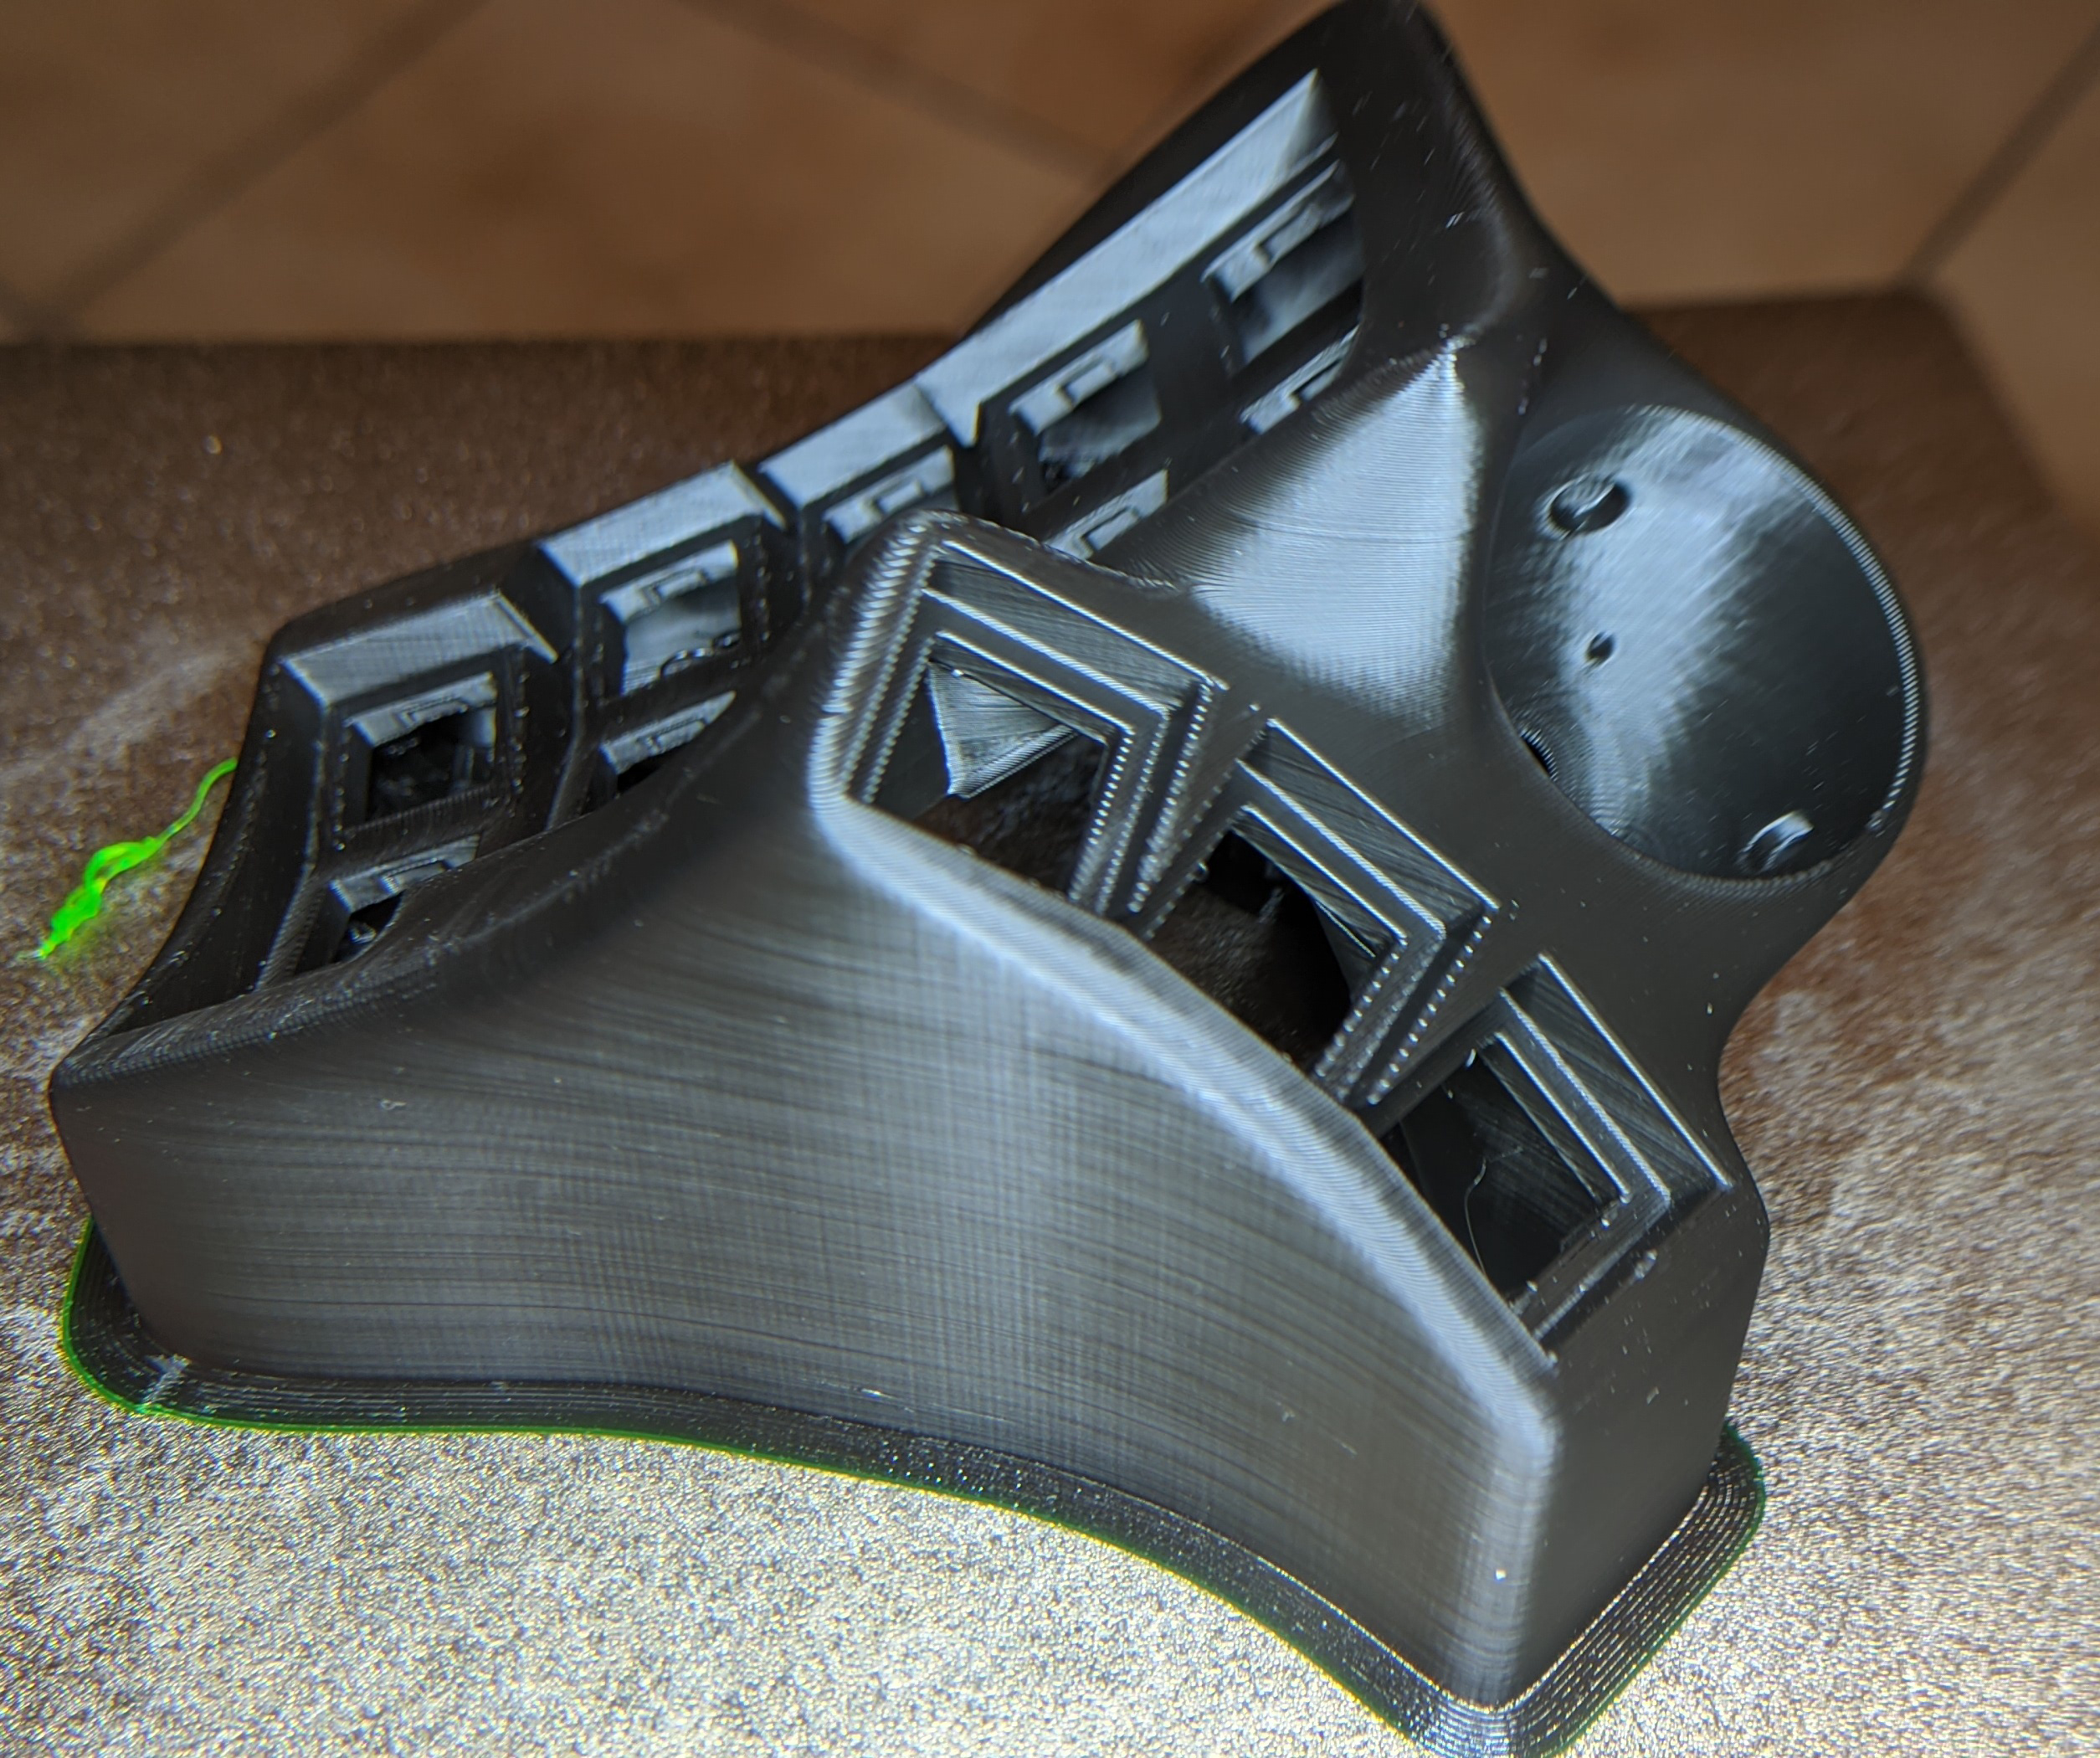
Nothing warped only a small print error on the inside that affects nothing.
It is way lighter with 15% instead of 100% infill though. ;)Haha, ya I bet it’s lighter. Looks fantastic. One thing I messed around with in the slicer (cura for me) is the z-seam (where the layer starts printing). I moved it to the back to hide it. Ideally it would be on the inside of the case, but I didn’t spend enough time on it to figure it out. I think the z-seam is going down the front to the left of the thumb keys, yes? If it doesn’t bother you, keep going!
Yeah, that is the Z-seam. I thought activating “Retraction on layer change” might get rid of it,but it doesn’t. It would not bother me much to have it there but then again, this is still a test print. I will probably print the final part in PETG. Then I will position it for the Z-seam to be on the back simewhere.
Also, I’m really excited to see 2 trackballs!
You will have to be patient. I am still re-practising my soldering and need to order additional parts and I have procrastinated on this build (when it still should have become a Charybdis) for months already. ;)
not sure if this interests you, but I’m just about to publish a flow plate for the right side (text doesn’t mirror). Should be there soon!
I will print it in the final version that I will (try to) assemble.
- Way too much support material


