Okay, it took a good amount of learning, but I’ve figured out how to get most of what I want with a custom keyboard build.
Here’s my goals:
- Ergonomic
- Quiet
- Dvorak
- But a normal person can still use it
- Cheapish because I’m a cheap bastard
With those in mind, here’s what I’ve finally settled on:
Board:
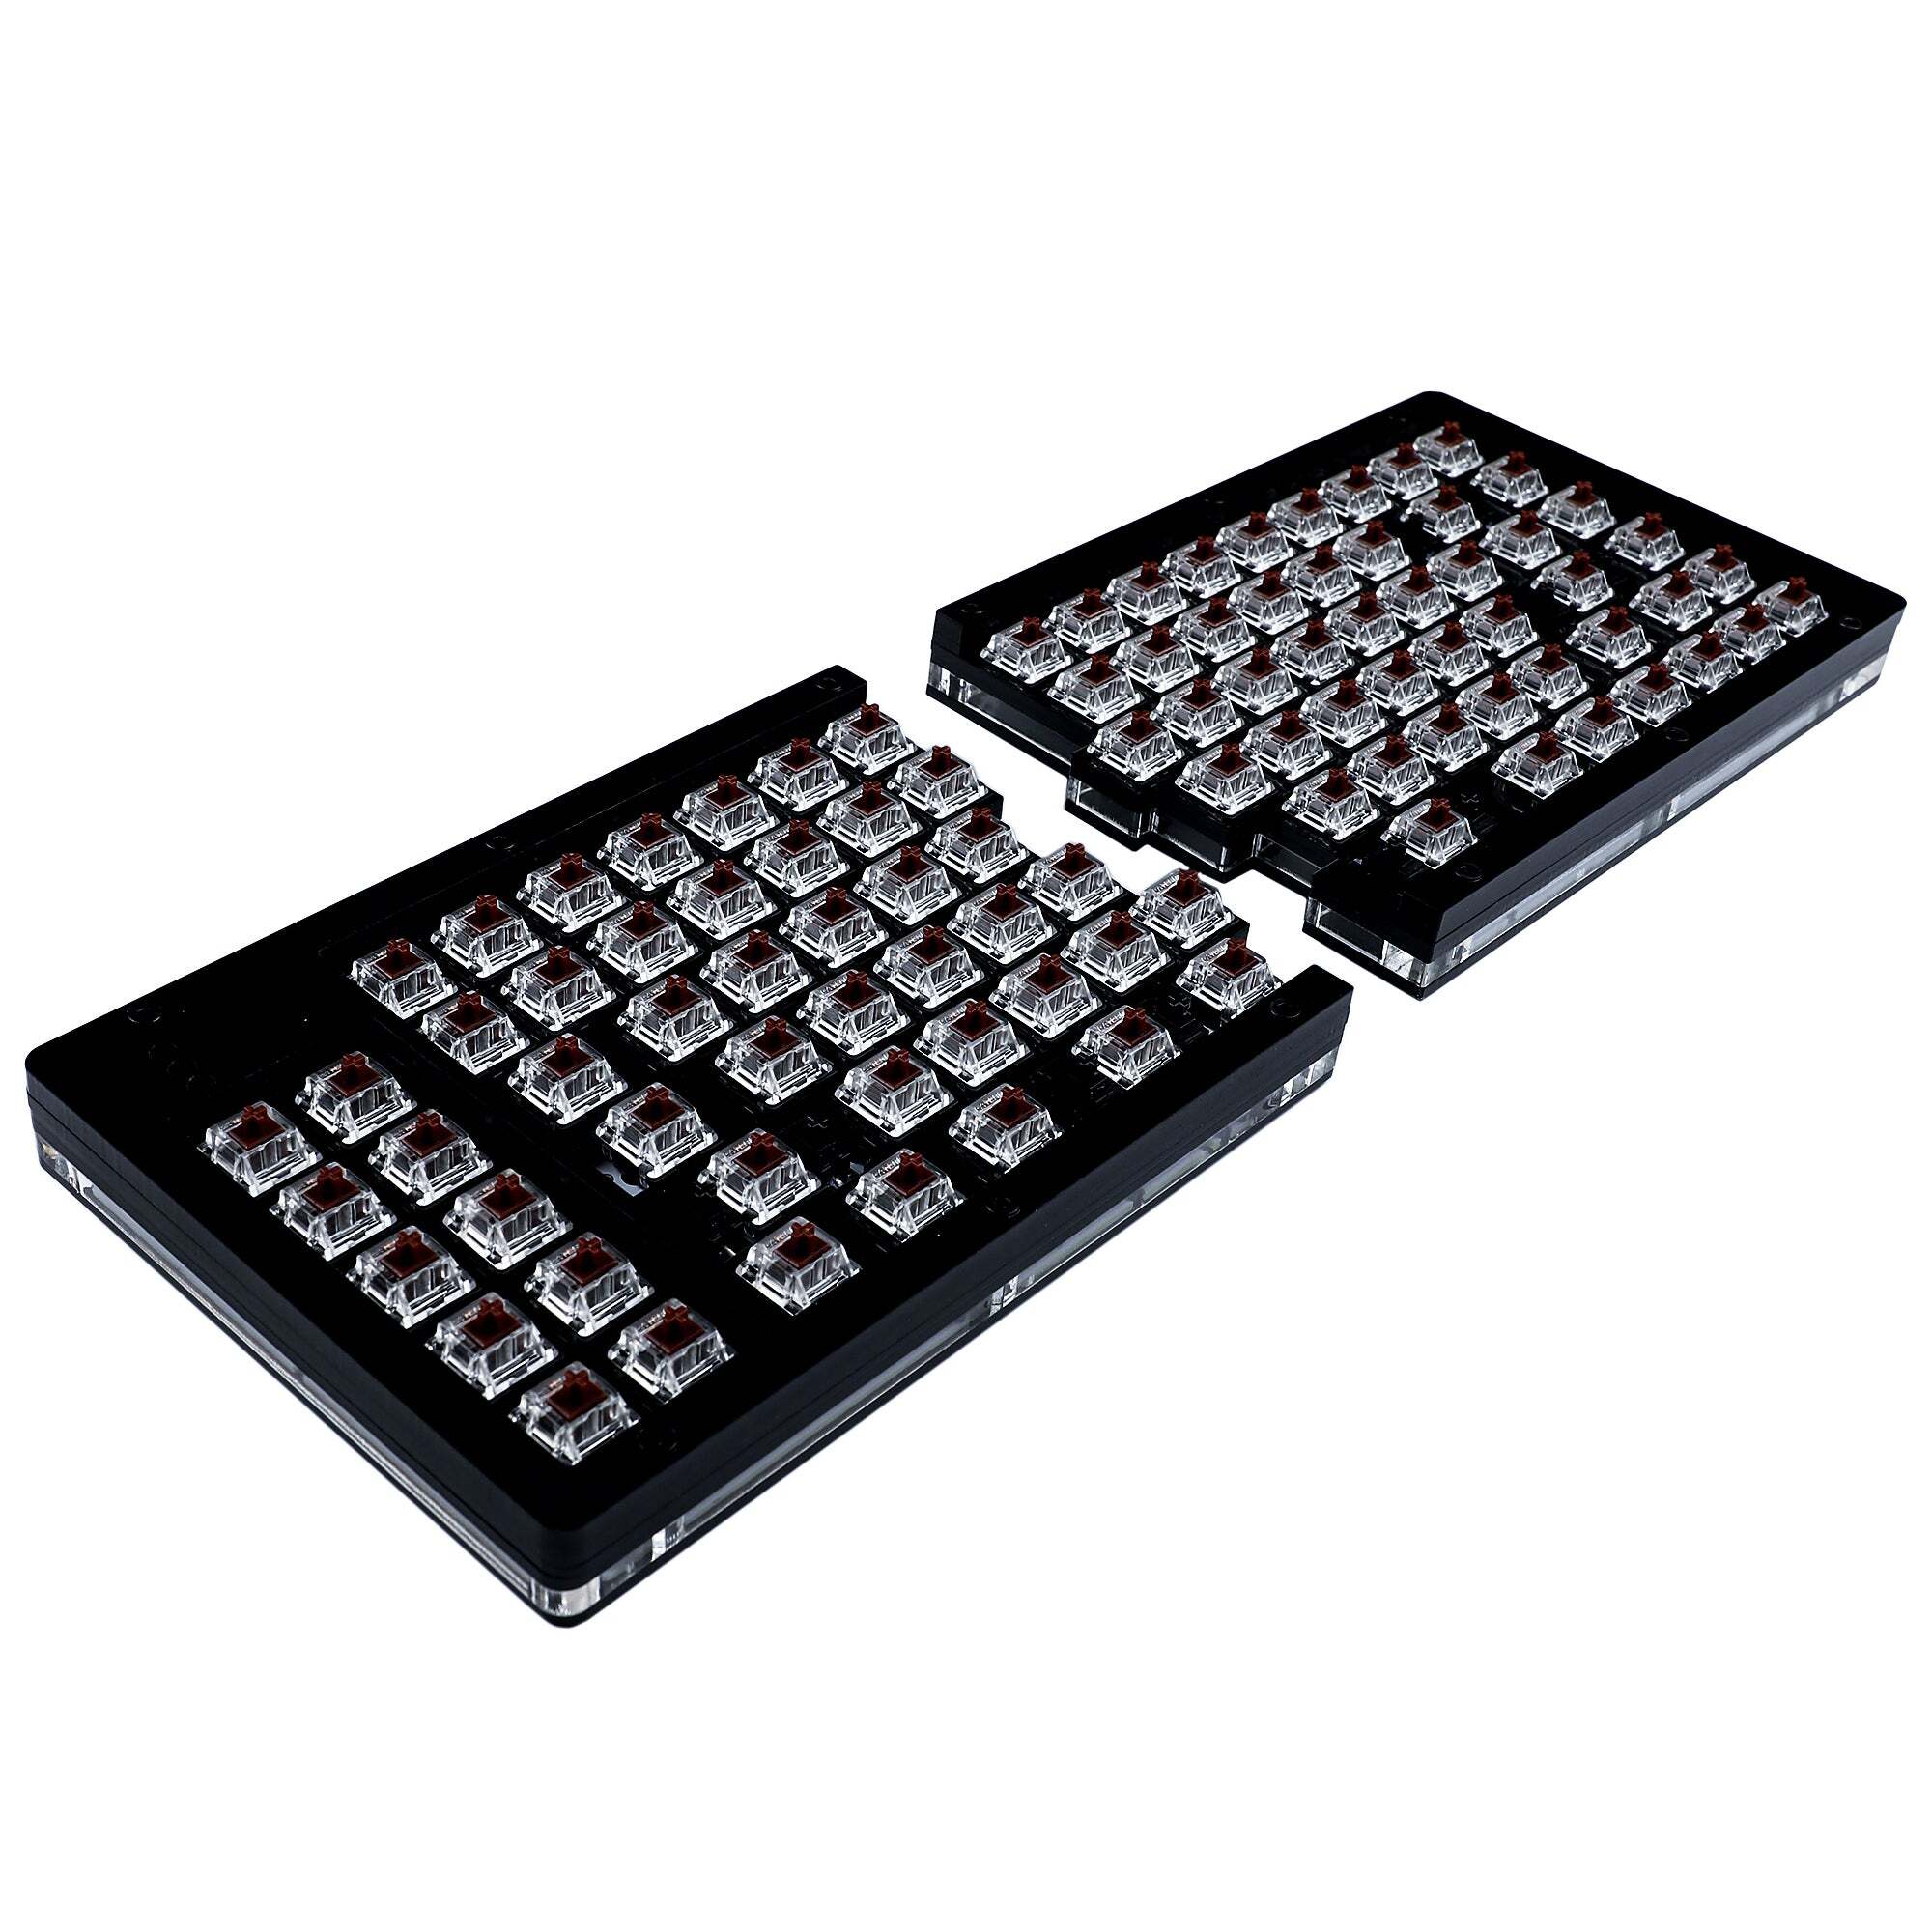
YMDK - Split 75% 84 Acrylic Kit
Keycaps:
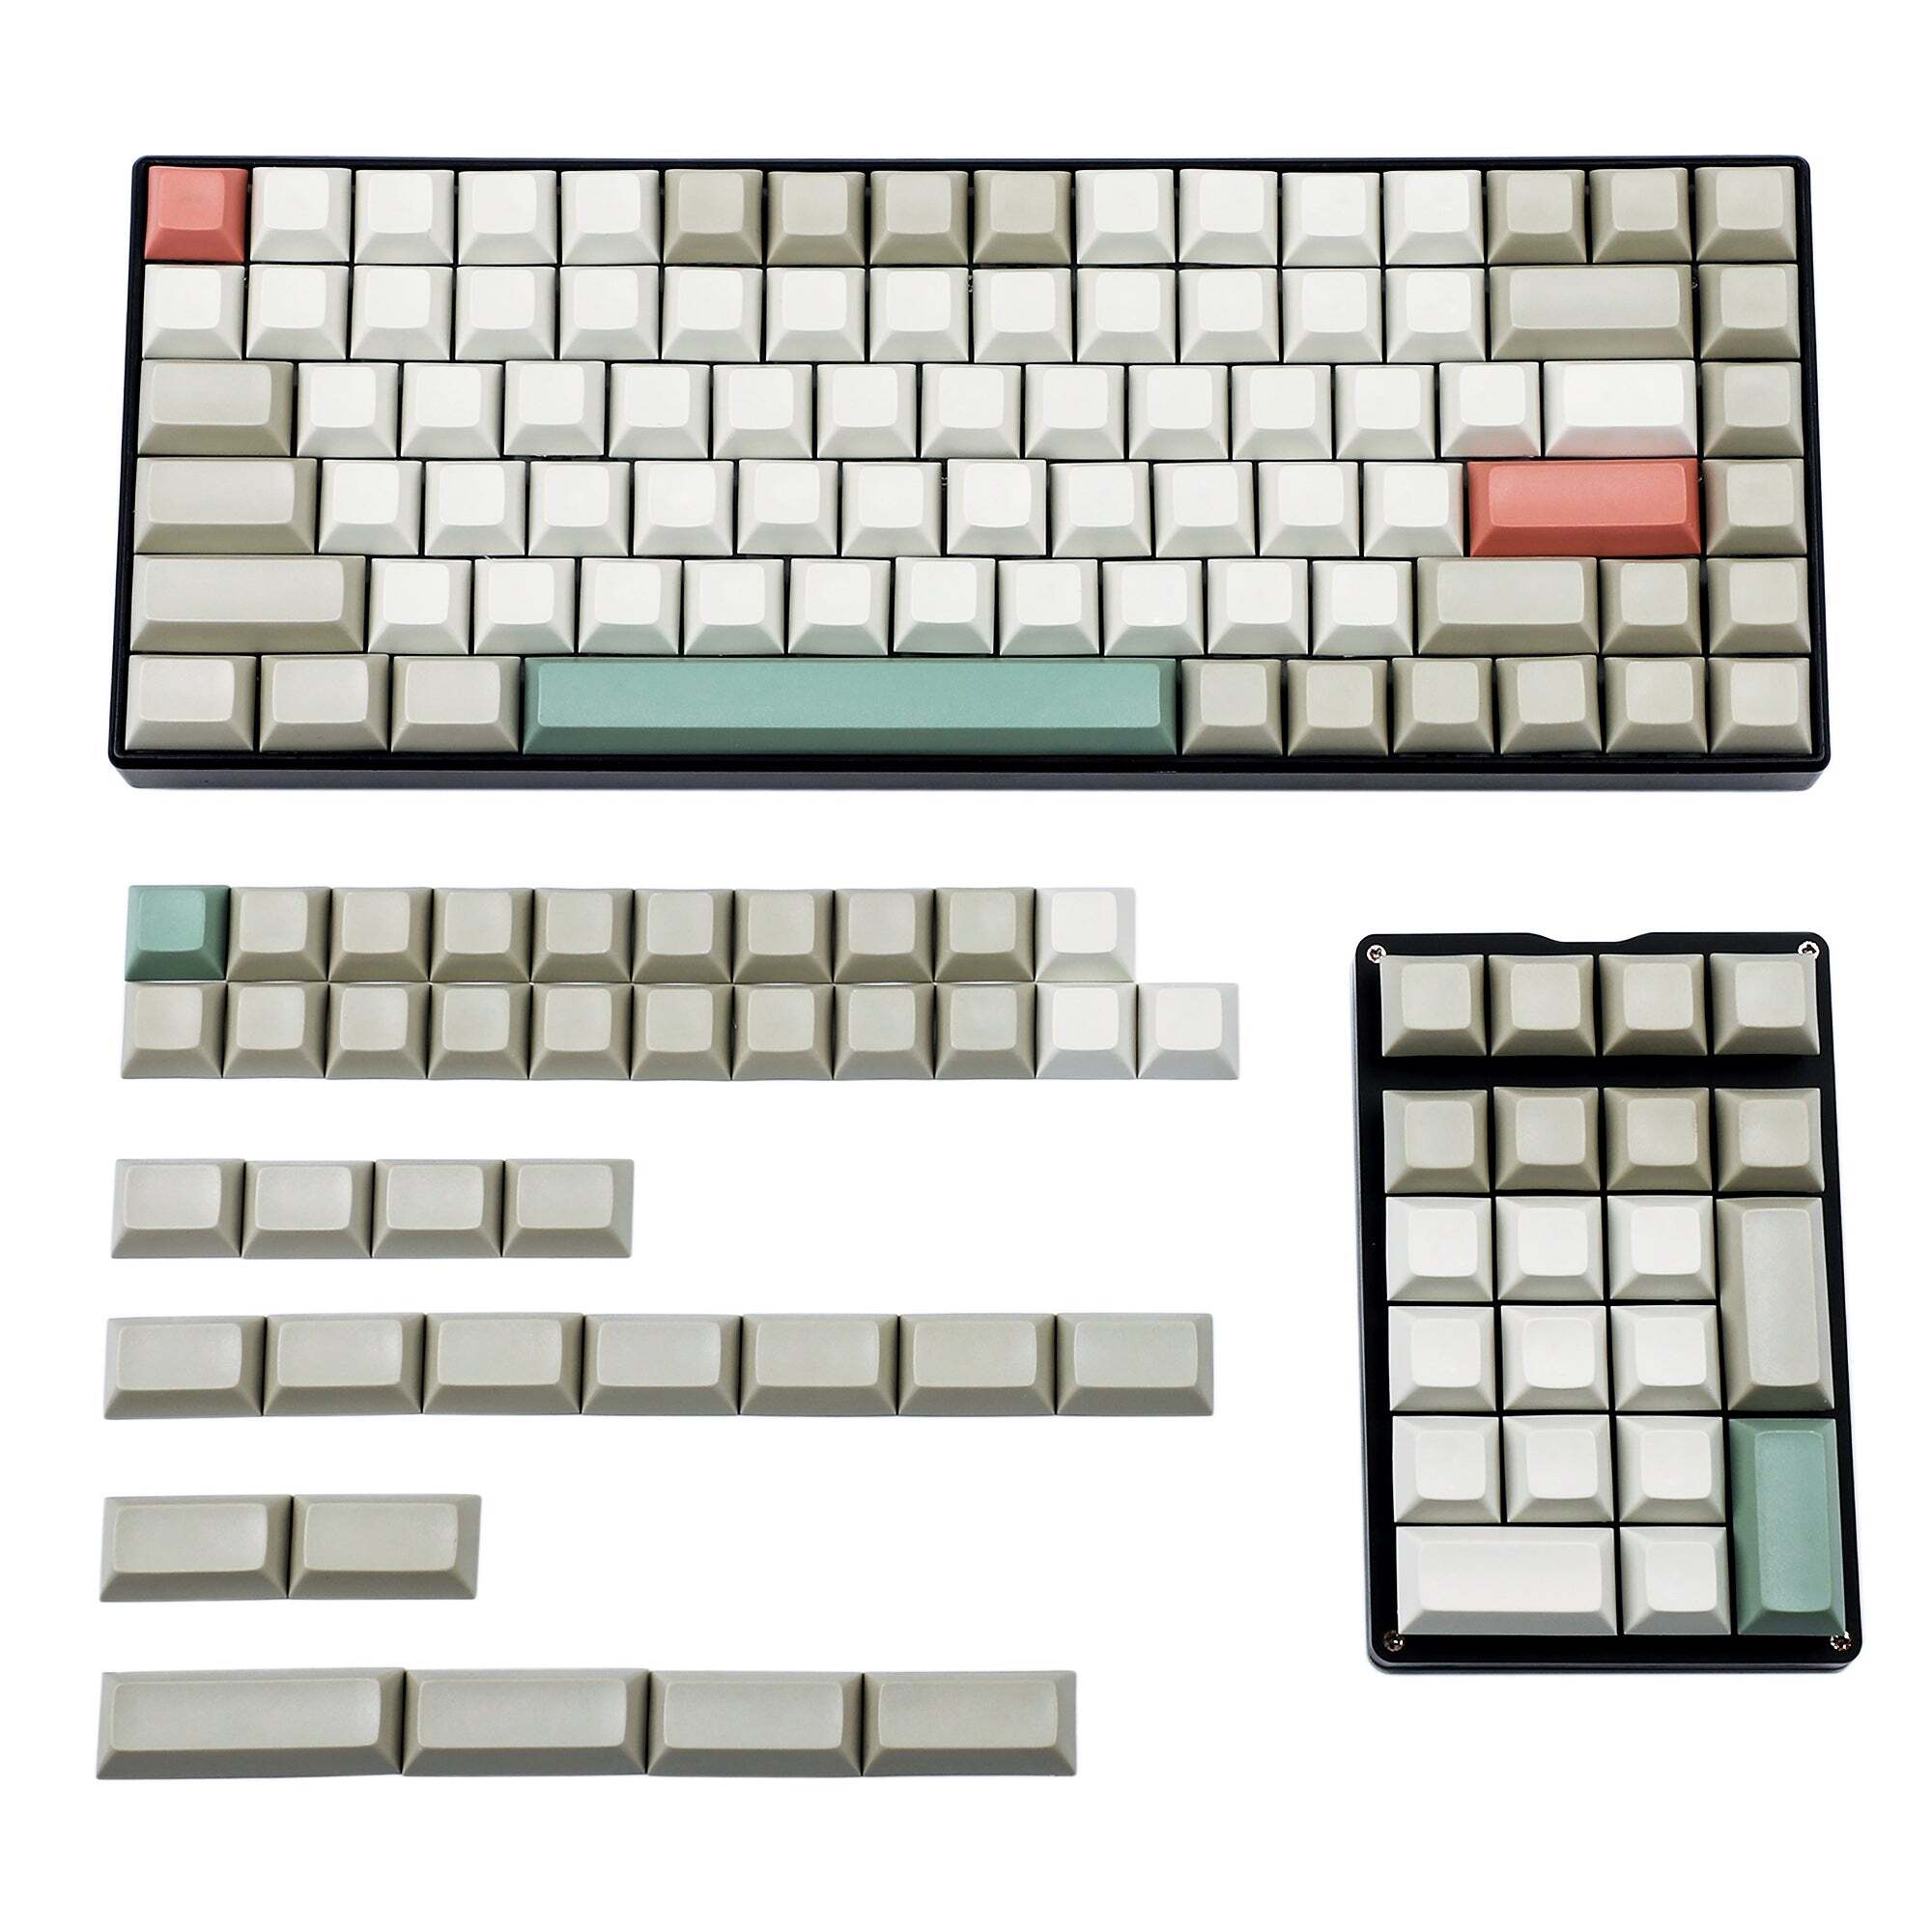
YMDK - 9009 Retro 143 - Blank
Switches:
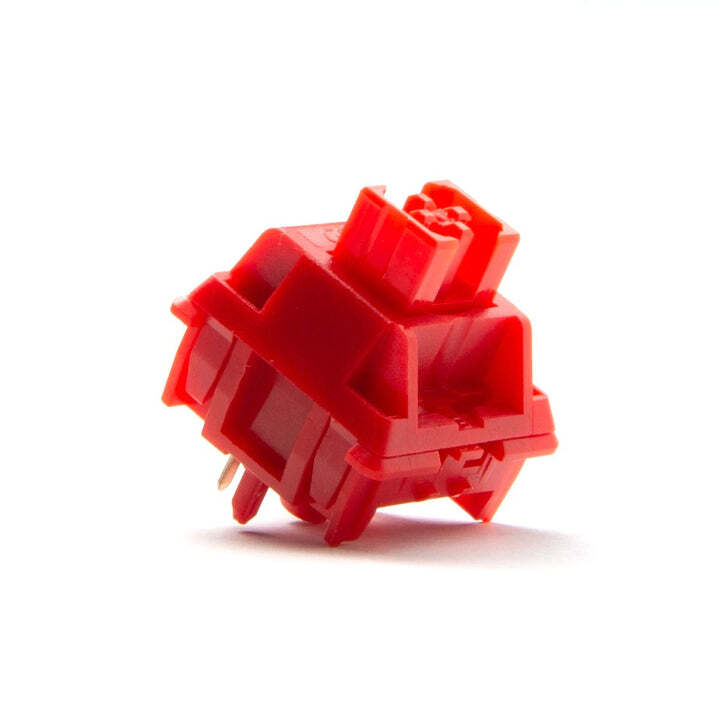
Haimu x Geon HG Red Silent Linear Switches A.K.A Haimu Heartbeat
See photos at the bottom of the post.
My plan is to take the switches to a fab-lab with a laser engraver and engrave the labels on the side of each keycap. Since the DSA profile is the same for every button, and I’ll have extras, I’ll have more than a few chances to get my laser settings correct.
By labeling the keycaps myself I can put the QWERTY label on the front side and the Dvorak label on the left or right side. By using this split design, I can combine the two halves to give people a totally regular looking keyboard that functions just as they expect.
Total cost including machine time: $182
What do you think? Do you think there’s room for improvement?


Yeah, I’m very grateful that I’ll have plenty of spares. I think the biggest challenge is that I’m going to be engraving the sides. If it was the top it would be a lot easier, but God damn do side labeled keys look good.
I’ll have to create a rig of some kind that holds the piece in a secure and consistent location. Then I’ll probably index off of one of the lower corners so I get consistent placement of the etching. I’ll have to think more about how exactly I want to do it.
What I’d do is to take some clay or putty and press a key in the right orientation in there. Then stick the clay onto some holder.
That would work I guess.
To add to this … since you’re doing a bunch, you could potentially use the clay to create a silicone mold to hold them in place while engraving.