
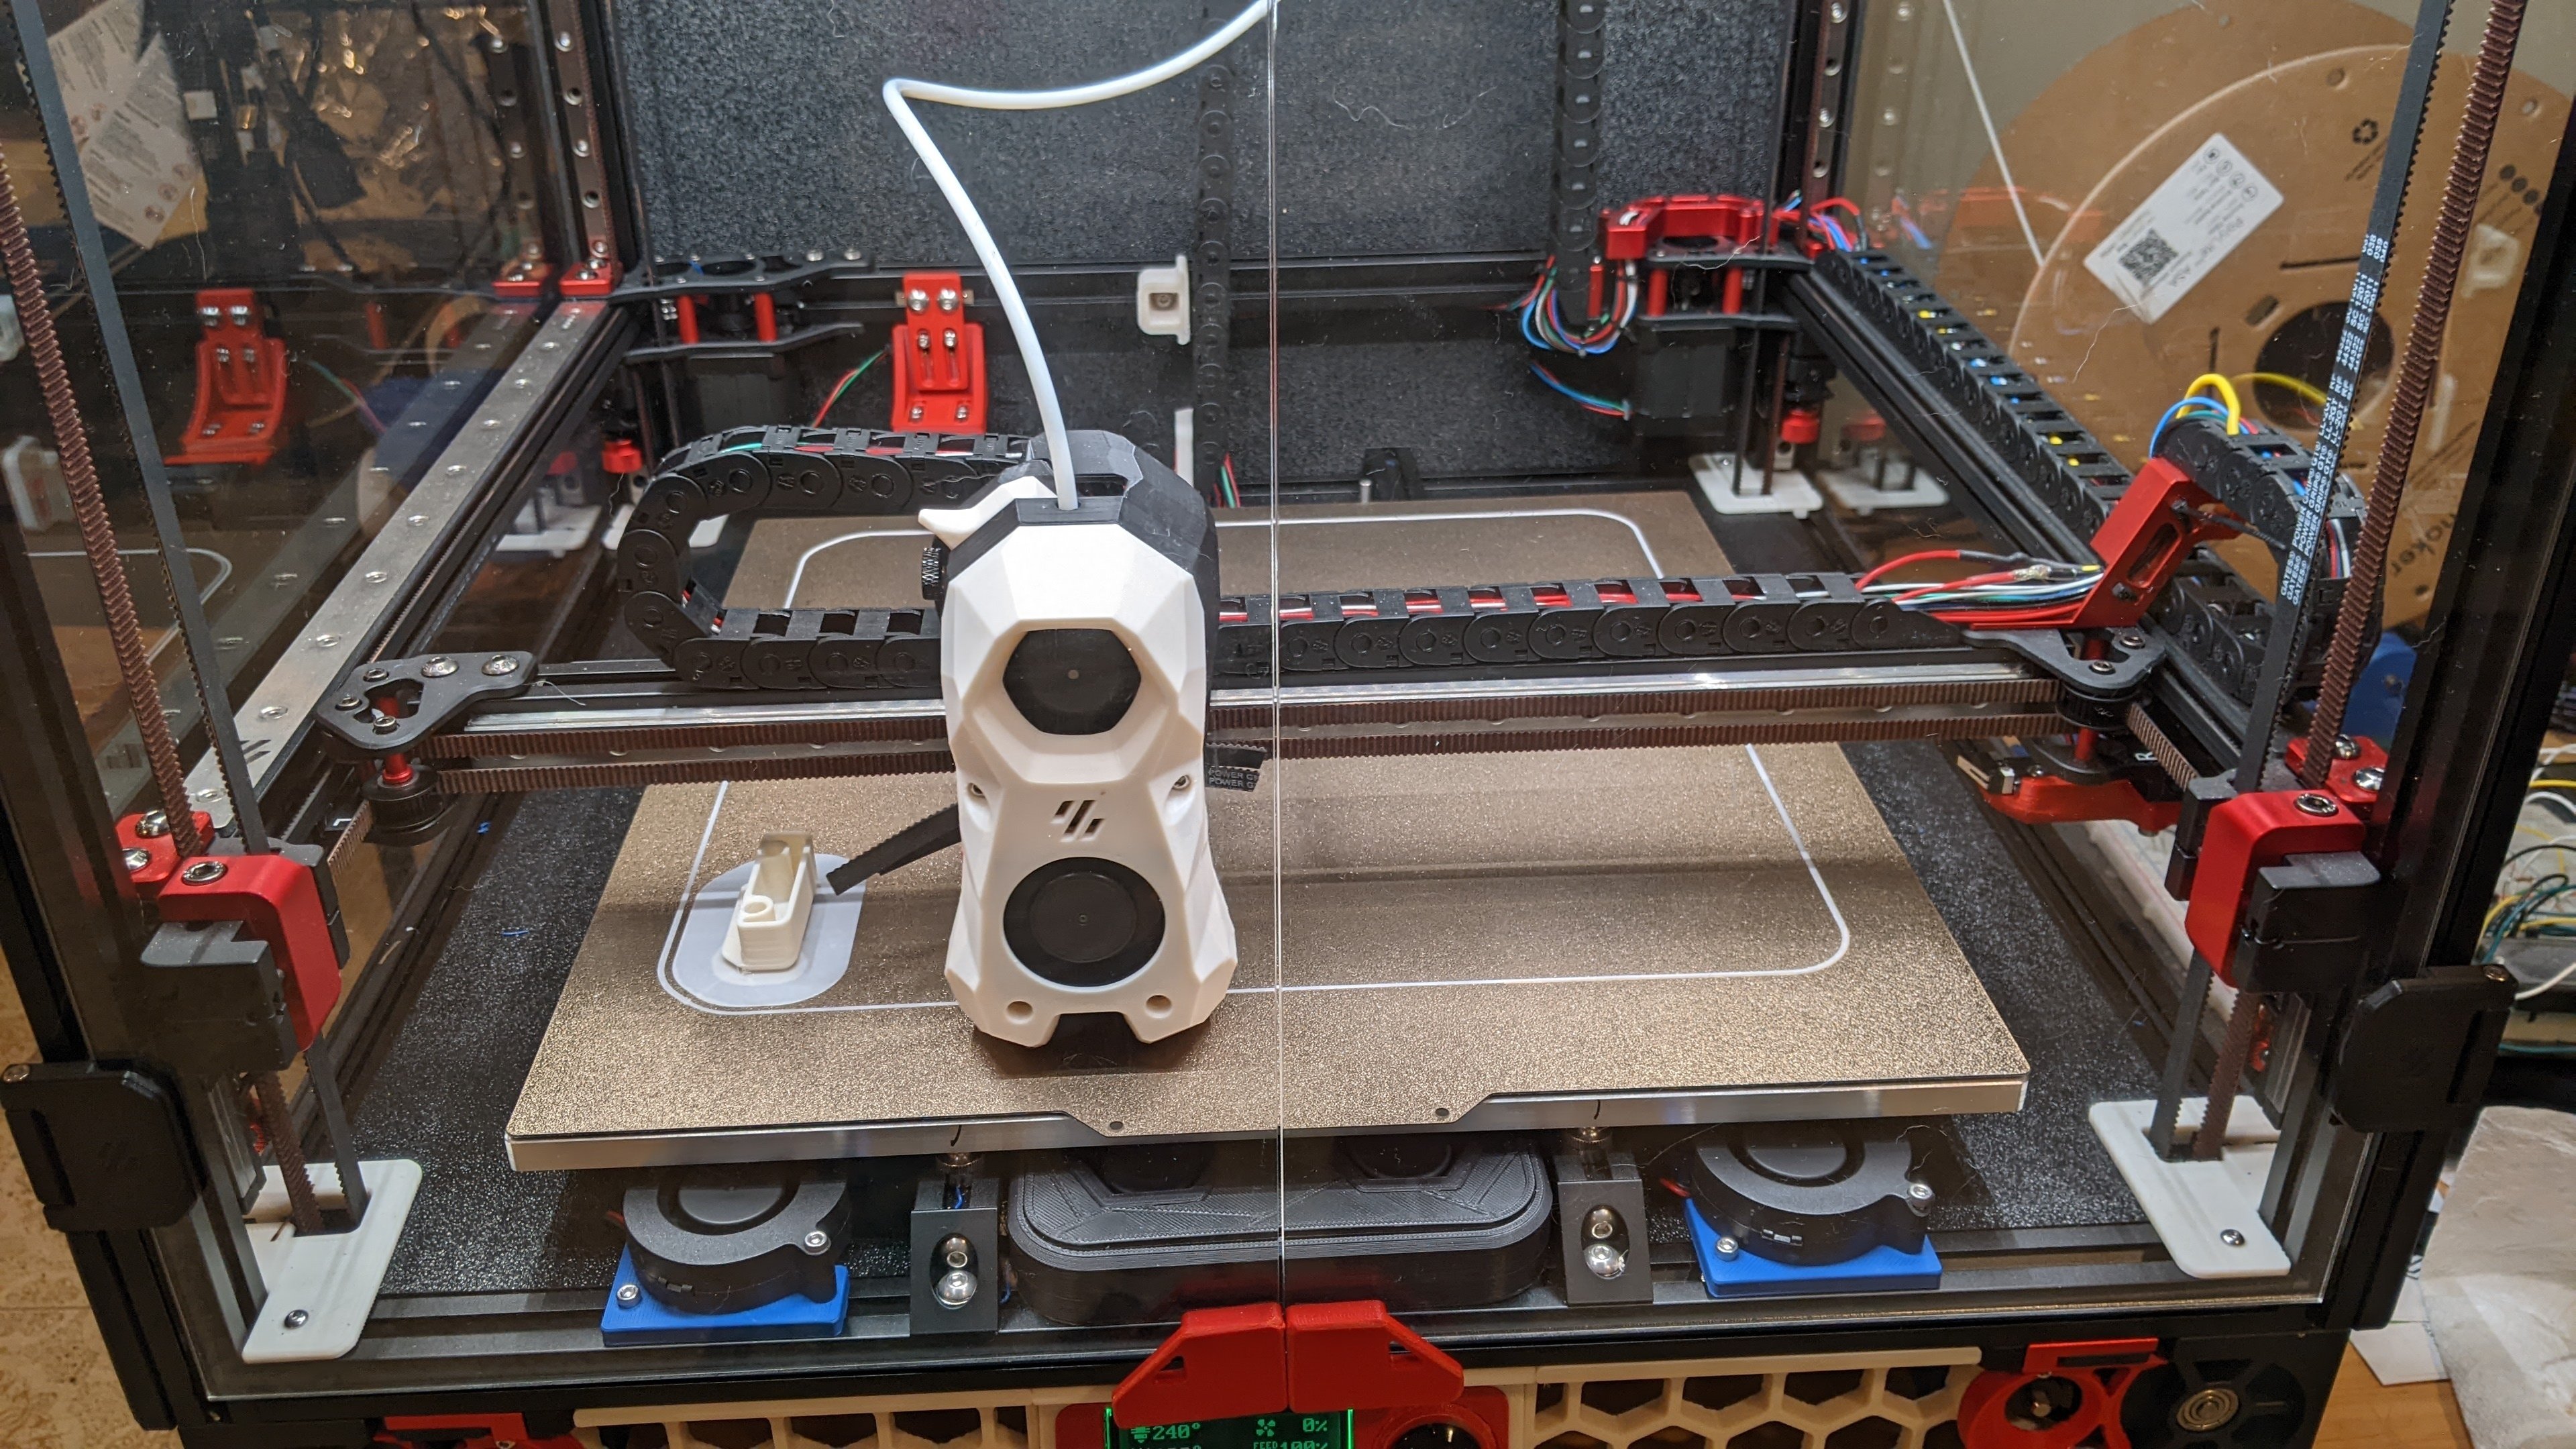
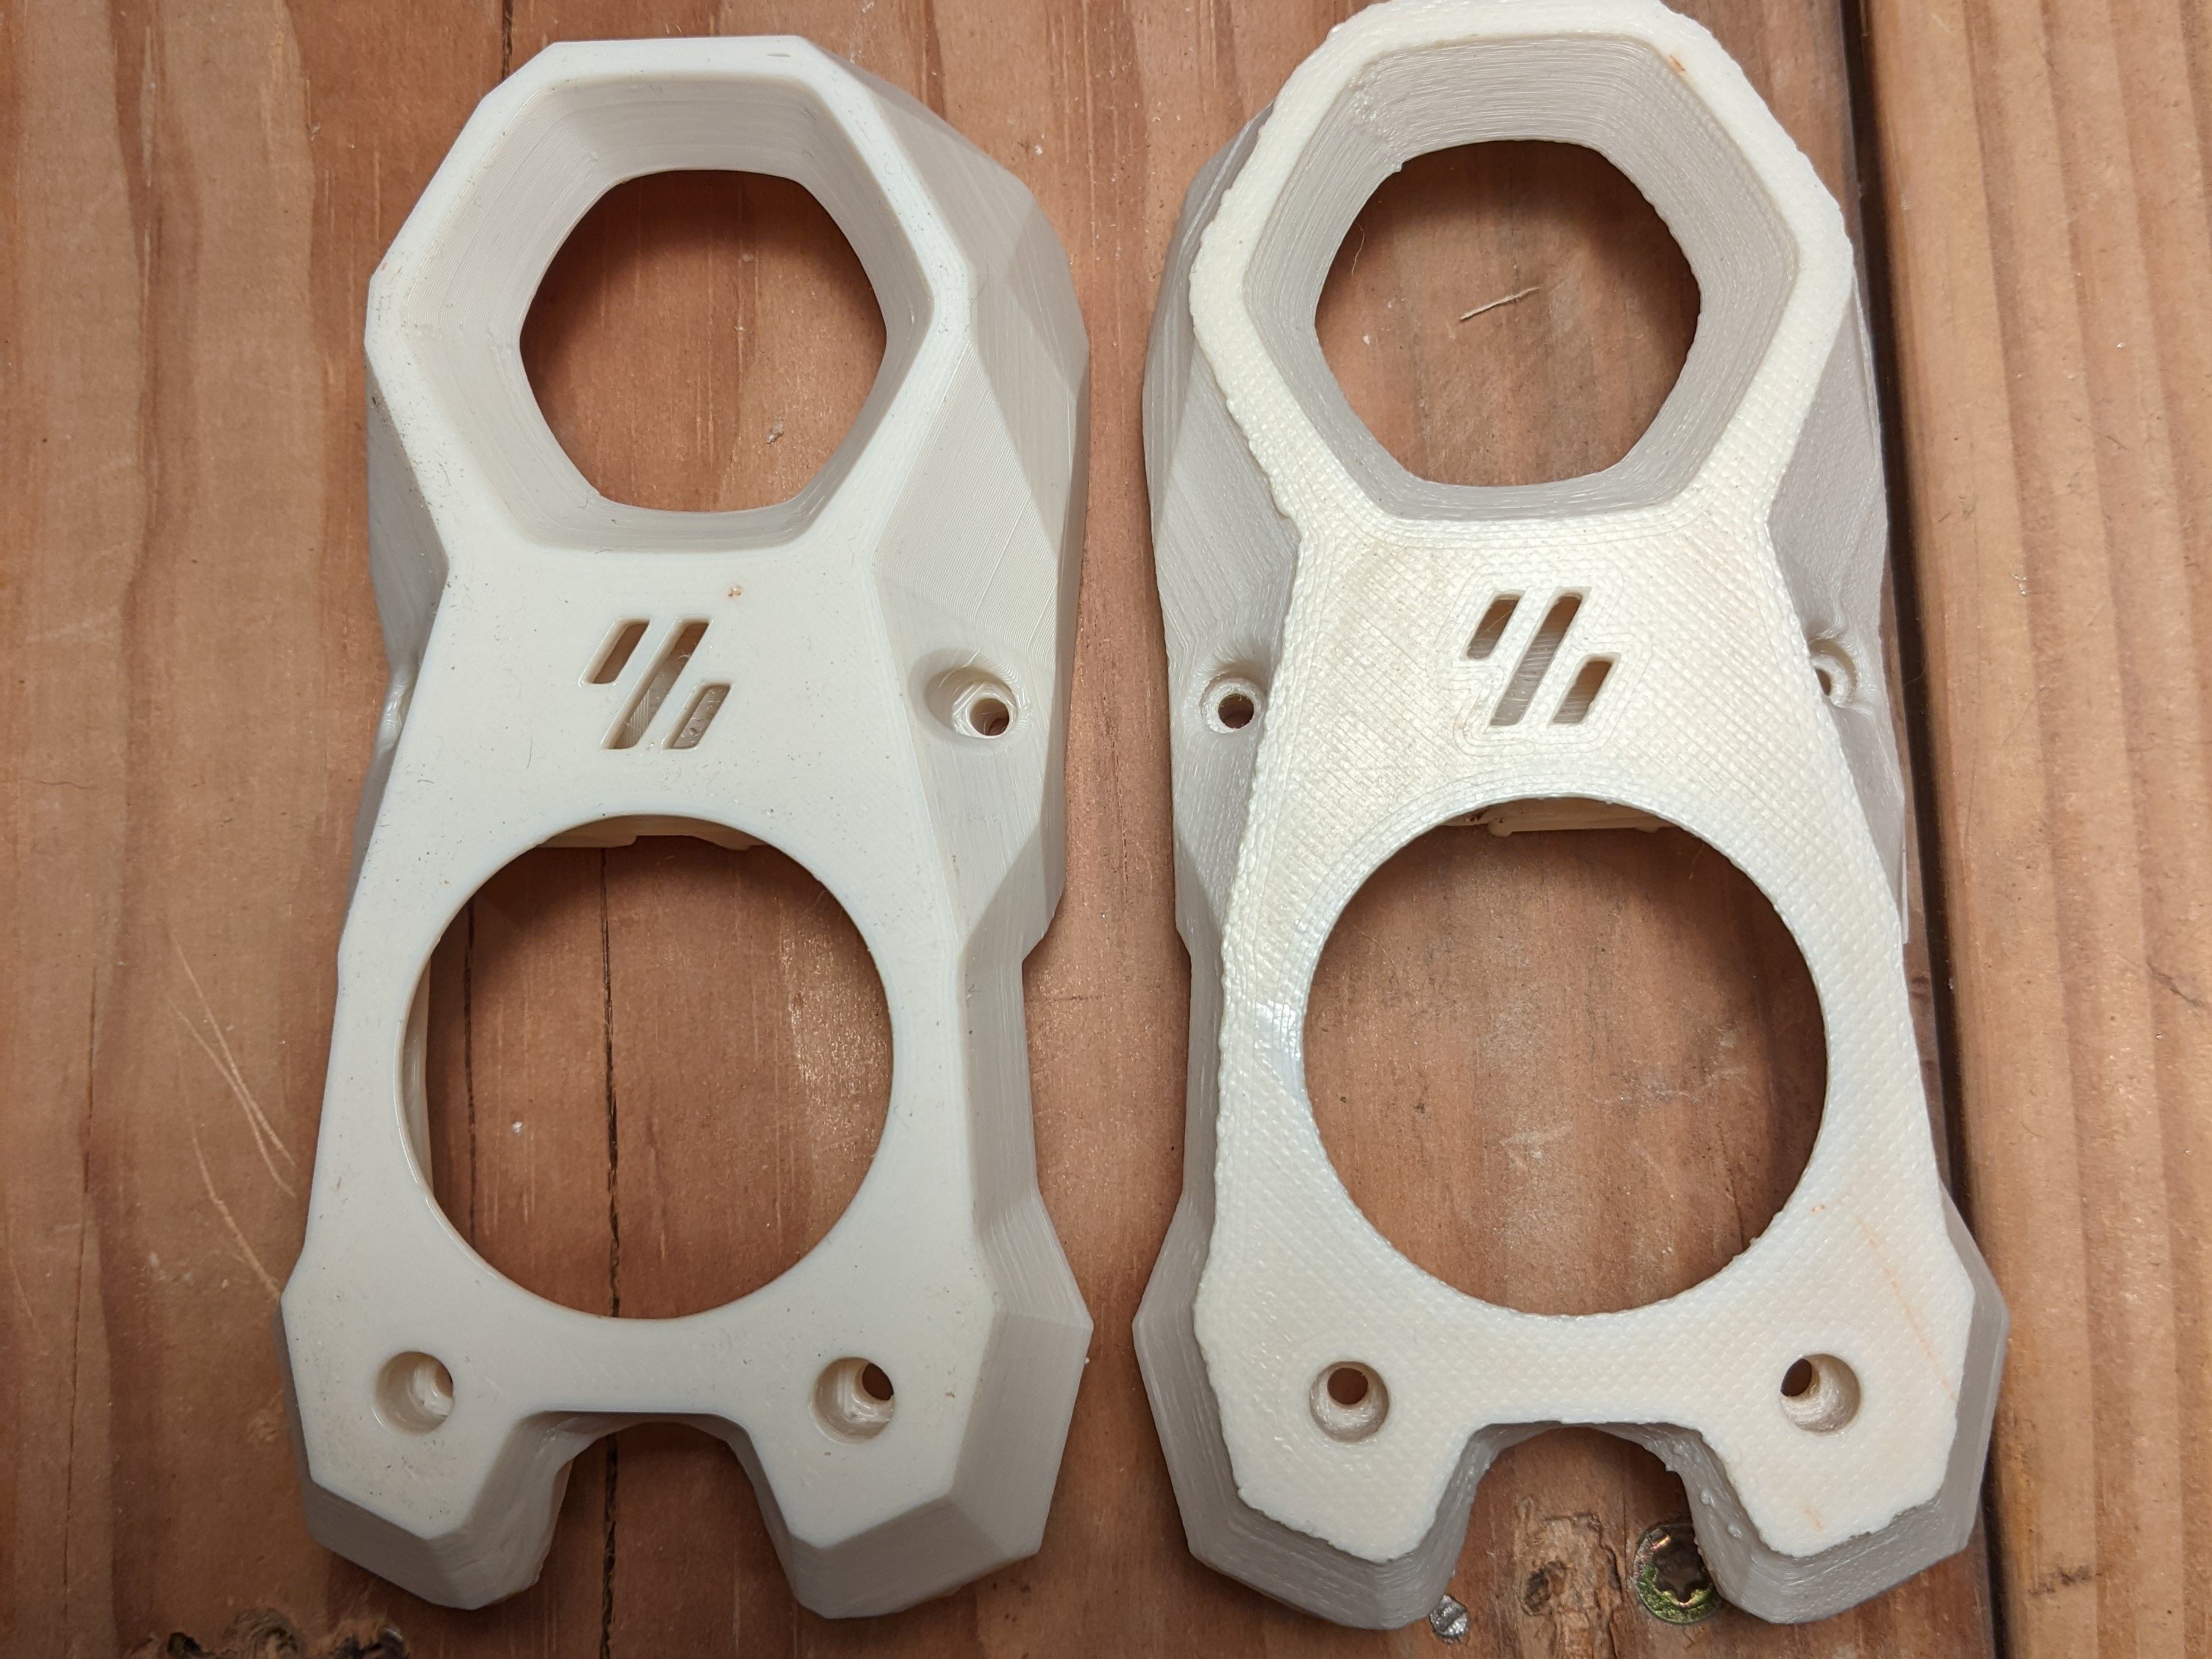
I am (slowly) working on mounting ACM panels to my Voron 2.4 to try to get my chamber temps up to reduce/eliminate warping on big ASA prints. I only needed 12 of these parts, so I chose to print them sequentially.
Want to know how slow my progress has been? Well, this photo proceeded this post and I made that post weeks ago… I’ll crack open the cable chain and get this ball rolling again soon. Or maybe I’ll ditch the chains and go to a USB toolhead. But that will require me to print some parts, so I guess I have to fix this. And if I’m doing that it’s going to probably be ‘good enough’ for quite some time… 🙃
There’s nothing major in the print queue, but I do want to make sure the printer is ready to go when something does turn up.
Are those machined idler blocks‽ if not you have some really solid prints! Impressed with how clean everything is! Just took a shopvac to mine friday, printing parts for a Stealthmax, so lots of buildup.
Need to get into that good enough mindset, definitely caused myself some headache (grabbed a Knomi for the heck of it, tons of interference issues with the blowers I use (sunon and gdstime) but got it going on the fanken-prusa
Instead of running LEDs to the toolhead. It’s cheesy and heavy, but rule of cool right?If you don’t feel like printing parts, could run the usb umbilical through the chains.
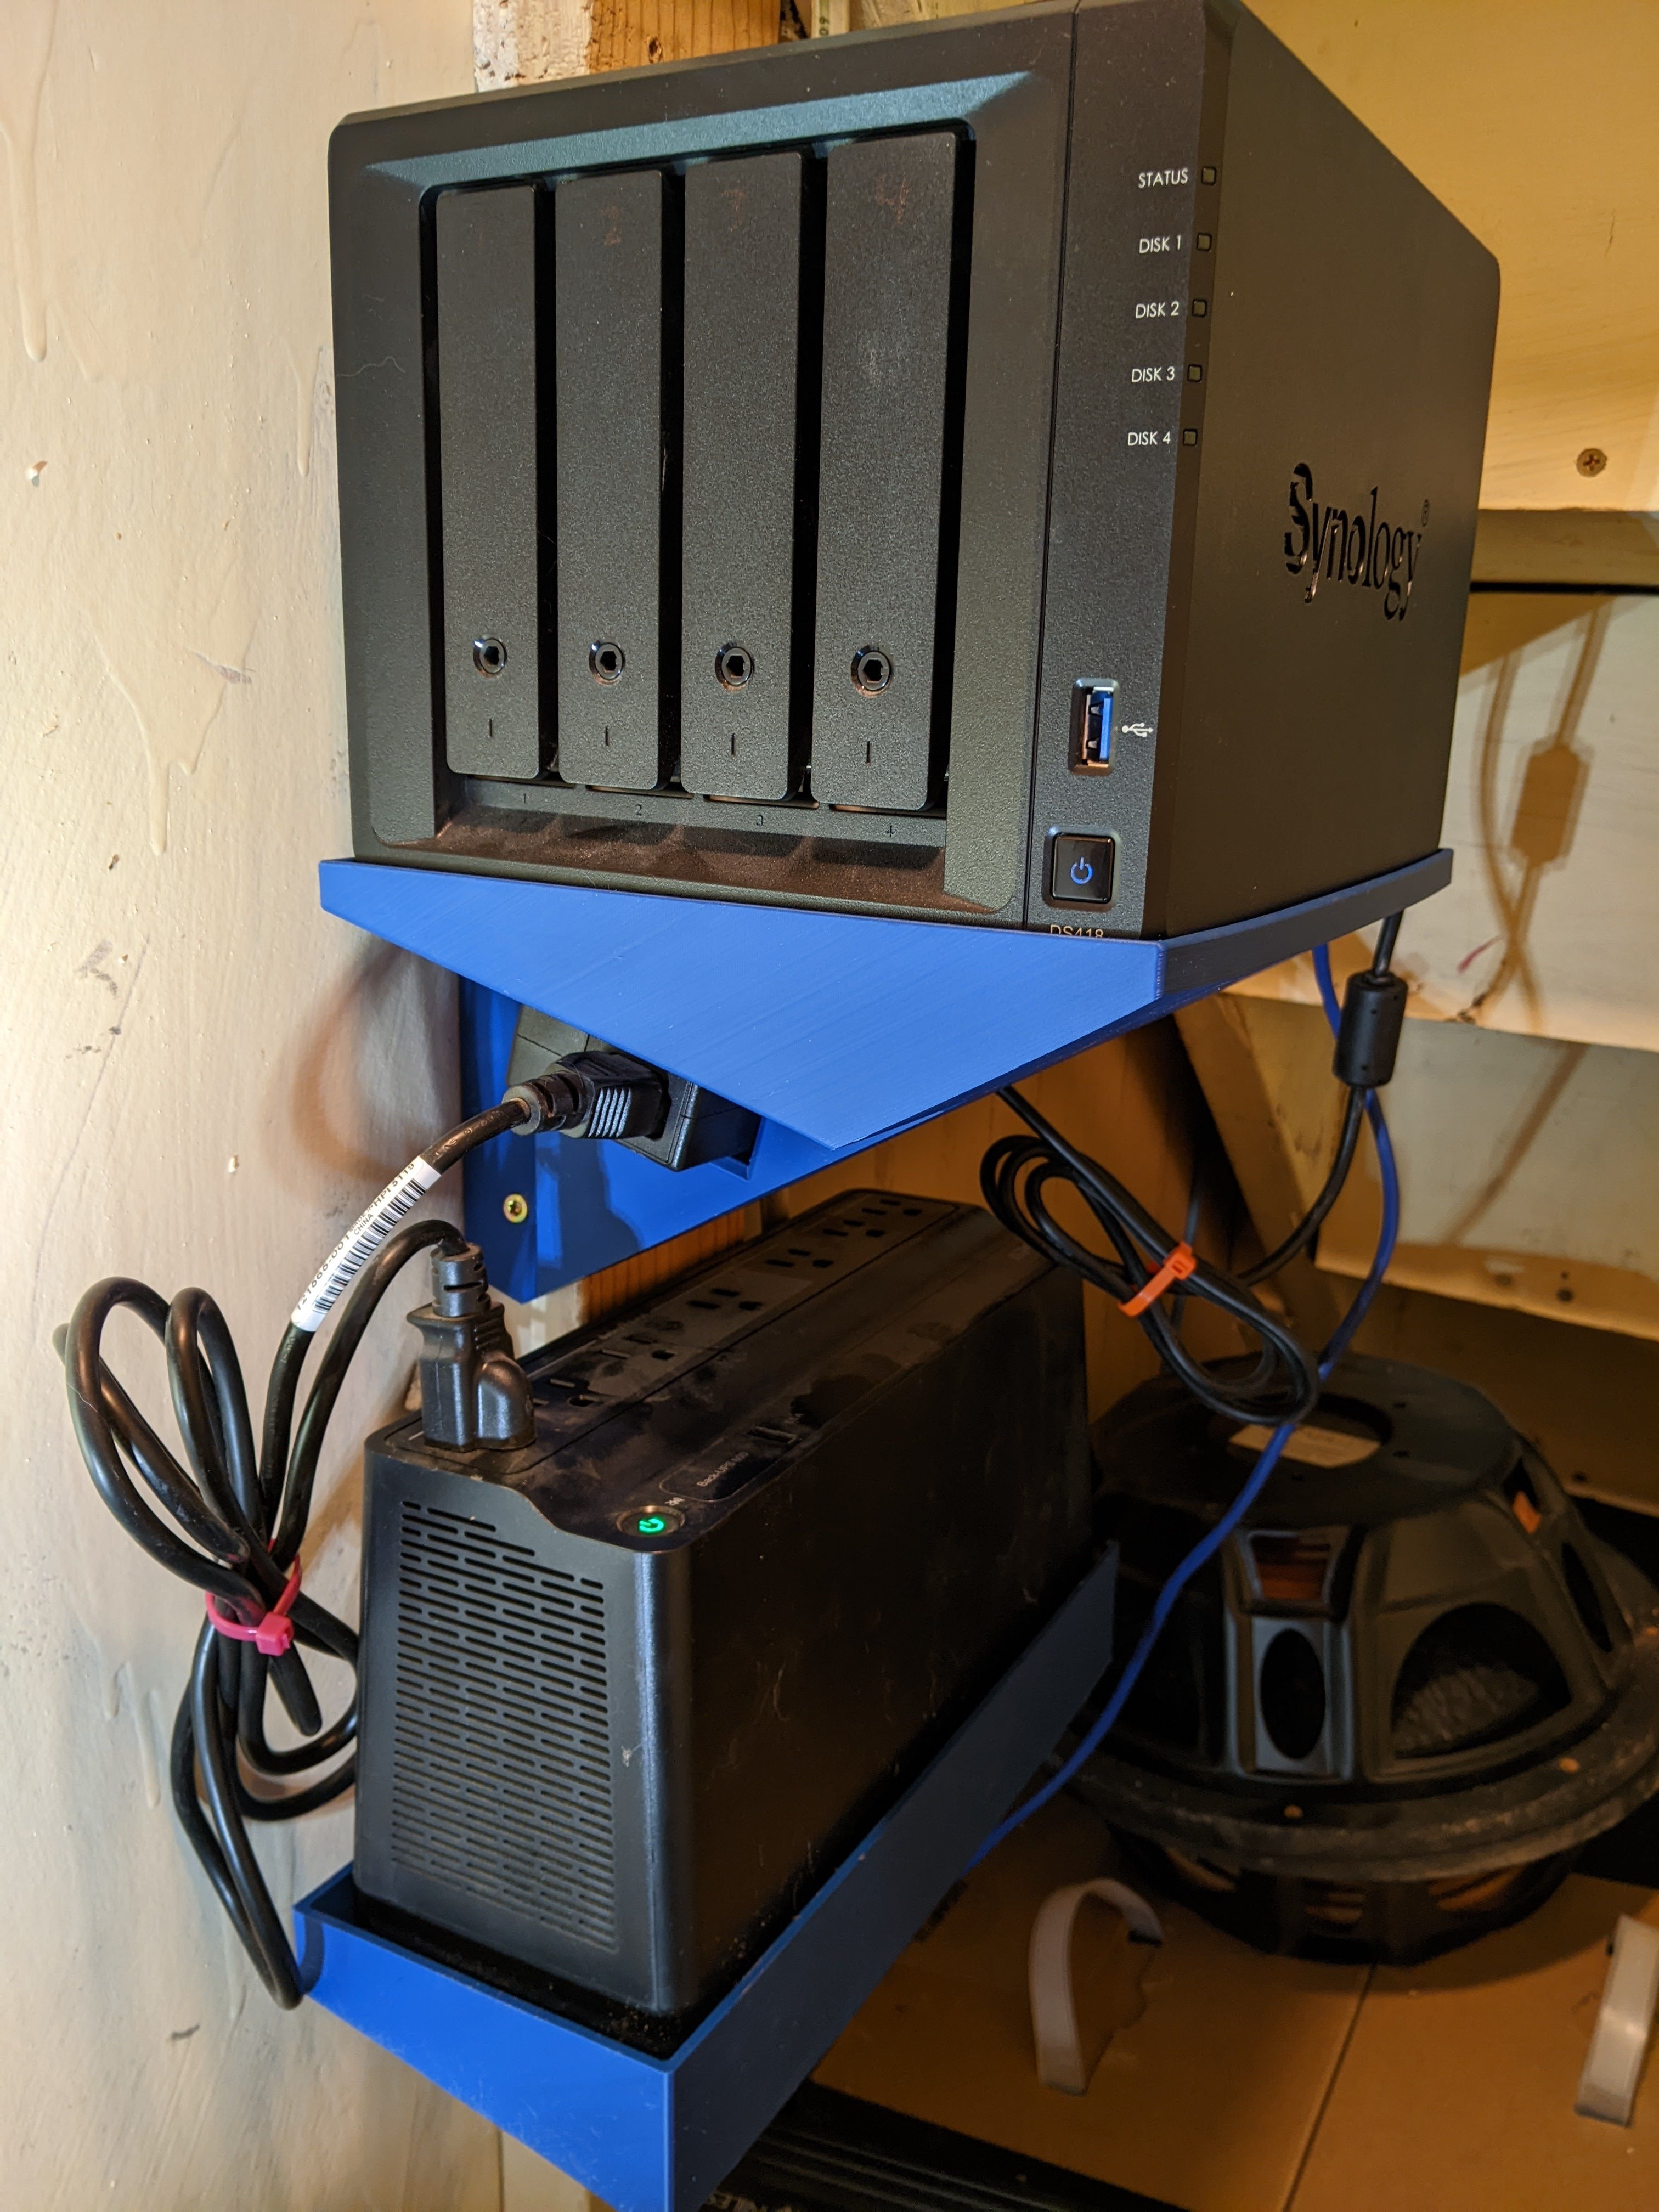
Is your other printer still up? Having a backup has come in really handy.
Are those machined idler blocks‽
They are! If you live near a microcenter, they were selling chaotic lab’s machined parts kit for significantly cheaper than you could buy it online. It was rebranded, but the inserts inside the box had chaotic labs written all over them.
If not you have some really solid prints!
If you dig through my post history you can find examples of prints off the Voron. X-Y is fairly solid, but I haven’t spent the time to tune input shaping so it has some ringing. Z on the other hand… Shine a hard light at a steep angle and you’ll see layer lines galore from the X-Y start point of each layer moving around slightly. I chased that for a bit, and made some improvement, but without input shaping and not wanting to slow down it’s probably as good as it’s going to get with ASA right now.
There’s also the whole z-expansion thing. With 4x bed fans, the frame does grow enough in z to impact height over time. If printing sequential parts, first layer squish will get worse and worse for each part if I don’t let the printer soak for a bit.
Impressed with how clean everything is.
As you said, vacuuming lol. It’s amazing how much crud accumulates on the panel under the build plate. It does take a while for it to build up, but since it can’t go anywhere it does catch the eye.
Instead of running LEDs to the toolhead. It’s cheesy and heavy, but rule of cool right
That does look pretty cool. My tool head has zero lights in it, so I might be the antithesis of cool :( I do have 3x Daylight on a stick installed though. They provide a pretty solid light source for checking adhesion and what not.
If you don’t feel like printing parts, could run the usb umbilical through the chains
I haven’t found a USB cable rated for such a small bend radius with any kind of reasonable service life. I have considered a non-USB cable to run the USB signal over, like chainflex cf9. Not sure how well that would work.
Is your other printer still up? Having a backup has come in really handy
It is, but I’m probably going to be parting ways with it soon since it hasn’t been used since I got the Voron up and running. The Voron has around 750 hours on it and the only issues have been a few wire breaks in the chains (not enough wire slack when I built it) and me botching a repair of my Rapido (if you overtighten those tiny screws you’ll crimp the tiny heatbreak tube). Wire repair is easy enough to do and doesn’t require printing anything.
If you live near a microcenter
I’m like a stone’s throw from the border, if they’re cheaper very much consider crossing for that (closest looks like Detroit though, wrong crossing :/) at least for the tap carriage and mount.
Layer lines are unavoidable imo, I’ve sorta just come to terms, I think I run a tad hot and haven’t fully tuned my profiles, but happy with it for my purposes, and definitely heat soak as well, got a process where I do it right after plate prep/cleanup, then I go do my plating and slicing, gives lots of time.
LEDs I’m mixed on, I moved my gantry cam because they seemingly were aimed right at it and you couldn’t see anything. I keep thinking about a nozzle camera, but with my current setup I really don’t feel like running another umbilical and I’m not 100% sold that it’d survive or really be that handy.
How is the rapido? I’m using dragon HF/UHF for spares and using my existing v6 nozzles, have heard the rapido has some good results.
at least for the tap carriage and mount.
I think Microcenter only carries the ‘full’ CNC kit, which was pre-tap when I bought mine
Layer lines are unavoidable imo, I’ve sorta just come to terms, I think I run a tad hot and haven’t fully tuned my profiles, but happy with it for my purposes
Layer lines are one thing, but them shifting around is very annoying. I don’t know if it’s completely a ‘me’ thing or if a large chunk of the people who posts things online only go for a beauty shot.
For example:
compared to:
(open the images in a new tab, Lemmy doesn’t always let you view them full size…)
I tend to run fast, but I’ve found that Polymaker’s ASA will print happily at 230-235 on my machine. Maybe slower + cooler would help my results. I should try a few sequential objects to find out.
Don’t get me wrong, the 2.4 is a massive improvement in quality over what I was turning out on my i3 clone.
I do it right after plate prep/cleanup
What is this plate prep you speak of? I kid, but I’m also happy that I (very rarely) have to clean or do anything to my build plate.
LEDs I’m mixed on, I moved my gantry cam because they seemingly were aimed right at it and you couldn’t see anything. I keep thinking about a nozzle camera, but with my current setup I really don’t feel like running another umbilical and I’m not 100% sold that it’d survive or really be that handy.
No cameras here. The lighting at the top of the frame is great for letting me see the first layer, which is really all I need to see. Now that I got z-calibration up and running, I rarely have to fiddle here. The only spaghetti I’ve encountered has been due to ASA warping, but now that I know that was chamber temp related it should be easy to avoid.
How is the rapido? I’m using dragon HF/UHF for spares and using my existing v6 nozzles, have heard the rapido has some good results.
All in, I like it. It heats up amazingly quickly compared to the extruder on my i3 clone - literally 10s of seconds. Mine doesn’t ooze or string at all and retraction tuning is a piece of cake (basically any value works fine). One tool nozzle changes are nice, but I honestly don’t change my nozzle very often. I’ve run TPU, PETG, and ASA through it without issues. The HF Rapido, which is the one I would suggest going with on a stealthburner due to height, runs v6 nozzles which is also nice. Stealthburner installation isn’t hard, but you do have to pull the bowden coupler off the top of the Rapido.
I’ve run a few ASA prints at 30-35 mm^3 feed rates and was able to do so without needing to touch my extrusion temperature. I can’t say the same for PETG - that topped out at around 20-25 mm^3 without increasing temperature. What kinds of things do you print? Are you OK with using thicker layers and bigger extrusion widths? You won’t be able to easily crack 30 mm^3 feed rate if by moving your toolhead fast - you’ll need thick(er) extrusion widths and layer heights. Play around in your slicer, all the slic3r derivatives will let you view volumetric flow on your sliced gcode. I’m not sure the extruder is worth it if you’re not going to take advantage of its ability to flow filament quickly.
Why not go for a CANBUS toolhead with umbilical cable? That ditches the chains too and doesn’t require that many new parts to print.
USB > CAN IMO, but as I said in my post that’s going to require some printed parts which means I need to fix my wire break, which means the printer will be working again, which means I can put off a decision for a while.
LDO’s nighthawk looks very tempting though. I’ll probably buy the parts, fix my printer, print what I need, and put it all aside for my next wire break.