Dry your filament. Stick it in the oven for 2+ hours on minimal settings. If you have a fan in the oven, even better. edit: use the printer bed, see comments below
Tune your printer. Do a temperature tower with your dried filament. Lower temperatures might improve quality at the expense of lower layer adhesion. Do a flow calibration routine. Overextrusion can also have effects like this.
Slow down the printing. Increase minimal layer time, which might have an effect. If it’s original E3, it has relatively poor part cooling, which can be compensated by slowing things down.
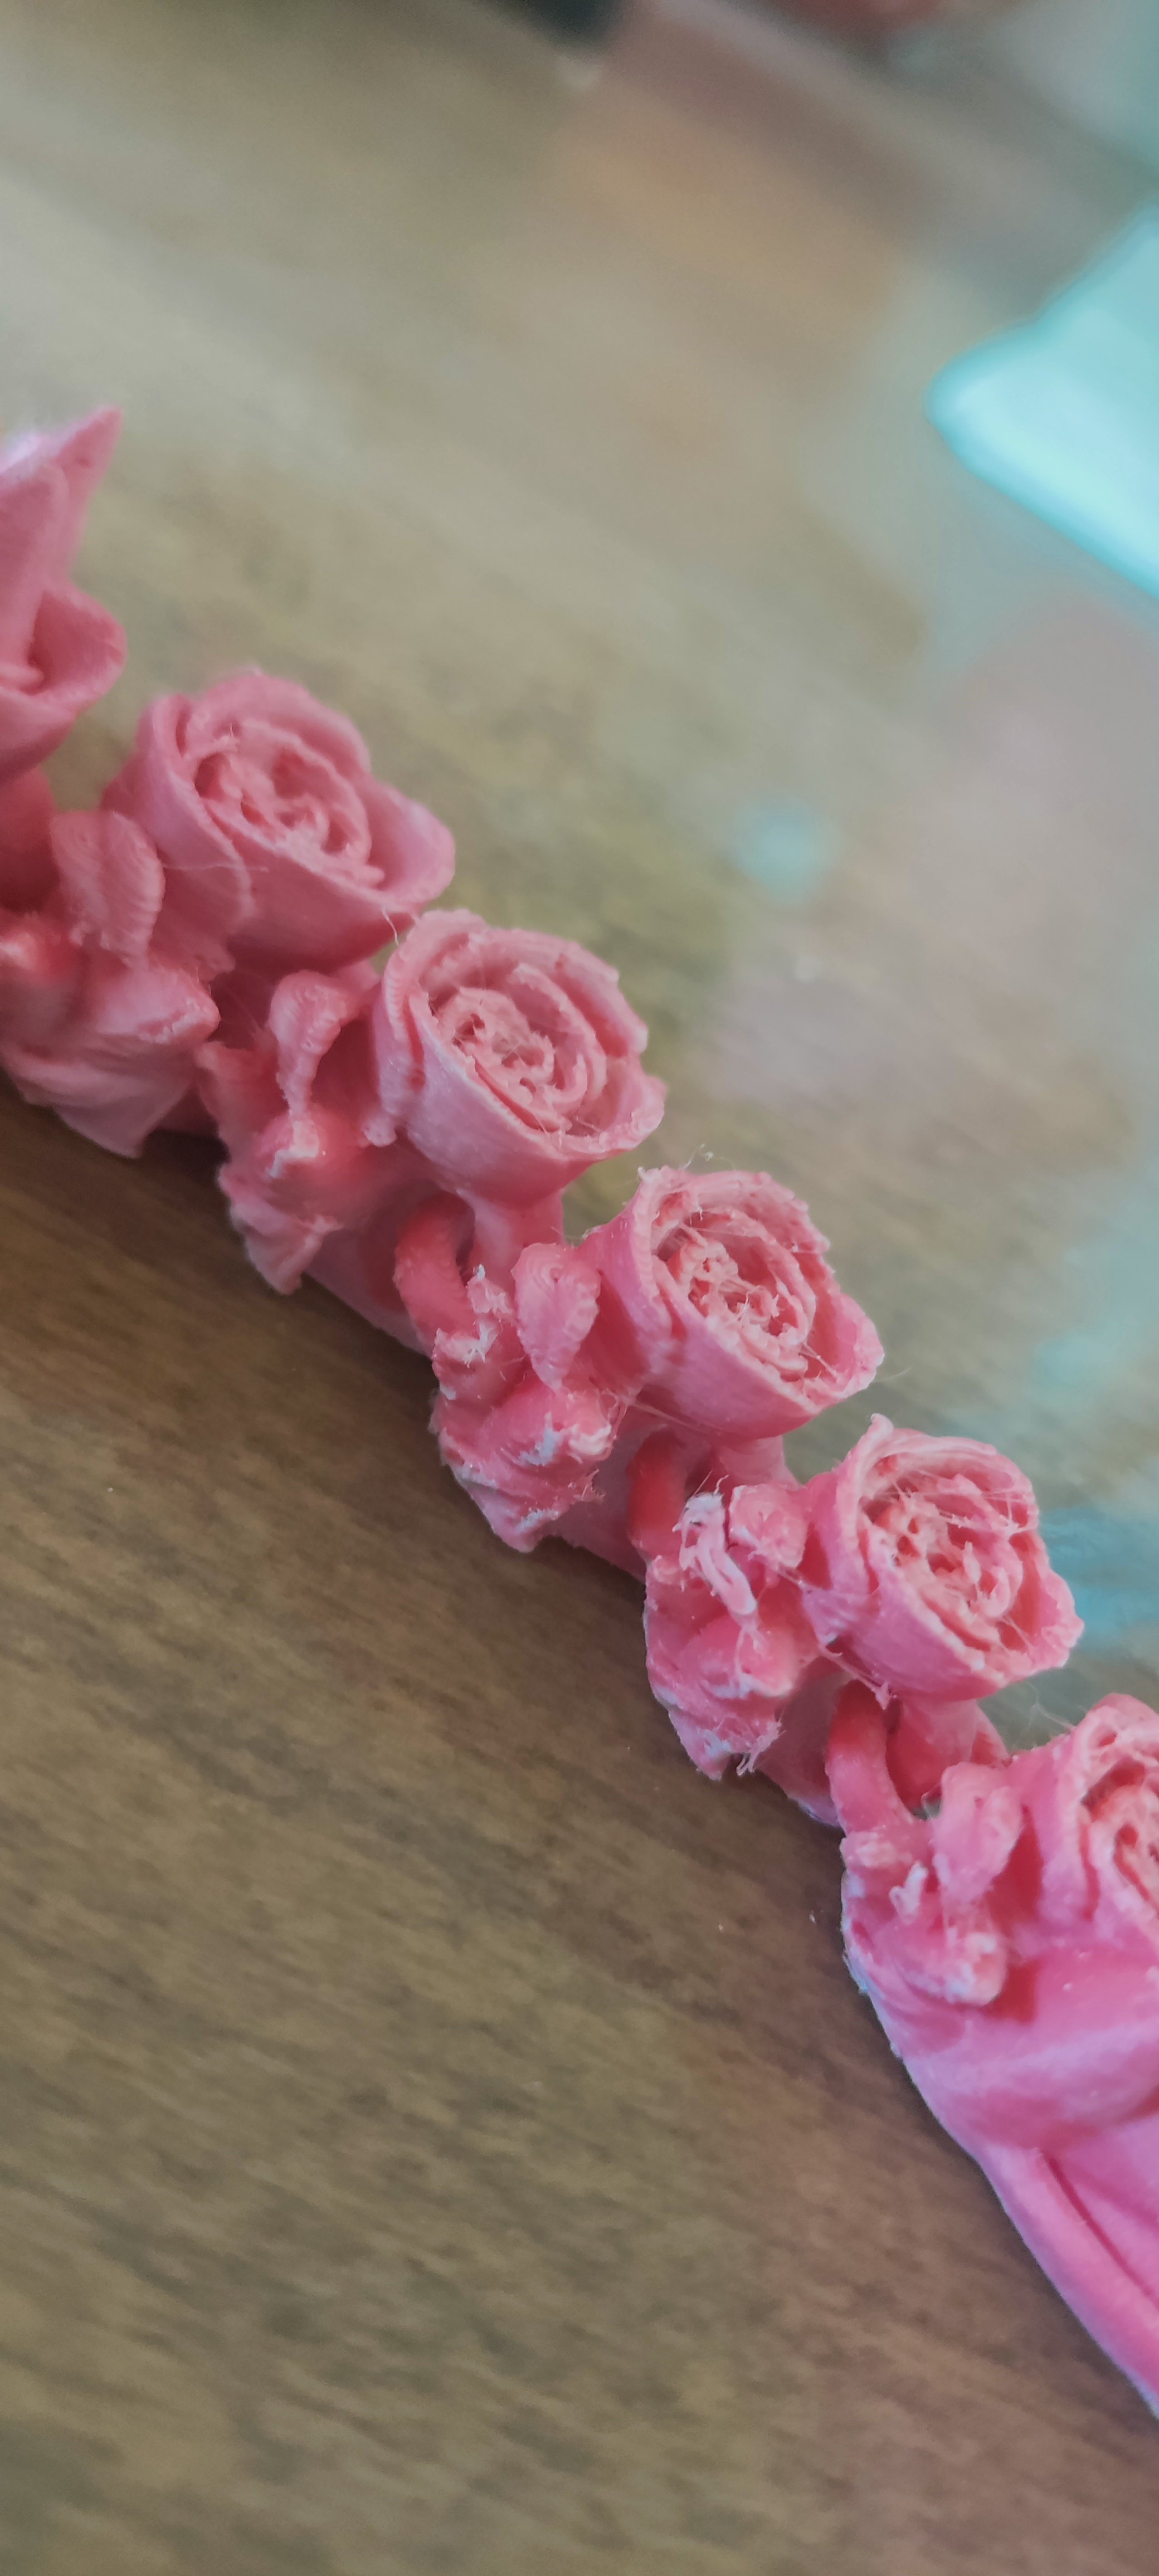
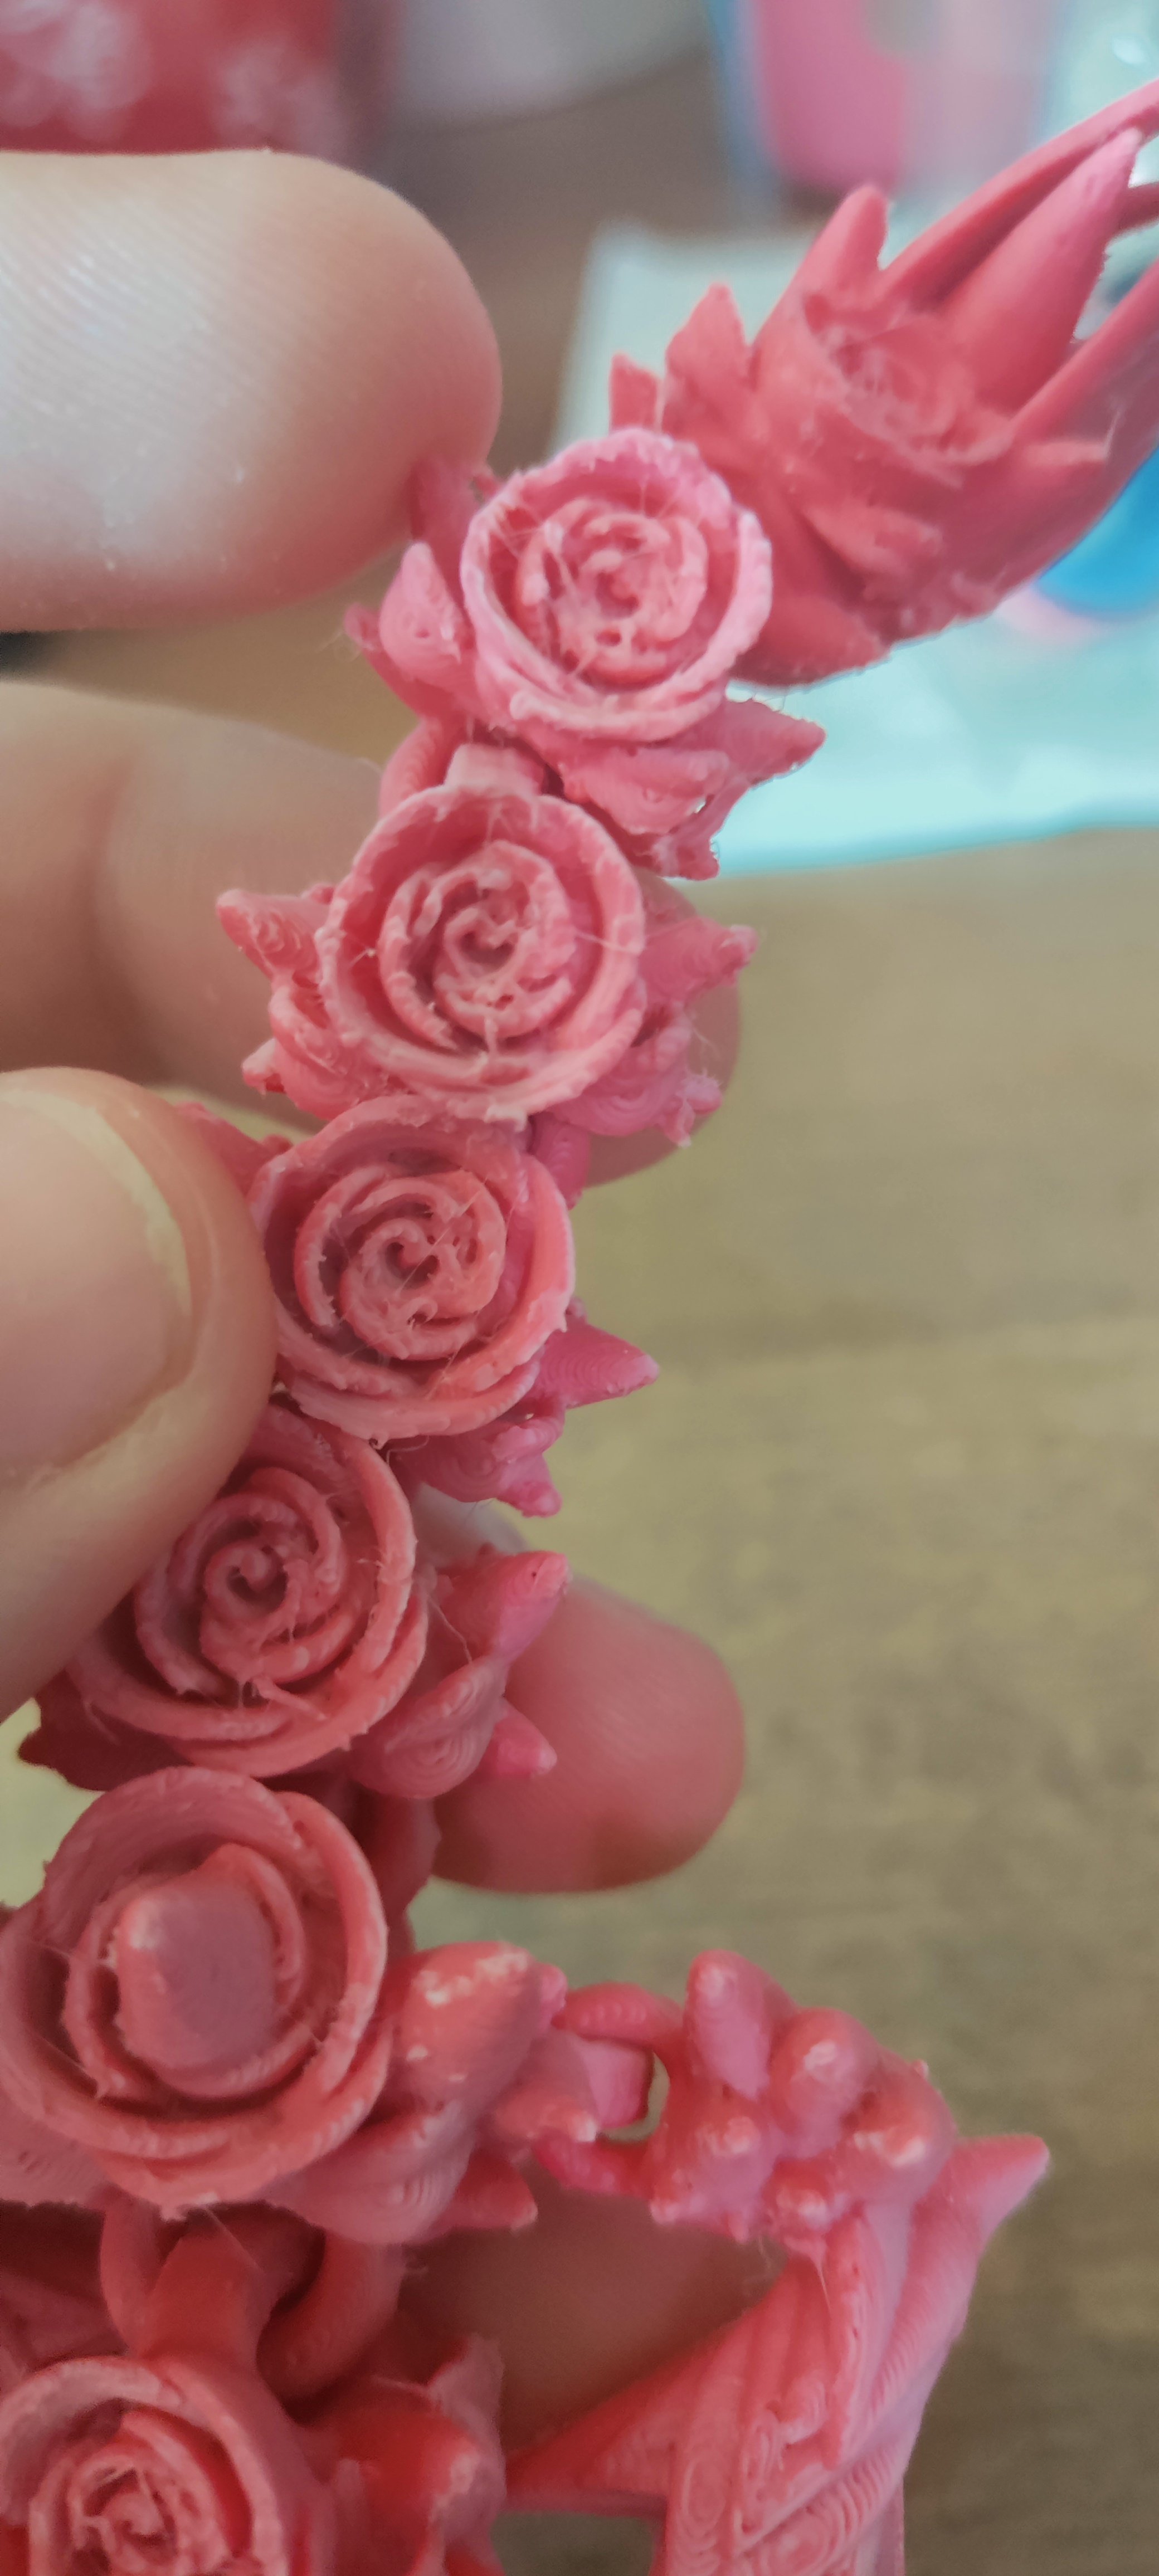
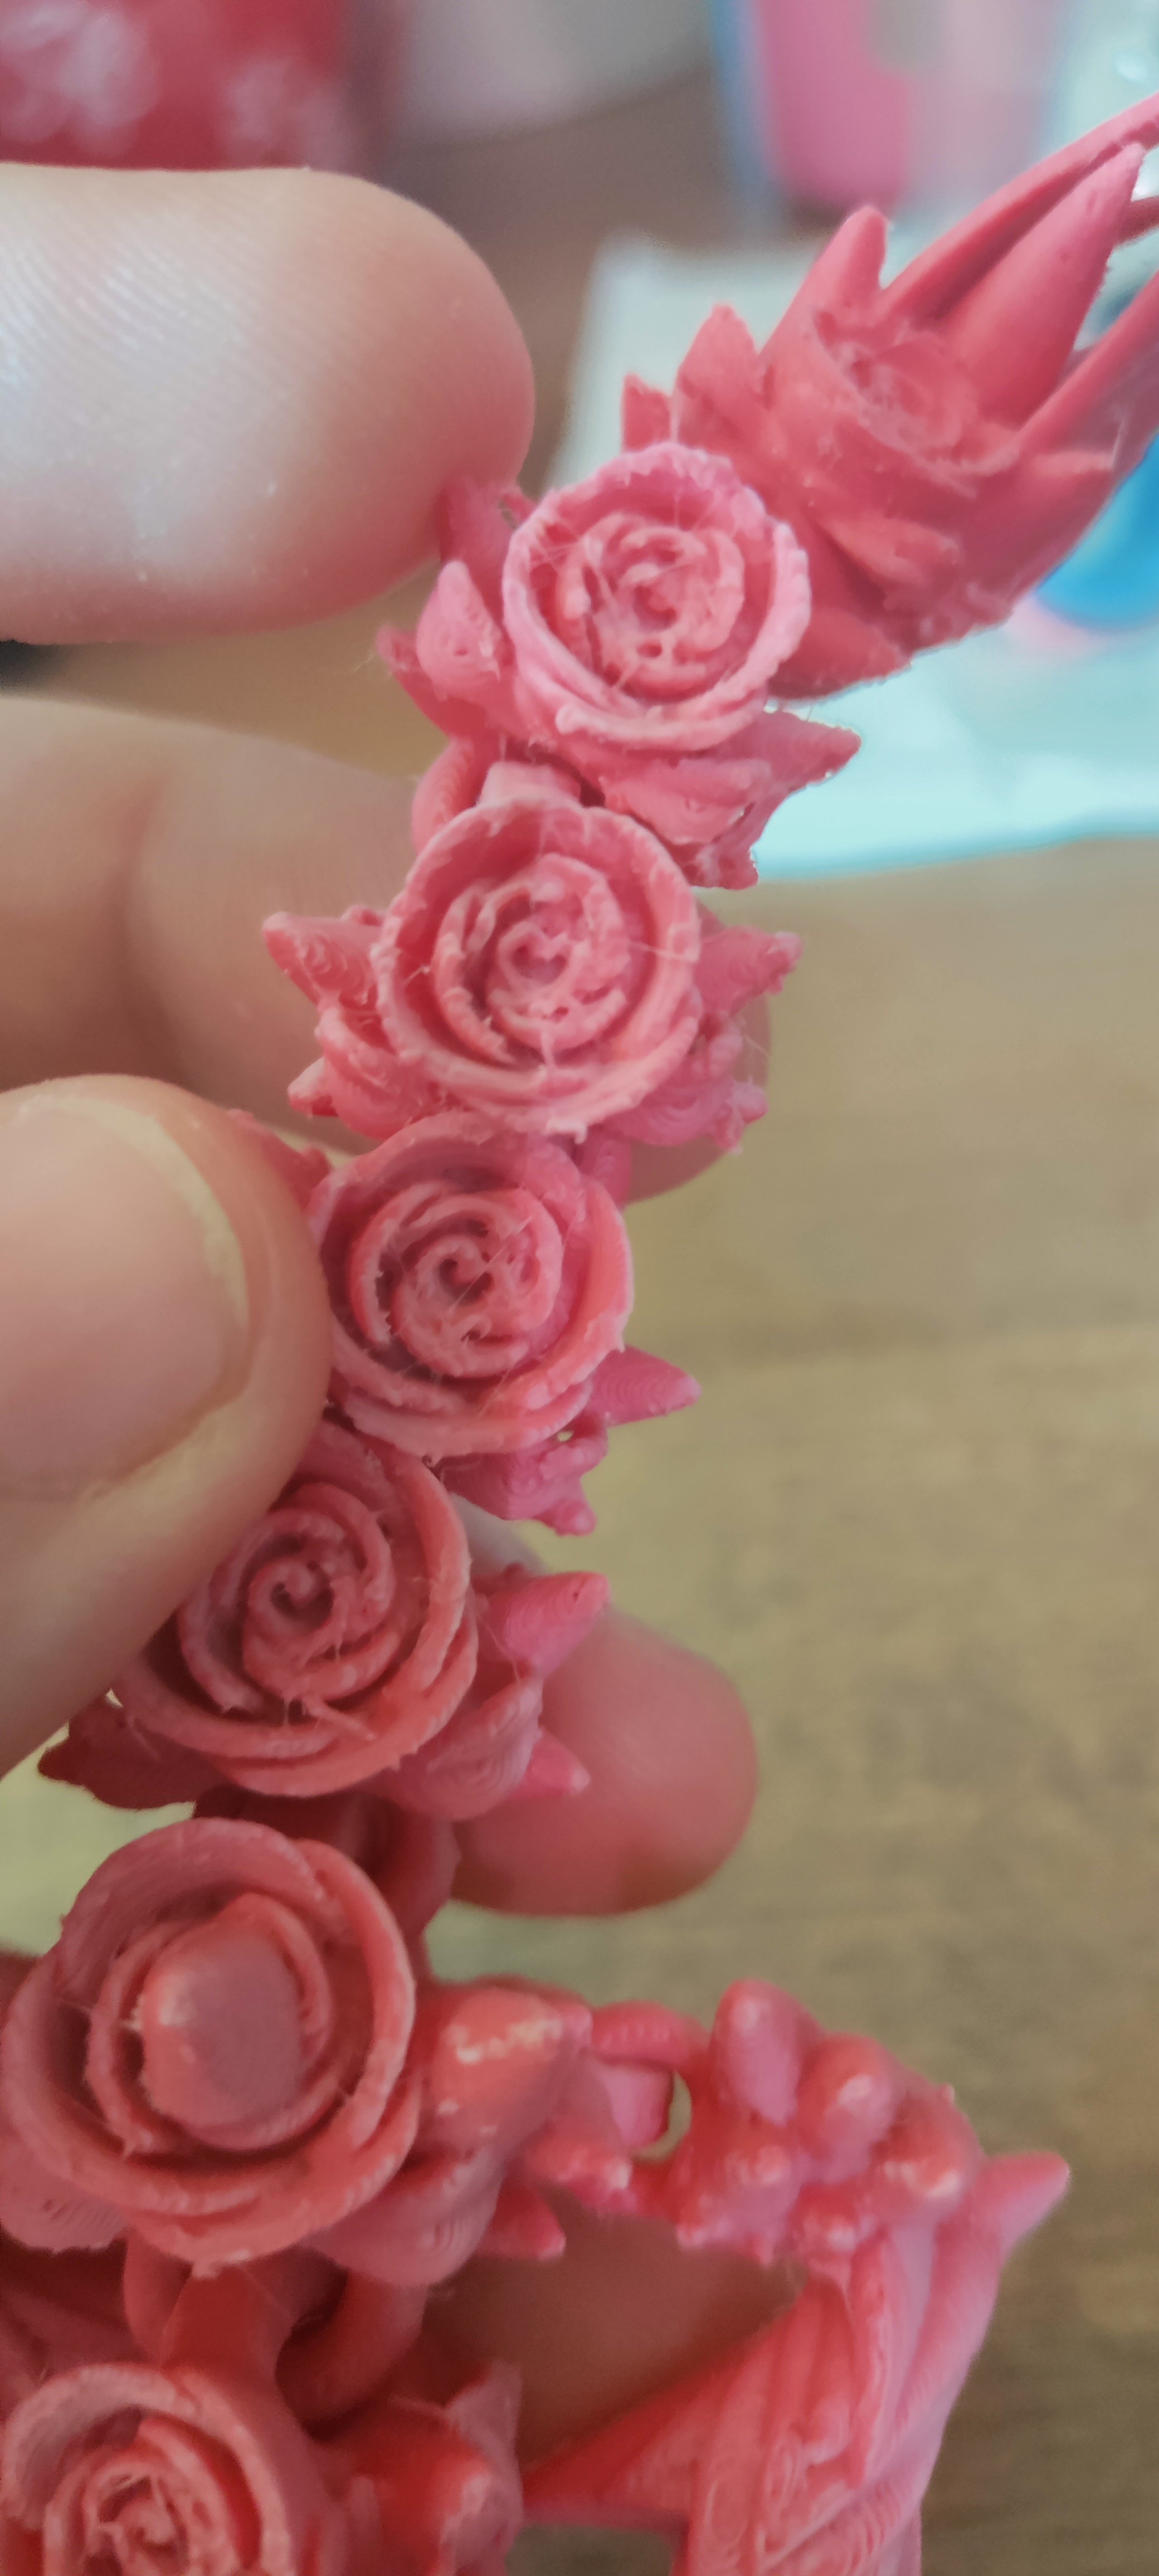
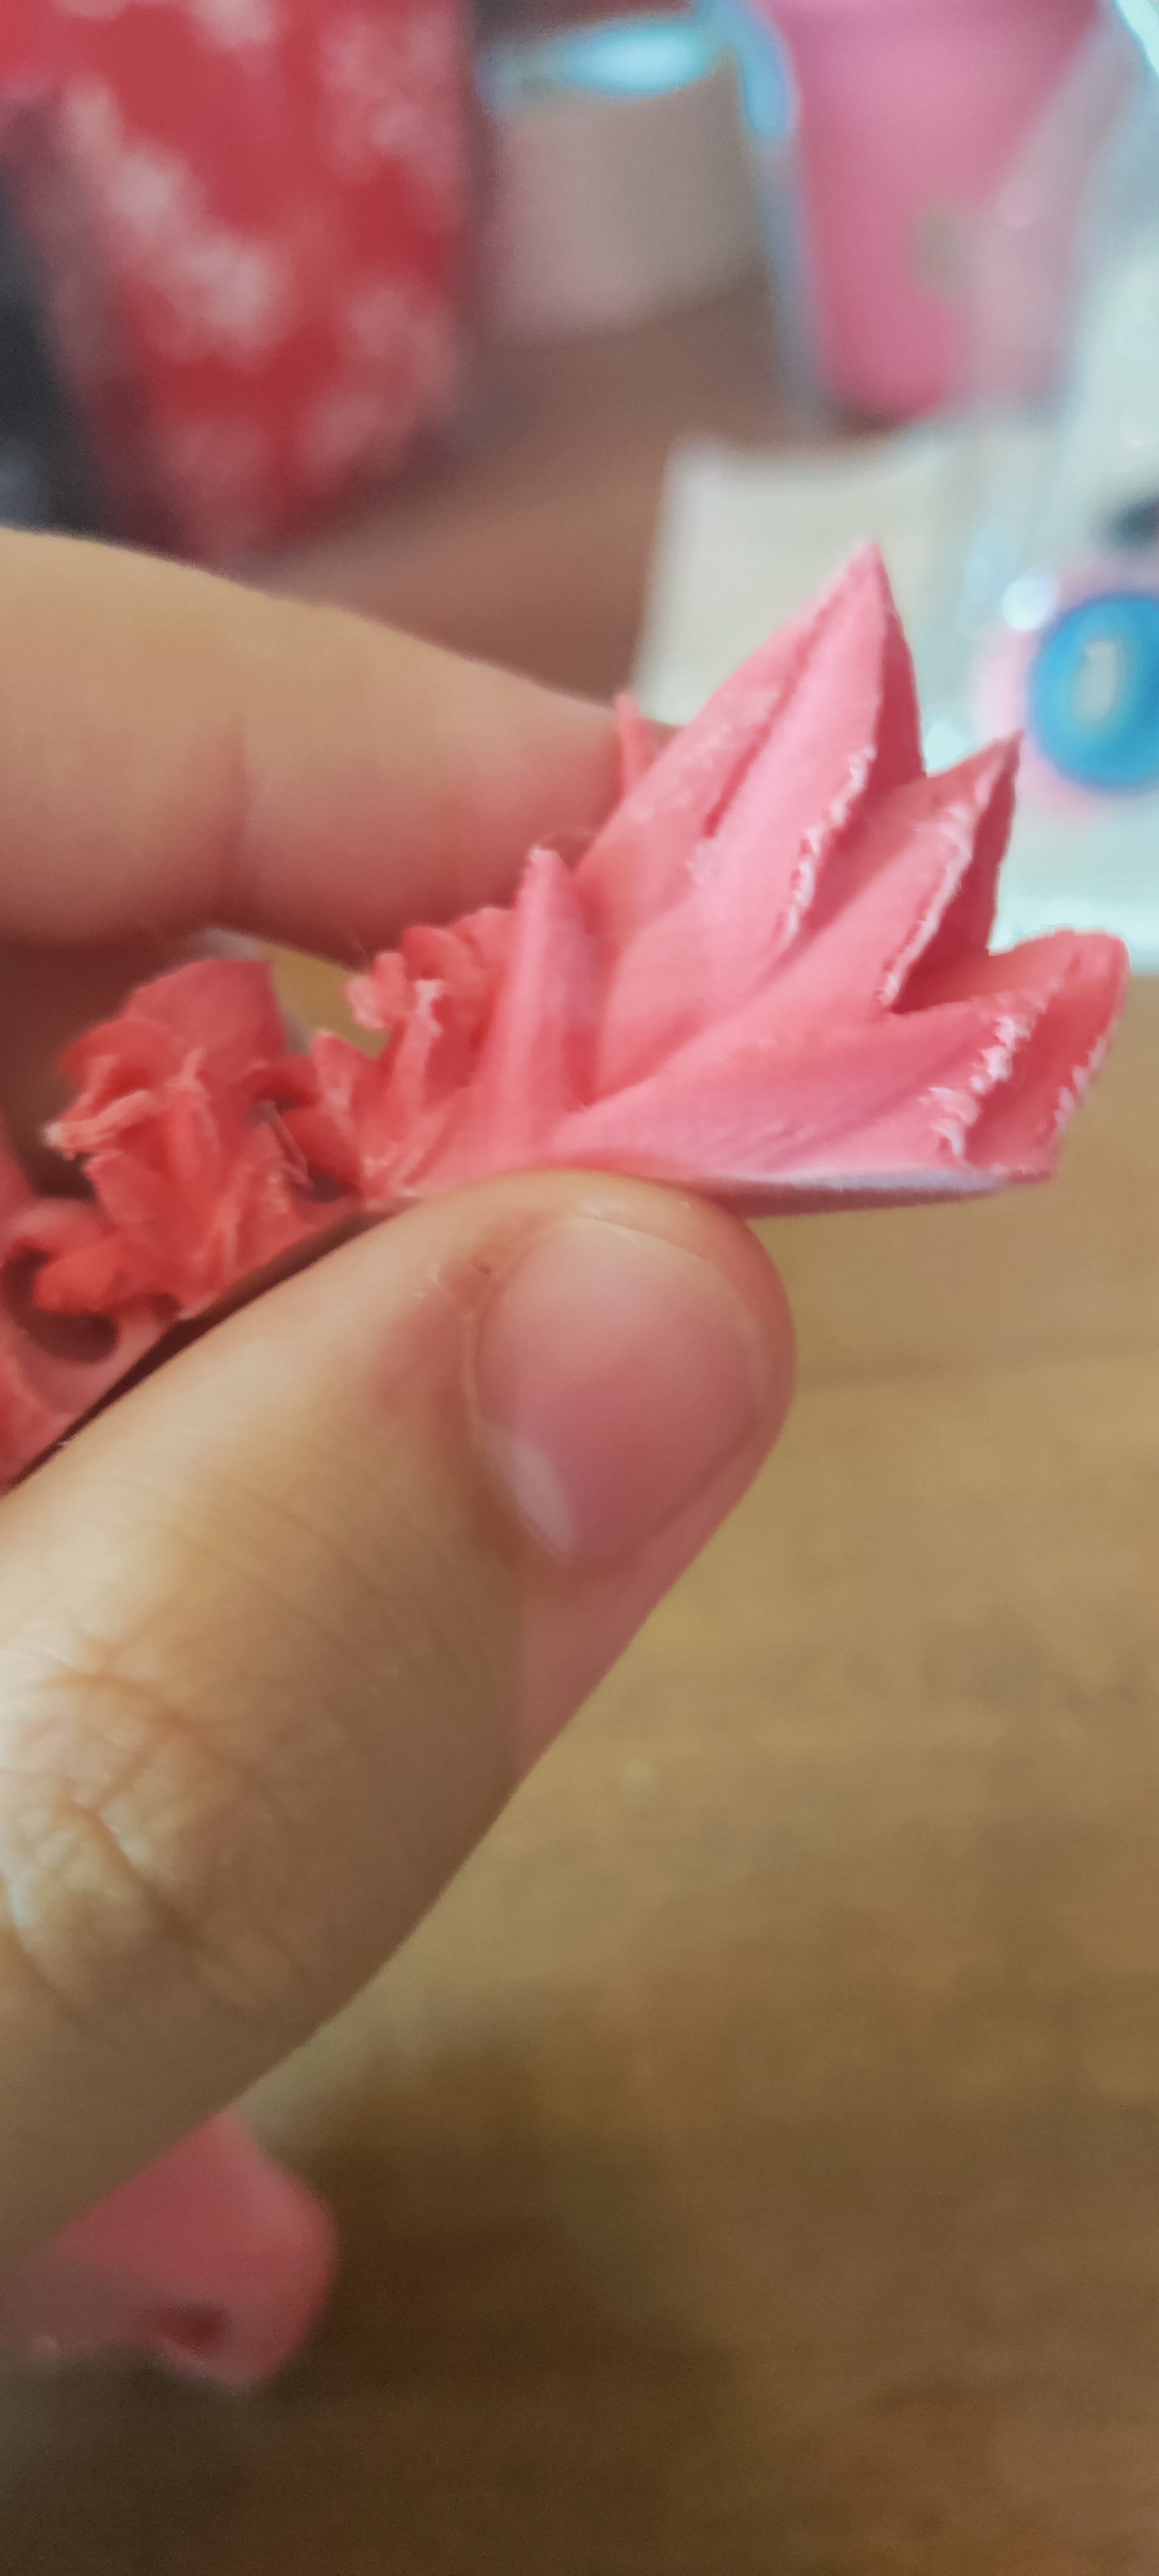
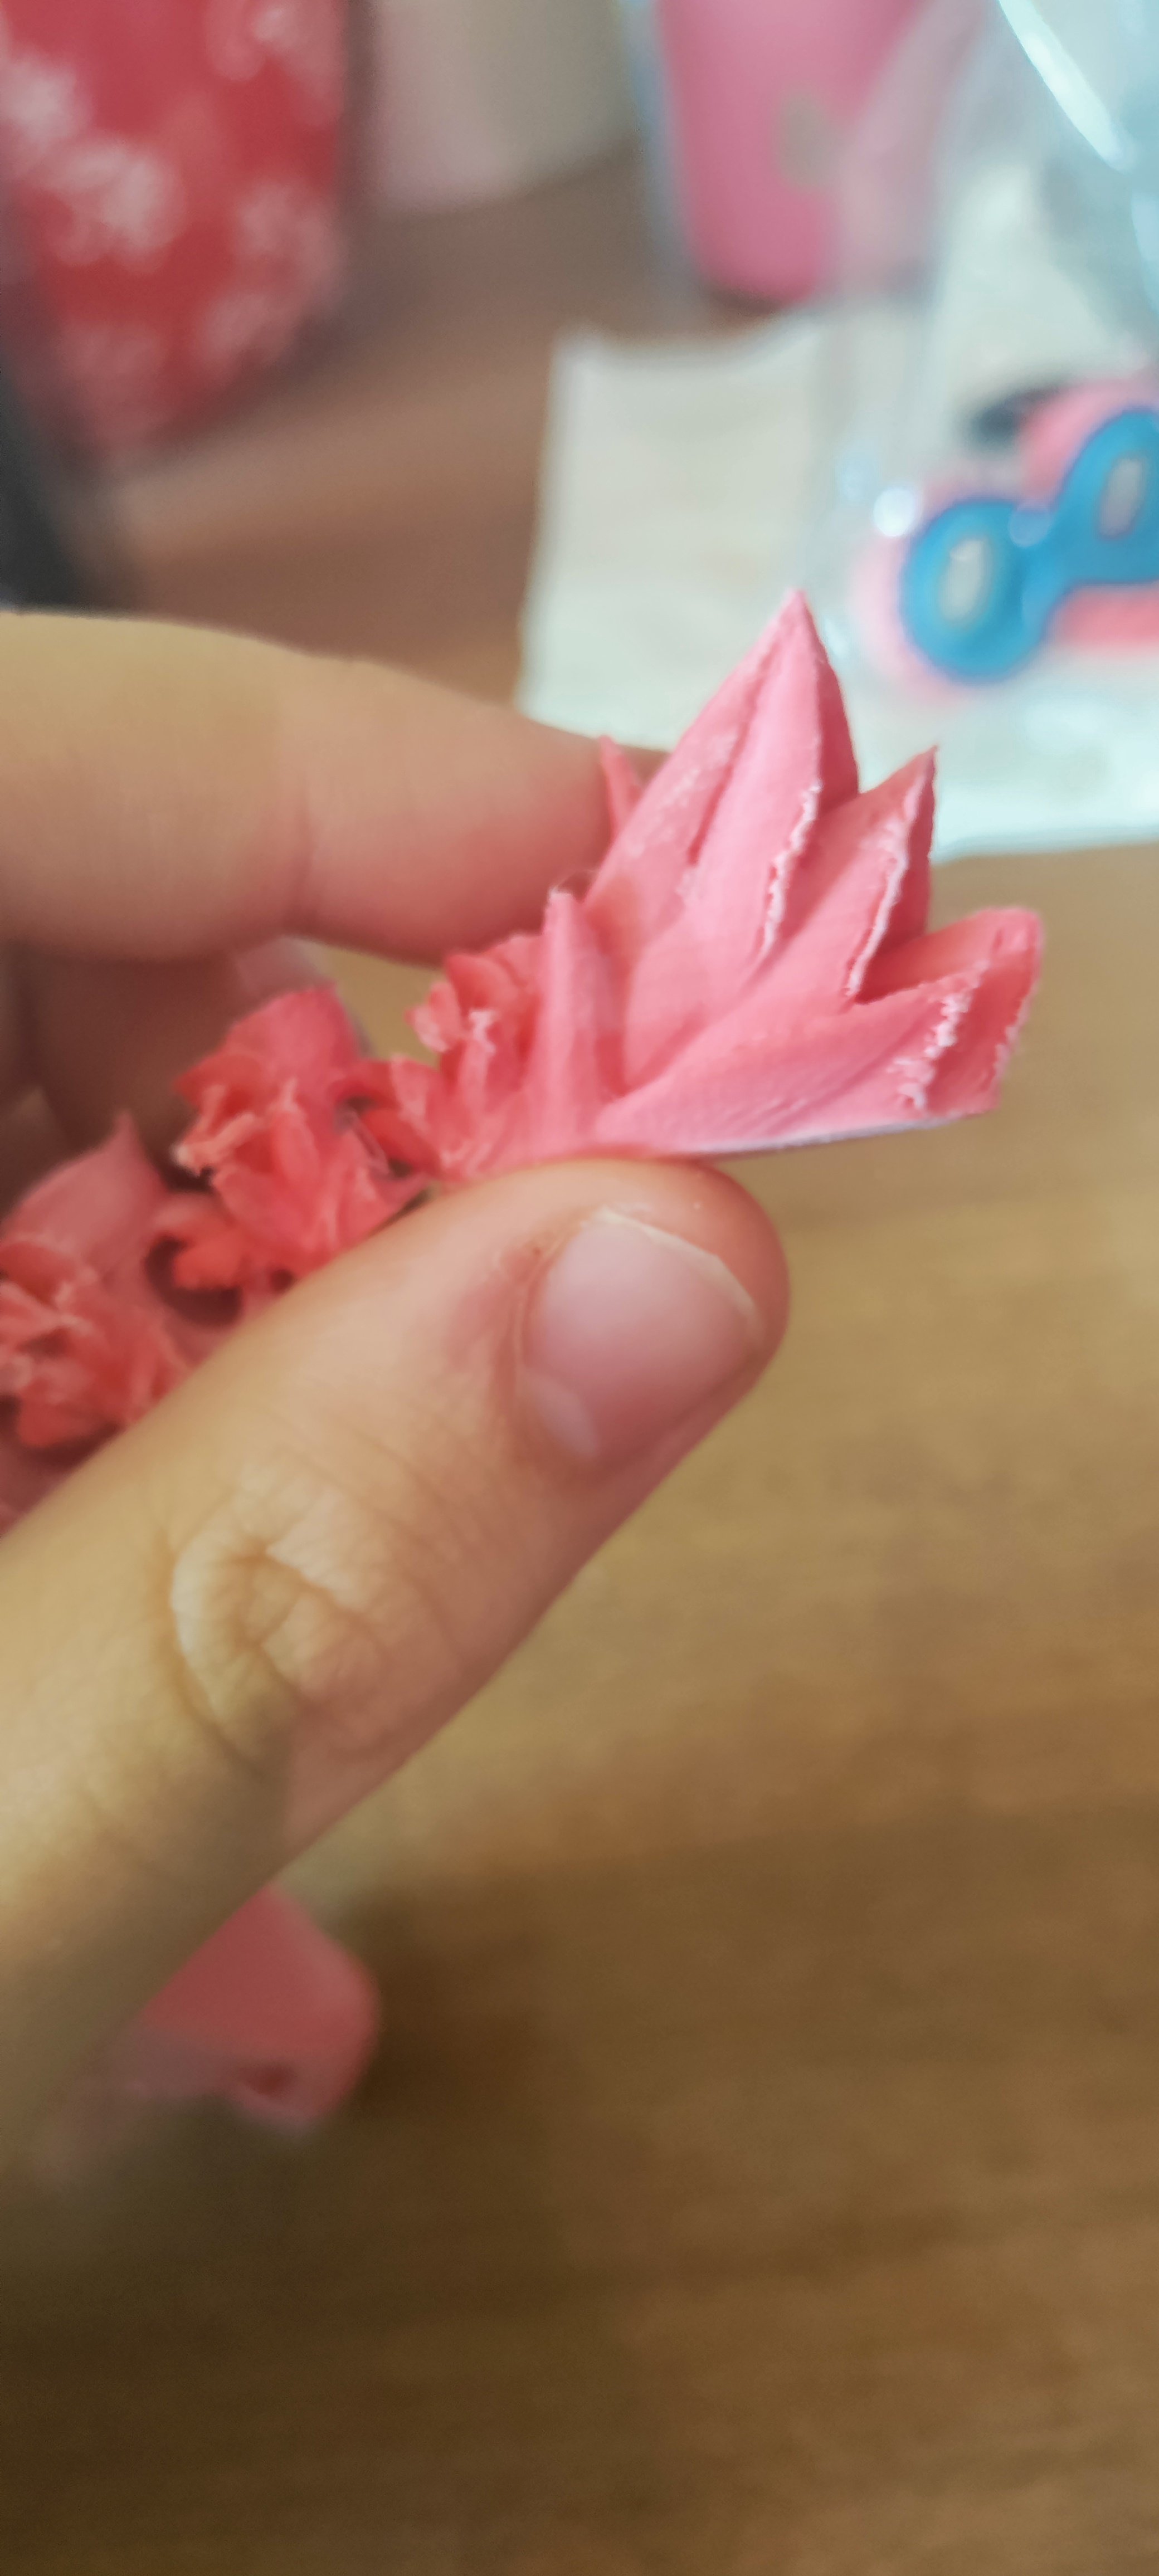
Nothing wrong with Ender 3, if you thinker enough, you can get results as good as any other printer. But it may require tinkering. The model that you’re printing is difficult with FDM printers of any kind. It has thin, delicate parts with steep overhangs. It can look better, but it’s gonna be hard to achieve. Resin printers are definitely a better choice for this, but you use what you have.
First they have a huge gradient and it may not be 60c in there even if the oven says it is. If you must use an oven, the best is to set it to bread “proof”- this setting is used to let dough rise and usually isn’t all that hot. (Though…. It could be. It’s inconsistent sometime,)
Remember, glass transition is usually about half the melting temp, and you want to be about 2/3s that at the highest. If you go past it, you might get sintering- the filament sticks to itself.
Personally, a cheap food dehydrator is going to do the trick. Alternatively, a tub with moisture absorbing beads bulked up in the bottom and few days or a week or two should do the trick gently. (You can buy big ass jugs of the beads at big box hardware stores or Amazon. Hell you can get 55 gallon drums of them if you really wanted to…)
True, I’ve seen many molten rolls of filament because of overly warm ovens. Make sure it doesn’t go over 60C and you’re good. Mine is good, has a little overshoot when heating up, but if you let it warm up first and then put the filament, it generally stays very close to 60C. I havent had problems. Other ovens - be careful. Food dehydrator is better, but if you don’t have it, you may as well buy an actual filament dryer. Desicant beads didn’t work for me. They do the trick of maintaining the dryness, but if you have ANY built up moisture in your filament, the beads won’t do much.
Don’t dry filament in the oven. Simply put the filament spool on the print bed, set it to 60°C (PLA) or 70°C (PETG) and cover it with a cardboard box to trap the heat. Poke 3 holes in the box to lead damp air escape. Let it cook for 2-4h, then flip the spool and wait for another 2-4h. Store in air tight container with some silica gel to keep it dry.
Also expect some stringing, a little bit during printing is ok. Use a heat gun if you have one, or a blow dryer can work well as a replacement. The heat causes the thin strings to contact and they practically disappear as you watch. It’s pretty fun to do, and satisfying.


As others have mentioned:
Stick it in the oven for 2+ hours on minimal settings. If you have a fan in the oven, even better.edit: use the printer bed, see comments belowNothing wrong with Ender 3, if you thinker enough, you can get results as good as any other printer. But it may require tinkering. The model that you’re printing is difficult with FDM printers of any kind. It has thin, delicate parts with steep overhangs. It can look better, but it’s gonna be hard to achieve. Resin printers are definitely a better choice for this, but you use what you have.
Gotta be careful with ovens.
First they have a huge gradient and it may not be 60c in there even if the oven says it is. If you must use an oven, the best is to set it to bread “proof”- this setting is used to let dough rise and usually isn’t all that hot. (Though…. It could be. It’s inconsistent sometime,)
Remember, glass transition is usually about half the melting temp, and you want to be about 2/3s that at the highest. If you go past it, you might get sintering- the filament sticks to itself.
Personally, a cheap food dehydrator is going to do the trick. Alternatively, a tub with moisture absorbing beads bulked up in the bottom and few days or a week or two should do the trick gently. (You can buy big ass jugs of the beads at big box hardware stores or Amazon. Hell you can get 55 gallon drums of them if you really wanted to…)
True, I’ve seen many molten rolls of filament because of overly warm ovens. Make sure it doesn’t go over 60C and you’re good. Mine is good, has a little overshoot when heating up, but if you let it warm up first and then put the filament, it generally stays very close to 60C. I havent had problems. Other ovens - be careful. Food dehydrator is better, but if you don’t have it, you may as well buy an actual filament dryer. Desicant beads didn’t work for me. They do the trick of maintaining the dryness, but if you have ANY built up moisture in your filament, the beads won’t do much.
Don’t dry filament in the oven. Simply put the filament spool on the print bed, set it to 60°C (PLA) or 70°C (PETG) and cover it with a cardboard box to trap the heat. Poke 3 holes in the box to lead damp air escape. Let it cook for 2-4h, then flip the spool and wait for another 2-4h. Store in air tight container with some silica gel to keep it dry.
You’re completely right, I forgot about that method. I’ve used it in the past, it works great and is far more controllable and safe.
Also expect some stringing, a little bit during printing is ok. Use a heat gun if you have one, or a blow dryer can work well as a replacement. The heat causes the thin strings to contact and they practically disappear as you watch. It’s pretty fun to do, and satisfying.
A little mini torch, similar to a regular gas lighter also can work wonderfully.