First I’d like to say thanks to everyone for looking at these posts and trying to help, and sorry to anyone who may be annoyed. Trust me, I’m not happy either.
I’m jumping back and forth between making this write up and recreating the clog by hand feeding filament into the hotend. This test was already performed earlier today and I got the same clog as I have been, so the extruder can be removed from the list of possible culprits. Anyways, here’s the steps I’m following:
1. Verify temperatures are within acceptable range

This is my temp chart upon starting the printer. I used a thermal laser to test both nozzle and bed and they were within the range of accuracy of the laser. The laser is not accurate enough to get a good reading on the heat block; however, a few drops of water on the heat block boils within seconds when the temp is set to 100C, whereas at 90C it does nothing, so the nozzle is accurate at least to this temp.
2. Assemble hot end

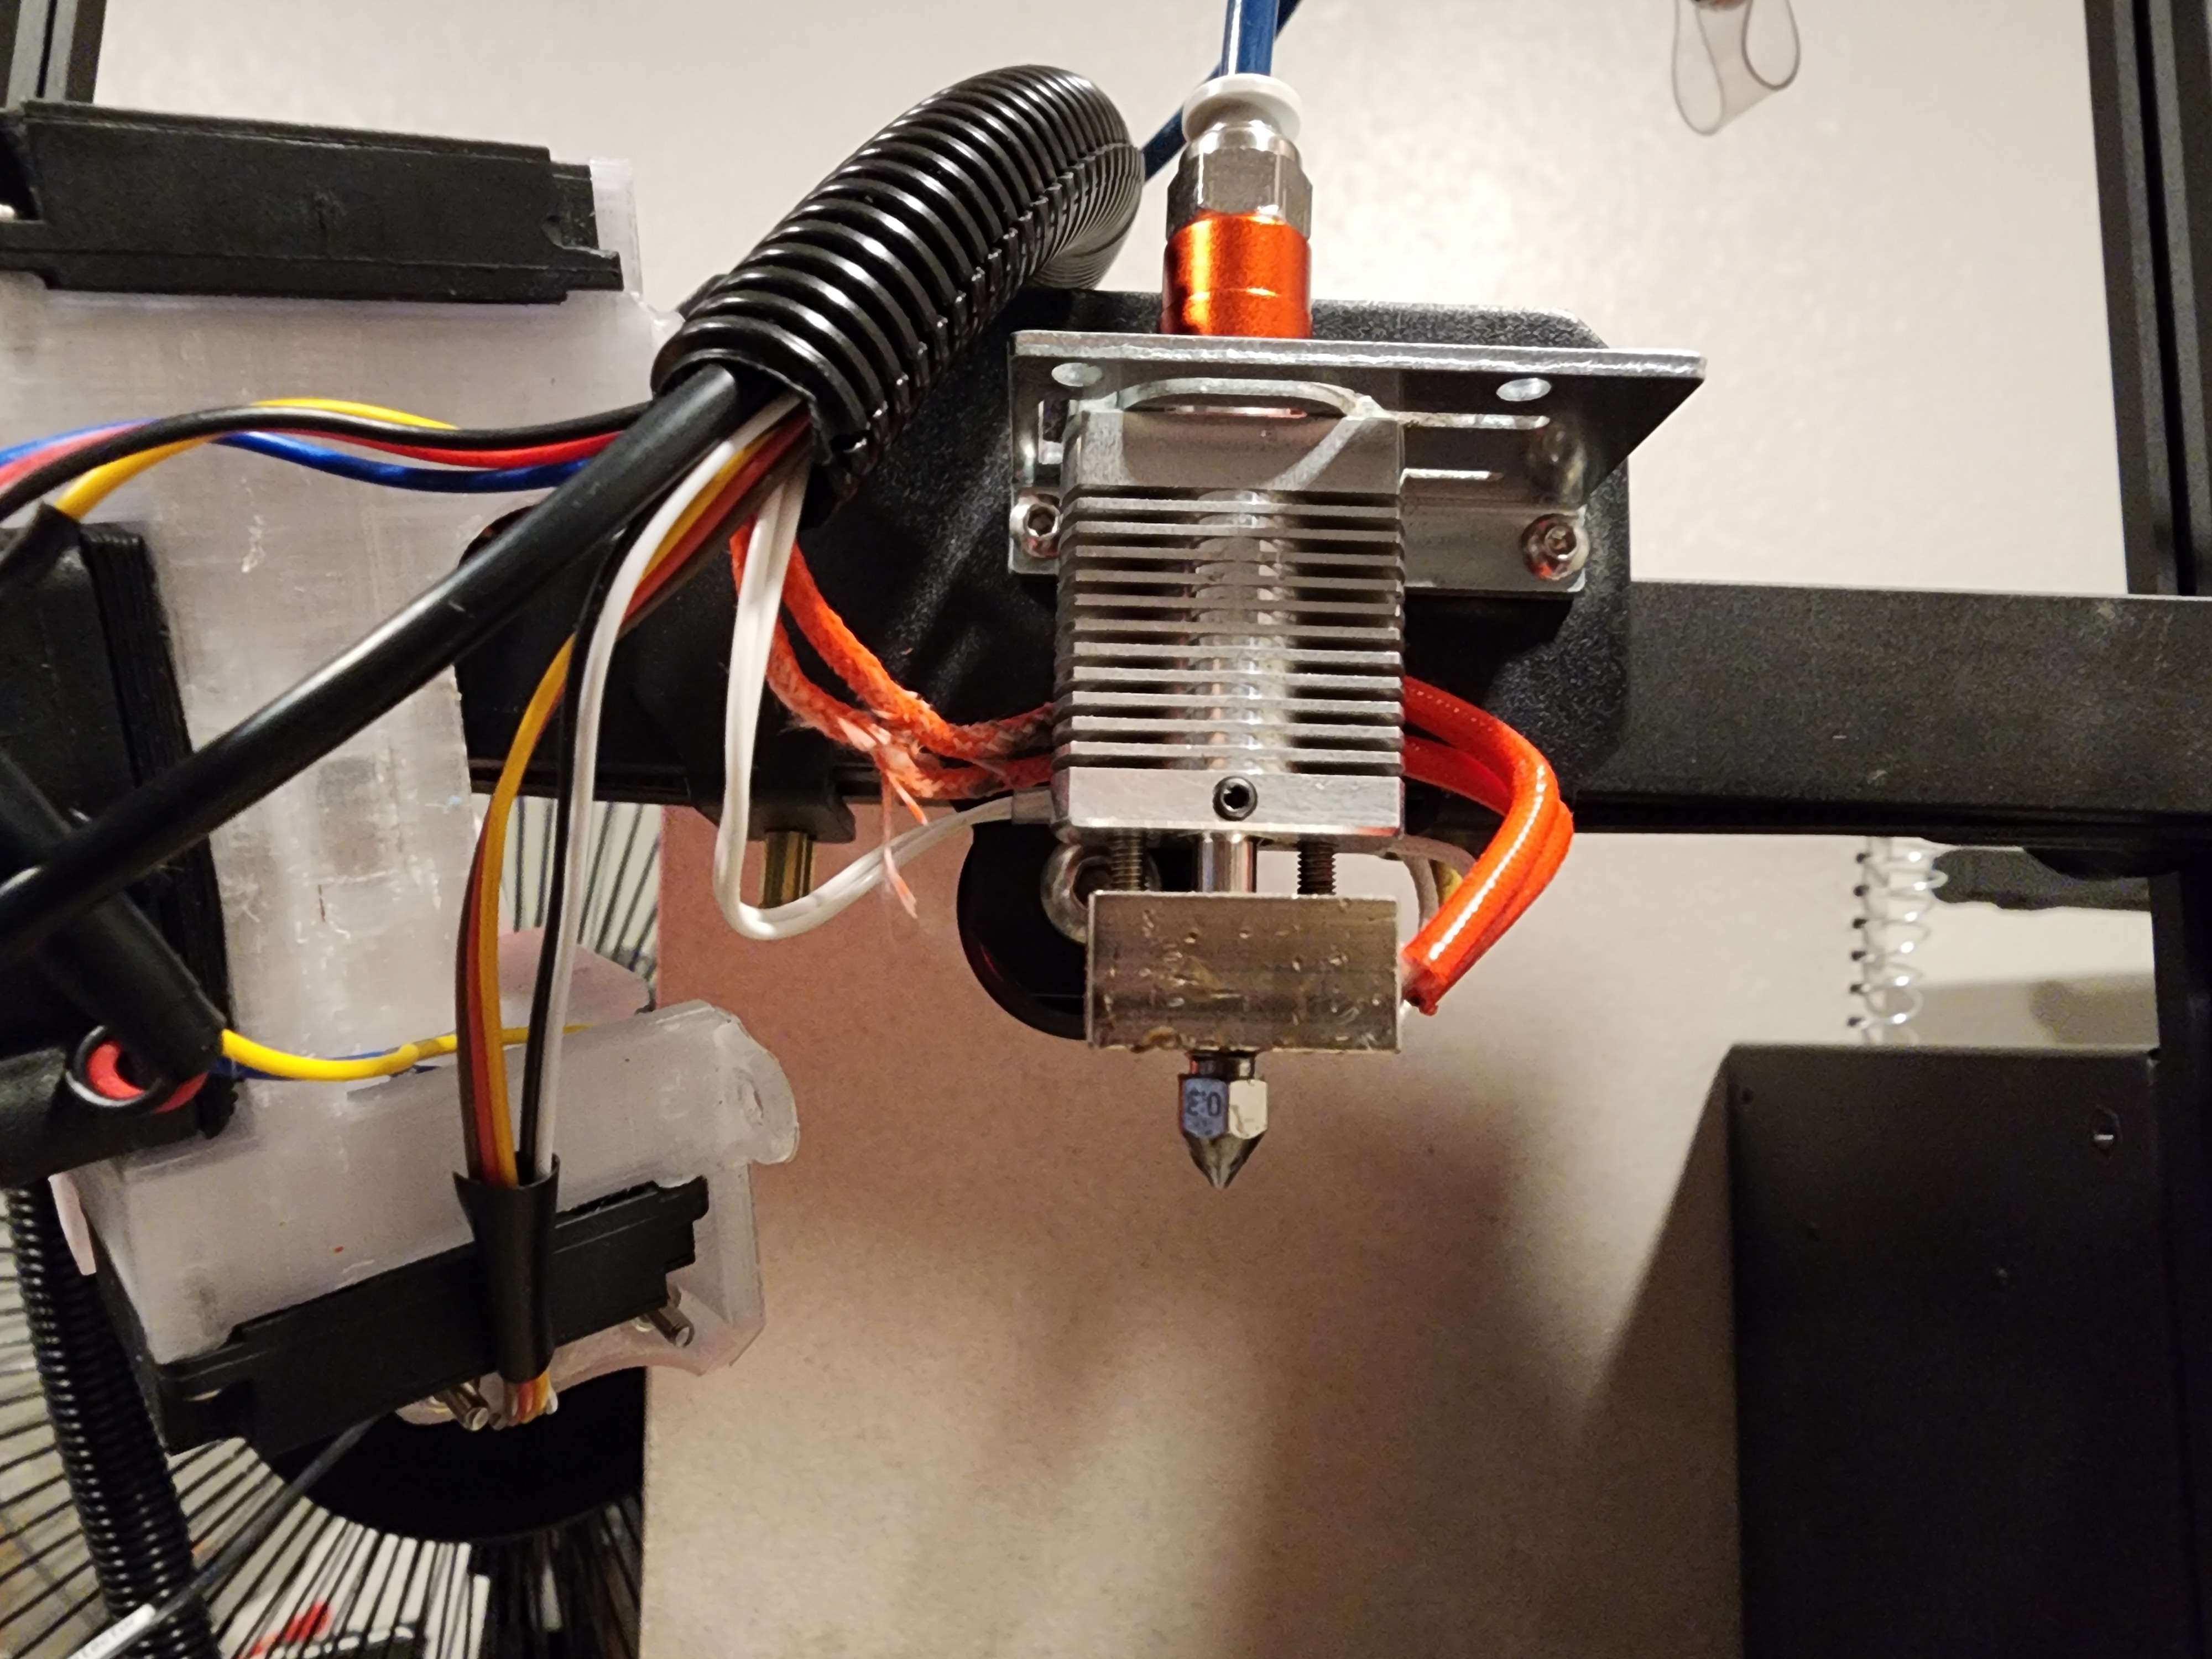
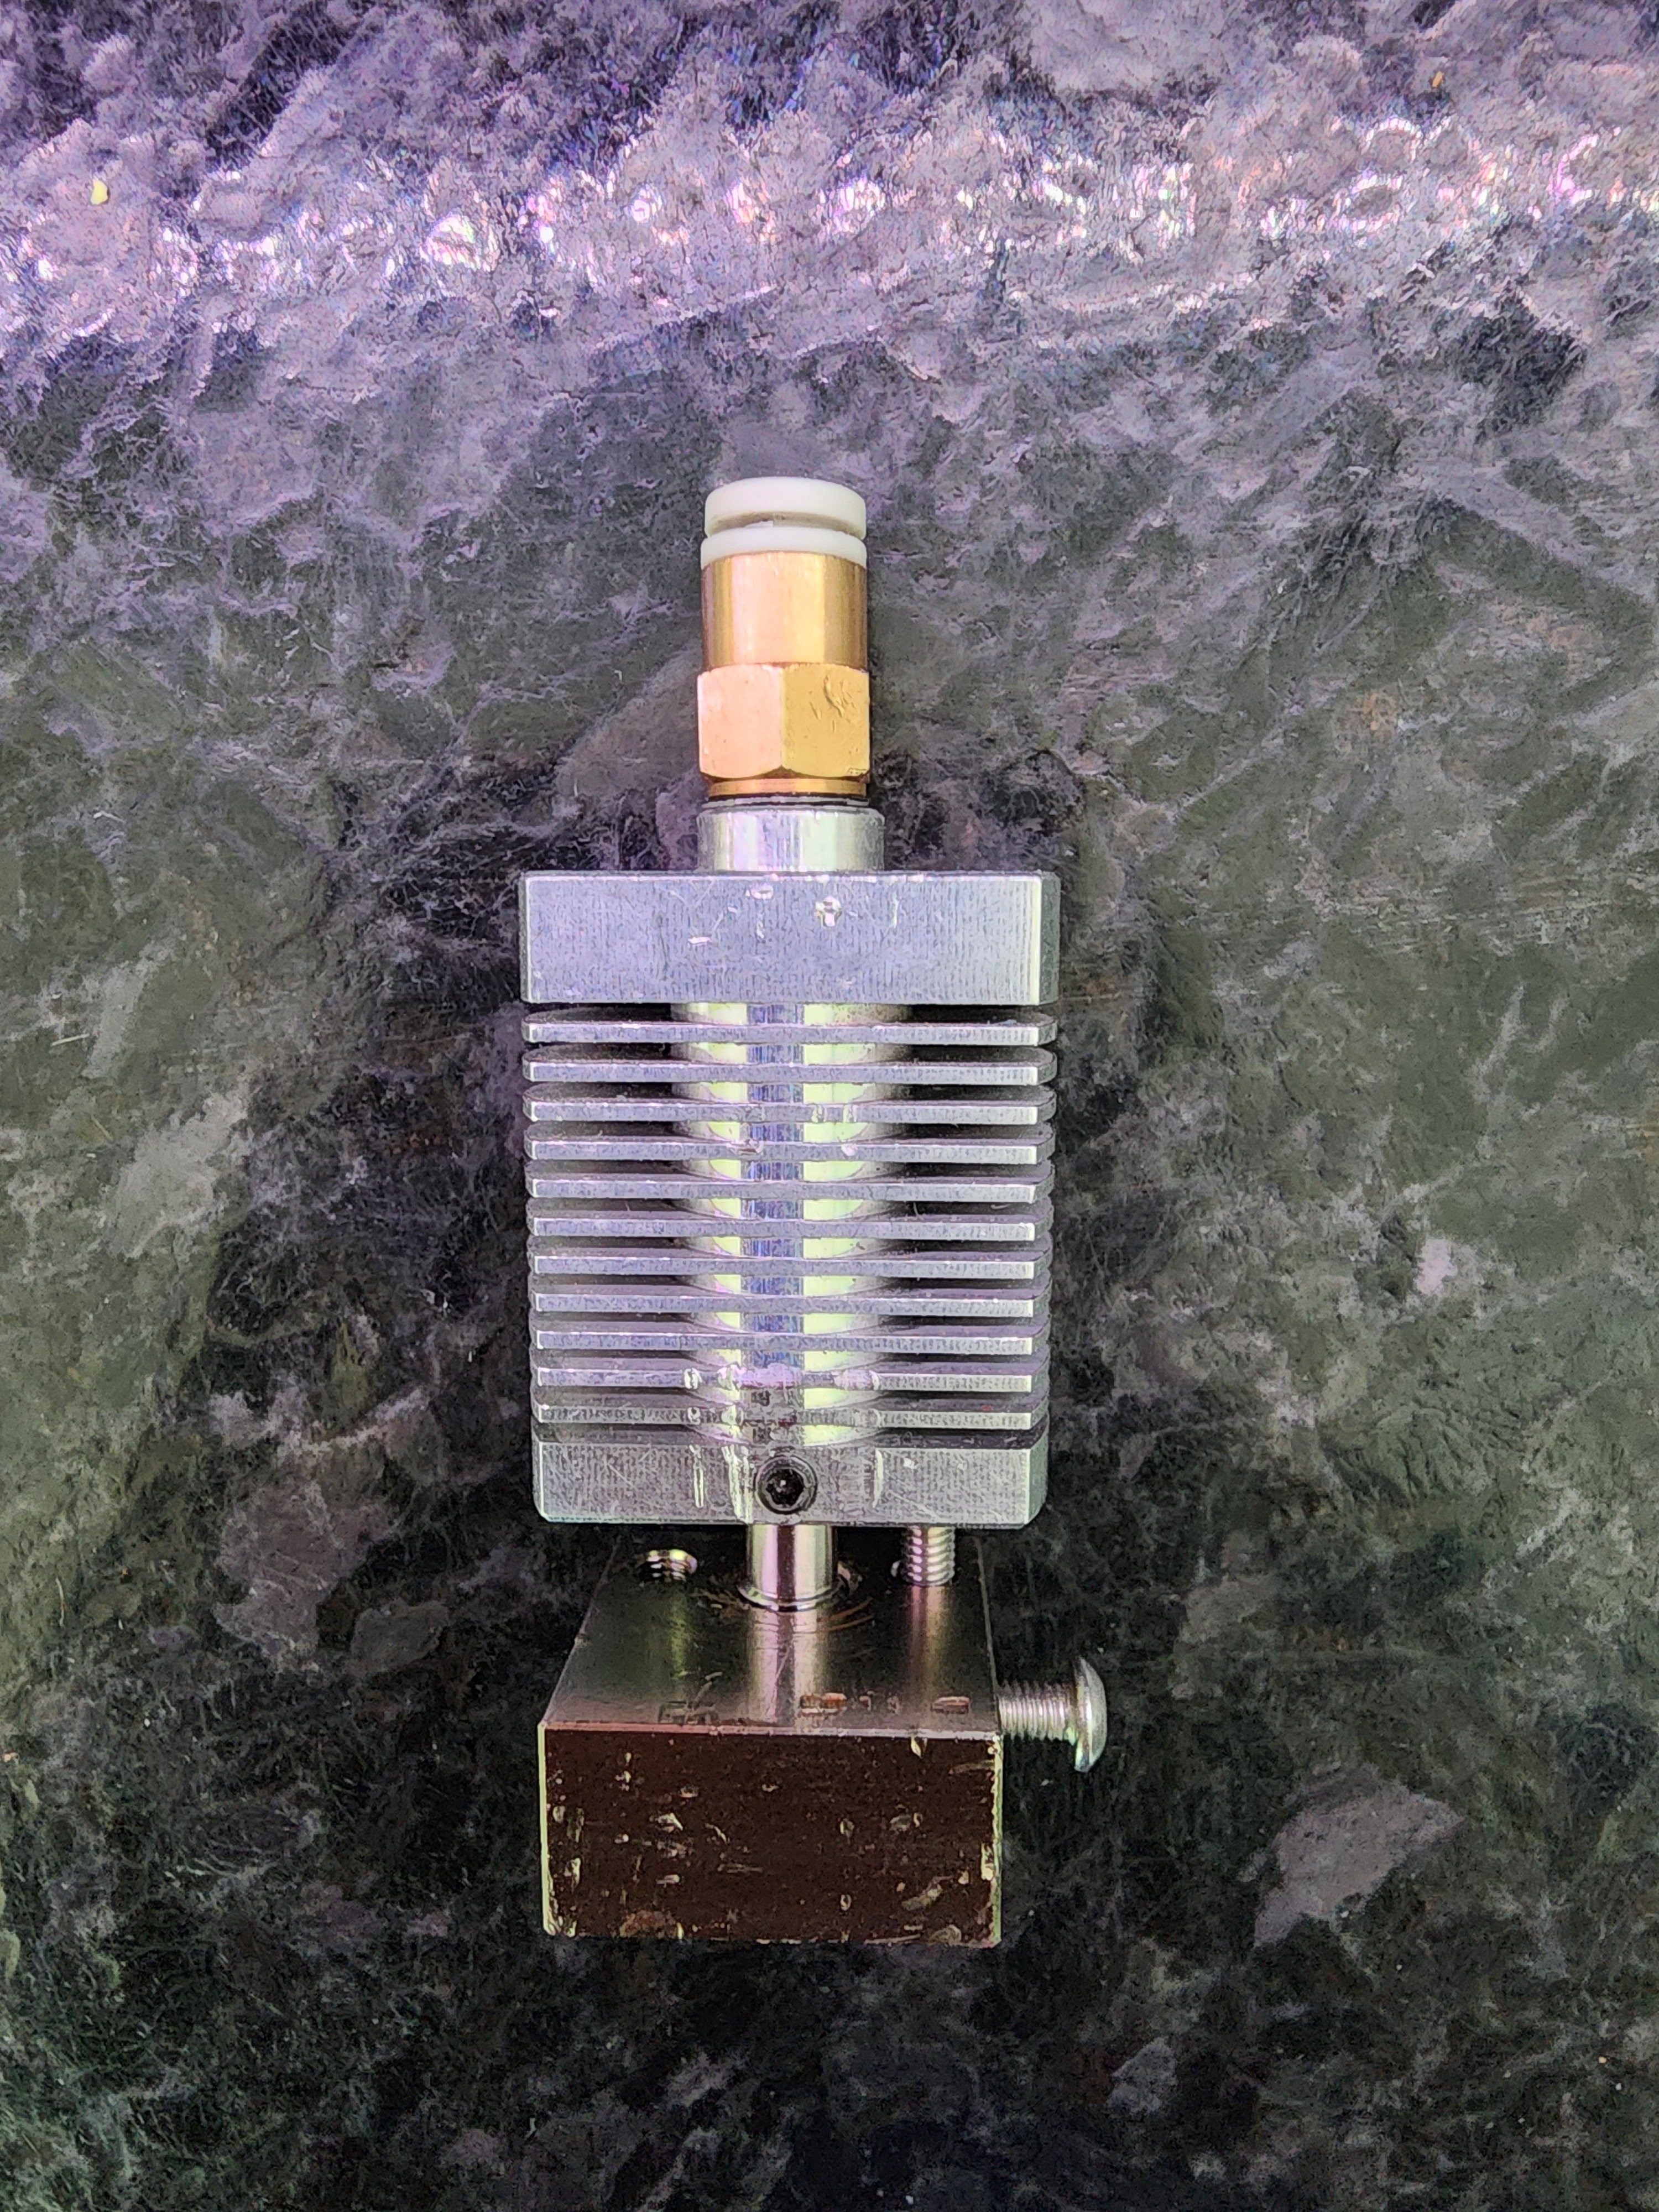
This is what my hotend assembly looks like without the nozzle or bowden tube. It should be noted that my printer has been modified such that the bowden tube going from the extruder is fed all the way through the heat sink to the nozzle, rather than having a fixed tube inside the heat break. I understand that this modification itself could introduce the issue I’m facing, but the issue started before the mod was done, so I don’t think it is the cause.
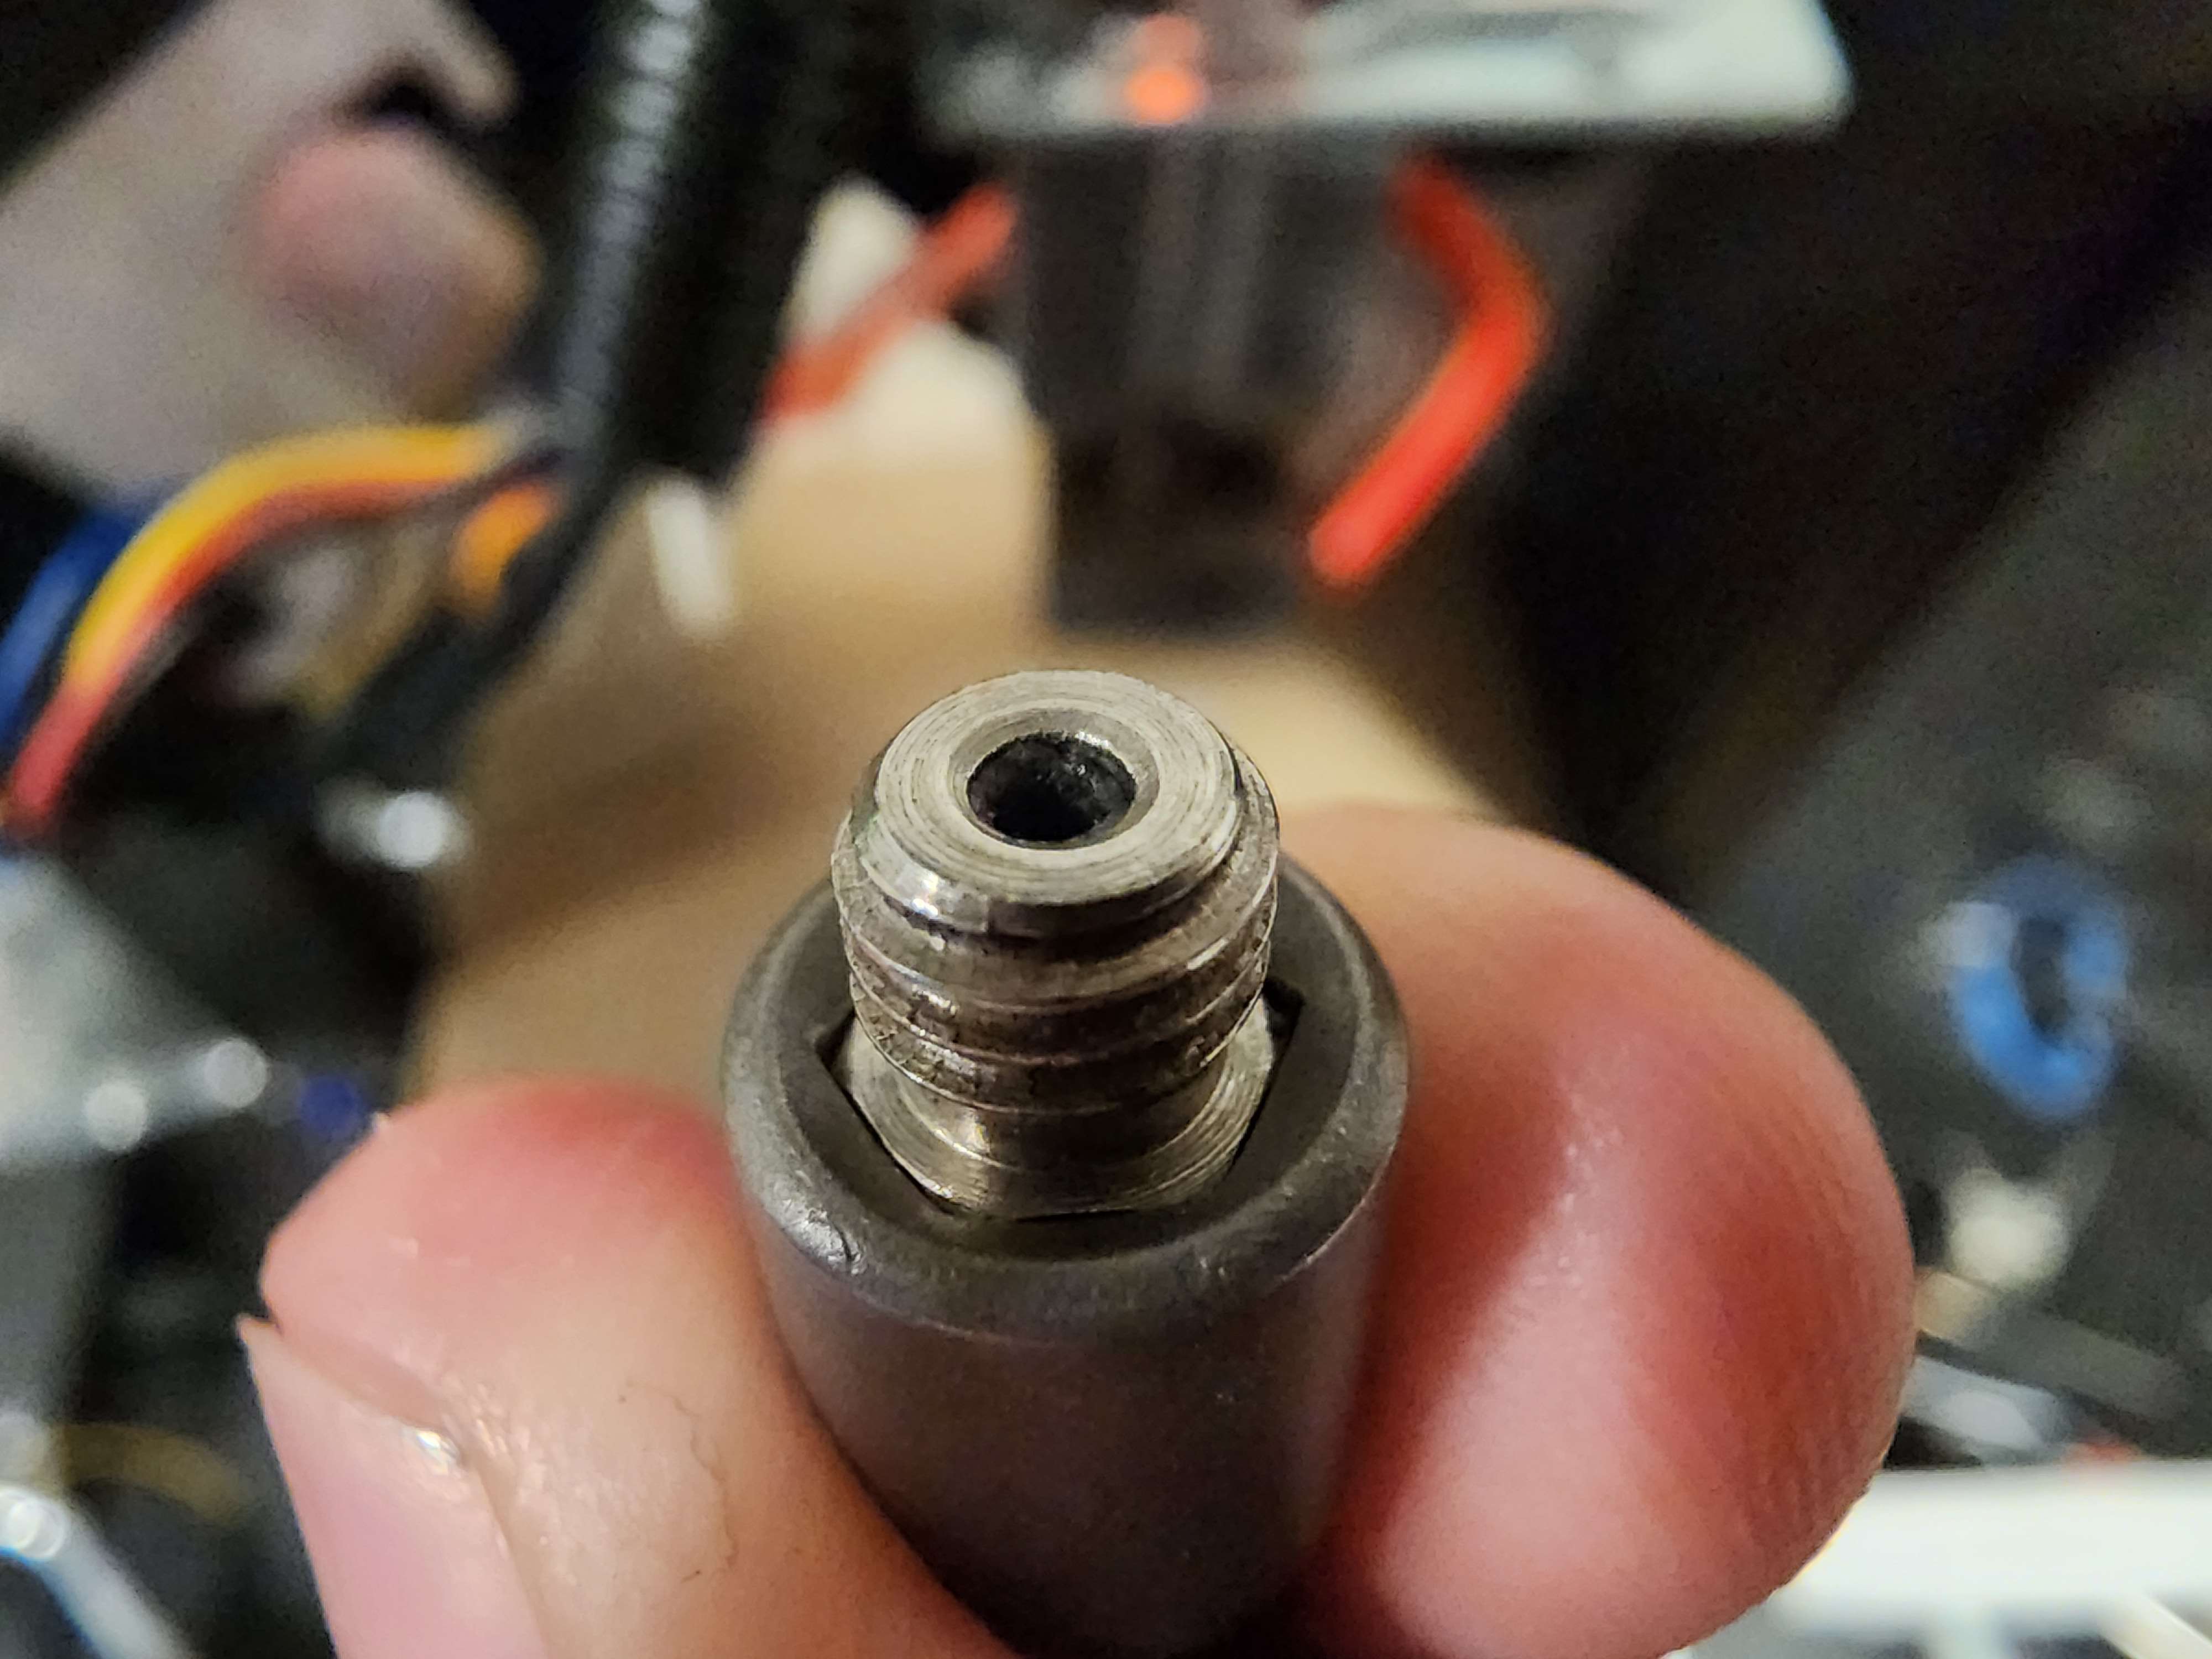
Nozzle cleaned with blow torch and wire brush.

Underside of the heat block. The picture makes the threads look a lot worse than they actually are, in the photo it looks like some sort of gunk or shavings are at the end but after inspecting the block and scrubbing it with a wire brush there isn’t anything there. The nozzle also threads in without any issue.
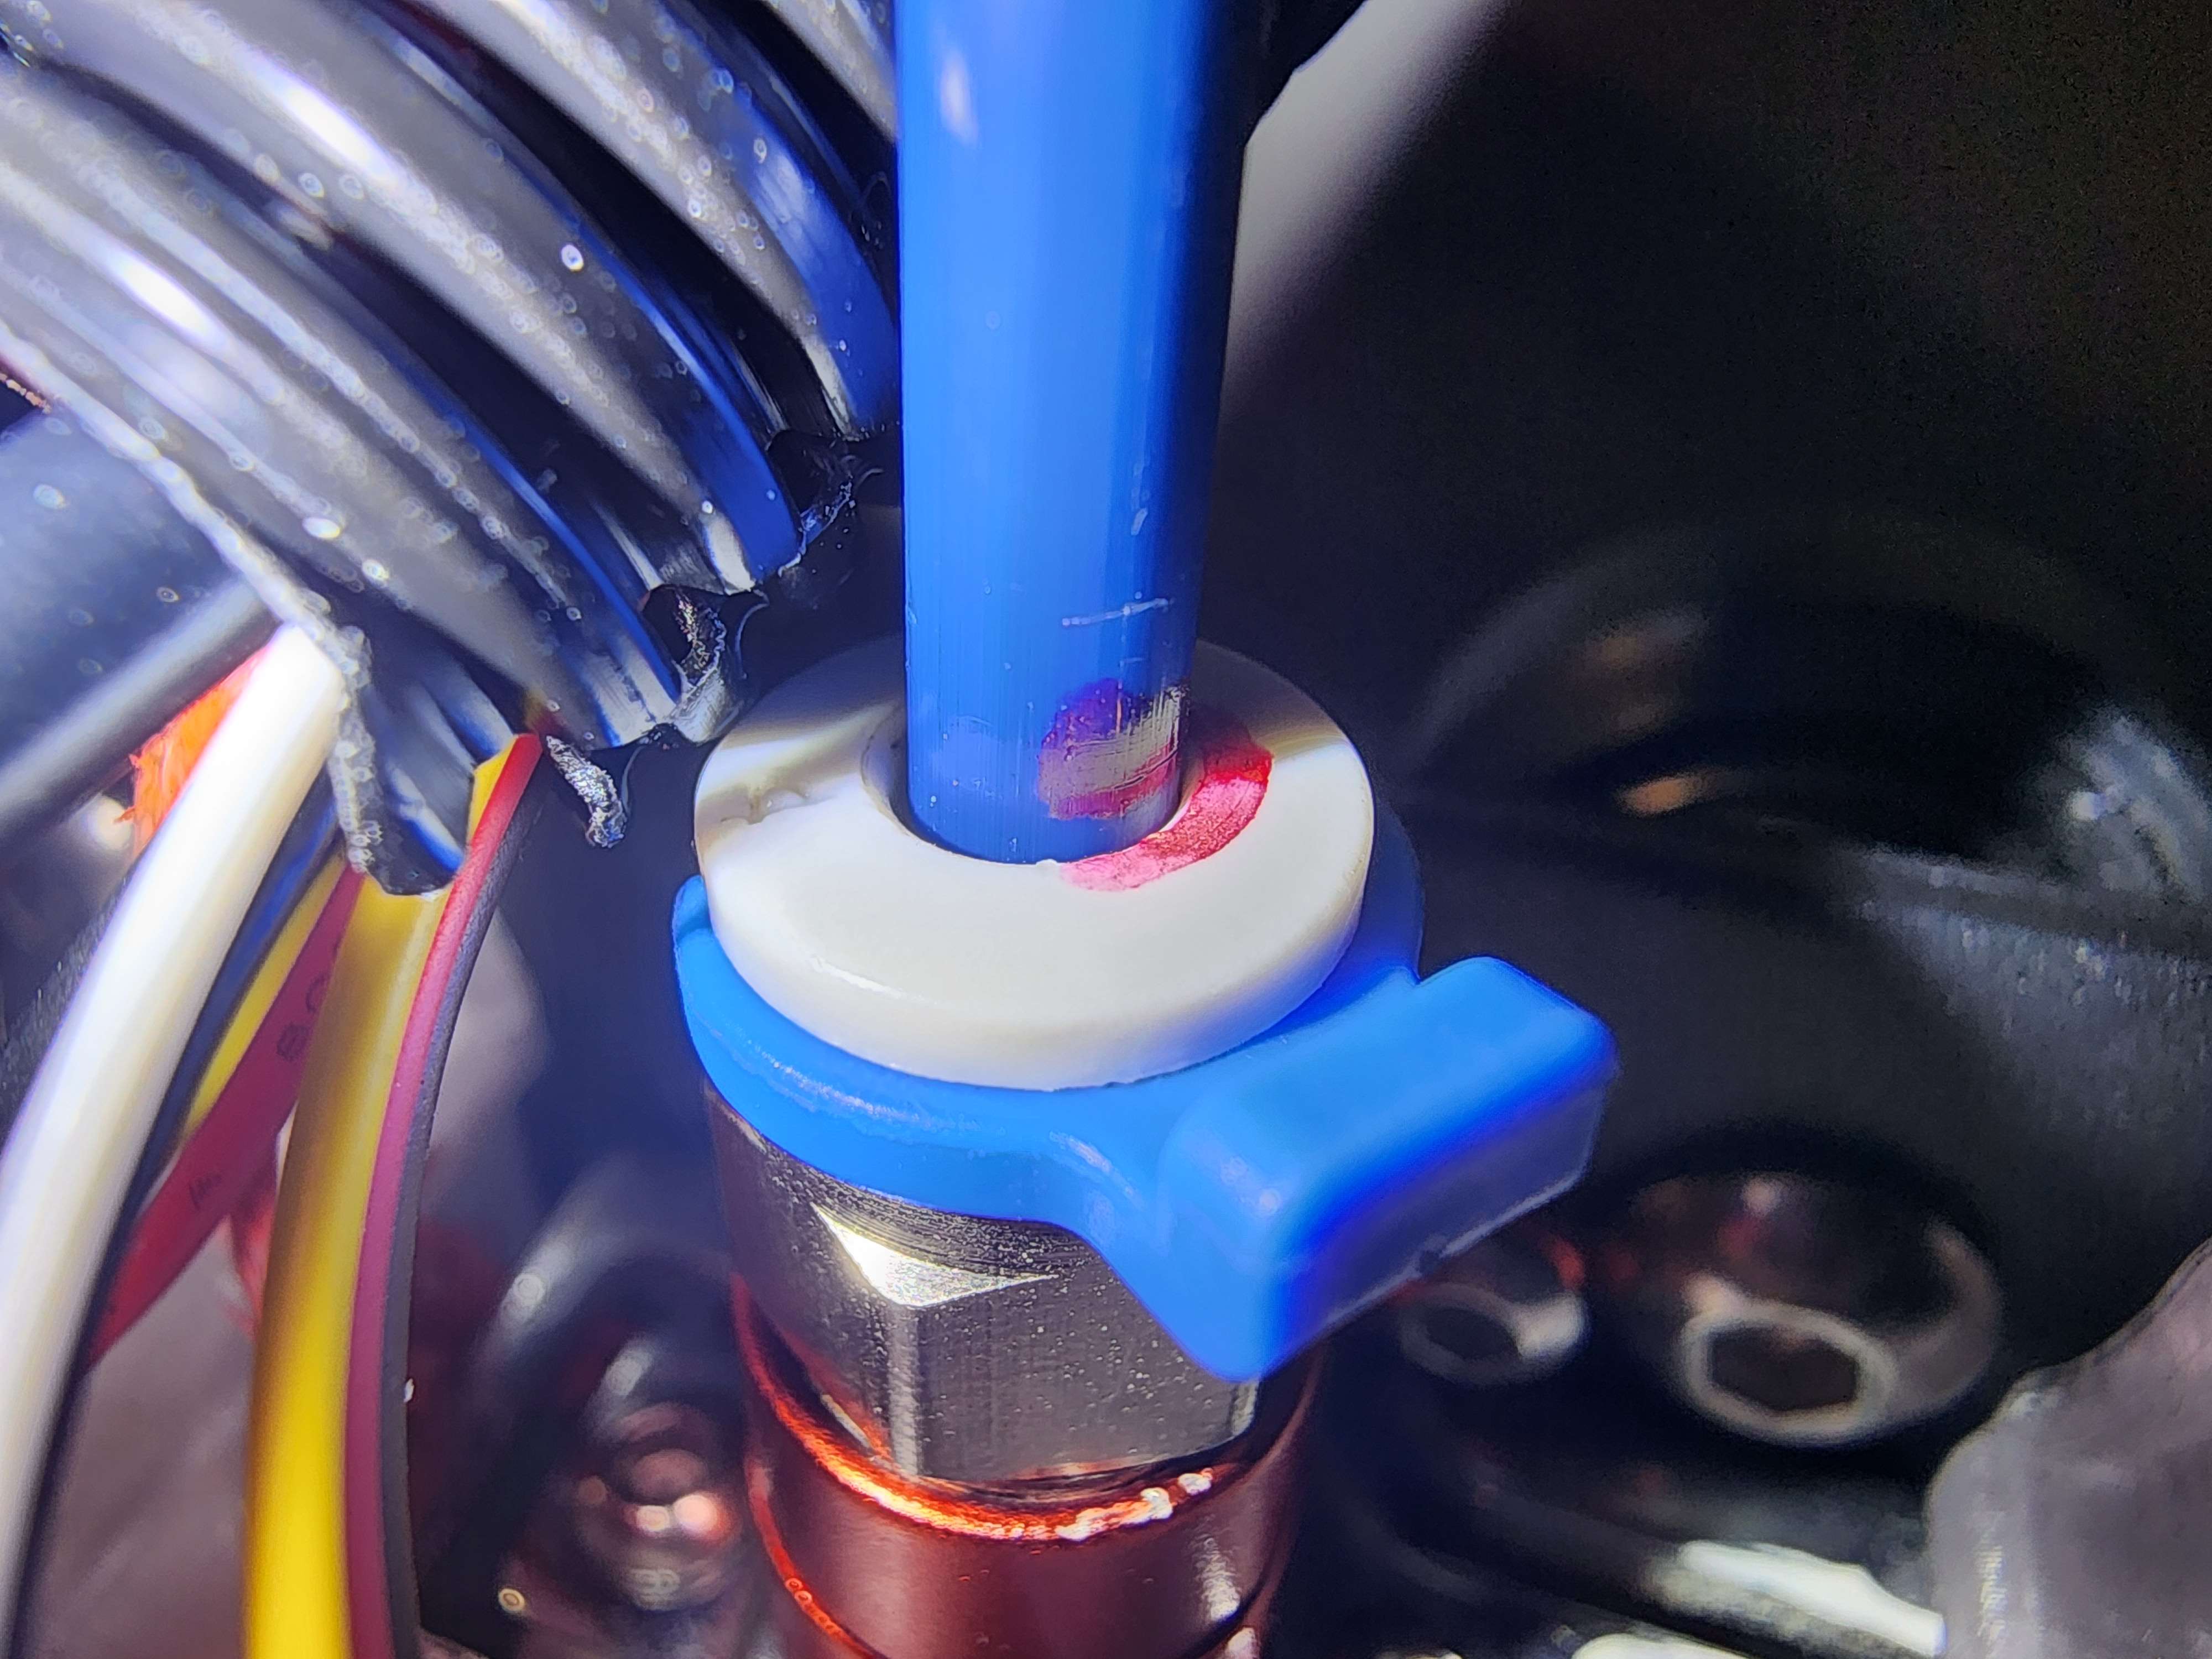
With the heat block at 100C, I first loosely attach the nozzle, then insert the Bowden tube so its against the nozzle. Since I’m hand feeding filament, I’m only using ~10cm of tubing. For photographing purposes, I put a small notch on the tube at the top of the coupling (not visible in this photo). Then, with the coupling depressed, I finger tighten the nozzle, pushing the tube out slightly.

Here you can see that the nozzle is not getting tightened against the heat block (the small gap between the face of the nozzle and block); this verifies the nozzle is flush against the heat break.

I’ve circled the notch mentioned previously - this shows that the nozzle was indeed pushing the tube out of the coupling, and should verify that there is no space in between the bowden tube and the nozzle inside the heat break. With all this verified, I use a wrench to tighten the nozzle ~1/4 of a turn without depressing the tube coupling. This should ensure a tight mate between the tube and nozzle. I also put another mark on the tube at the coupling to make sure it does not move during the test, and reinstalled the fan shroud.
3. Hand feed filament
I’m quite frustrated because at the time of typing this I’ve repeated the above steps twice now, because when I went to hand feed the filament it instantly became clogged and I was not able to get any good data, but finally on the third attempt I’ve got a solid clog. I’m waiting for the hotend to cool off so I can remove it and get some pictures. Meanwhile, I’ll explain that the hotend was heated to 200C and I hand fed some filament through it. As stated, the first two times it clogged instantly, but even when I was able to get filament to run on the third try it was incredibly difficult, when it has always been very easy to hand feed PLA at this temp. (When I did this test earlier, I tried increasing the temp to 240C, which made it a little easier to feed and prolonged the clogging slightly, but ultimately ended the same.) Eventually, it got to the point where I was almost breaking the filament trying to force it through, until I couldn’t get any more to go at all. I’d guess this was maybe 20cm of filament.
Hotend is cooled off, I managed to removed the nozzle, clog, and bowden tube all in one piece so that is awesome. This is exactly what I’ve been experiencing over and over again:

A clog forming between the nozzle and bowden tube, filling the diameter of the heat break.
The Bowden tube has been pushed out of the coupling by about the thickness of the clog. It should be noted that the coupling was actually replaced a few weeks prior to the problem starting, but I’ve since tested both another new coupling as well as the one that was originally replaced, and all three behave the same. I can also support most of the printer’s weight by pulling up on the Bowden tube. Thus, I believe the slipping coupling to be a symptom rather than the cause.
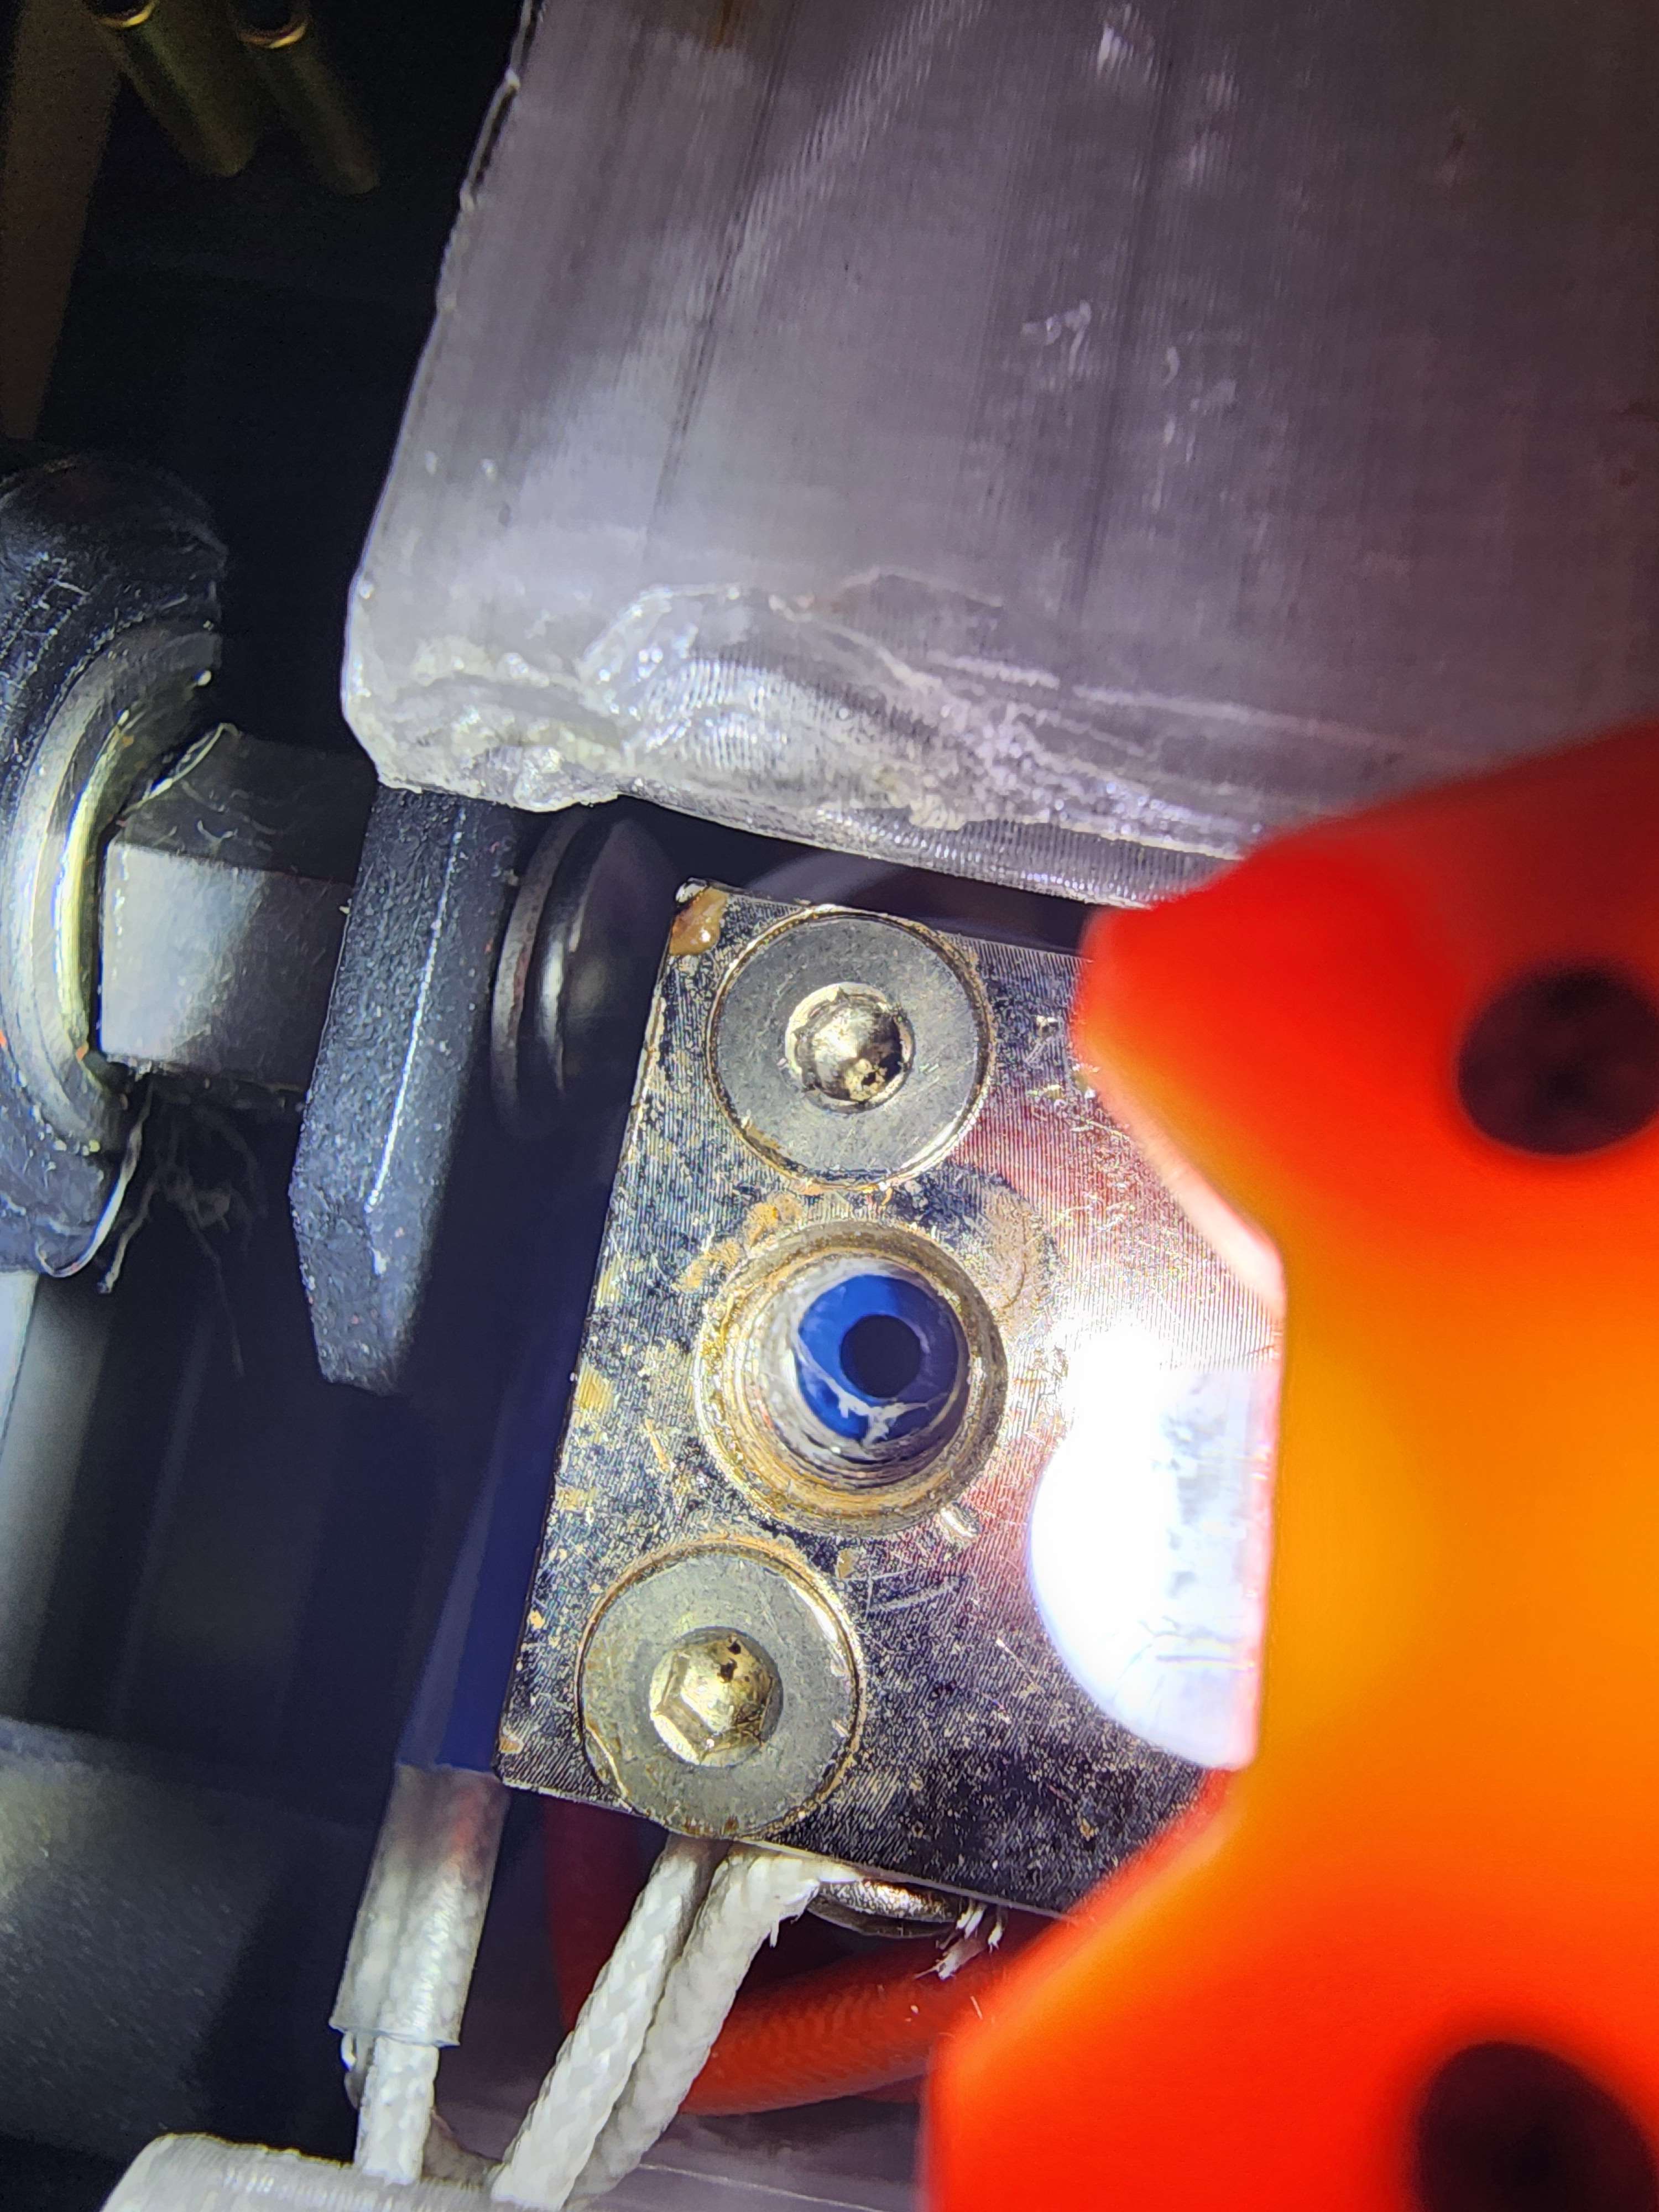
This is what my heat block looks like after I repeated the test with some gray PLA. (A different nozzle as well as a different coupling was used for this test.) I noticed when putting the nozzle back on that it was really difficult to do so, and it seems like this could be why: filament making its way into the threads during the clog. (I guess my previous statement of the block being cleaner than it looked was probably false…) During earlier testing, I’ve soaked and torched the heat block to make sure this buildup wasn’t causing the clogging, but again it seems to be a symptom rather than the cause.

The two clogs on the left are from earlier tests using the printer’s extruder, the two on the right are from tonight’s hand fed tests; note the difference in thickness of the clogs, the extruder is much more capable of pushing through the clog than I am which results in the clog getting much larger before failure. It should be reinstated that this exact result is prevalent across multiple filaments and nozzles. I was not able to get such clear results of what was happening when I had the all metal heat break(s) installed, and unfortunately I don’t have the time tonight to swap one in, but it was clogging with more or less the same behavior, so I’d have to assume it was clogging between the Bowden tube and heat break. Before the hotend was modified, all of the common steps were taken to verify the internal bowden tube was functioning properly, and the bowden tube installed now is probably the third one that I’ve cut off of a brand new Capricorn tube since this problem began. I’m considering re-modifying the hotend to work how it did stock, but again it was clogging when it was set up the original way so I don’t think this is the issue. I’ll probably try it out tomorrow if nothing else gets me anywhere,
I have to go to bed before I can continue any more testing, but I’ll get back to any comments or advice as soon as I can tomorrow. Yesterday was the first day I managed to pull one of those perfect clogs out, now that they’ve been coming out consistently like that I feel I’m much closer to finding the problem than before. Please let me know if anything needs to be clarified or if I missed anything, my hope is this thread (and my suffering) might help someone with a similar issue.
You must log in or register to comment.
One thing that could help with your testing is some way to hand feed it while having the cooling on the heartbreak. To ensure that only the melt zone has melted plastic.
while having the cool ing on the heartbreak.
I’m not sure I understand what you mean by this? Do you mean just the regular fan shroud and hotend fan? Those were installed for these tests. Though I will say having it on vs having it off has made no difference in all the tests I’ve done.
Hot end fan. E.g. blowing over the fins on the heat break
Amazing write up. I love it.
That clog reminds me of the ender 3 v1 problem. It had the same gap between the nozzle and tube. I liked captured tube fix. In summary, cut a piece of PTFE tube and seat it in the hot end, place a printed washer over it, then the coupling on top of that, which compresses the tube and the hot end. I ran mine this way for years.
Cutting guide - https://www.thingiverse.com/thing:3236093
Washer and cutting guide - https://www.thingiverse.com/thing:3203831
Longer explanation, graphics at 4:50 - https://youtu.be/dIkjR2Ytx-g
Just wanted to give you a quick follow-up. I modified the hotend to work closer to stock, but the solution I came up with I thought was pretty neat:
I drilled out the top a little bit more, and used a bolt with the same thread as this small coupling I had laying around to thread the inside a little bit. The coupling’s mouth is only large enough for filament to fee through, not the Bowden tubes. So, the tube inside the heat sink is sandwiched between the nozzle and the end of the coupling.
Unfortunately, clogging is still occurring. During the modification I switched in my all metal heatbreak; the clog is forming at the nozzle. What I believe is happening, is my thermostor is not reading reporting correctly at higher temps, the nozzle isn’t getting hot enough, and only ~95% of filament is actually making it through the nozzle, the rest is getting built up slowly in the heat break until the extruder can’t push anymore. When I first went to hand feed filament through my new setup, I discovered it was incredibly difficult to push filament through right from the get go, before any clog had the chance to form. I ordered a new thermistor and heat cartridge that I’ll try out tonight.
If those don’t solve my problem, I think I’ll have tried replacing everything related to the problem. At that point, I’d think it’s just time to start saving for a new printer and donate the old one to someone smarter than me.
At that point, I’d think it’s just time to start saving for a new printer and donate the old one to someone smarter than me.
hahahahaha yes, I understand that frustration!
a piece of PTFE tube and seat it in the hot end, place a printed washer over it, then the coupling on top of that, which compresses the tube and the hot end
This is more or less how my printer came stock, except instead of a washer at the top of the heat sink, the opening of the heat sink was only large enough for the filament to pass through, locking the tube against the top of the inside of the heat sink. I modified the heat sink by drilling out the top ever so slightly to allow the tub to run through the opening.
I think I’ll try something similar to the washer idea (I can’t print the washer because, well…) when I get home from school. I’ll attach a thin sheet of metal over the opening of the heat sink and drill a hole just large enough for filament to go through, essentially replacing the bits of metal I’d removed.
Here is an alternative Piped link(s):
https://piped.video/dIkjR2Ytx-g
Piped is a privacy-respecting open-source alternative frontend to YouTube.
I’m open-source; check me out at GitHub.
How’s the printer doing? Has the Gremlin moved out yet?
Thank you for asking! I have a follow-up post here detailing what the actual issue was (incorrect temp readings from the printer, hotend only reaching ~half reported temp), but the actual root of the issue remains unknown. The board seems to have been the issue, as swapping in an SKR mini has fixed it (and improved a couple other things, definitely recommend this board!), yet I still have no idea what could’ve been the problem with the other one. It was relatively new, had been working for weeks, tested completely fine on a multimeter, and even read correct temps for the heated bed when the thermistor was plugged into the hotend port.
In short, the gremlin did not move out, but I’ve bulldozed the house and built a new one around it.
Ahh. Maybe some internal resistor was causing noise on the pin… or even the MCU.
Like trying to debug a pc issue only to find out it’s a faulty motherboard
… So you wanna know something brilliant.
I replaced that board maybe 2 weeks ago and have been printing fine since then.
About an hour ago, the new board has replicated the problems of the previous one. Not getting hot enough but reporting target temp. It’s a completely different board from a different manufacturer, and it’s failing the exact same way as the last one.
Wiring from the PSU to the board?
Or any kind of backfeed on the motors like when you move them by hand quickly? Which I’ve done and not, so far, fried anything but it can.
Man… Gremlins suck.
But did you change the wire between the board and the thermistor? It seems about all that’s left.
Someone asked this in a different post of mine, all of the thermistors I used were a single piece, meaning that replacing the thermistor replaced everything between the pins on the motherboard and the unit that goes into the hotend.
Yikes… possibly the heat block threads are deformed after all the torching and tightening? I assume you’re using brass nozzles so this shouldn’t be the case, but I’m as stumped as everyone else now.
I’ve used nozzles of varying materials. After the debris is removed, the nozzle threads in easily, so I don’t think the threads are permanently damaged or deformed